
Hello there! Your monkey guide to tech is back, with a banana bunch of knowledge to help you master another jungle trick. Today, we’re going to swing our way through opening ISO files in Mac. Trust me, it’s as easy as peeling a banana.
In the world of software, ISO files are the mighty gorillas - big, important, and a little bit intimidating. But, fear not! Your friendly primate has got your back. So, grab a bunch of bananas, sit back, and let’s monkey around with ISO files on a Mac.
Table of contents
- Method 1: Open ISO Files Using Disk Utility
- Method 2: Open ISO Files Using Terminal
- Method 3: Open ISO Files Using Keka
- Method 4: Open ISO Files Using Unarchiver
How To Open ISO Files Using Disk Utility
The Disk Utility tool is like the swinging vine in the jungle of Mac—it’s always there when you need it.
-
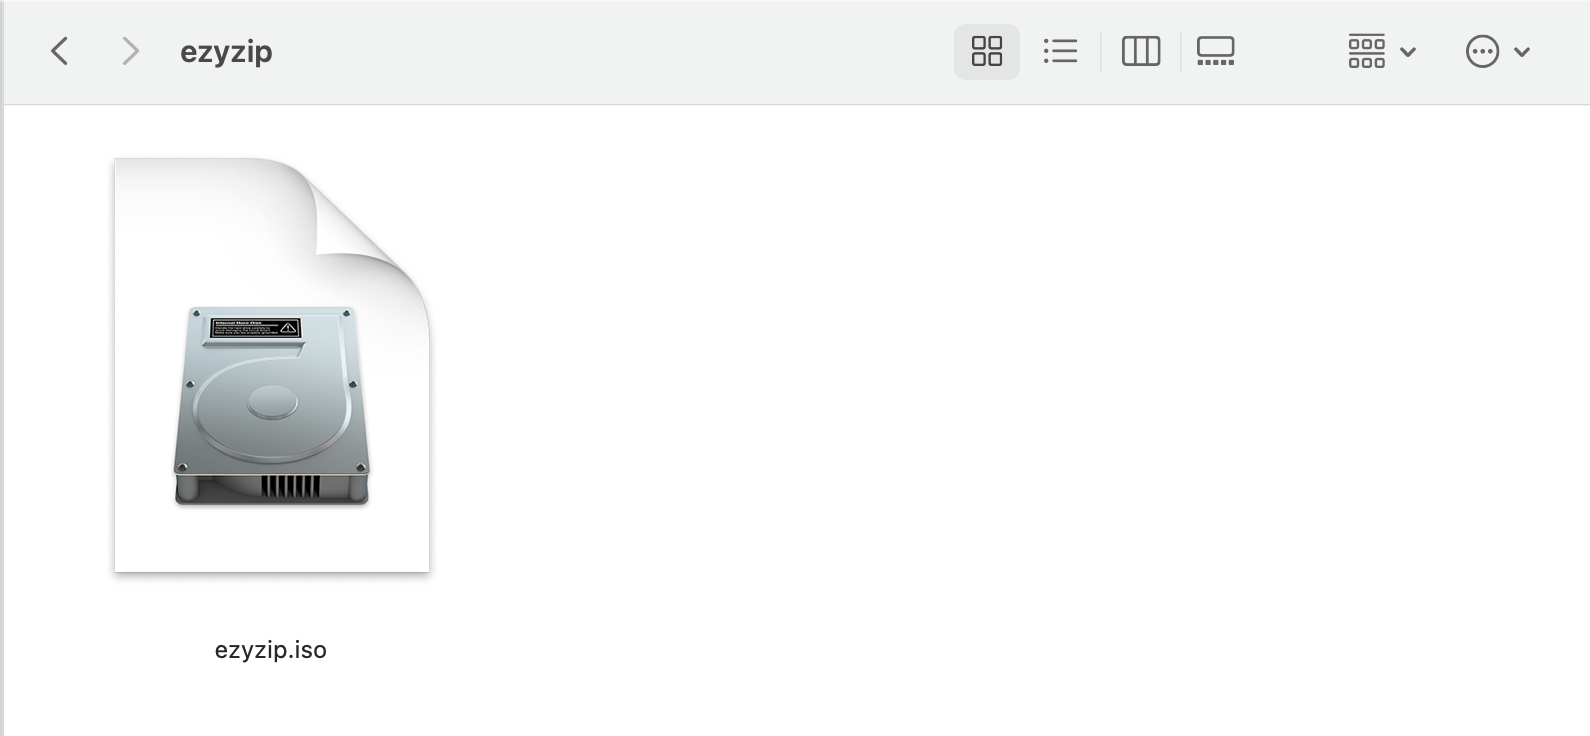
Find your file: The first step is to locate the ISO file on your Mac. In the wild, a monkey has to find a banana before he can eat it, right?
-
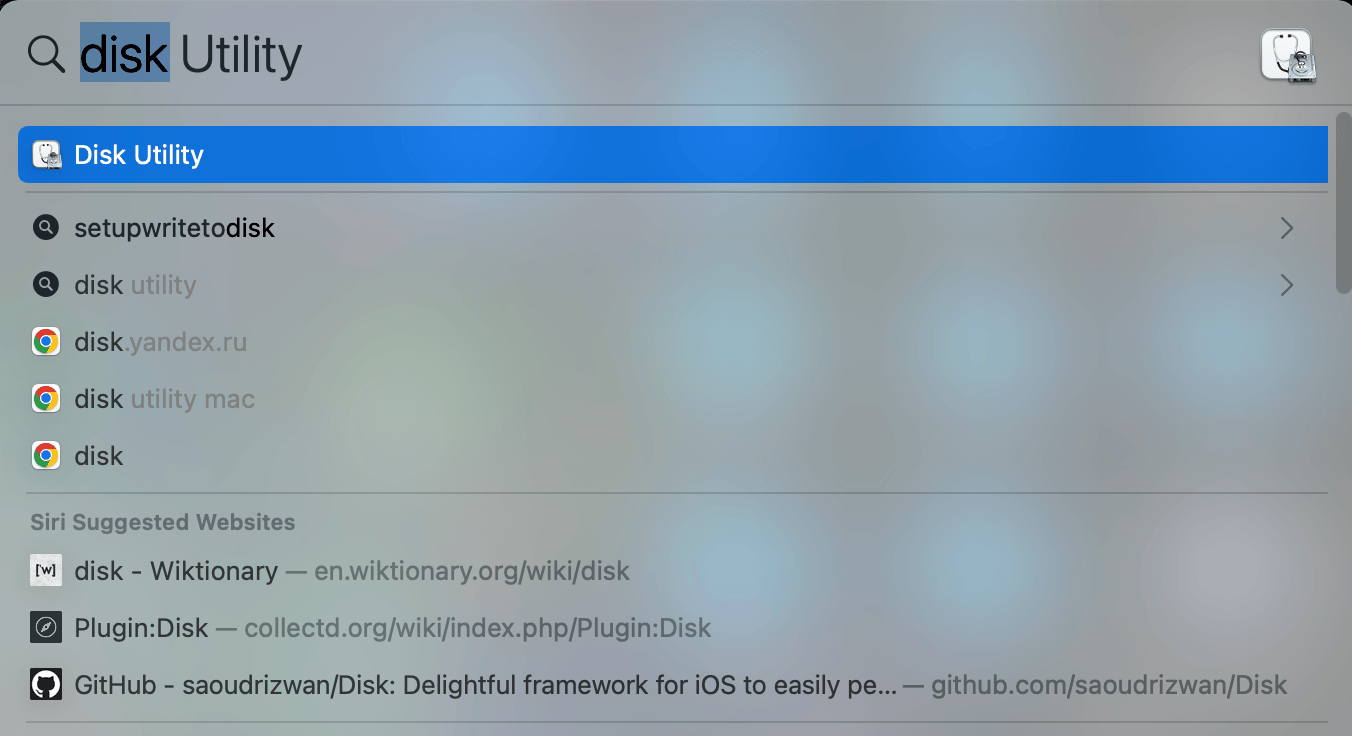
Open Disk Utility: Look for “Disk Utility” in your Applications folder under “Utilities” or simply hit Command+Space to open Spotlight Search and type “Disk Utility”. It’s your jungle machete, cutting through the thick foliage of ISO complexity.
-
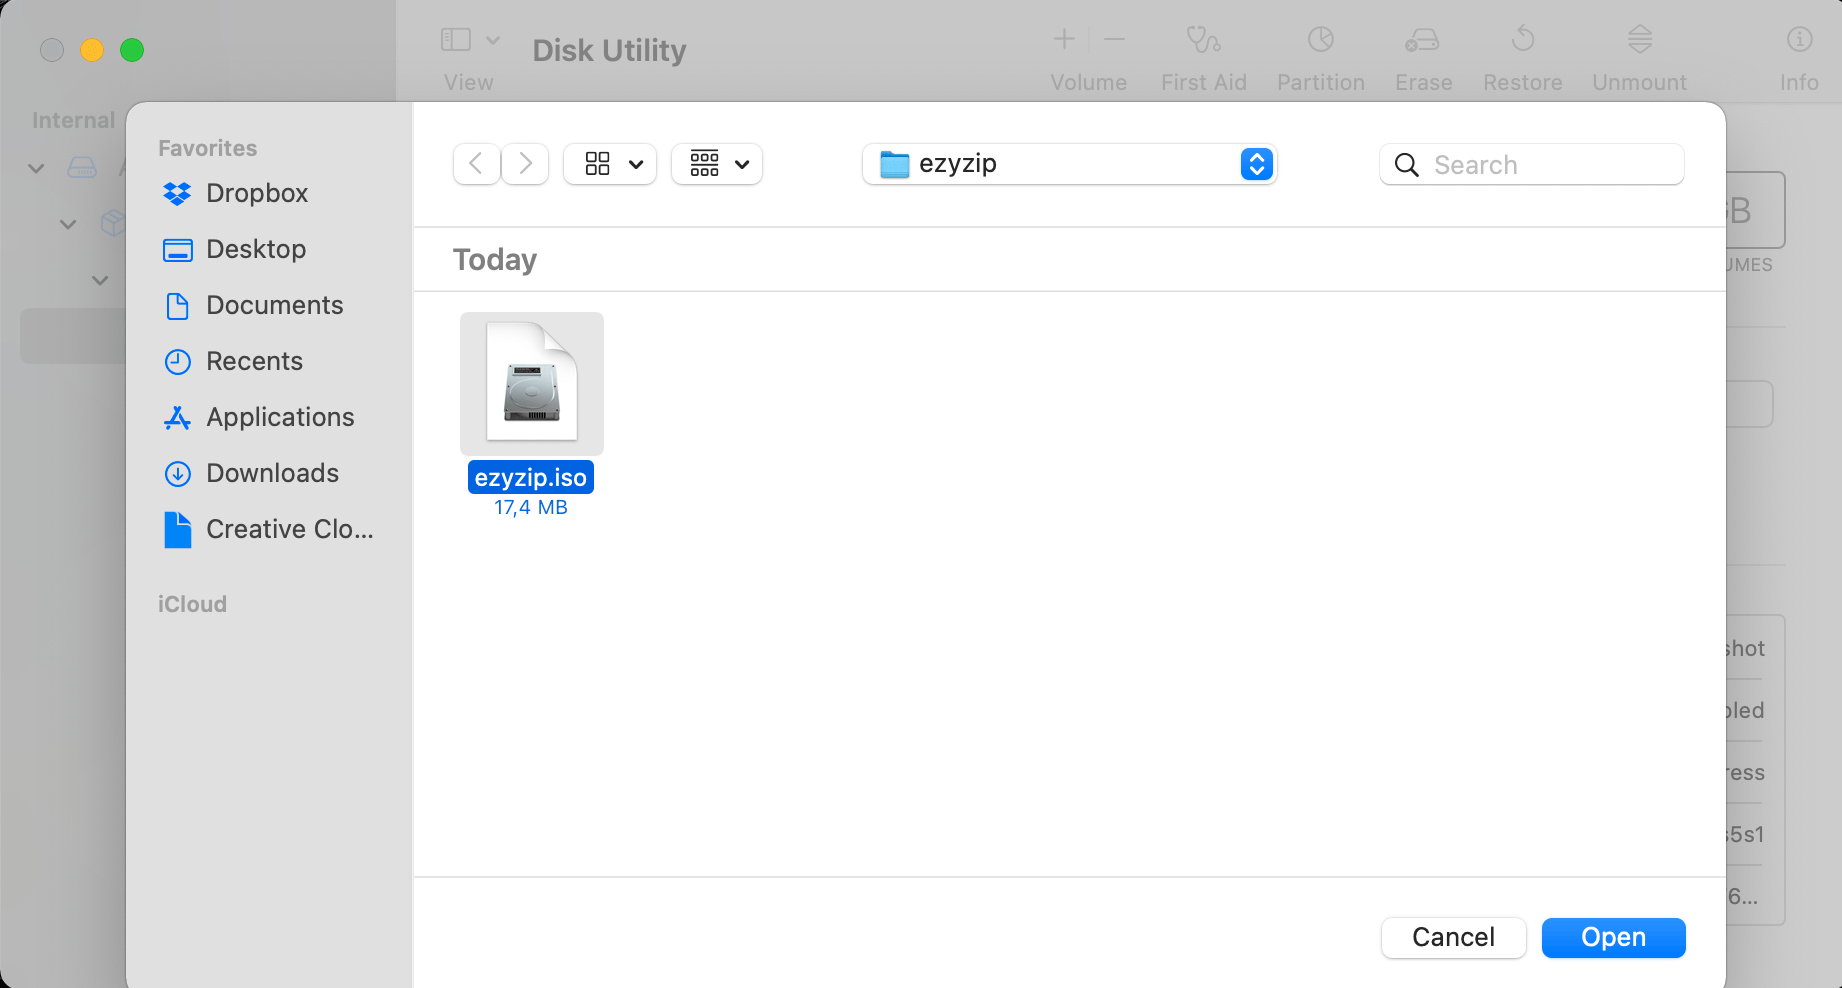
Open ISO file: Once Disk Utility is open, click on the ‘File’ option in the menu bar, select ‘Open Disk Image’, and choose your ISO file. It’s like offering the ISO file a banana - always gets them on side.

-
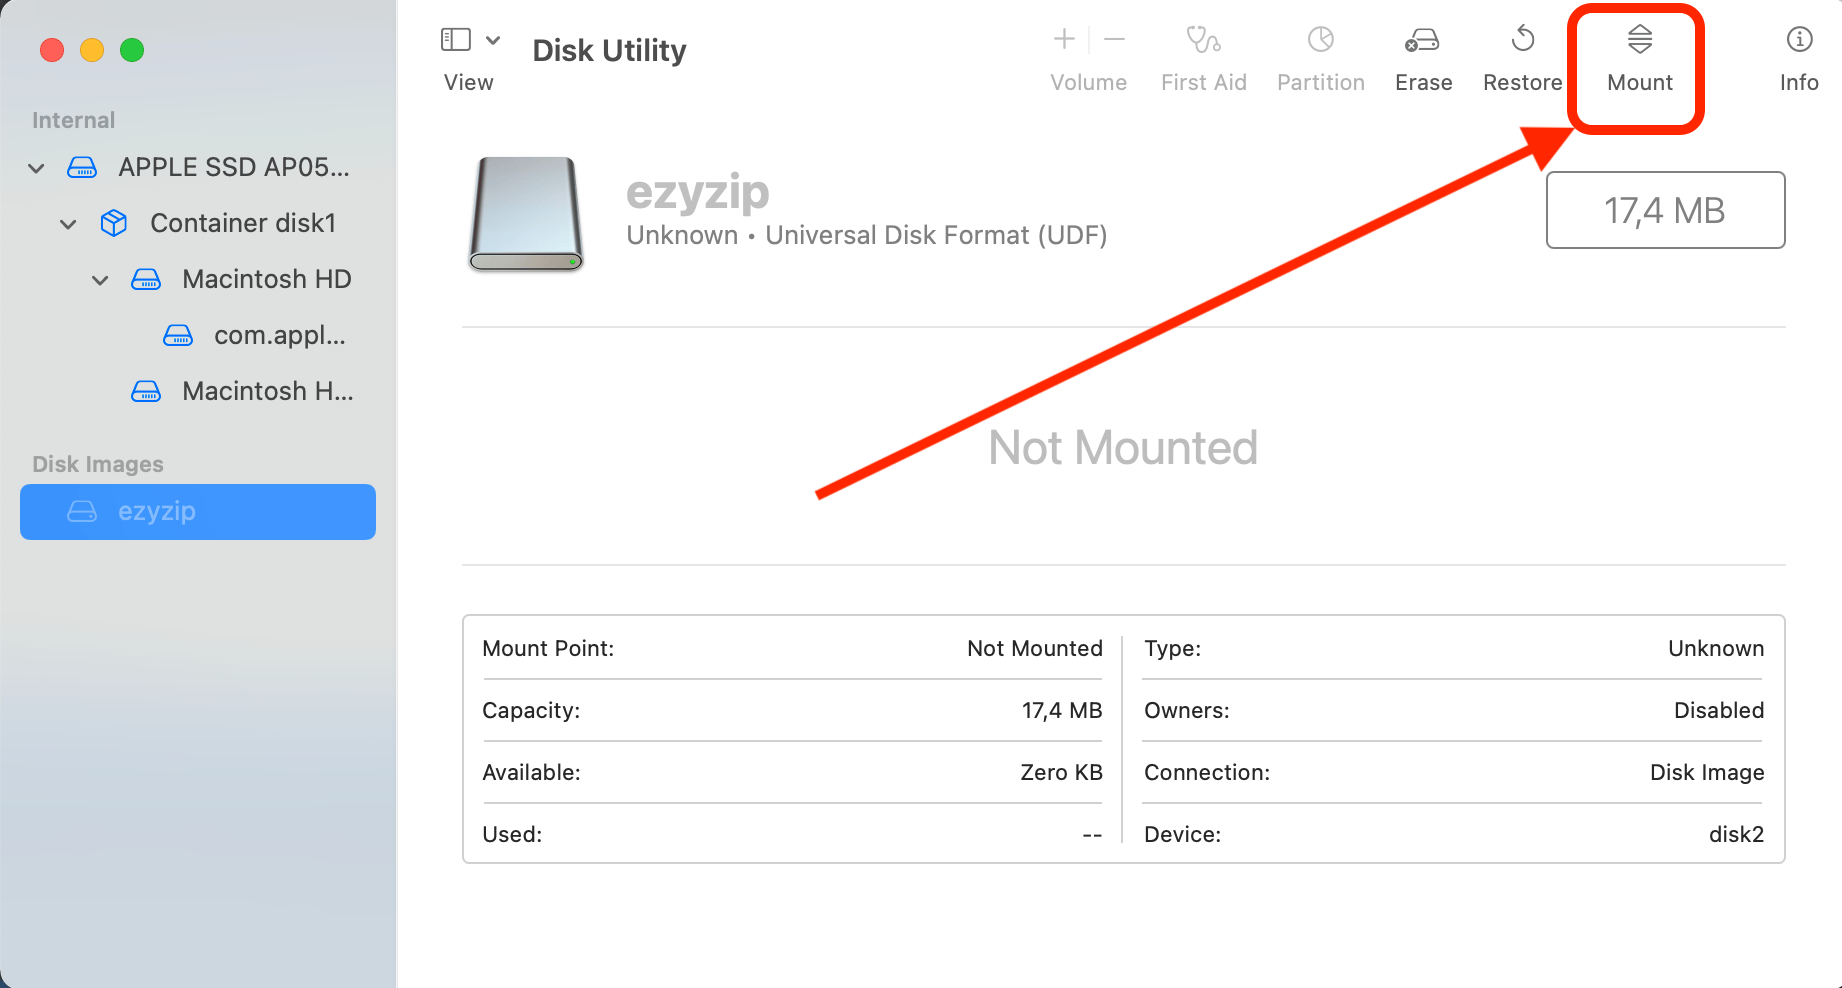
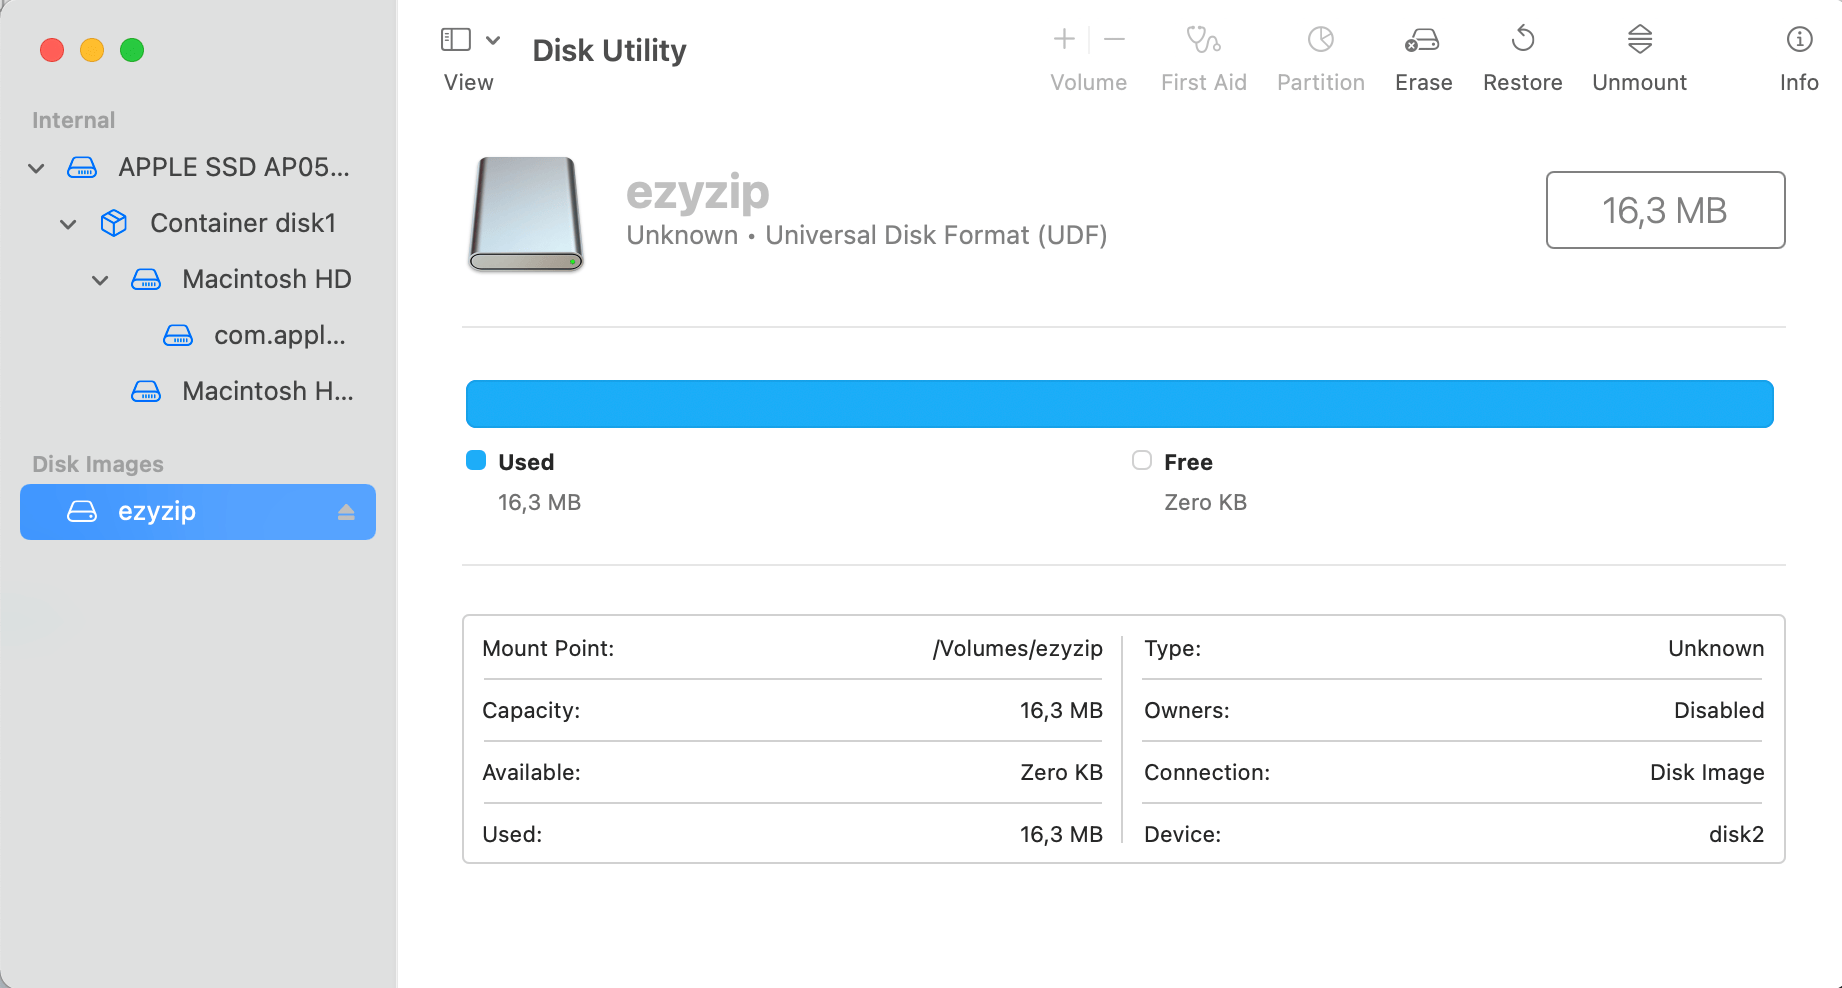
Mount the disk: After opening the file, it will appear in the left sidebar of Disk Utility. Select it and click the ‘Mount’ button. Hang on tight as we swing this ISO into action!
-
Access your file: Your ISO file is now as open and accessible as a ripe banana on the left sidebar of your Finder app.
How To Open ISO Files Using Terminal
You might think of Terminal as the mysterious chameleon of the Mac OS—flexible, a bit cryptic, and immensely powerful when used correctly.
-
Open Terminal: You can find Terminal in your Utilities folder, or by using Spotlight Search. It’s like talking directly to the jungle itself - just don’t expect any echo.

-
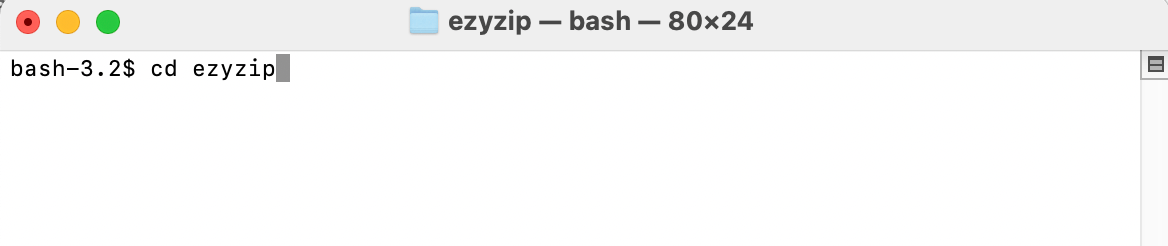
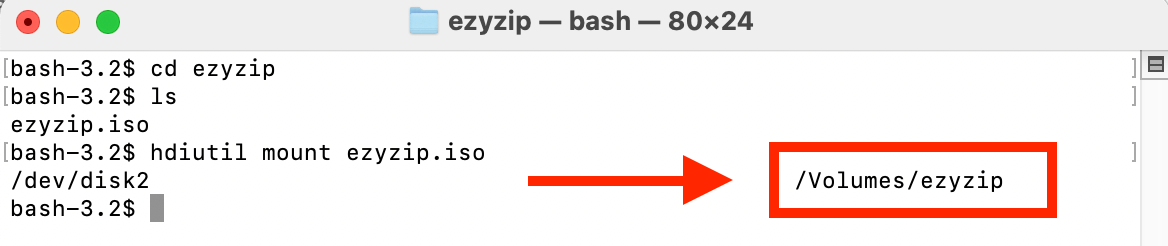
Navigate to ISO file: In the Terminal window, type “cd” followed by the path where your ISO file is located, and press ‘Enter’. If you’re a monkey in the trees, you’ve got to know which branch to swing from, right?
-
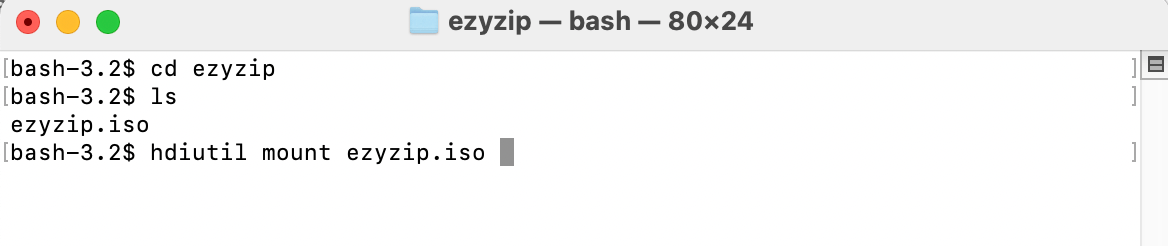
Mount ISO file: Now, type “hdiutil mount” followed by your ISO filename and its extension, then hit ‘Enter’. This is the monkey chant that will summon the ISO spirits!
-
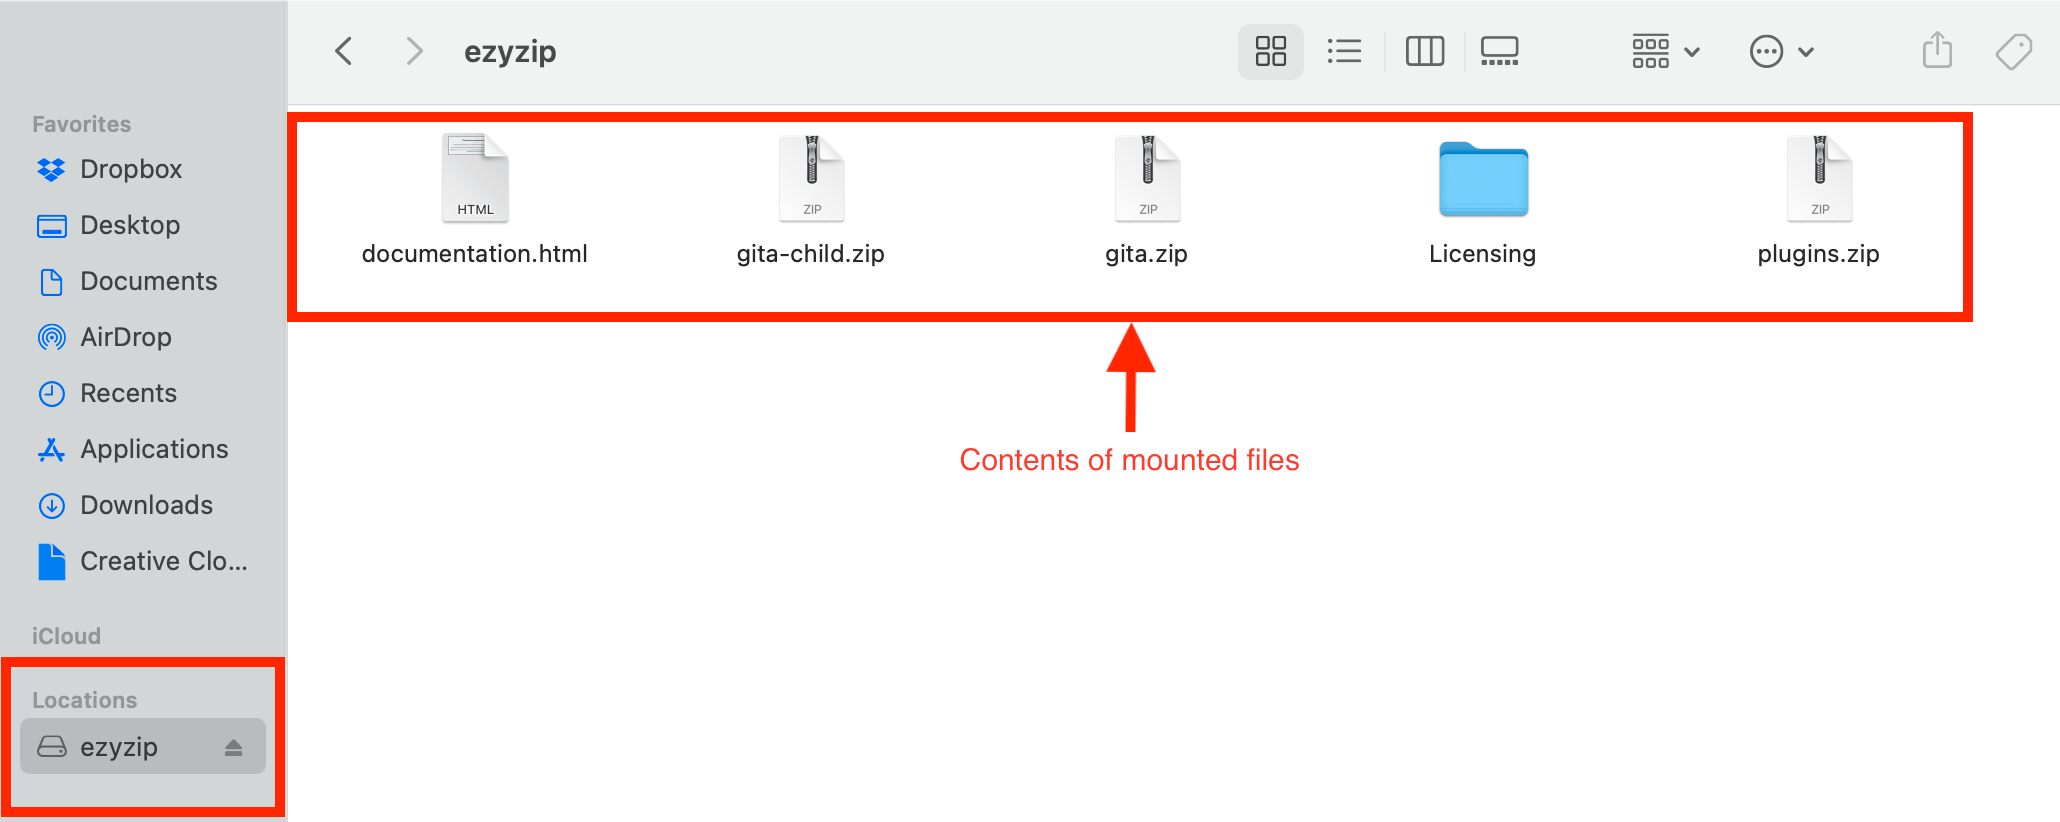
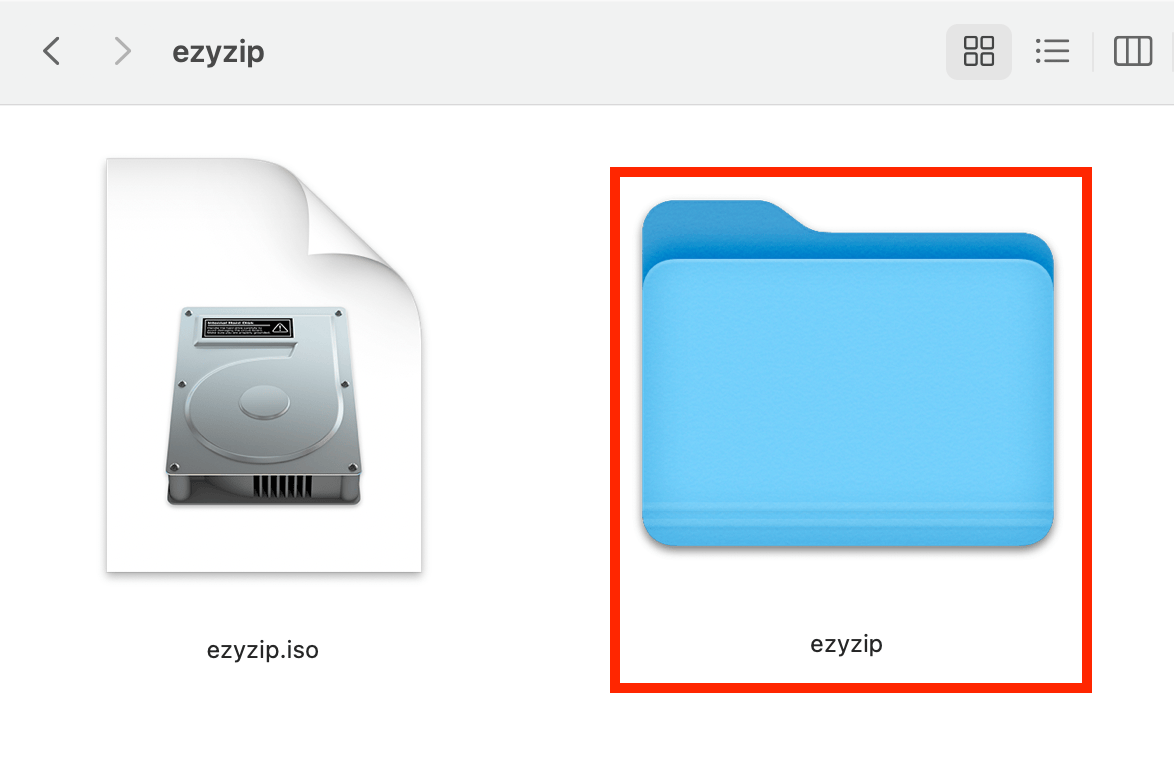
Explore your file: Once the file is mounted, it will appear on the folder specified underneath the command. In this case it is “/Volumes/ezyzip.
 Navigate to that folder using the following command
cd /Volumes/ezyzip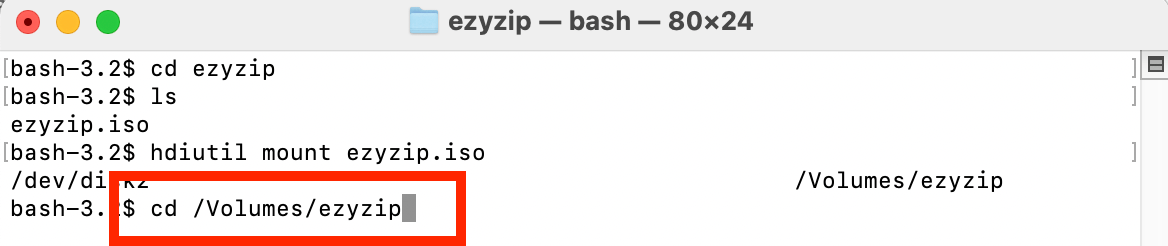
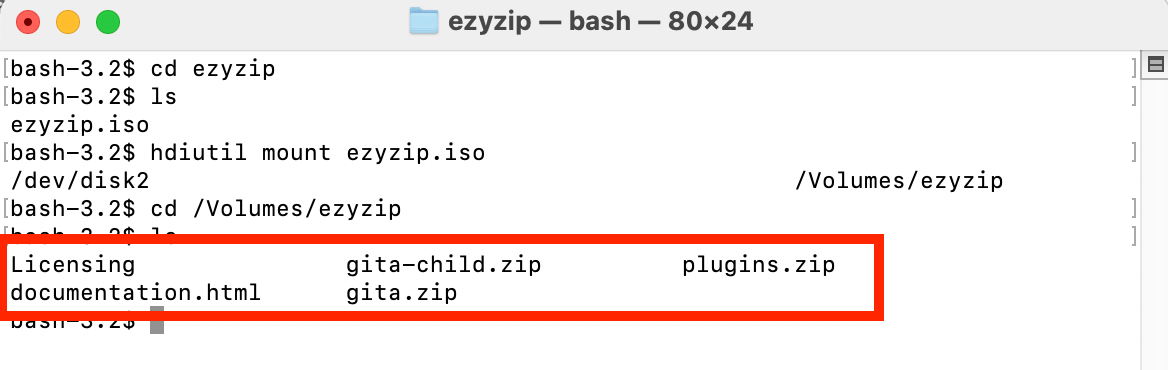
You can see the mounted contents of the file in this folder like so:
 Happy exploring!
How To Open ISO Files Using Keka
Keka is like the elephant of the software jungle—big, powerful, and it can really lift those heavy ISO files. It’s not a free tool, but it has a trial period that should be enough for occasional ISO expeditions.
-
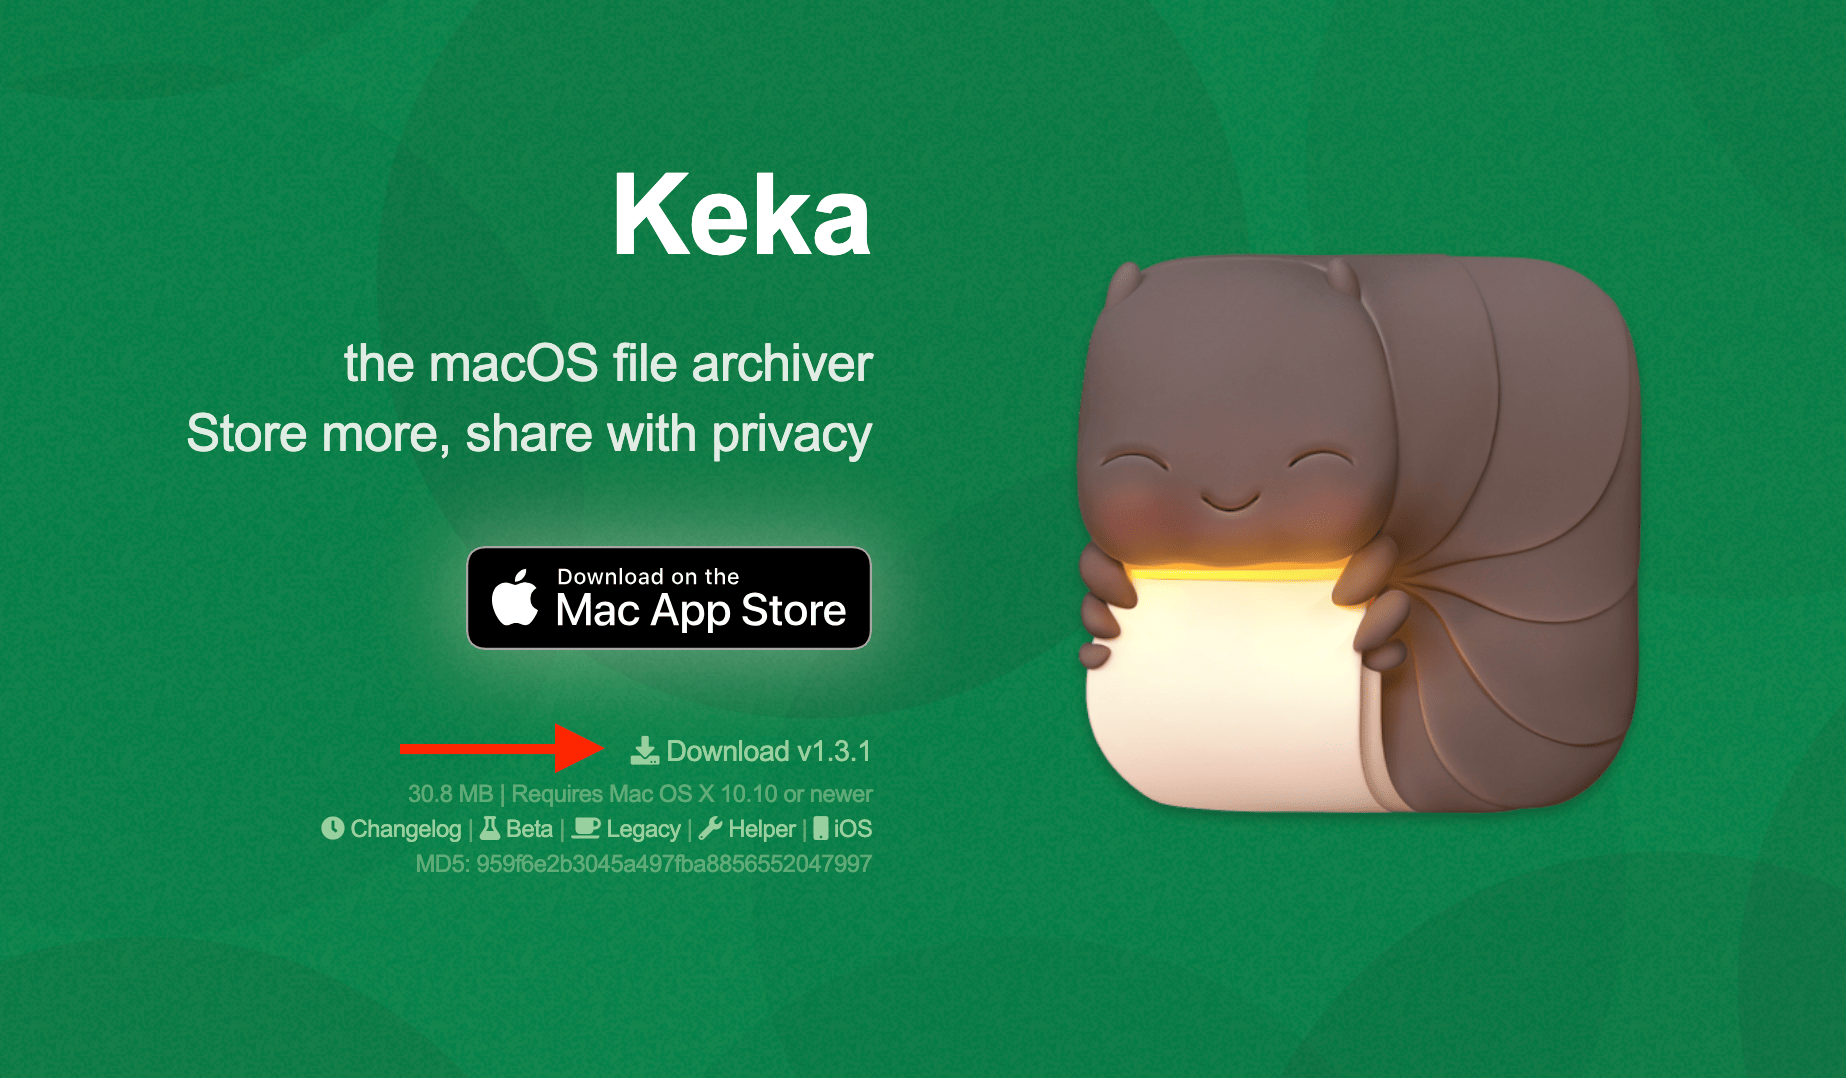
Download Keka: Swing over to the official Keka website and click on the download link.
-
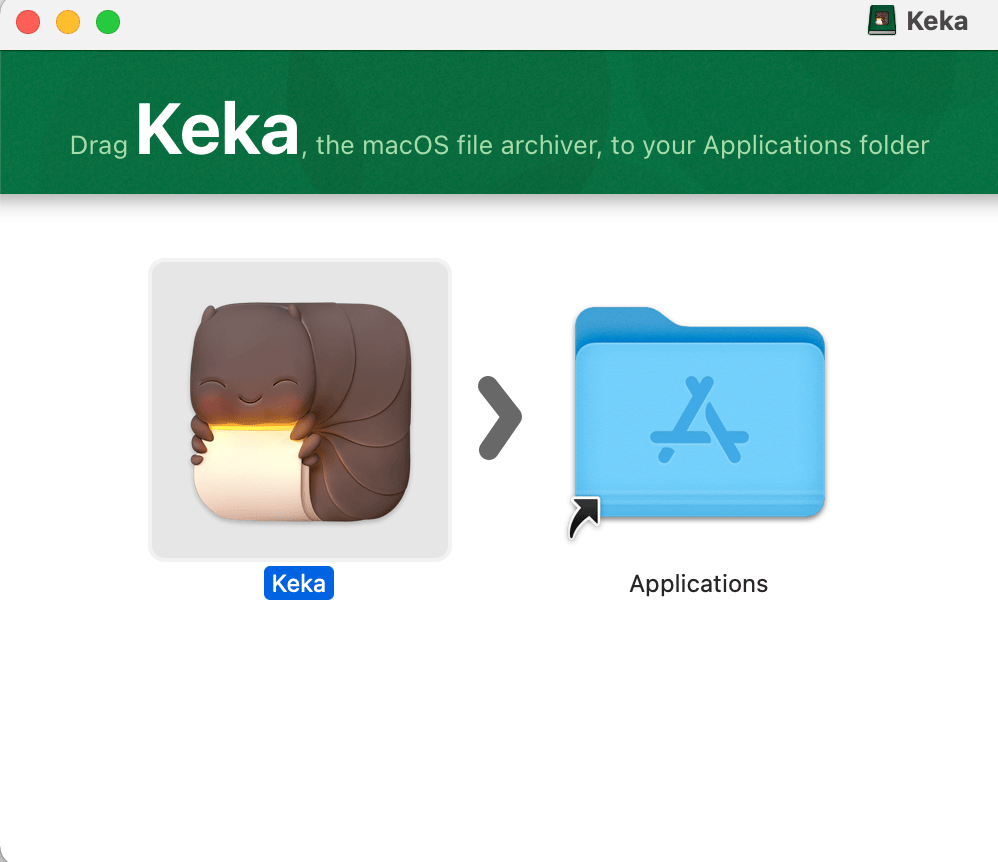
Install Keka: Once the download is complete, open the downloaded file and drag the Keka icon to your Applications folder.
-
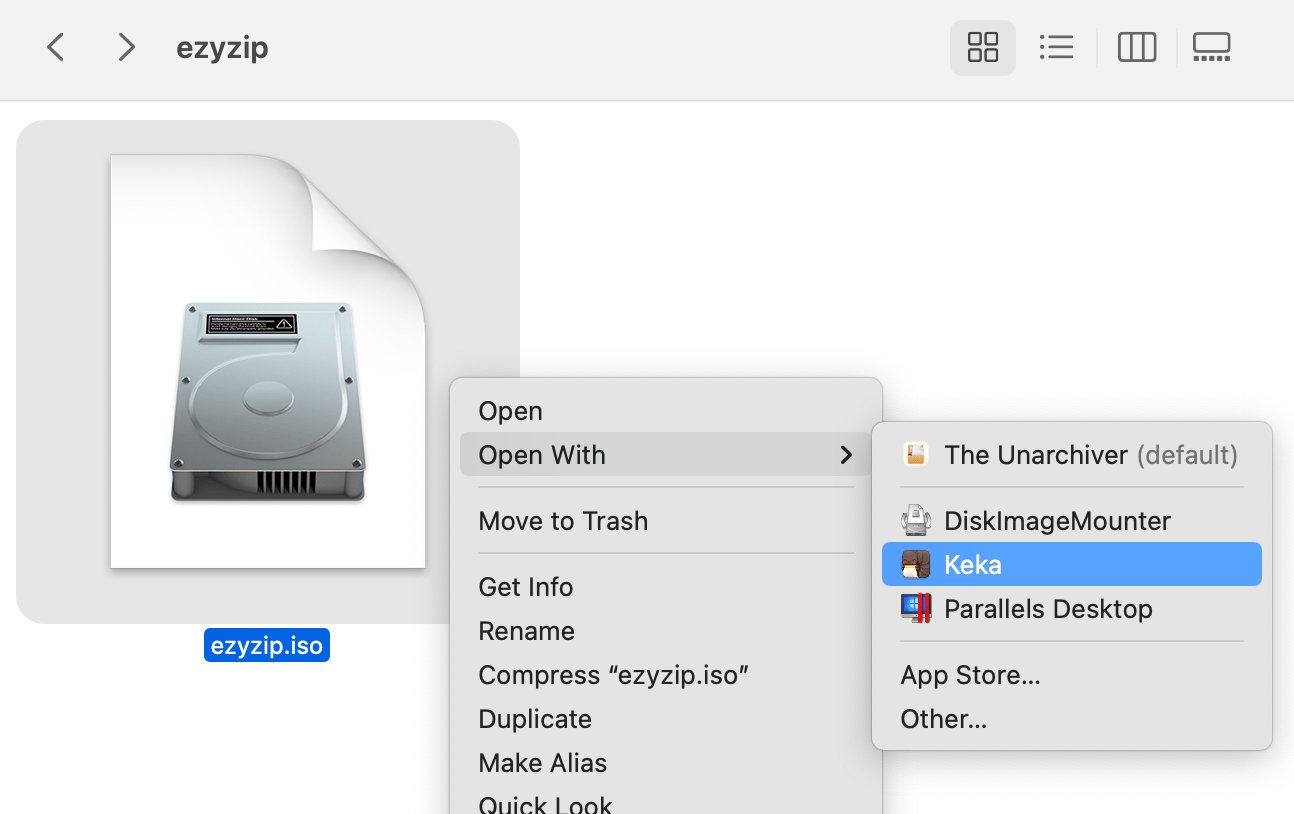
Right click on the ISO file: Navigate to the ISO file and right click on it. Choose “Open With”
-
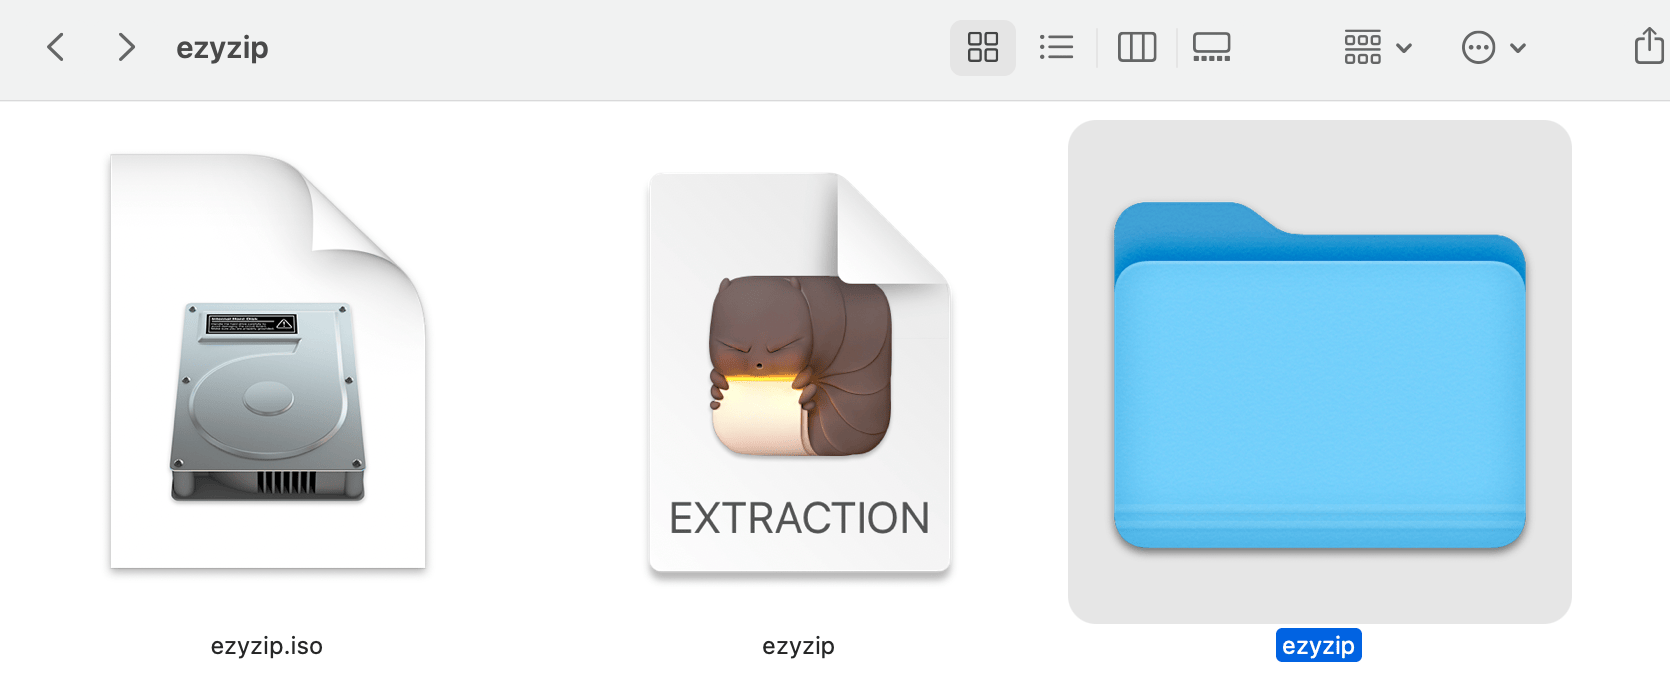
Access your file: Your mounted folder will now appear in the same folder of your ISO file. You can explore its content as easily as a monkey swings through trees.
Just as different monkeys prefer different trees, you might find one method that suits you best. With Disk Utility, Terminal, and Keka, you now have a whole jungle gym of options to open ISO files on your Mac!
How To Open ISO Files Using Unarchiver
The Unarchiver is a reliable leopard of the software jungle, sleek, fast, and ready to pounce on any archive file type you throw its way.
-
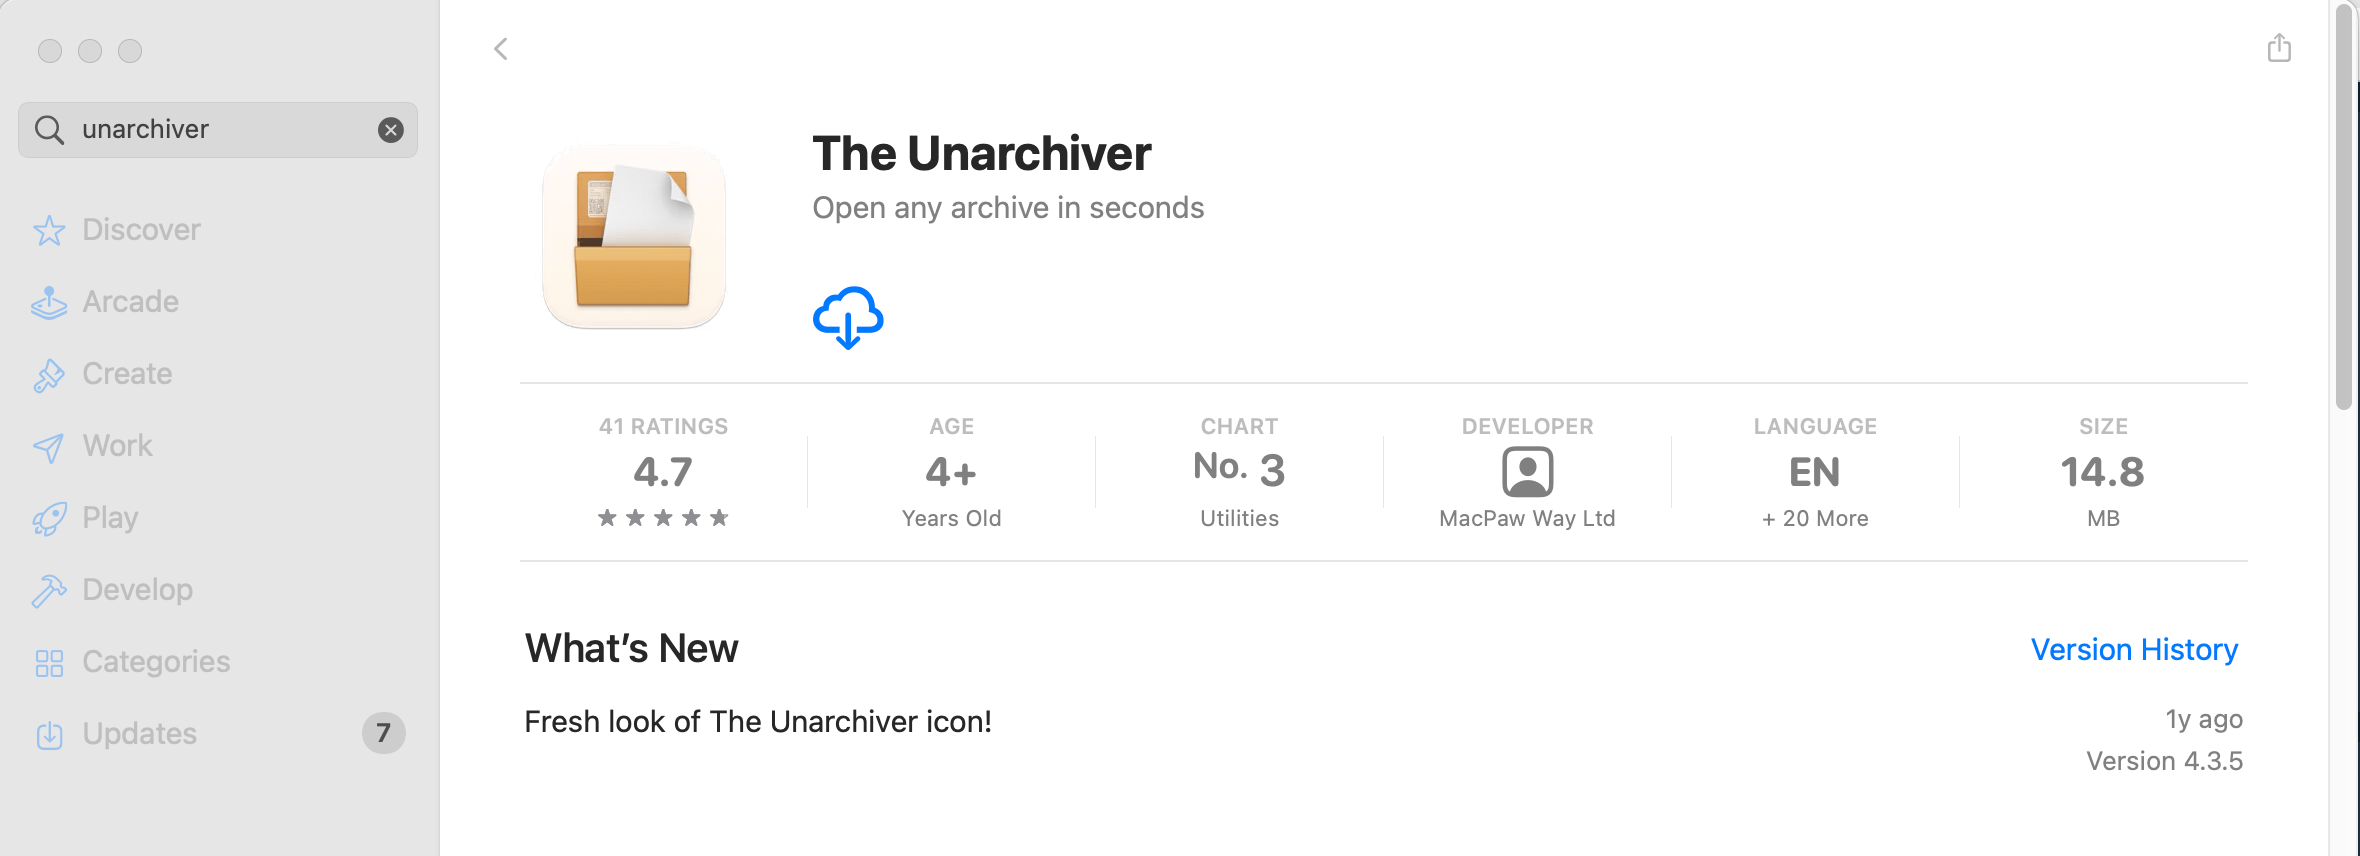
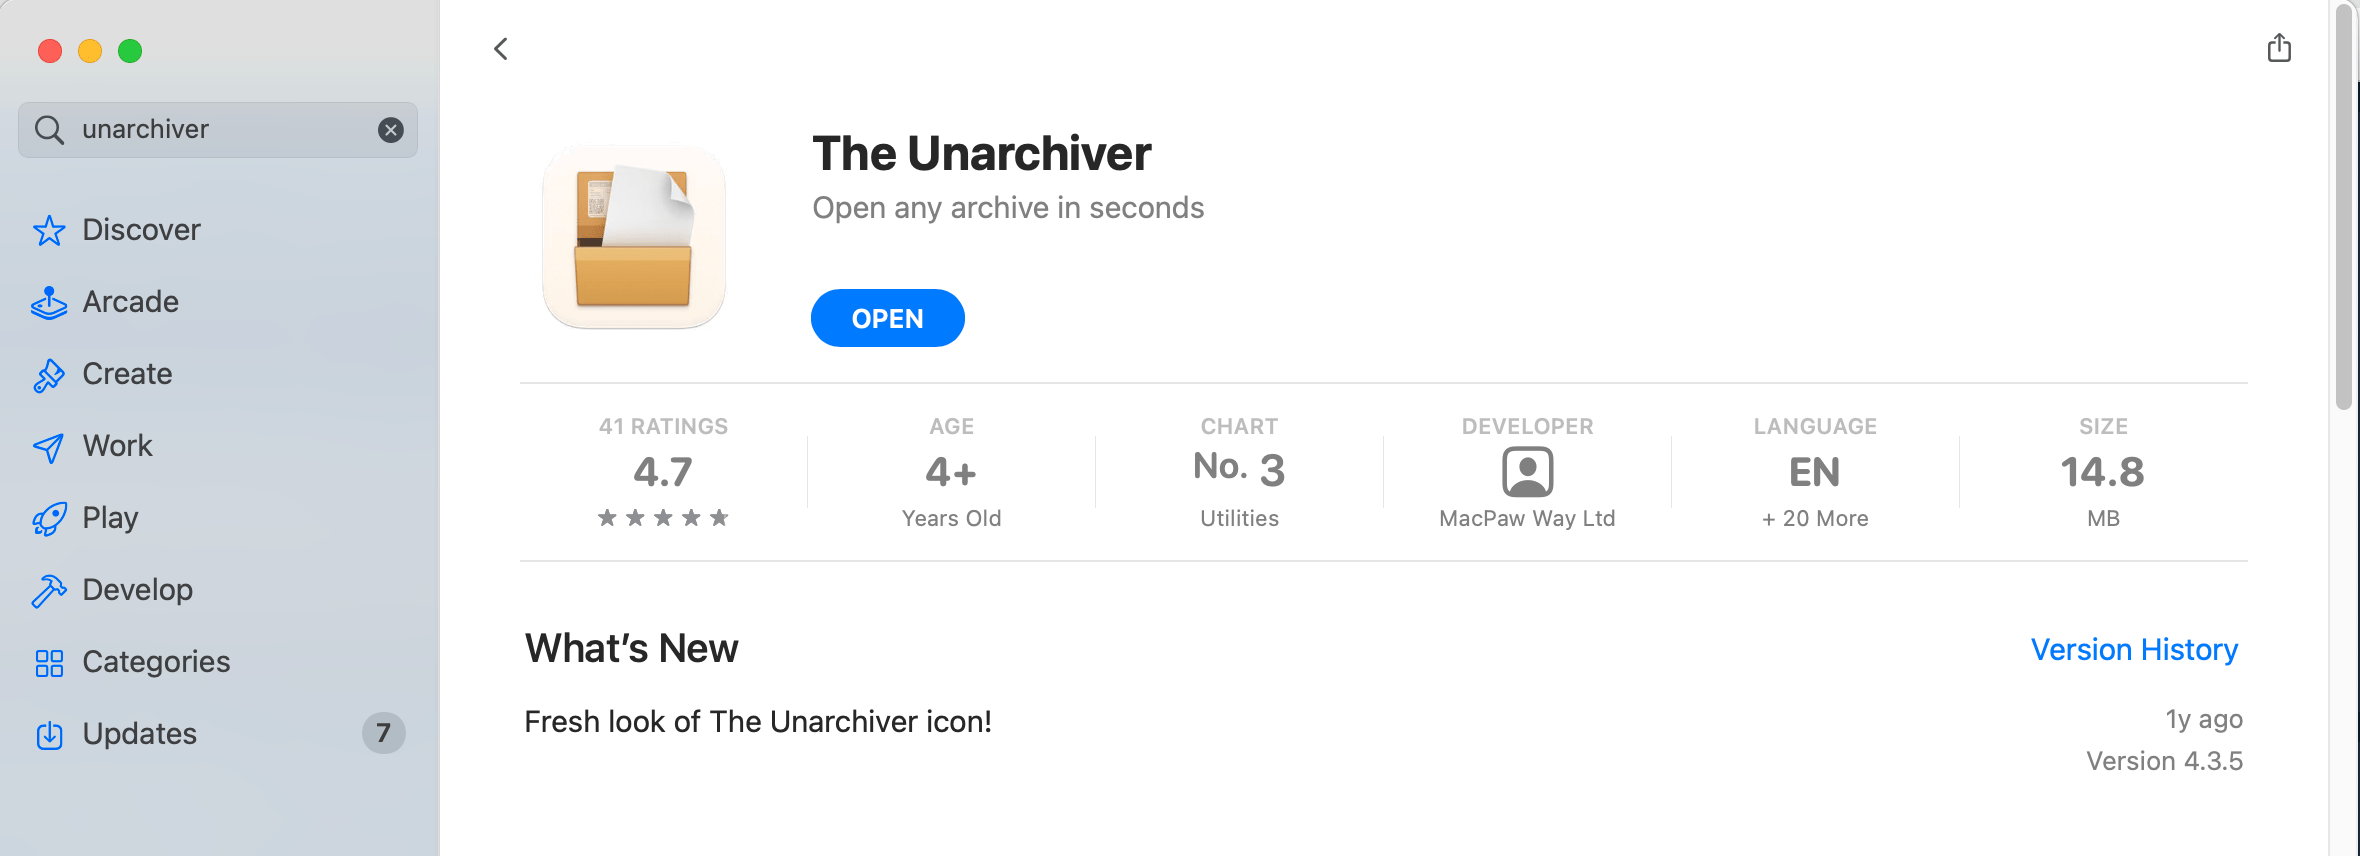
Download Unarchiver: The first step is like foraging for the perfect banana. Visit the Mac App Store and download The Unarchiver. It’s free and safe, much like a monkey’s favorite tree.
-
Open Unarchiver: Once the download is complete, click “Open”. It’s as easy as swinging from one vine to the next.
-
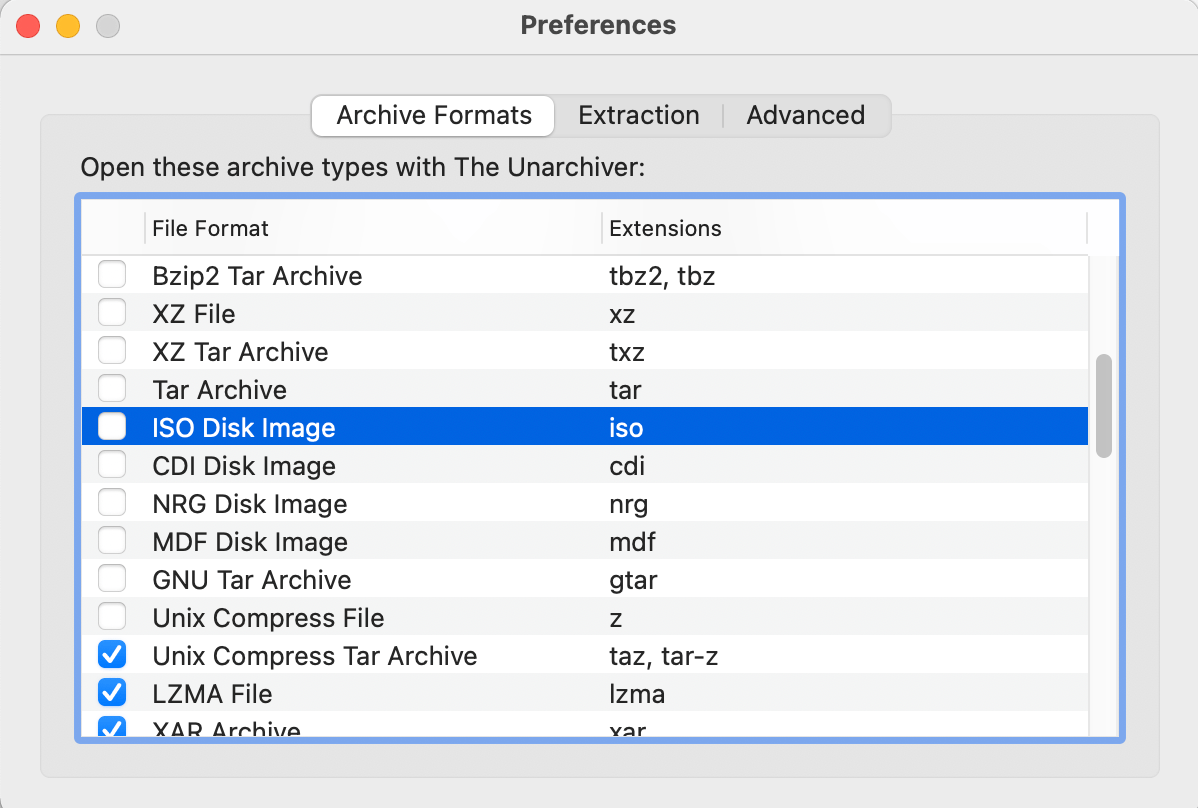
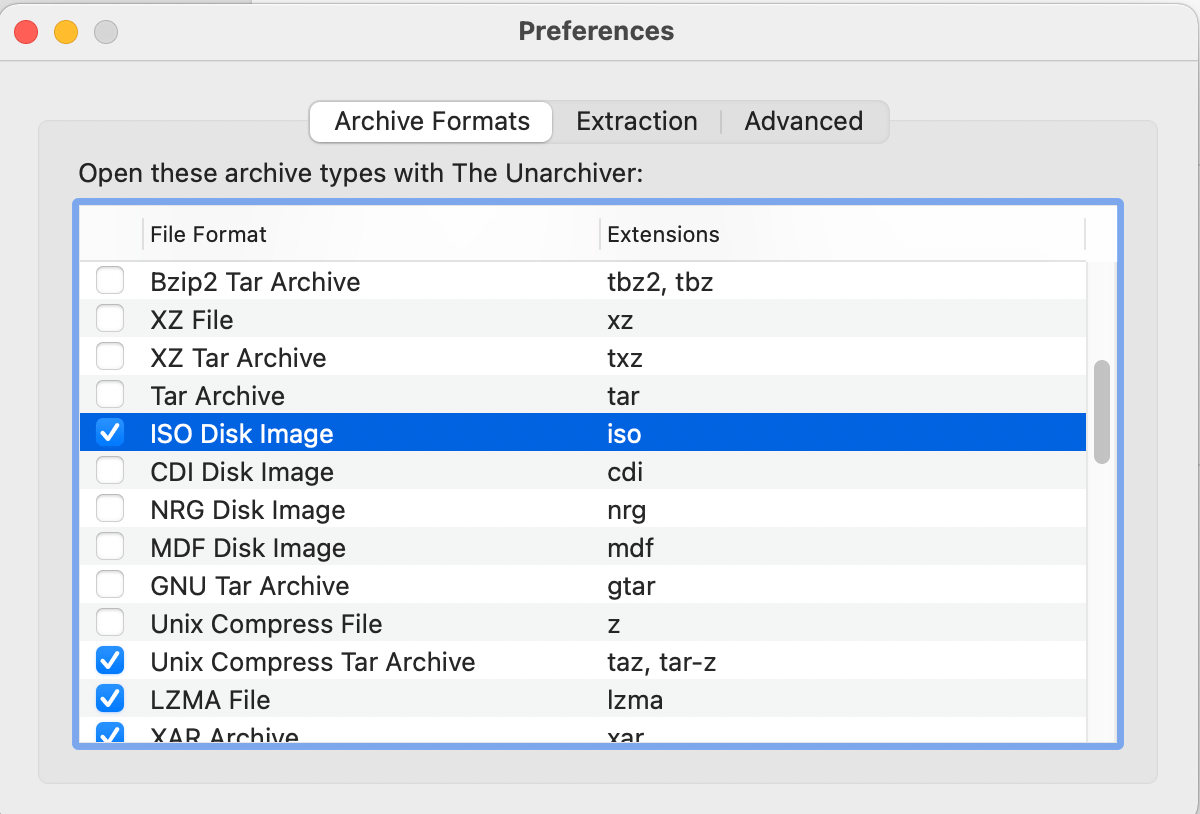
Set ISO file preferences: A window will pop up, make sure that ‘ISO’ is checked under the file formats that Unarchiver can handle. It’s like telling the leopard what it should hunt for.
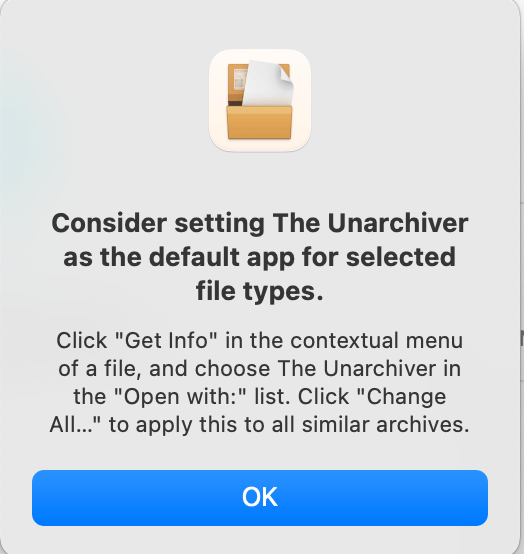
You might prompted with the following window. Click “OK”
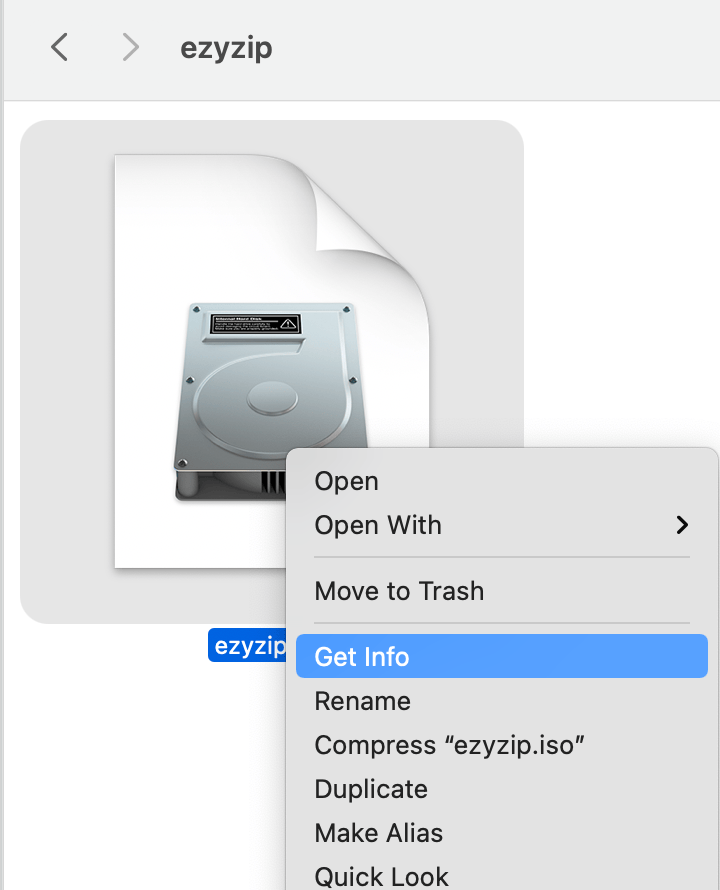
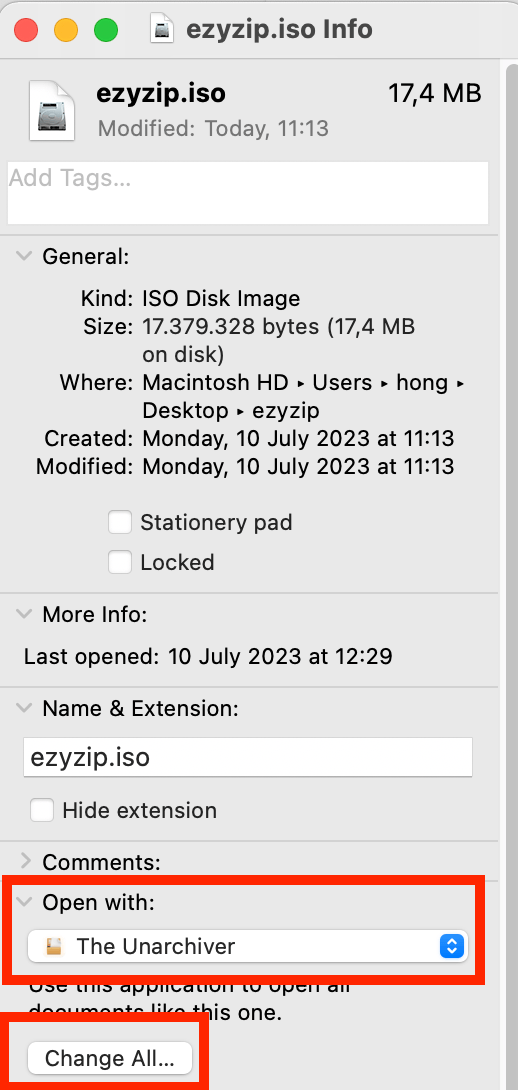
If this happens, navigate to your ISO file, right click on “Get info”
Under “Open With”, choose “The Unarchiver” and click “Change All”
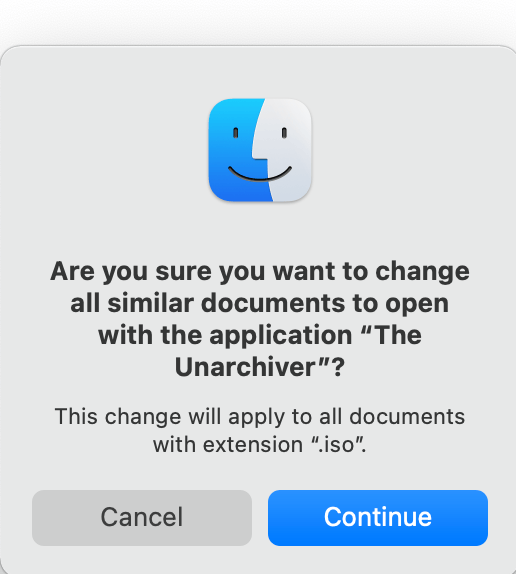
Then click “Continue”
-
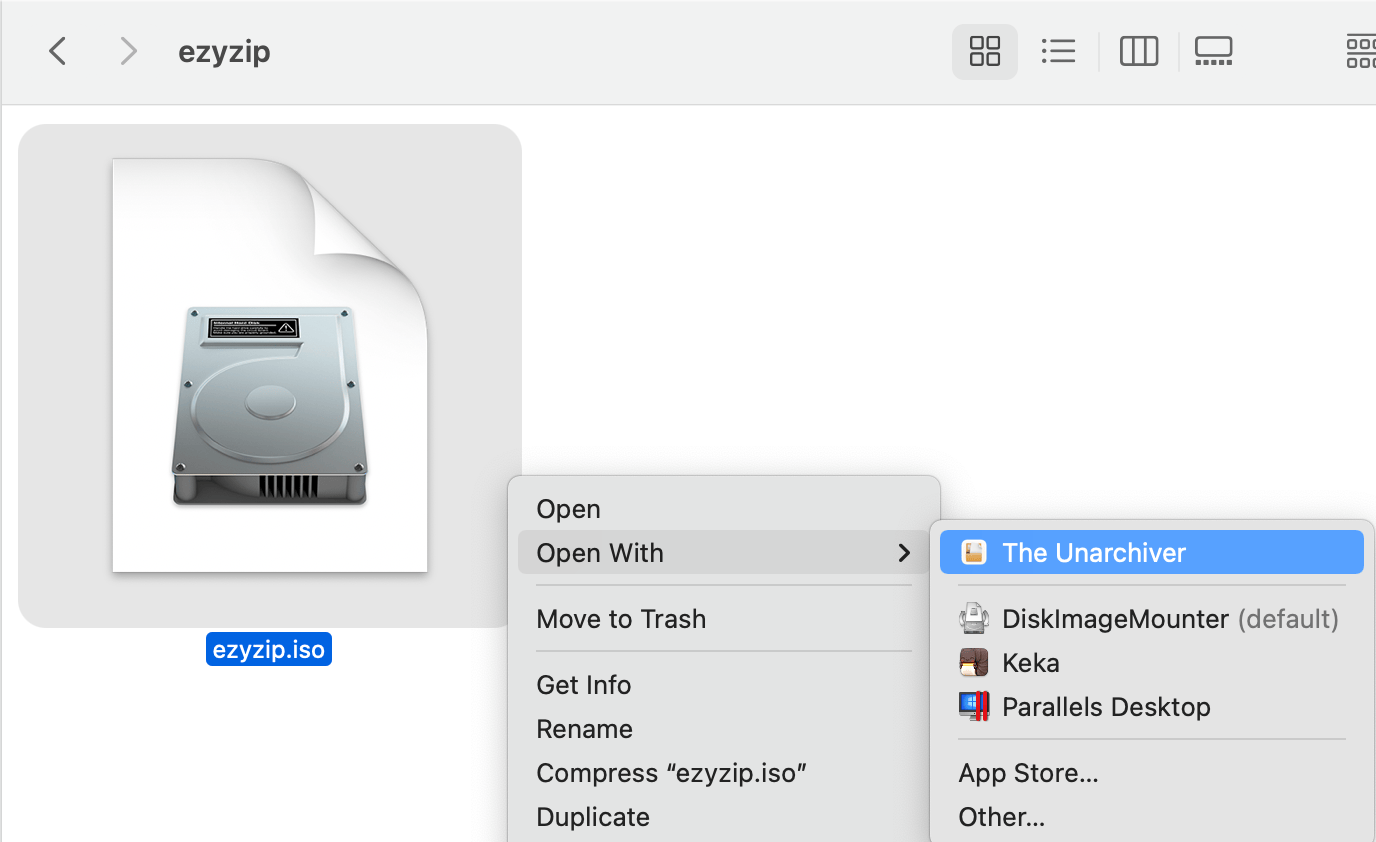
Mount the ISO file: Now, double click on the ISO file. The leopard pounces, and the ISO file is open. Another way is to Right click on the file and choose “The Unarchiver” from the apps under “Open With”.
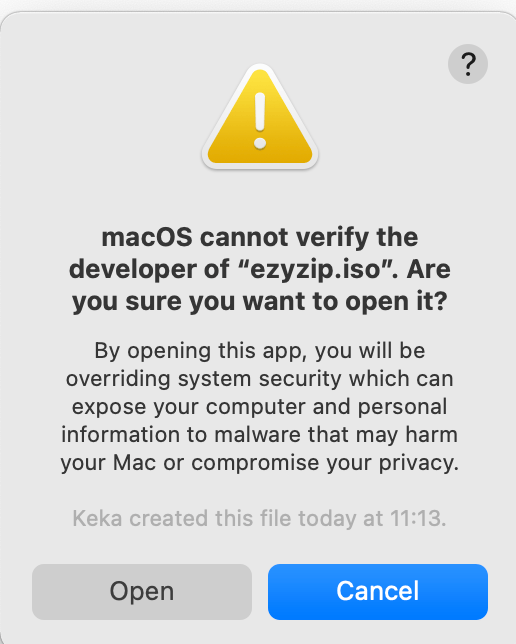
 Click “Open” if this appears
 You can see now “ISO Disk Image” has been selected
-
Access your file: Your file will automatically unmounted into the same folder where your ISO file resides. Dive into it like a monkey into a banana cream pie!
Remember, every jungle is less intimidating once you know the terrain. With these three methods up your monkey sleeves, you’ll be a master at handling ISO files on your Mac in no time. Keep swinging!