Are your PDF files as big and heavy as a full-grown gorilla? Do you wish they were as small and light as a baby monkey instead? Whether you’re going bananas over storage space or just want to speed up your e-mail delivery, shrinking the size of your PDF documents can be a game-changer. But don’t worry, just as easily as a monkey swings from tree to tree, I’ll guide you through this digital jungle and help you squash those pesky PDFs.
Table of contents
- Method 1: Use Online Service
- Method 2: Use PDFelement for Windows or Mac
- Method 3: Use Desktop App
- Method 4: Shrink PDF to ZIP
- Method 5: Reduce PDF File Size Using PDF Compressor
- Method 6: Shrink Size Using PDF Editor Pro On Your Mac
- Method 7: Use ColorSync Utility on Mac
- Method 8: Use Adobe Acrobat’s PDF Compressor
Video guide showing how to shrink PDF files using an online service. No extra software required!
How To Shrink PDF File Size Online
If you’re looking for a quick, no-download solution, swing over to PDFCandy, your online vine for shrinking PDF documents.
- Visit PDFCandy: Make your way to PDFCandy’s website.
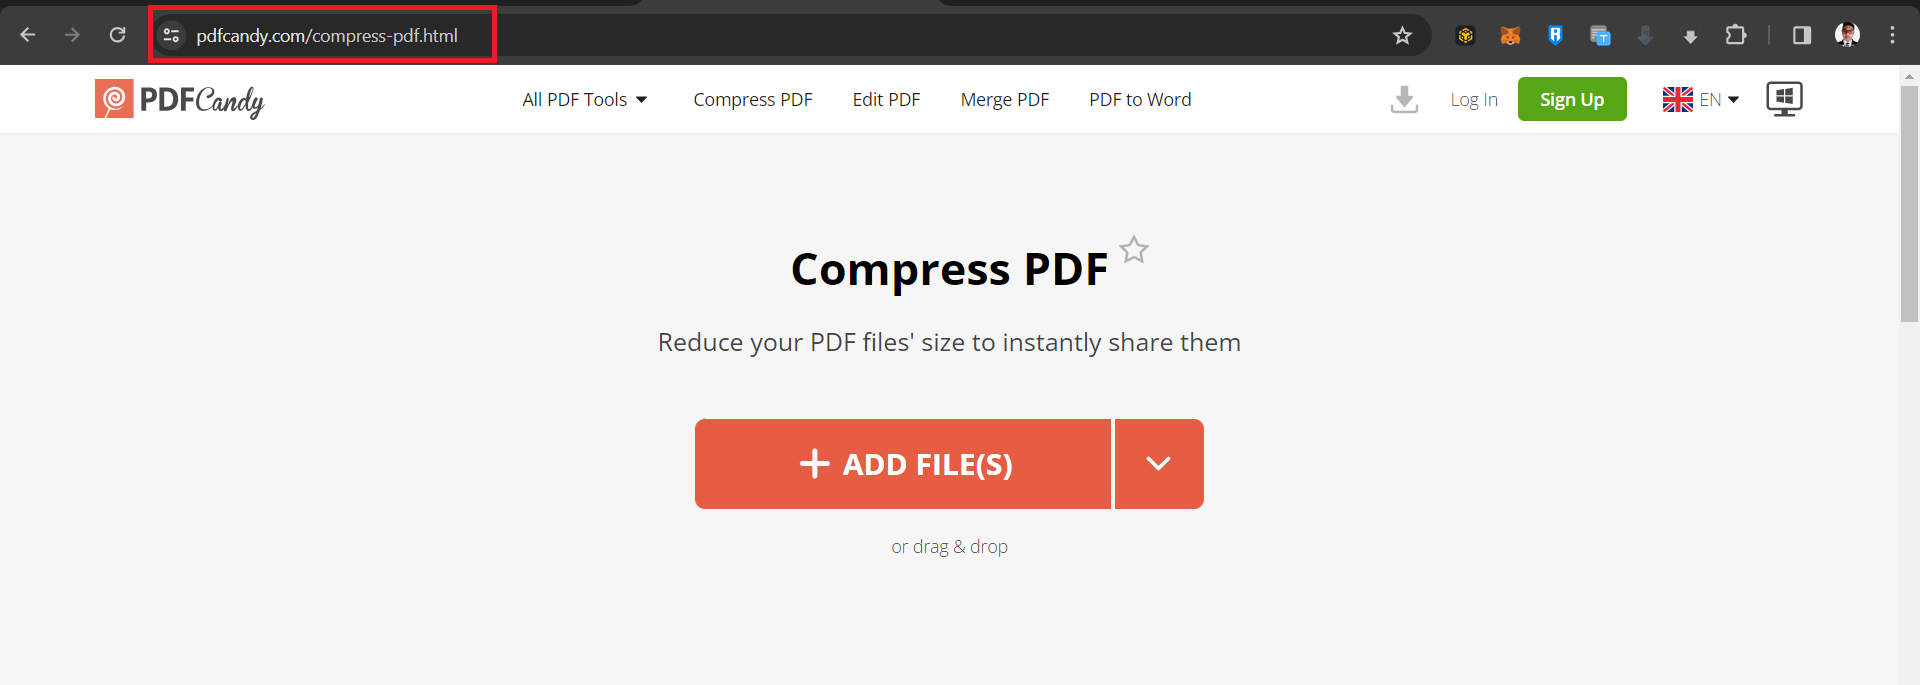
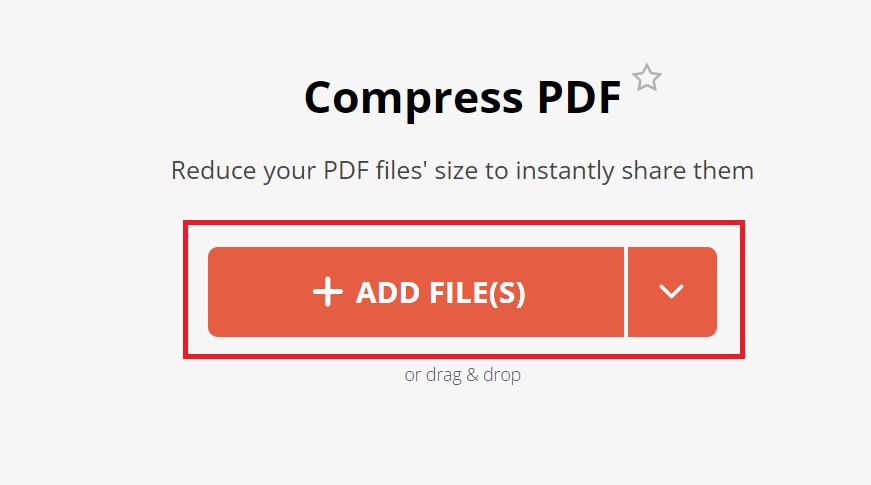
- Upload Your PDF: Click ‘Add file’ to upload the heavy PDF. It’s as easy as swinging from vine to vine.
- Automatic Compression: Sit back and relax as PDFCandy automatically compresses your file. Quick and effortless, like a monkey swinging through the trees!
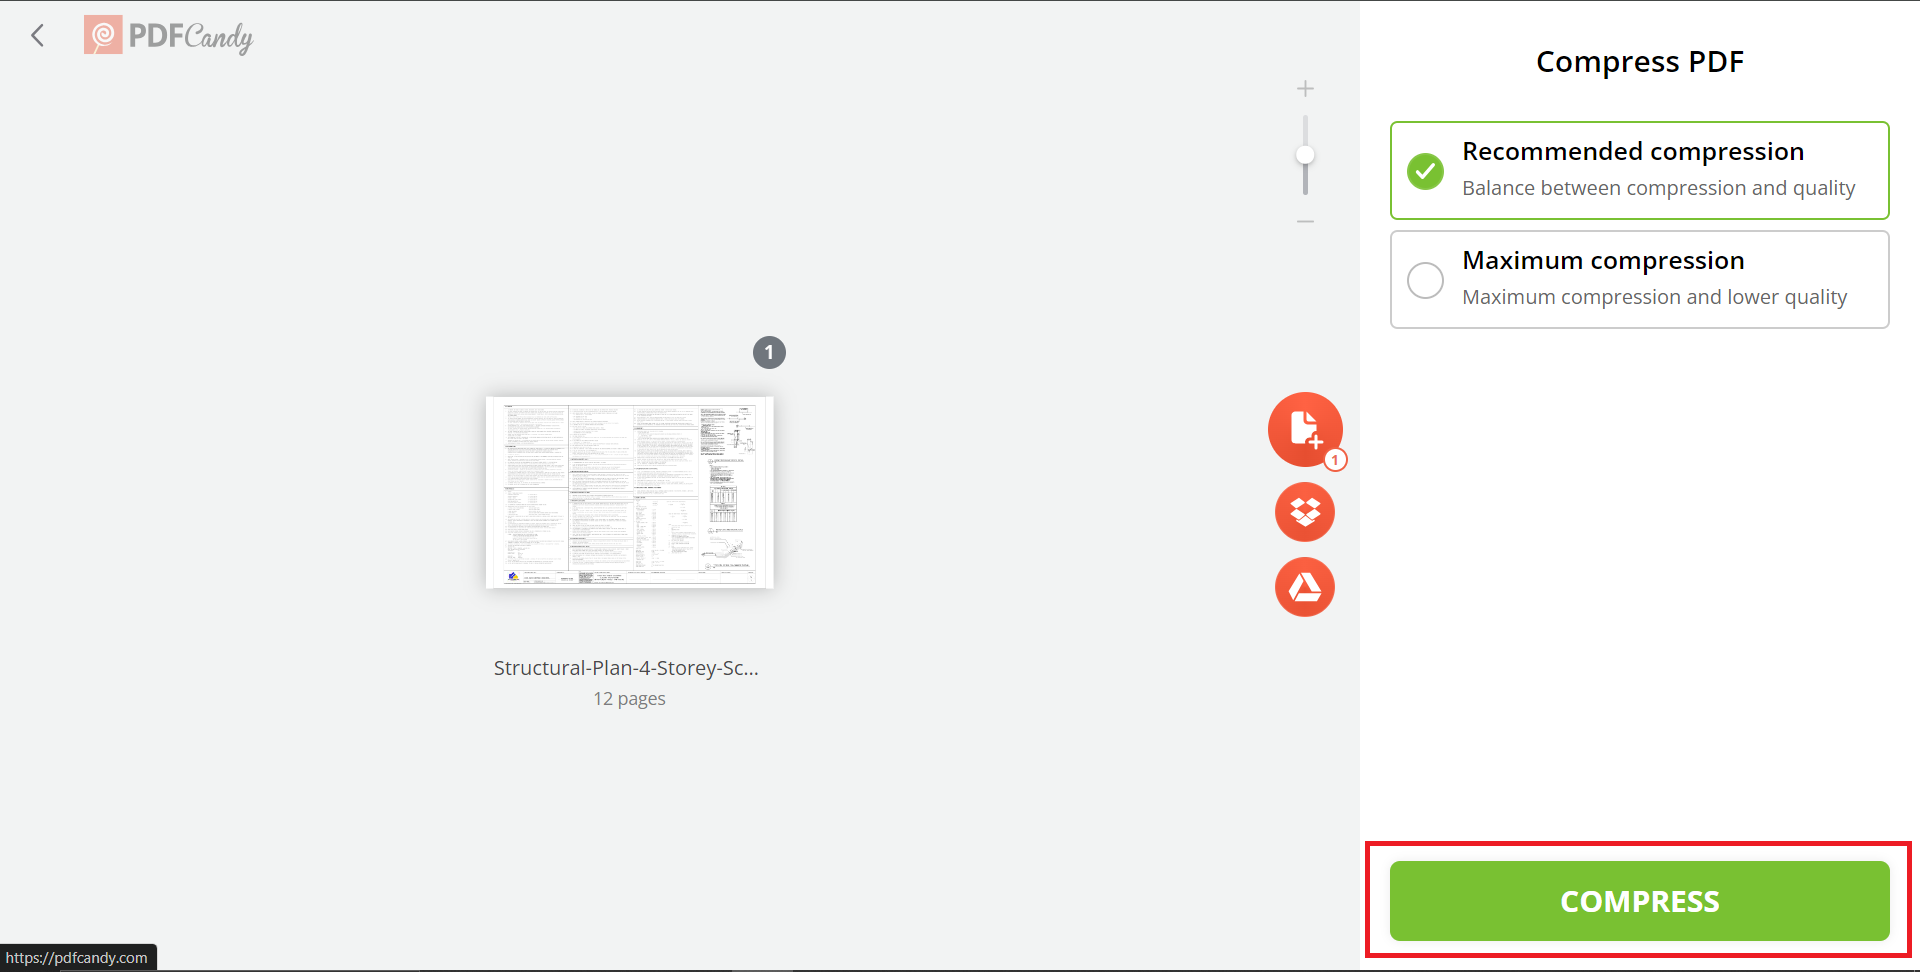
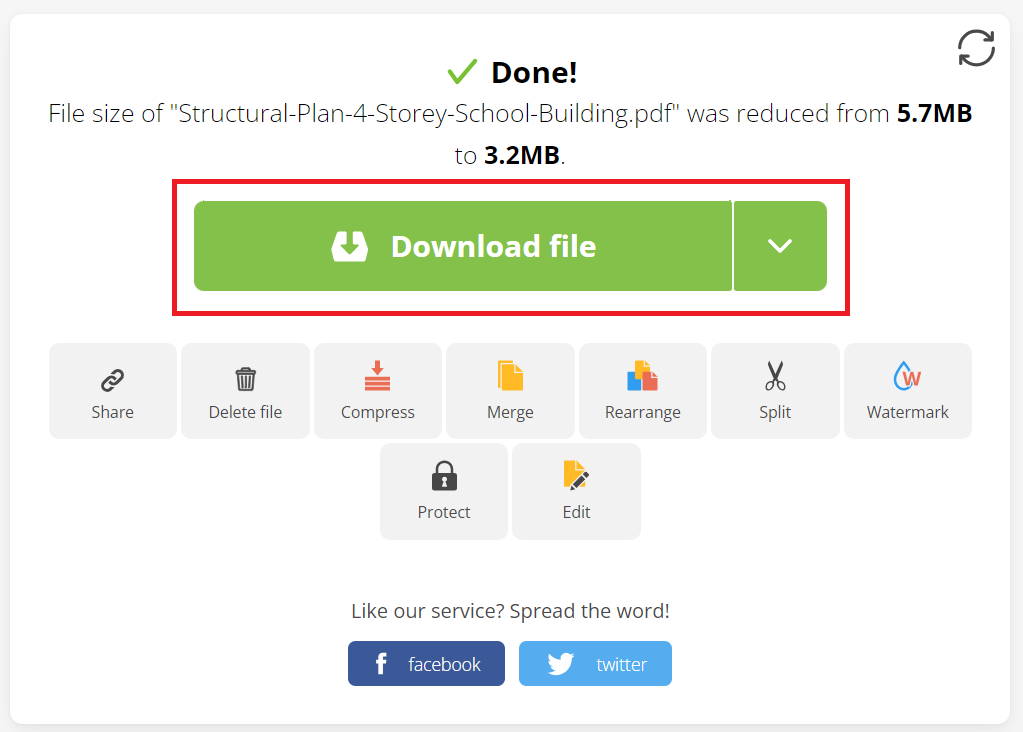
- Download the Compressed PDF: Once done, download your new, lightweight PDF. Ready for any digital adventure you embark on!
How To Shrink PDFs On Windows or Mac Using PDFelement
If you prefer using a dedicated app on your own computer then PDFelement is your trusty jungle tool, perfect for squeezing those bulky PDFs into something more manageable.
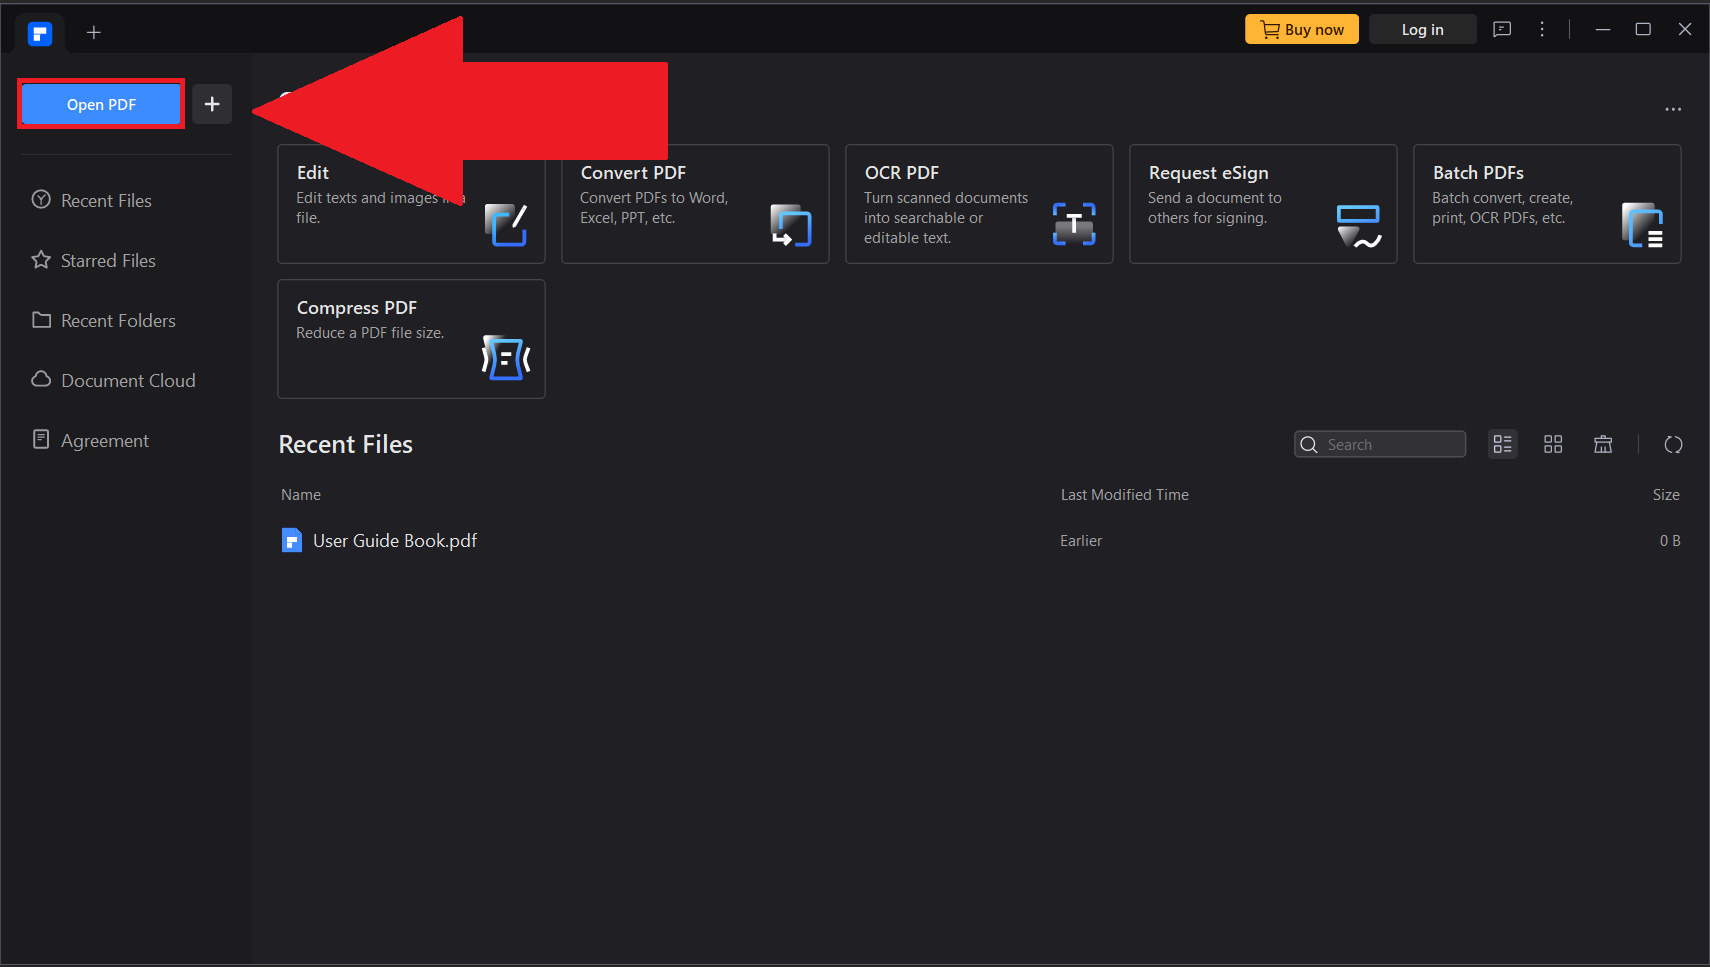
- Open PDFelement: Start your adventure by launching PDFelement. It’s the first step into the jungle of PDF compression.
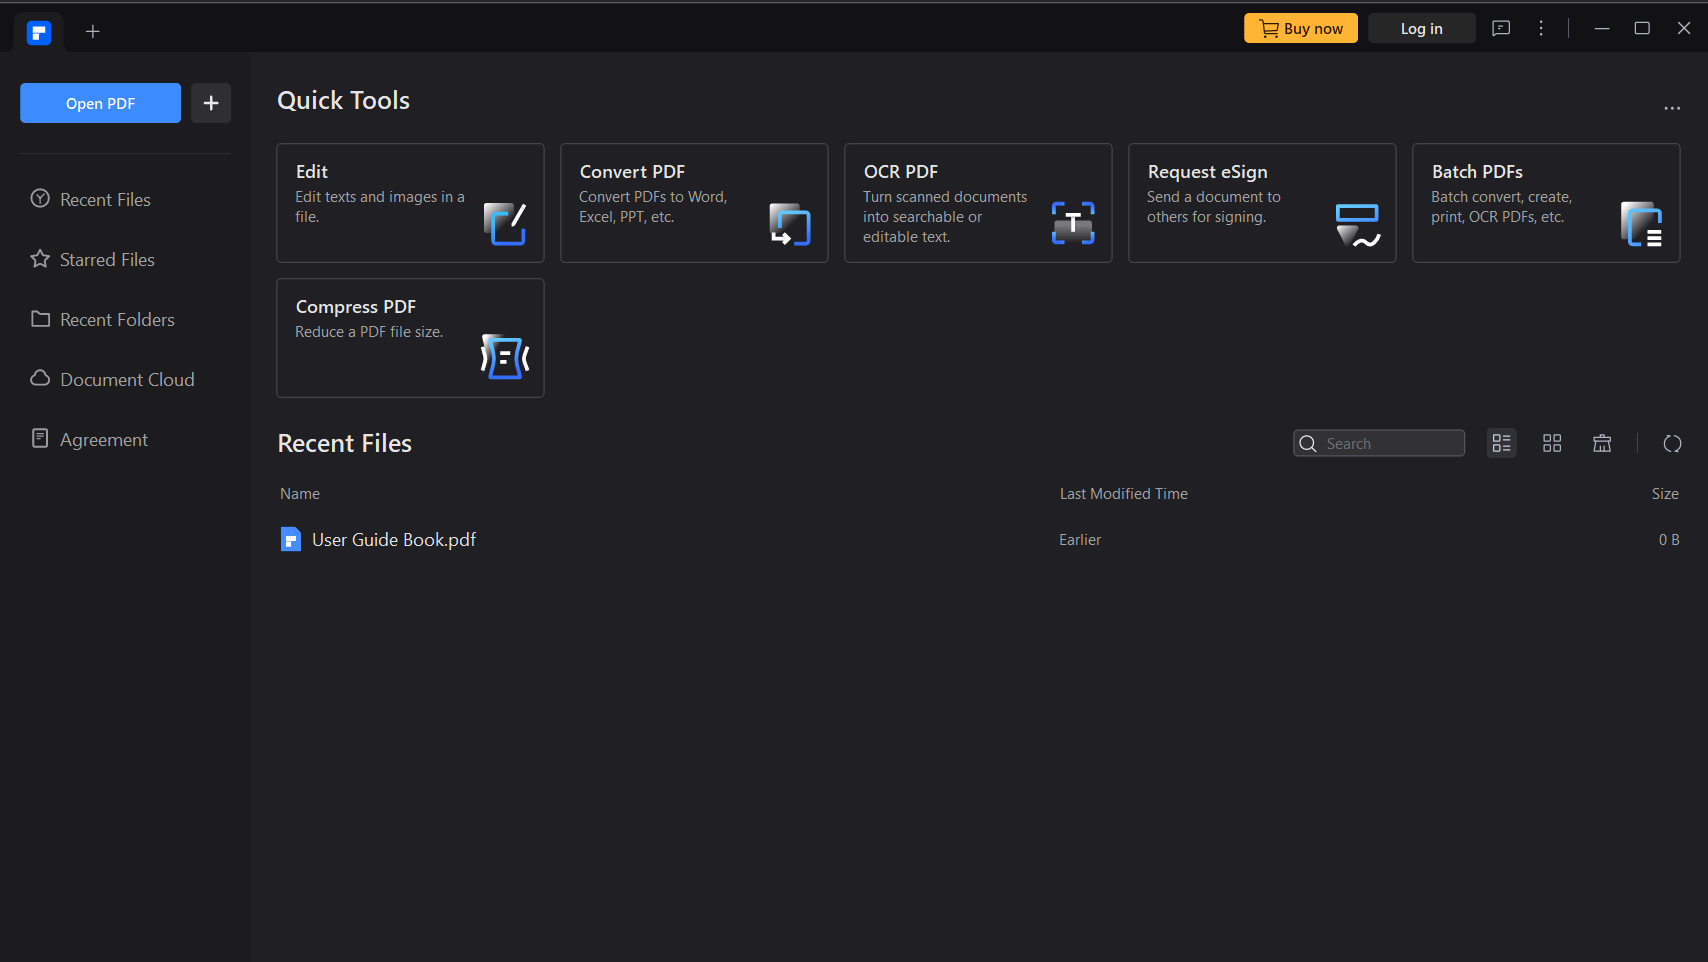
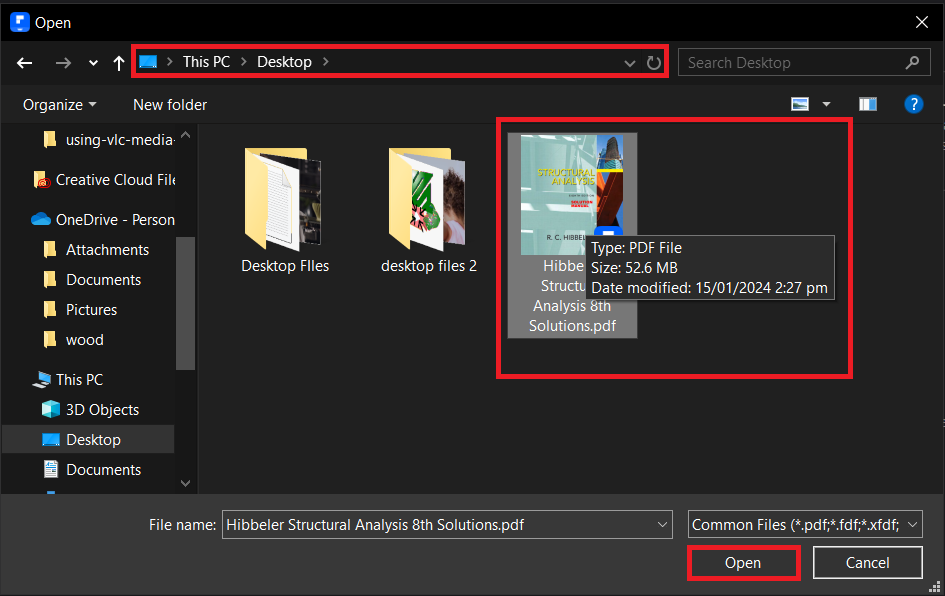
- Open Your PDF: Click on “Open PDF” and browse through your jungle of documents to find the PDF you wish to compress.
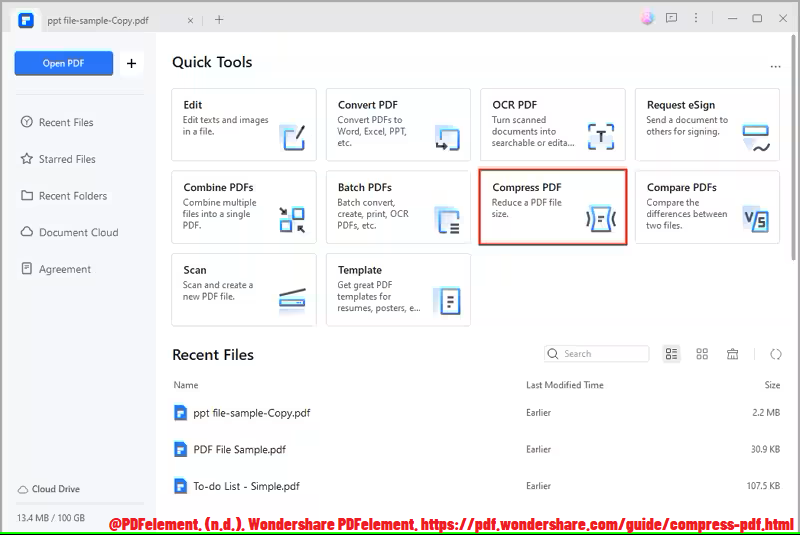
- Choose “Tool” and Then “Compress PDF”: Navigate to the “Tool” menu and select the “Compress PDF” option. It’s like finding a hidden path in the dense jungle.
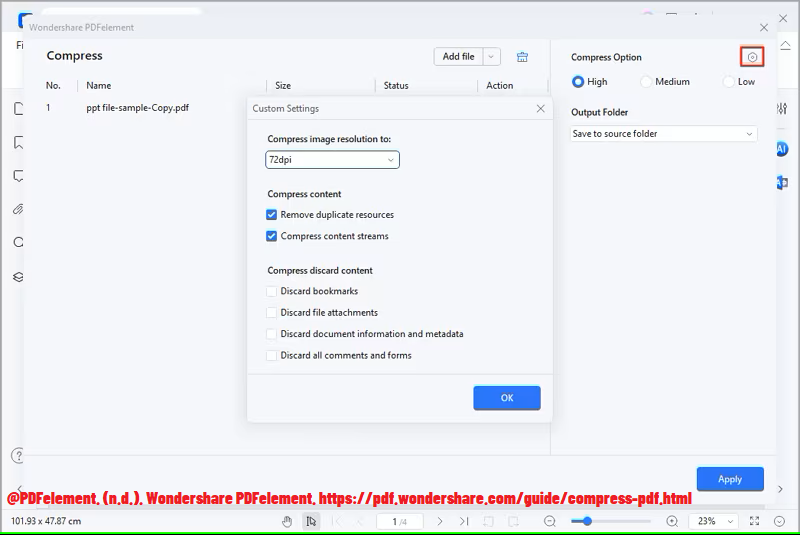
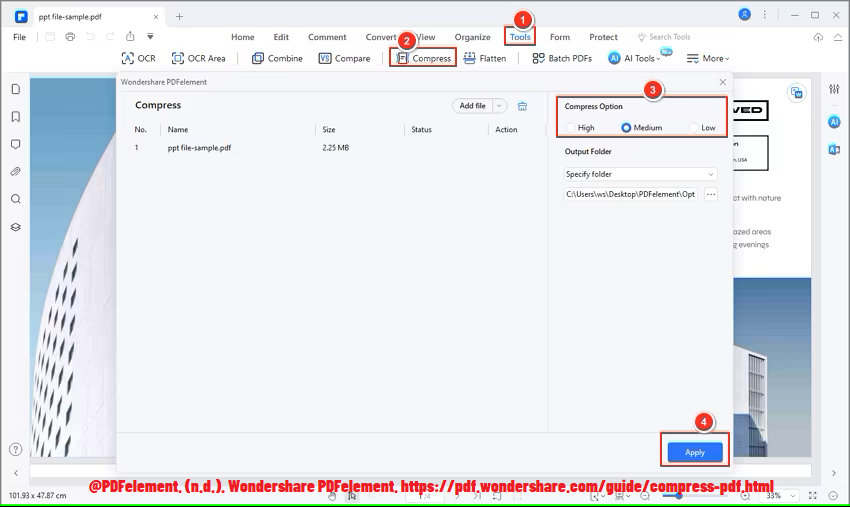
- Adjust Compression Level: A new window will pop up, offering you different compression levels. Choose one that suits your needs – be it low, medium, or high compression. It’s like deciding how many bananas you can carry in one go.
- Apply Compression: Once you’ve selected your desired compression level, click the “Apply” button. Watch as PDFelement works its magic, shrinking your PDF file size like a monkey scrunching up a leaf.
- Save the Compressed File: After the compression process is complete, save the newly compressed PDF. It’s now ready to be shared or stored, light as a feather and free from the bulky chains!
How To Shrink PDF File Size Using Desktop App (Mac/Windows)
Joining the troop of tools is PDFCandy’s Desktop application, another great ally in reducing the size of your PDF files.
-
Download PDF Desktop Compressor: Venture to the PDF Desktop Compressor and download the software and install.
-
Launch Desktop PDF Compressor: Open PDF Compressor, your new companion in this digital jungle.

-
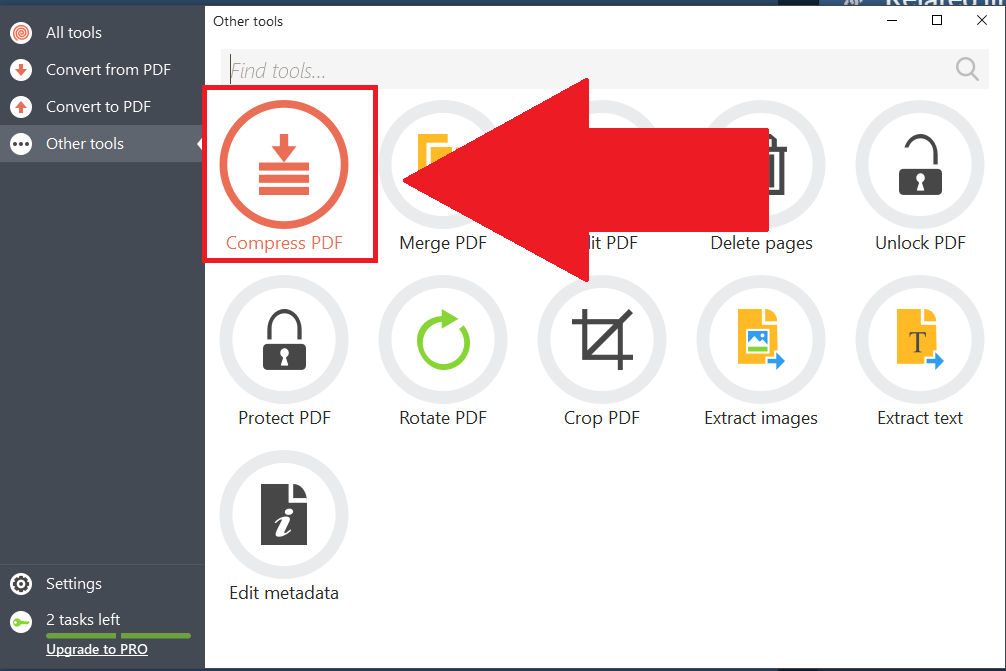
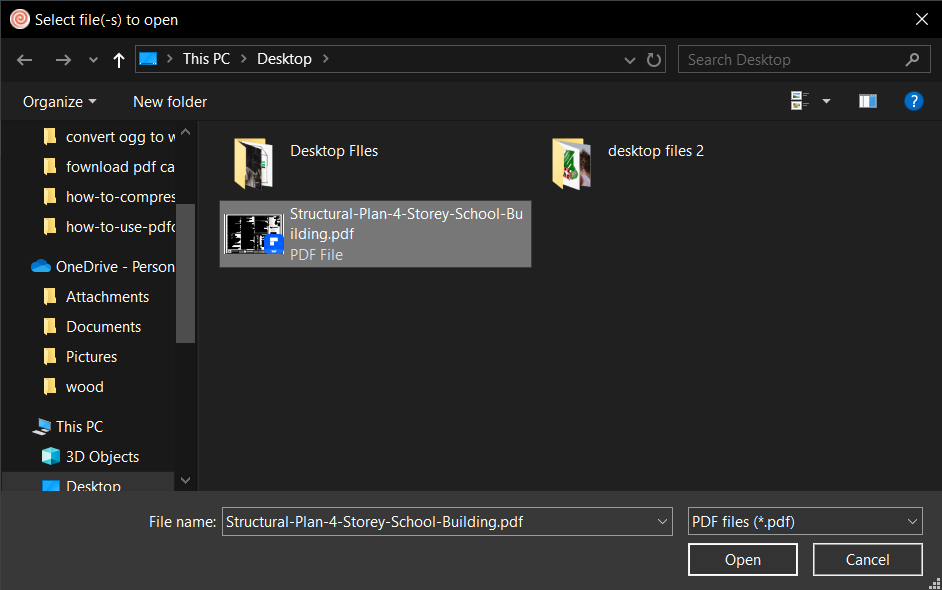
Select PDF Compressor Tool: Find ‘Compress PDF’ tool and then select the PDF you’re looking to compress. Gather your PDFs like a monkey gathers bananas.
-
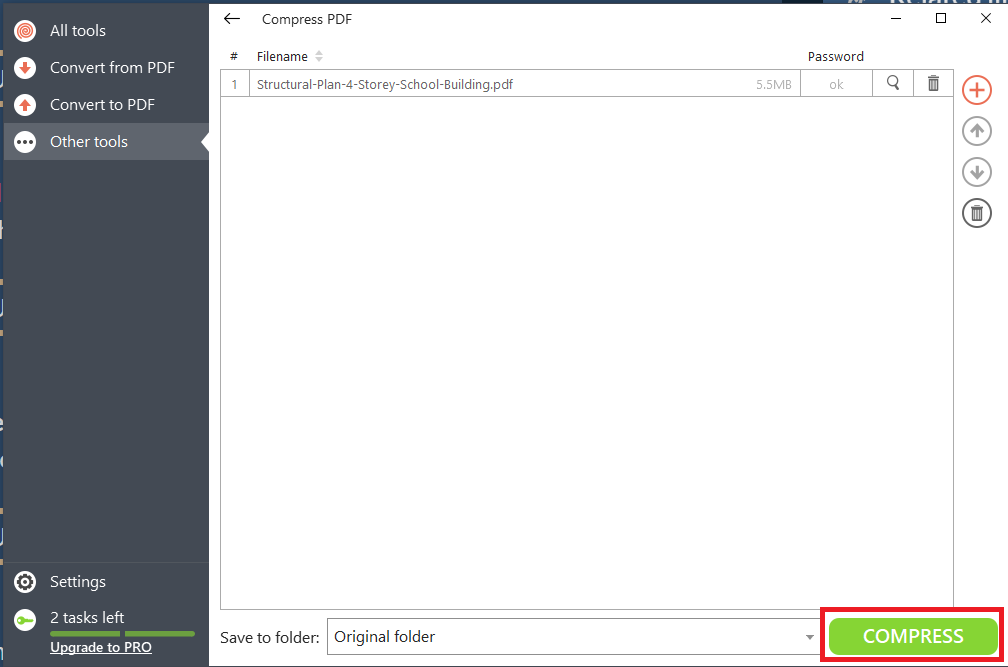
Compress the PDF: Hit ‘Compress’ and watch as your PDF shrinks down to size, agile and ready for action.
-
Save Your New PDF: After compression, save your new, slimmed-down PDF. It’s now perfectly prepped for easy sharing or storing.
How To Reduce PDF File Size Using PDF Compressor
Just like a monkey swinging from branch to branch, the world of the internet offers an abundance of online tools ready to reduce your PDF file size in no time. In this guide I will show you how to shrink PDFs files using Using PDF Compressor tool.
-
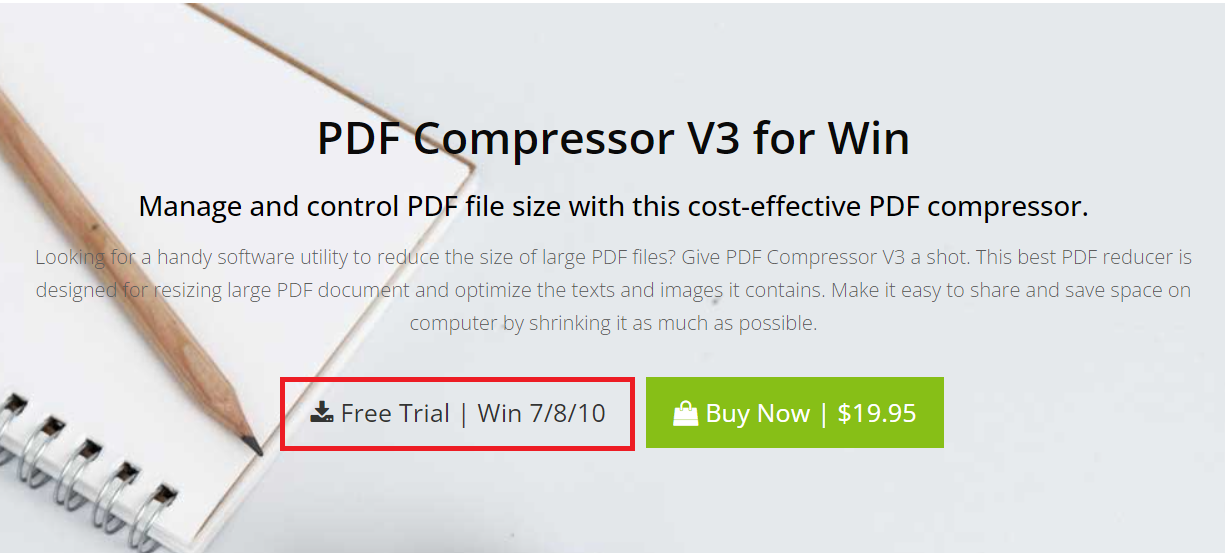
Navigate to PDF Compressor Tool: Navigate to the PDF Compressor page.
-
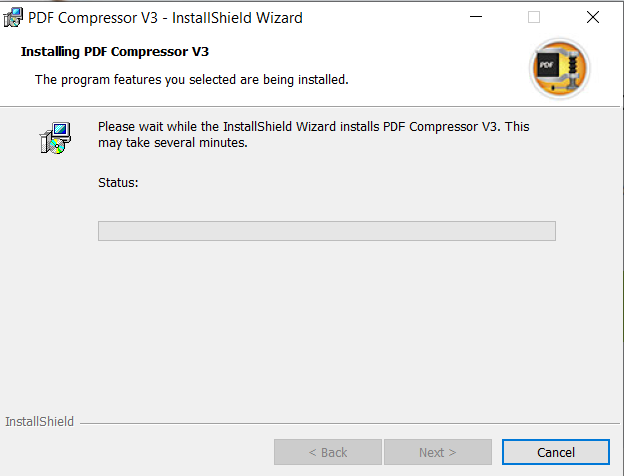
Download and Install: Once there, download the installer then install the software.
-
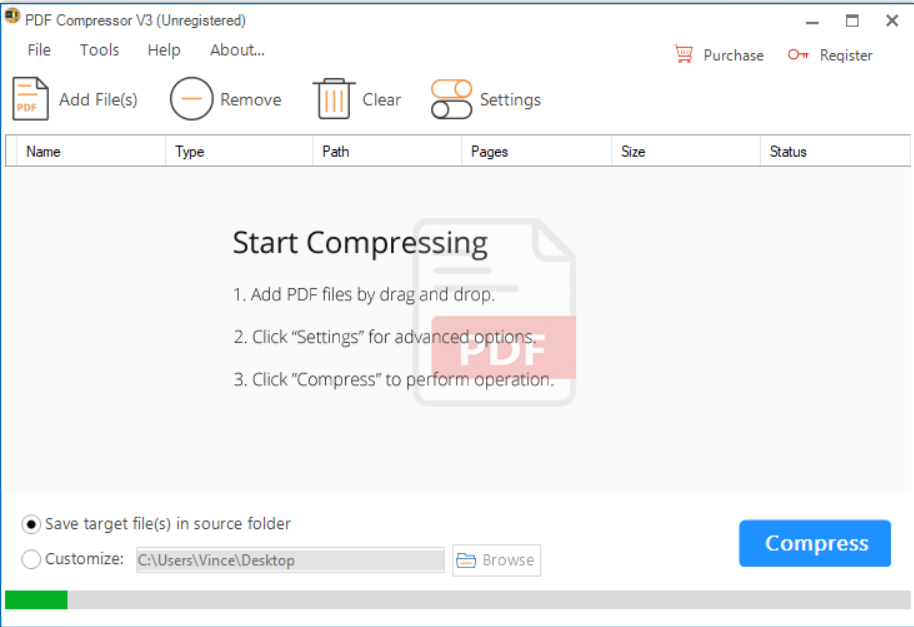
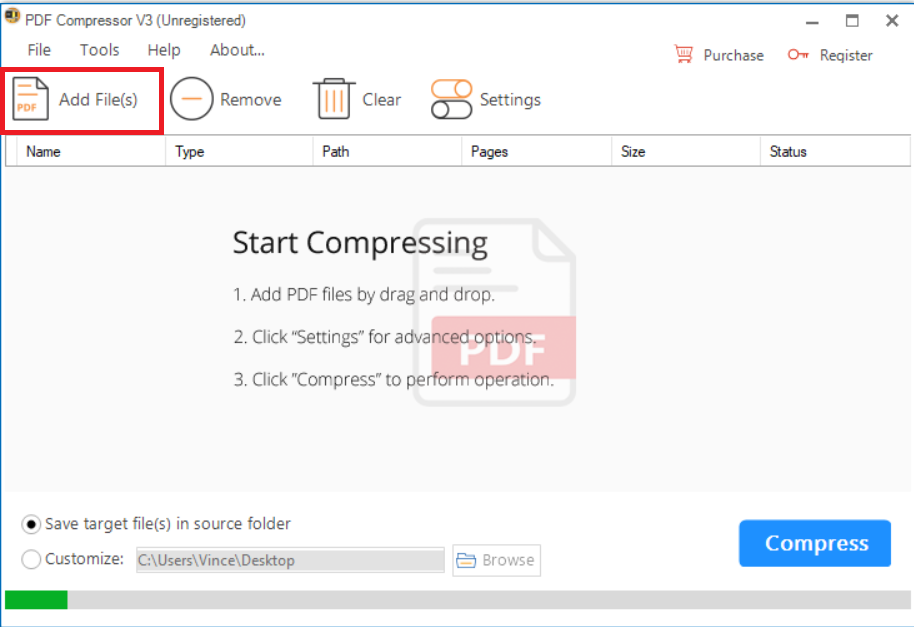
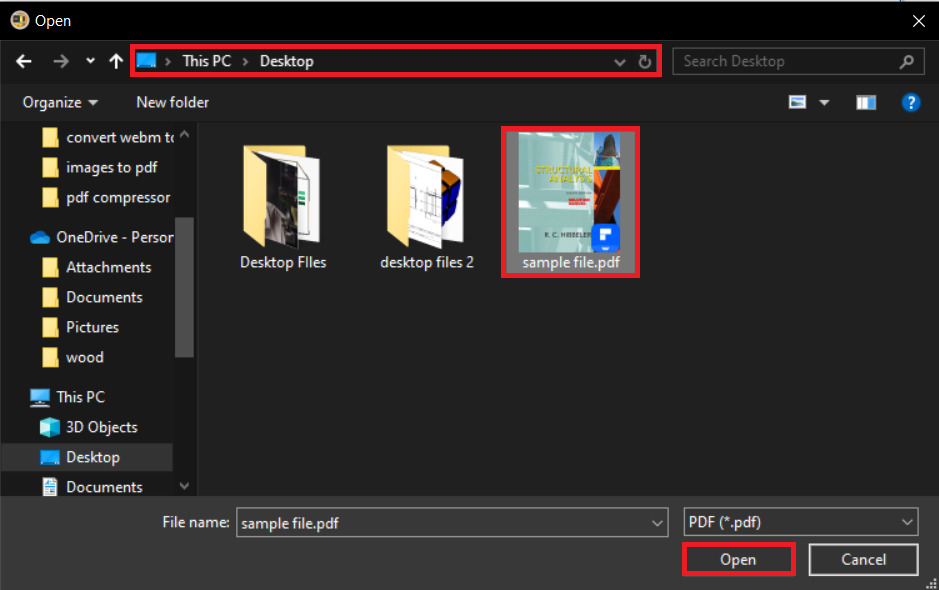
Launch and Load: Once installed, launch the application and open the pdf you want to compress. It will squash that file just like you would a ripe banana!
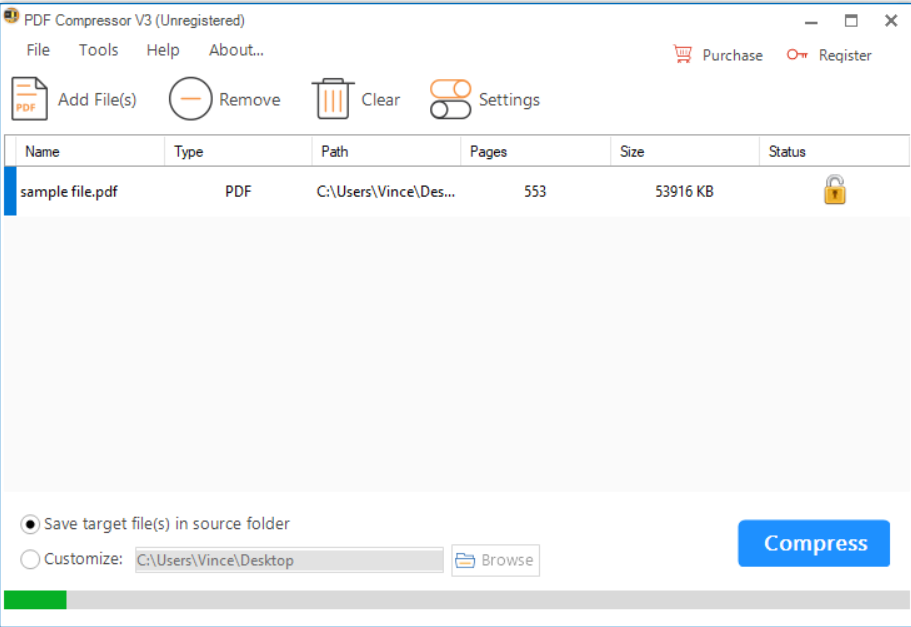
-
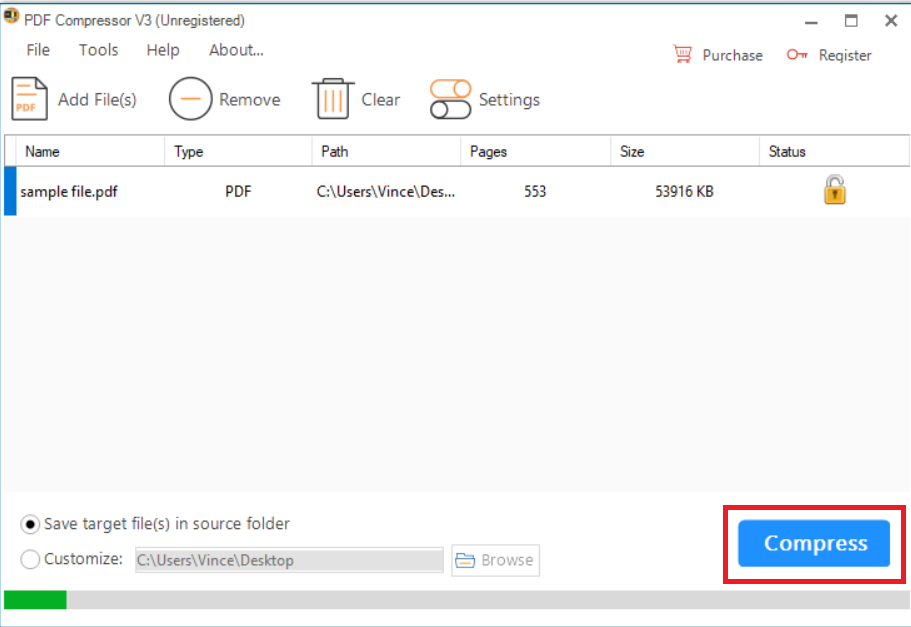
Start Compression: Click on ‘Compress’ to start the compression process. Easy-peasy monkey-squeezy!
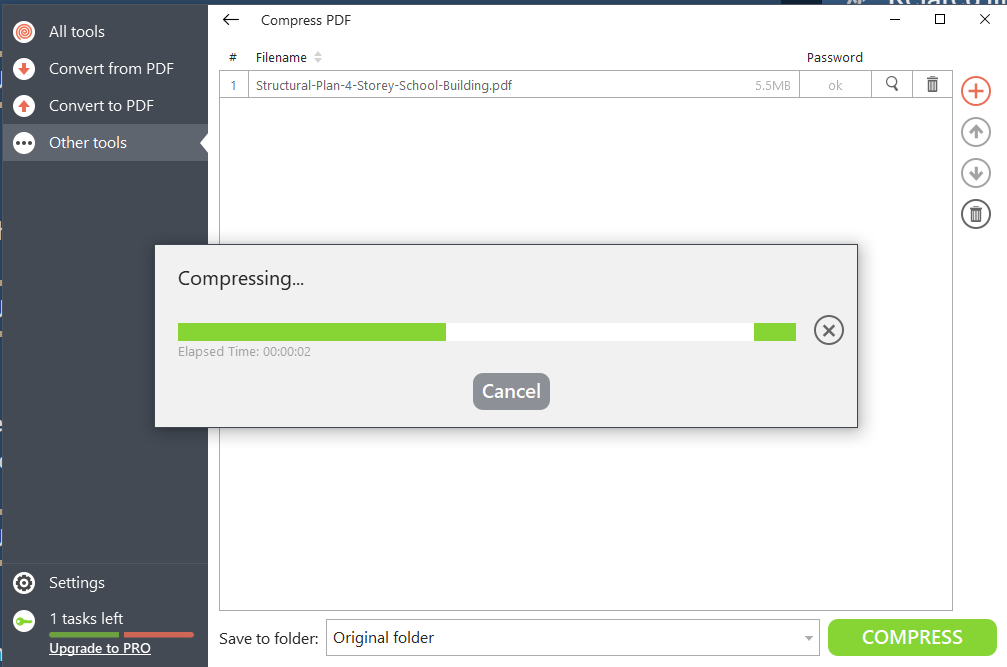
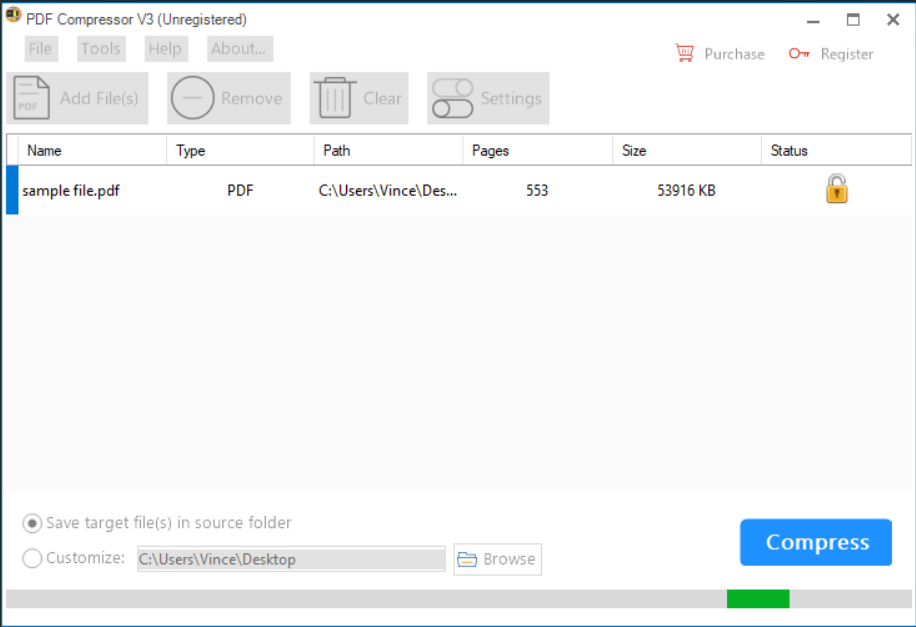
Wait until the app finish its thing.
-
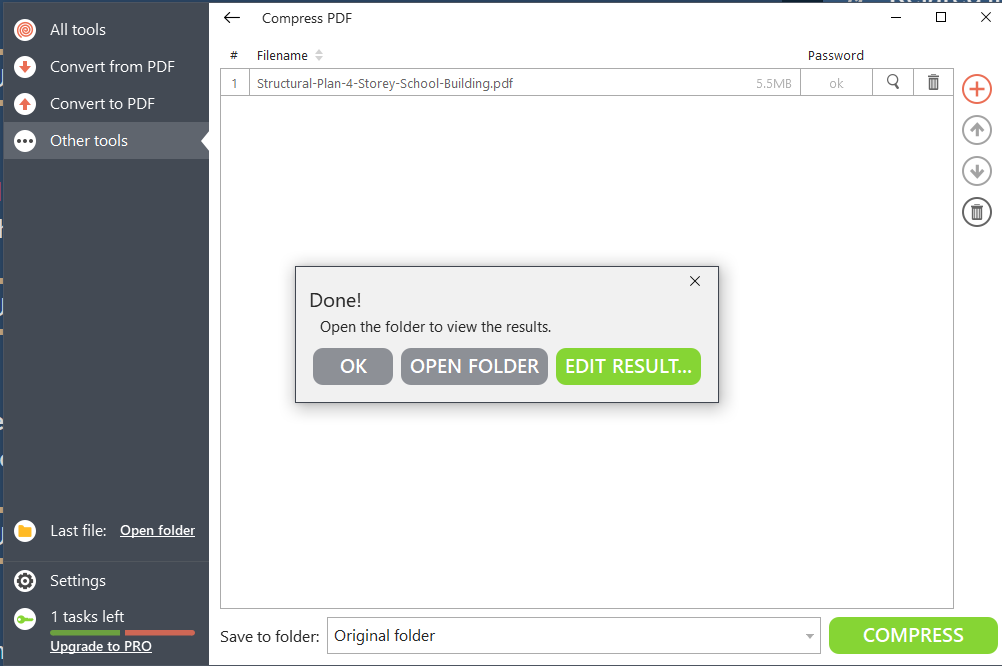
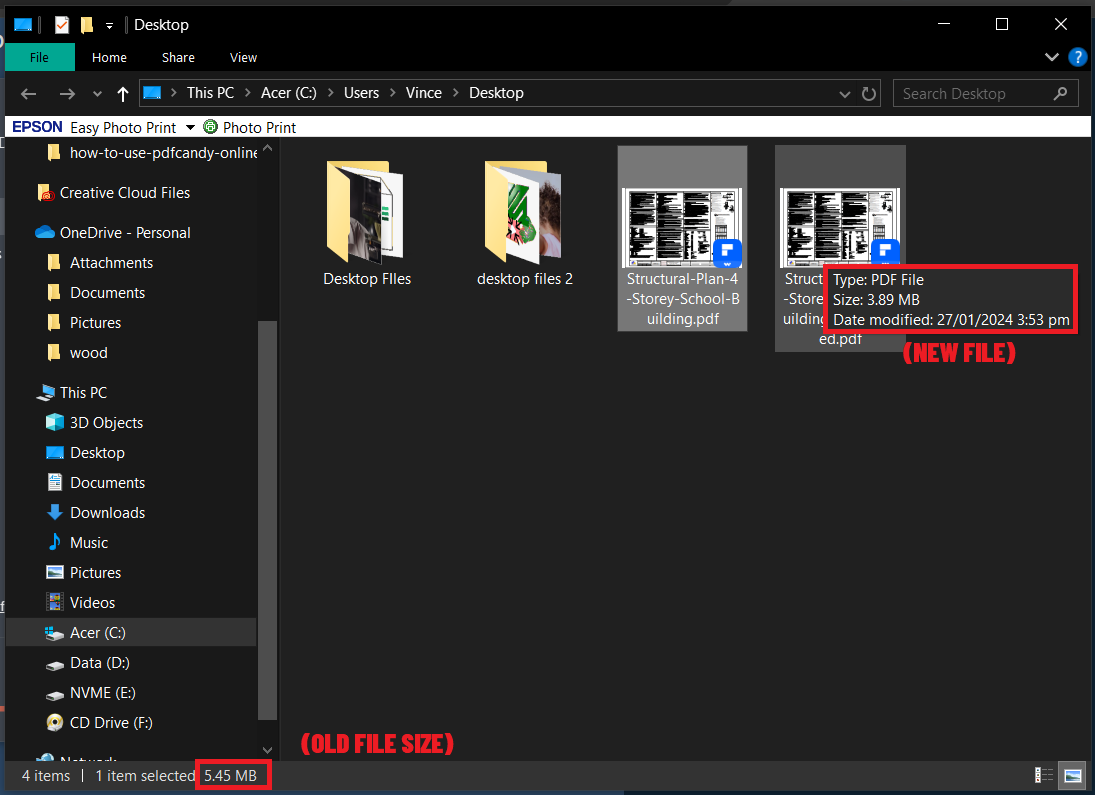
Enjoy Your File: Once the compression is completed, it will pop up a message saying it is done compressing.
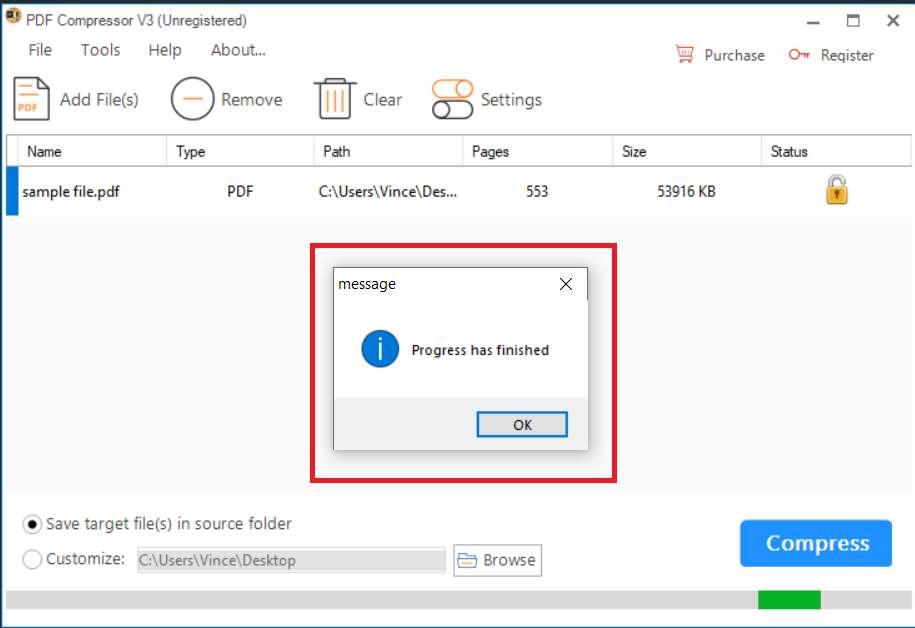
Voila! You can now enjoy your compressed file.
How to Shrink PDF to ZIP
Another option is to convert it to ZIP archive. We here at ezyZip have devised a handy little web utility that can do just that for you! No need to monkey around with other solutions.
-
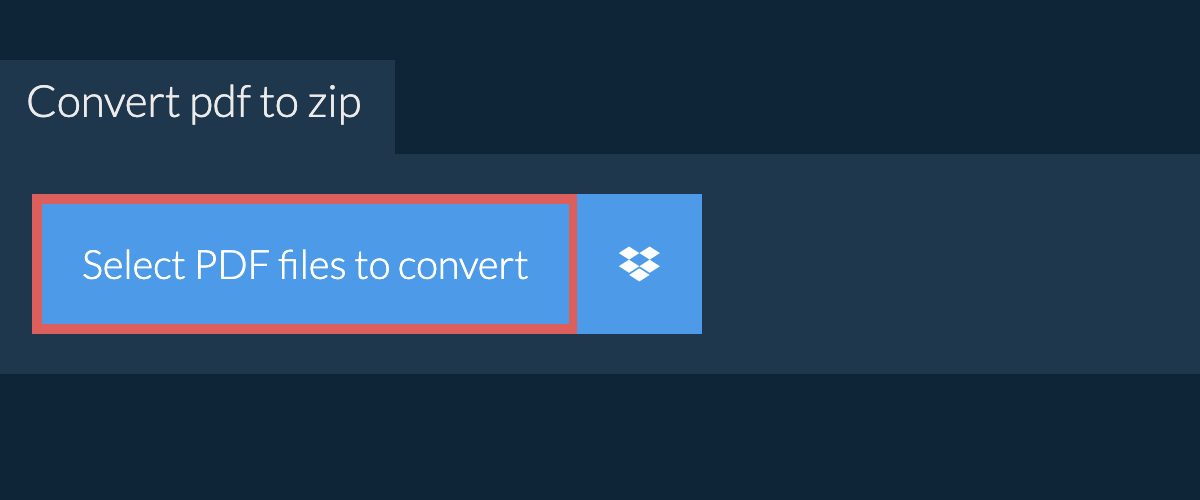
Navigate to the PDF to ZIP converter page.
-
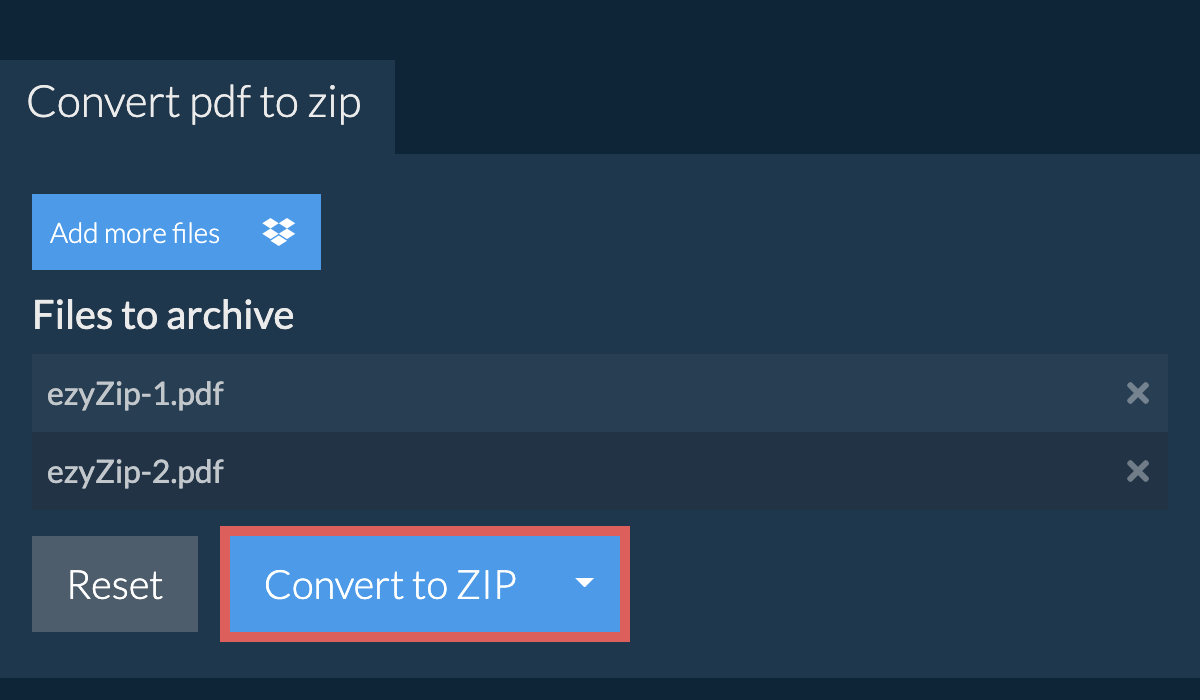
Select the PDF file you want to compress and click “Convert to ZIP”.
So there you have it, my fellow primates! Three foolproof methods to help you reduce the size of your PDF files. With these tricks up your sleeve, you’ll have no more reason to go bananas over big files. So, dust off those hands and get back to swinging high in the digital jungle!
How To Shrink Size Using iSkysoft PDF Editor Pro on Mac
Just like one of the Alphas in your troop, iSkysoft PDF Editor Pro rules the jungle when it comes to PDFs. It has a built-in feature that lets you reduce file size.
-
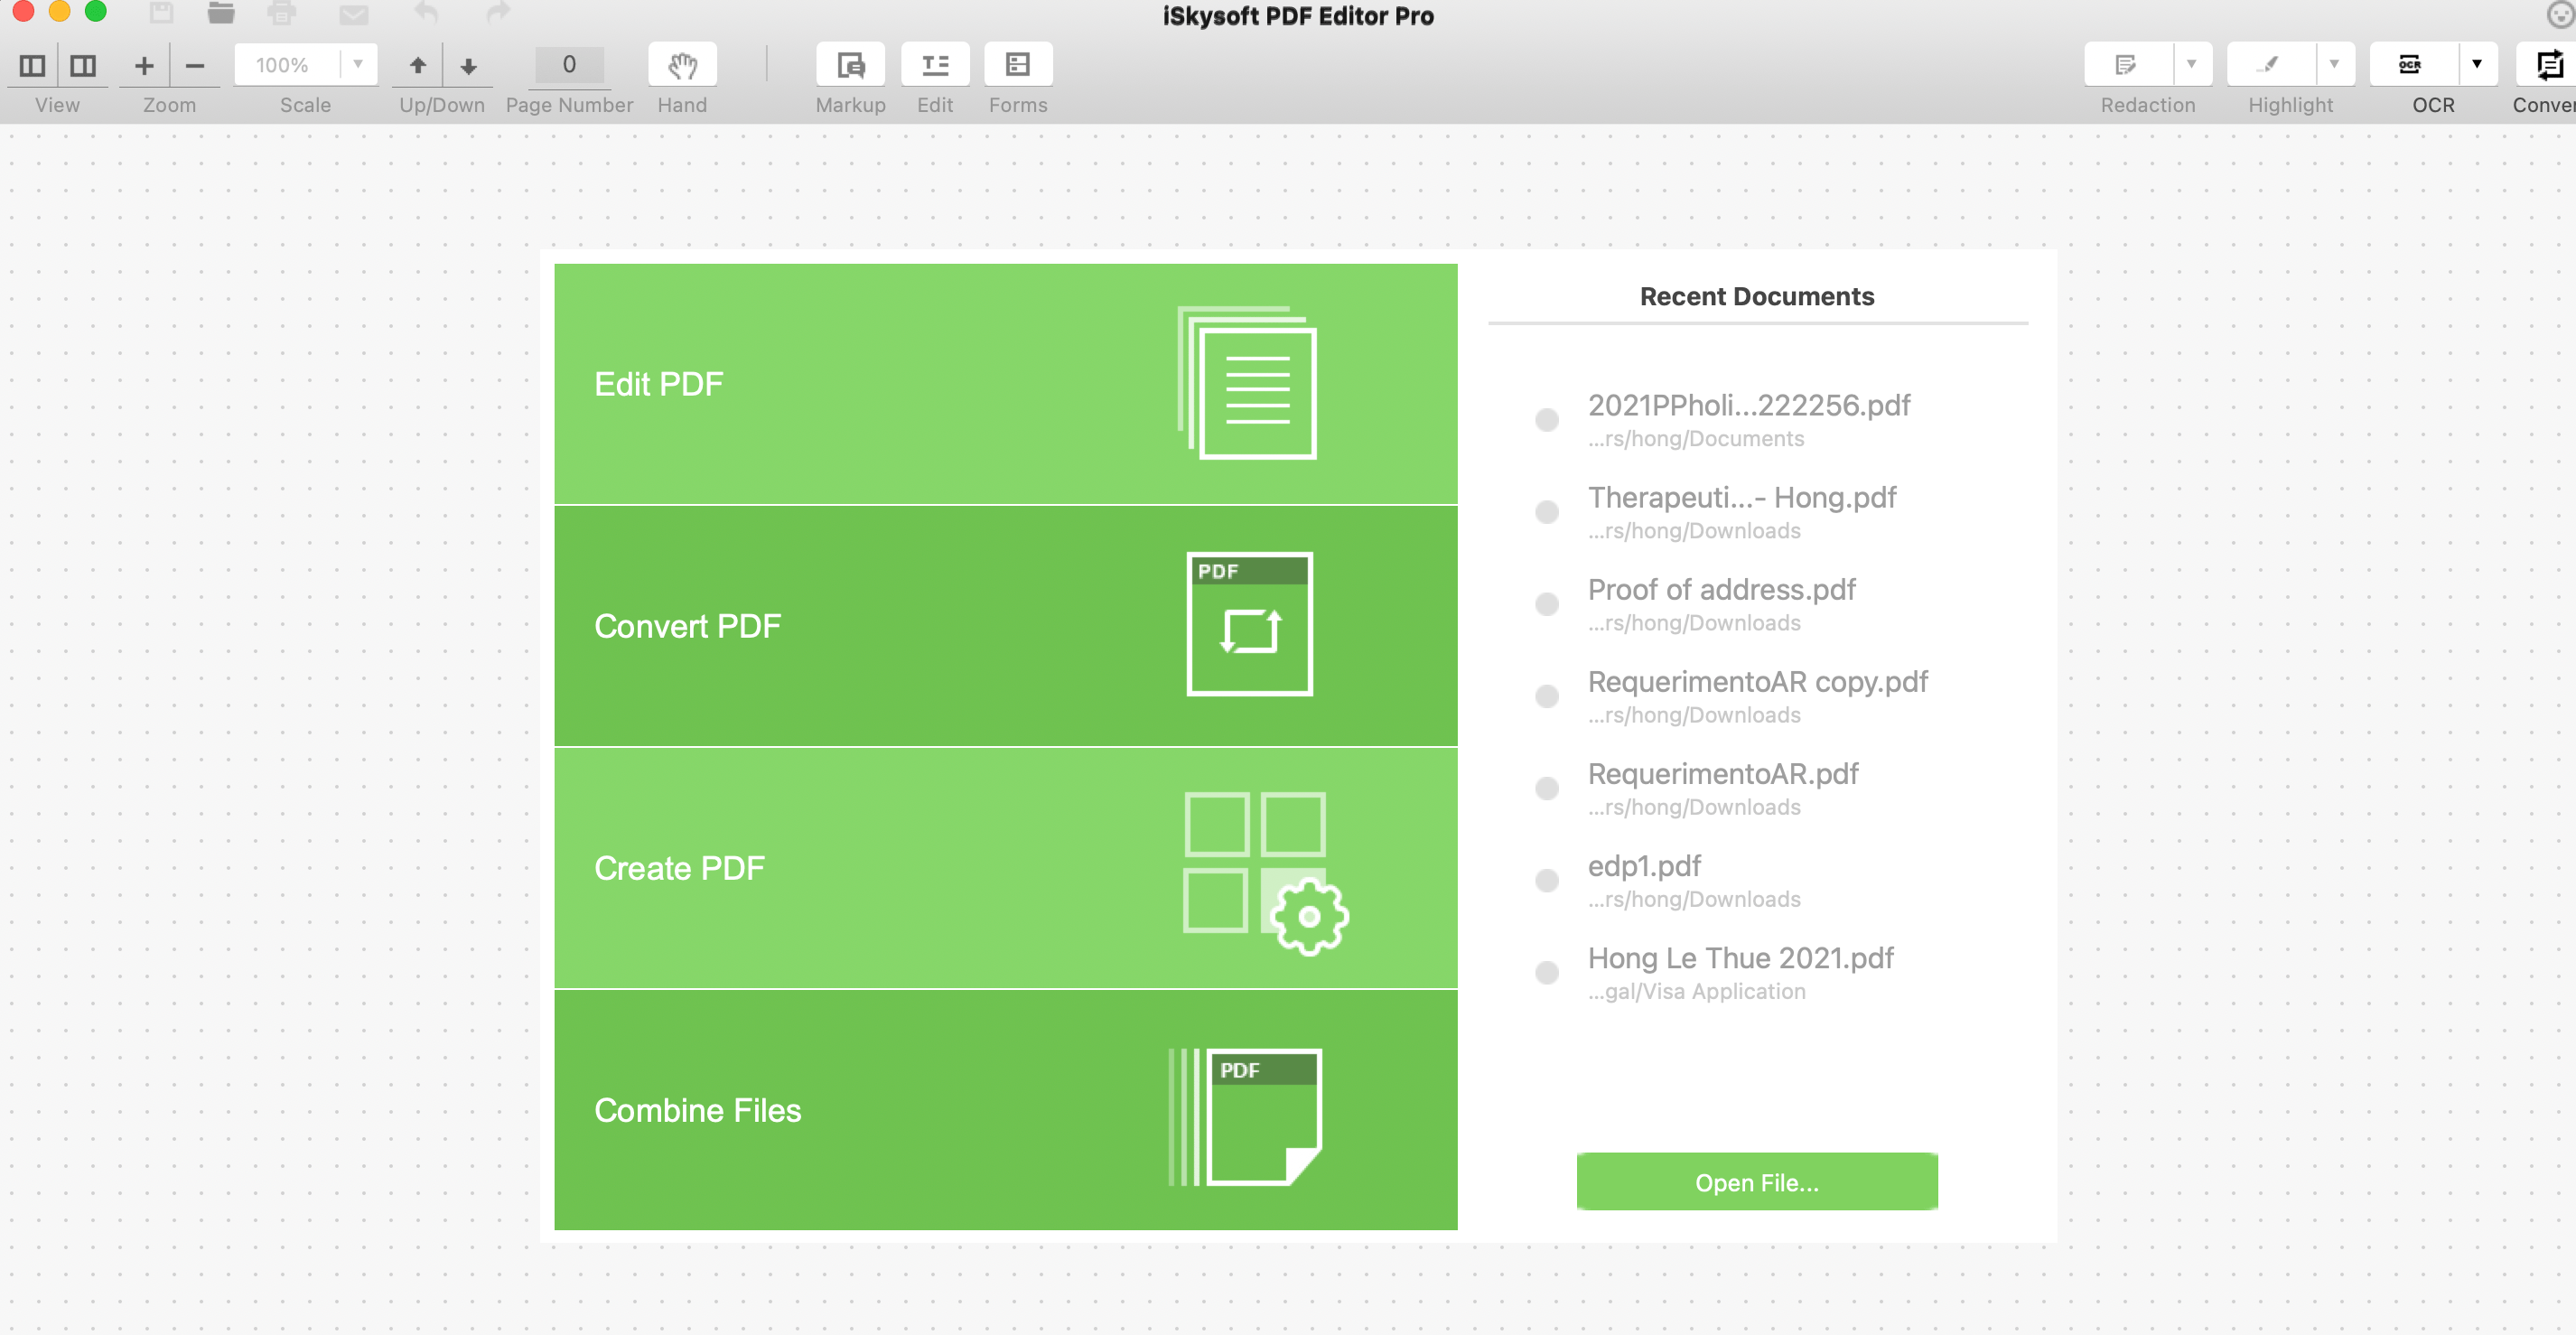
Open iSkysoft PDF Editor Pro: Open your iSkysoft software, just as you would swing open a banana leaf. If you use Windows, the equivalence would be PDFelement Pro.

-
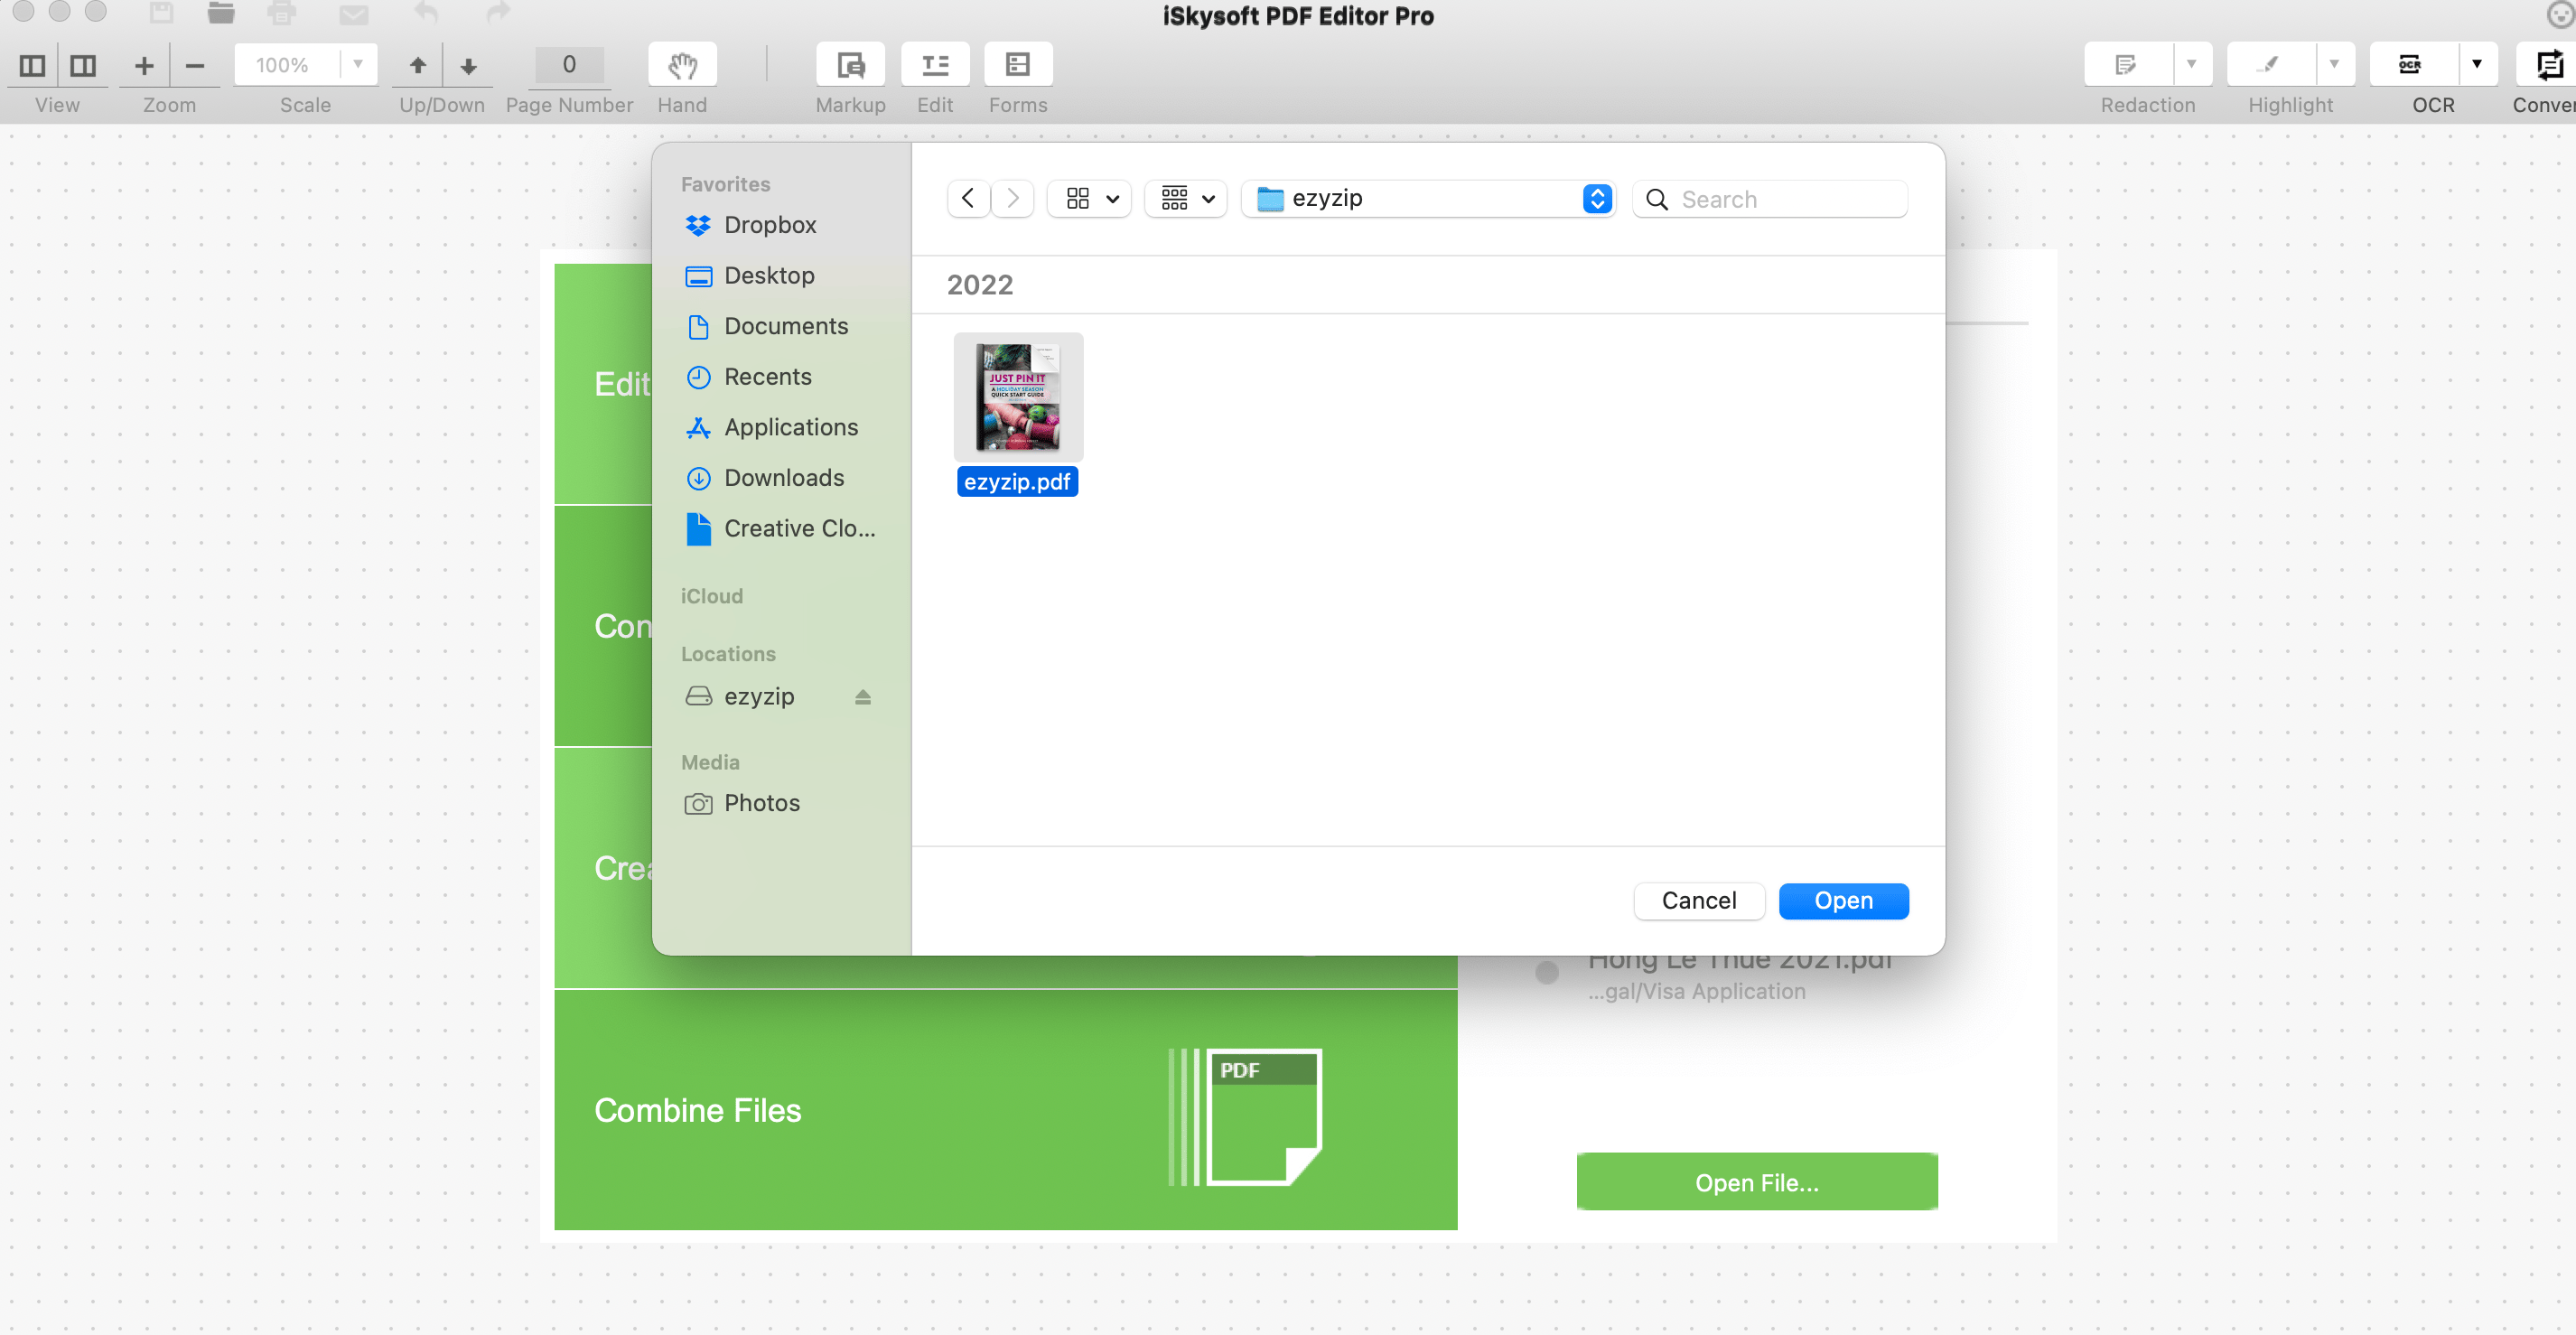
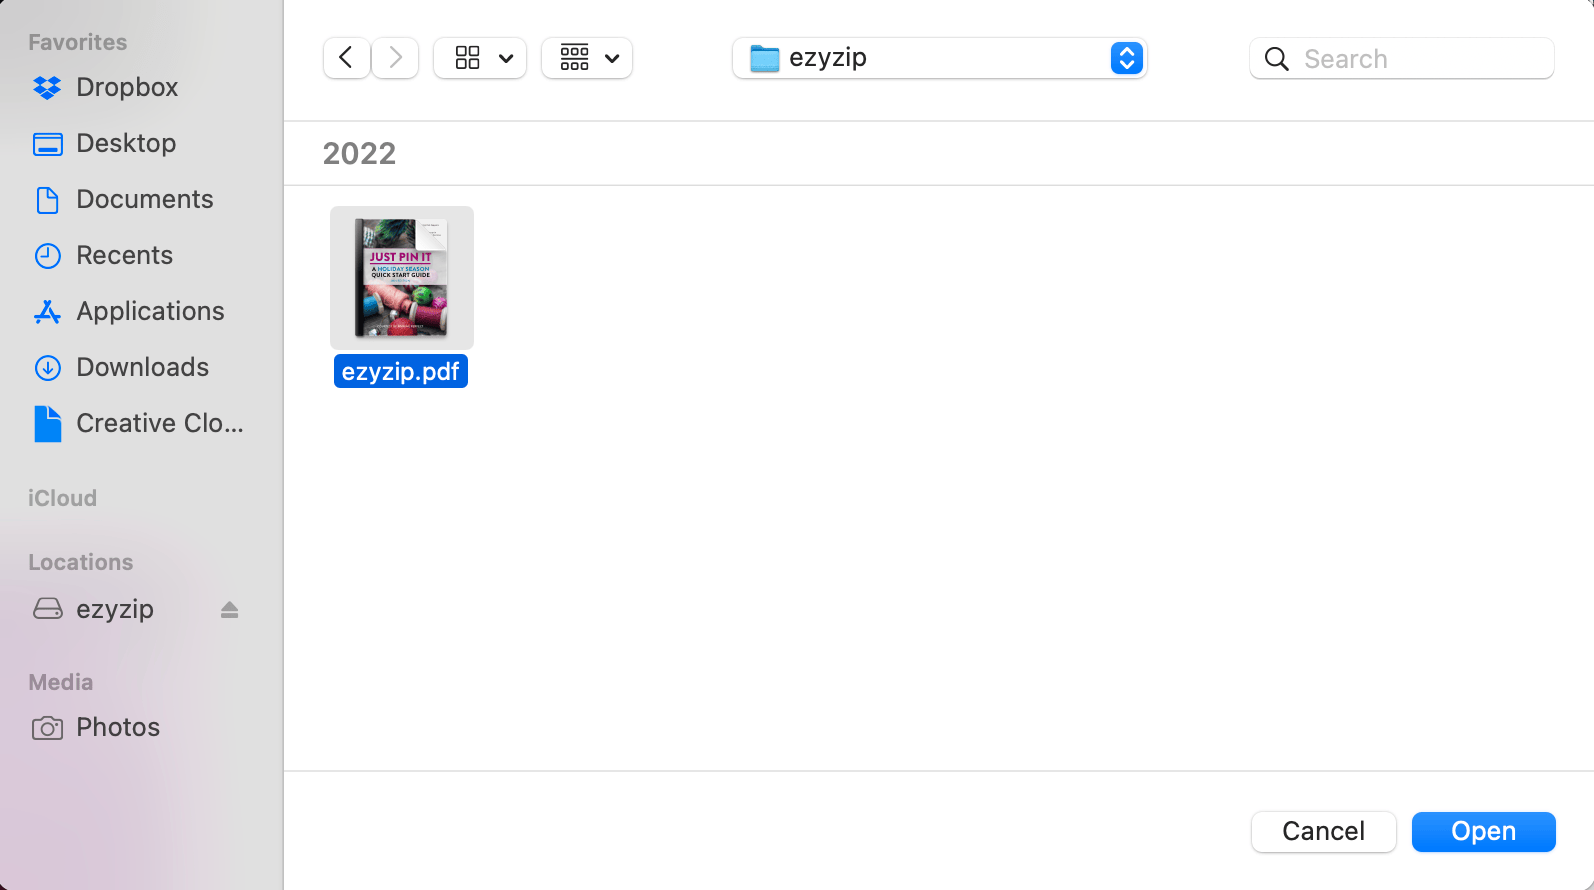
Open Your PDF: Click “Open File” to Select the weighty PDF file you want to slim down.
-
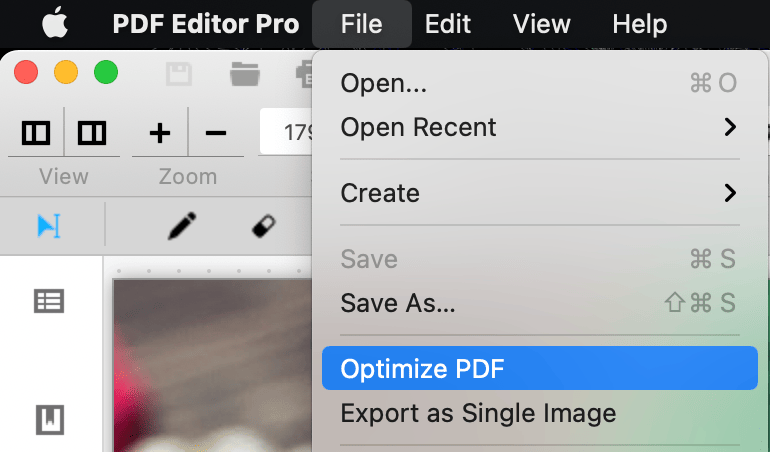
Reduce Size: Once opened, go to the “File” tab, choose “Optimize PDF,” then select “Reduced Size PDF.” Like a monkey grooming its mate, Acrobat will start to trim the excess from your PDF.
-
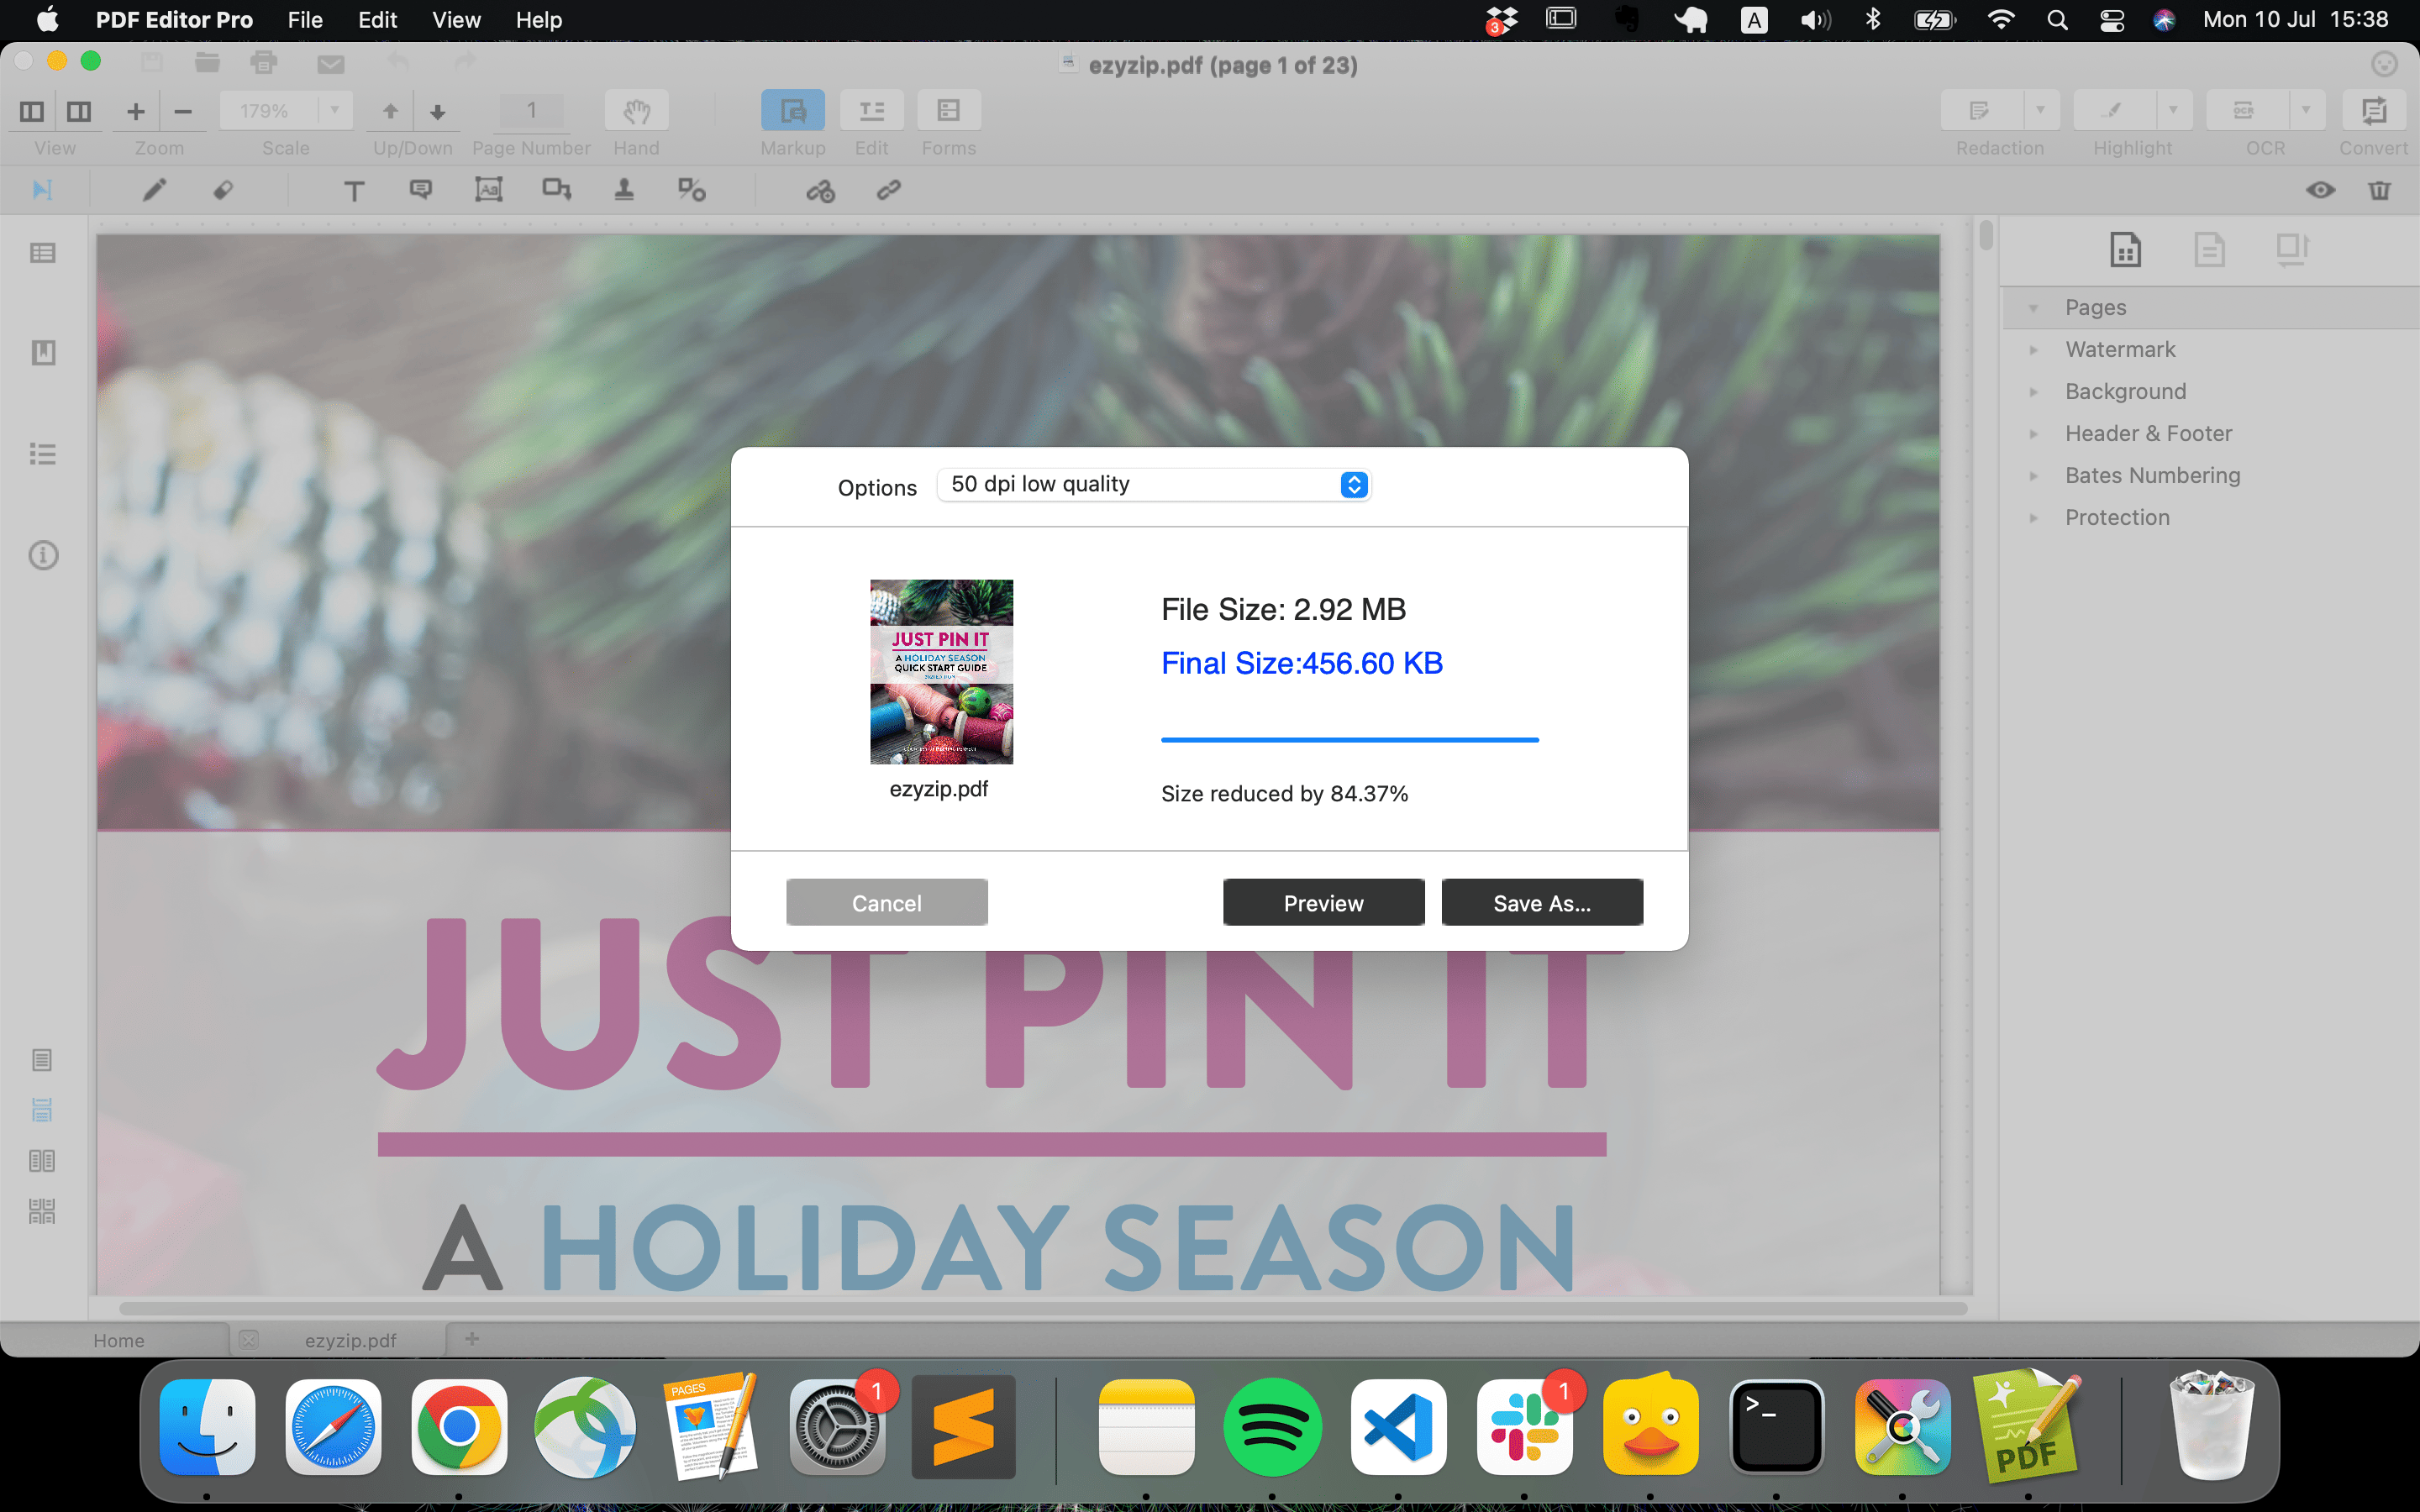
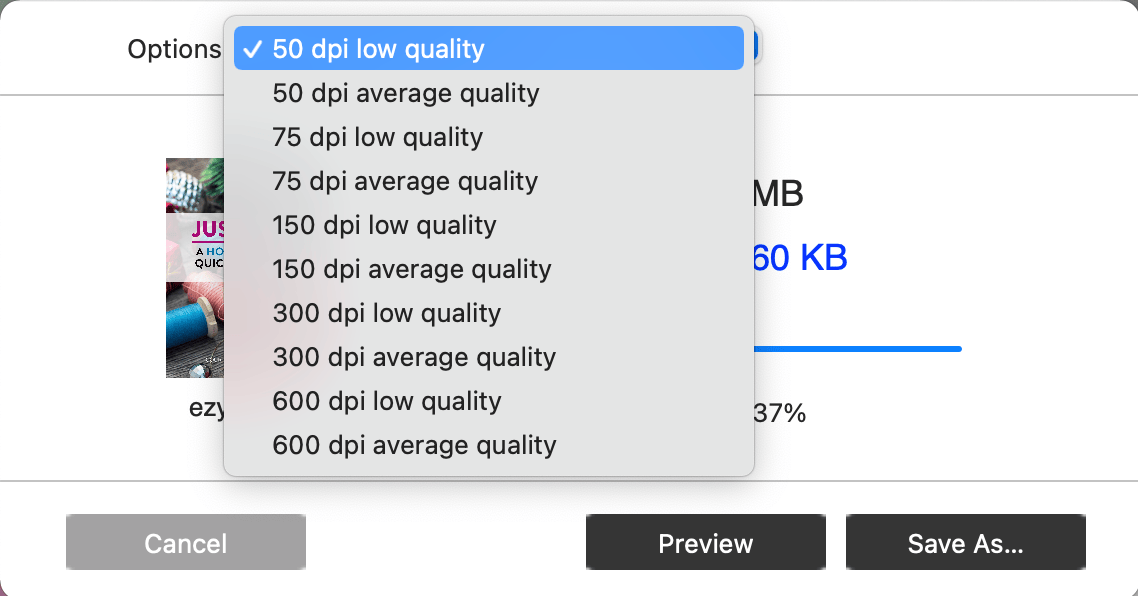
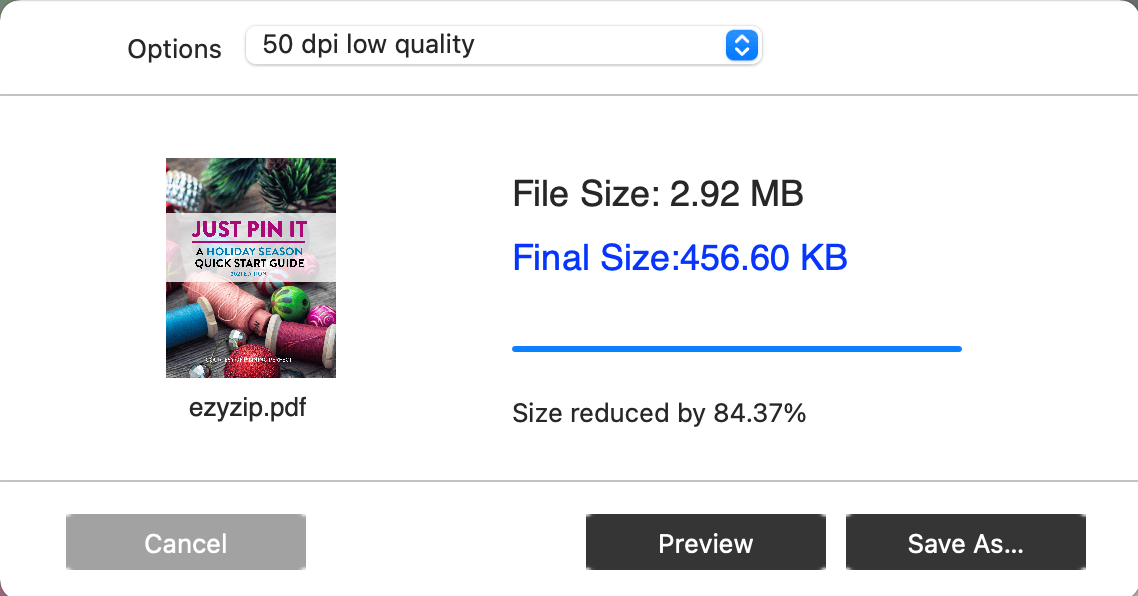
Choose Compression Level: Choose how much you would like your file to be slimmed down from the tab. The higher the dpi level, the better the quality. iSkysoft does the job as smoothly as a monkey sliding down a tree branch!
-
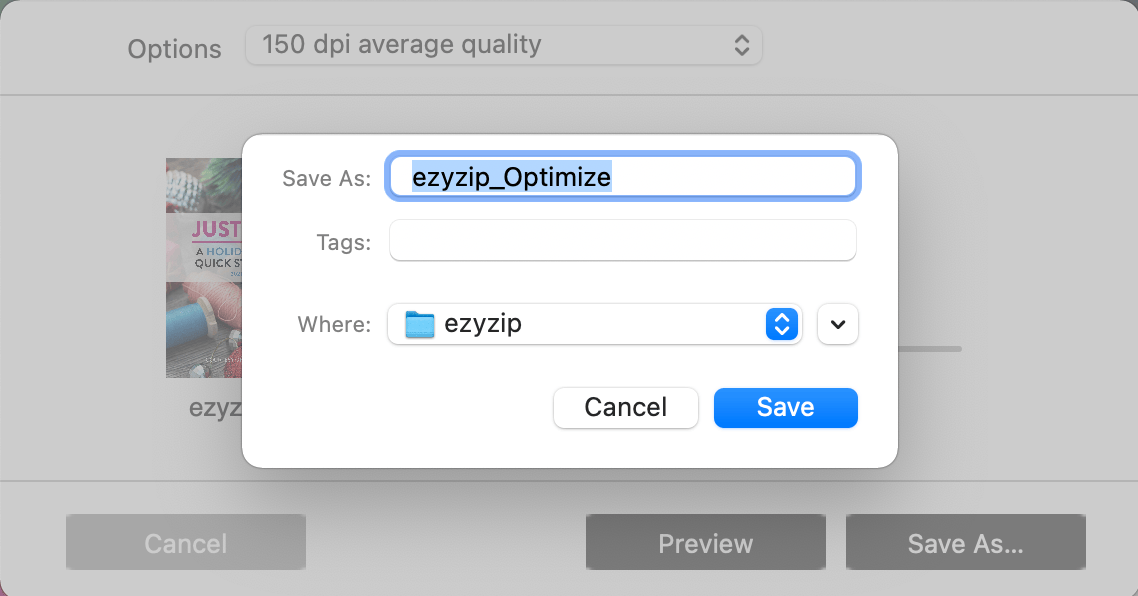
Save the file: Choose where you’d like your newly slimmed-down file to be saved, then click on the “Save” button.
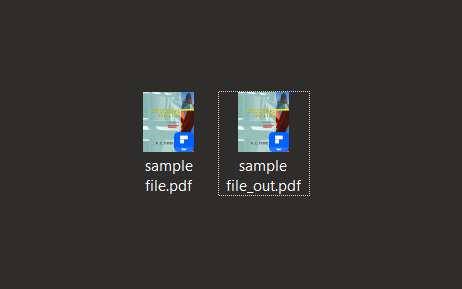
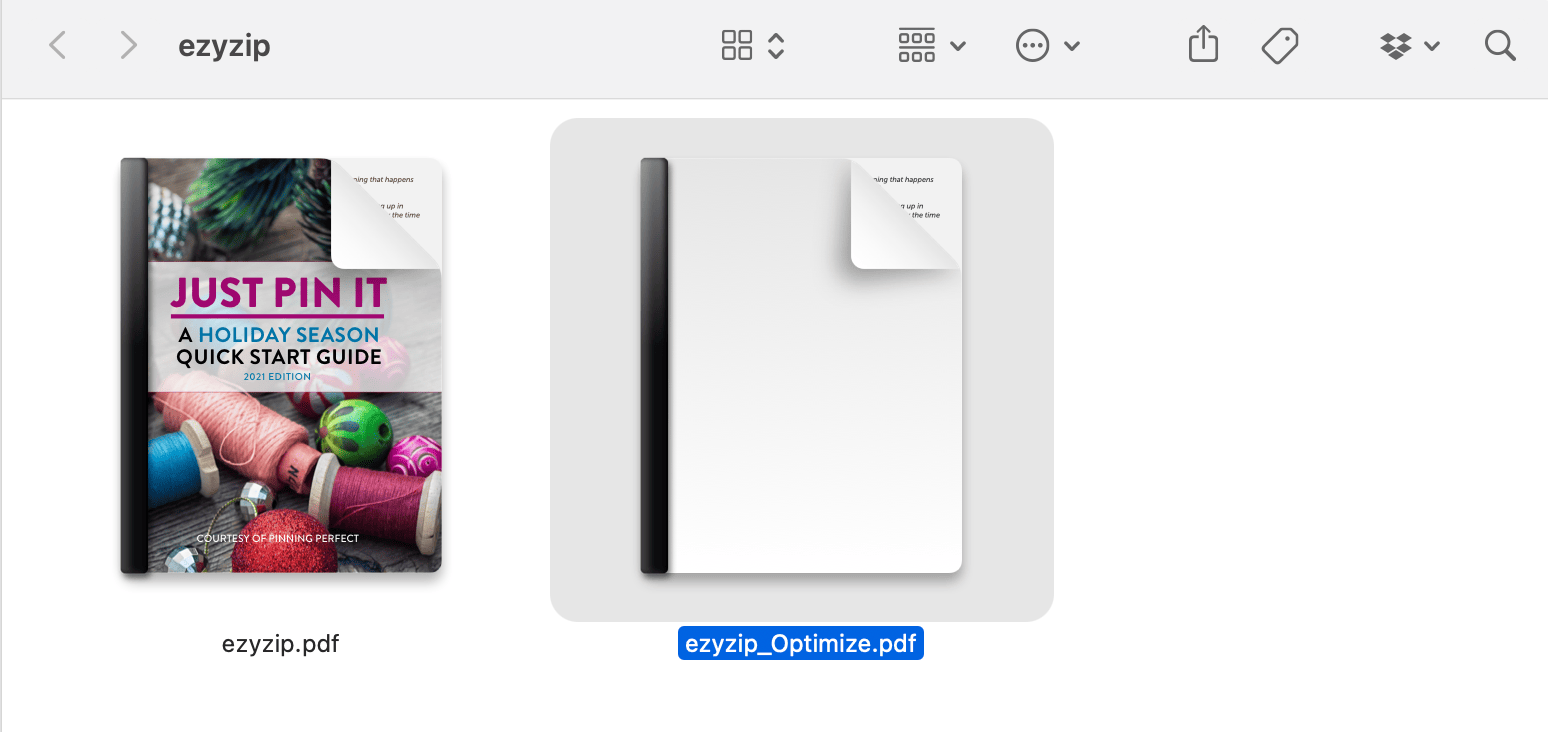
There you are, you can find the compressed PDF next to the original one.
How To Use ColorSync Utility on Mac
For the Mac monkeys out there, you’ve got a built-in tool ready to squash your PDFs down to size. Nestled within your Applications folder, the ColorSync Utility is your secret weapon in the war against oversized PDFs.
-
Open ColorSync Utility: Navigate to your Applications folder, then dive into the Utilities folder. There you’ll find ColorSync Utility, waiting like a juicy berry. Or search for “ColorSync” in Spotlight like in the picture below. Double-click to open it.

-
Open Your PDF: At the top of the ColorSync Utility window, select the “File” tab, then “Open.” Like a monkey sniffing out a hidden banana, locate and select the PDF file you want to compress.

-
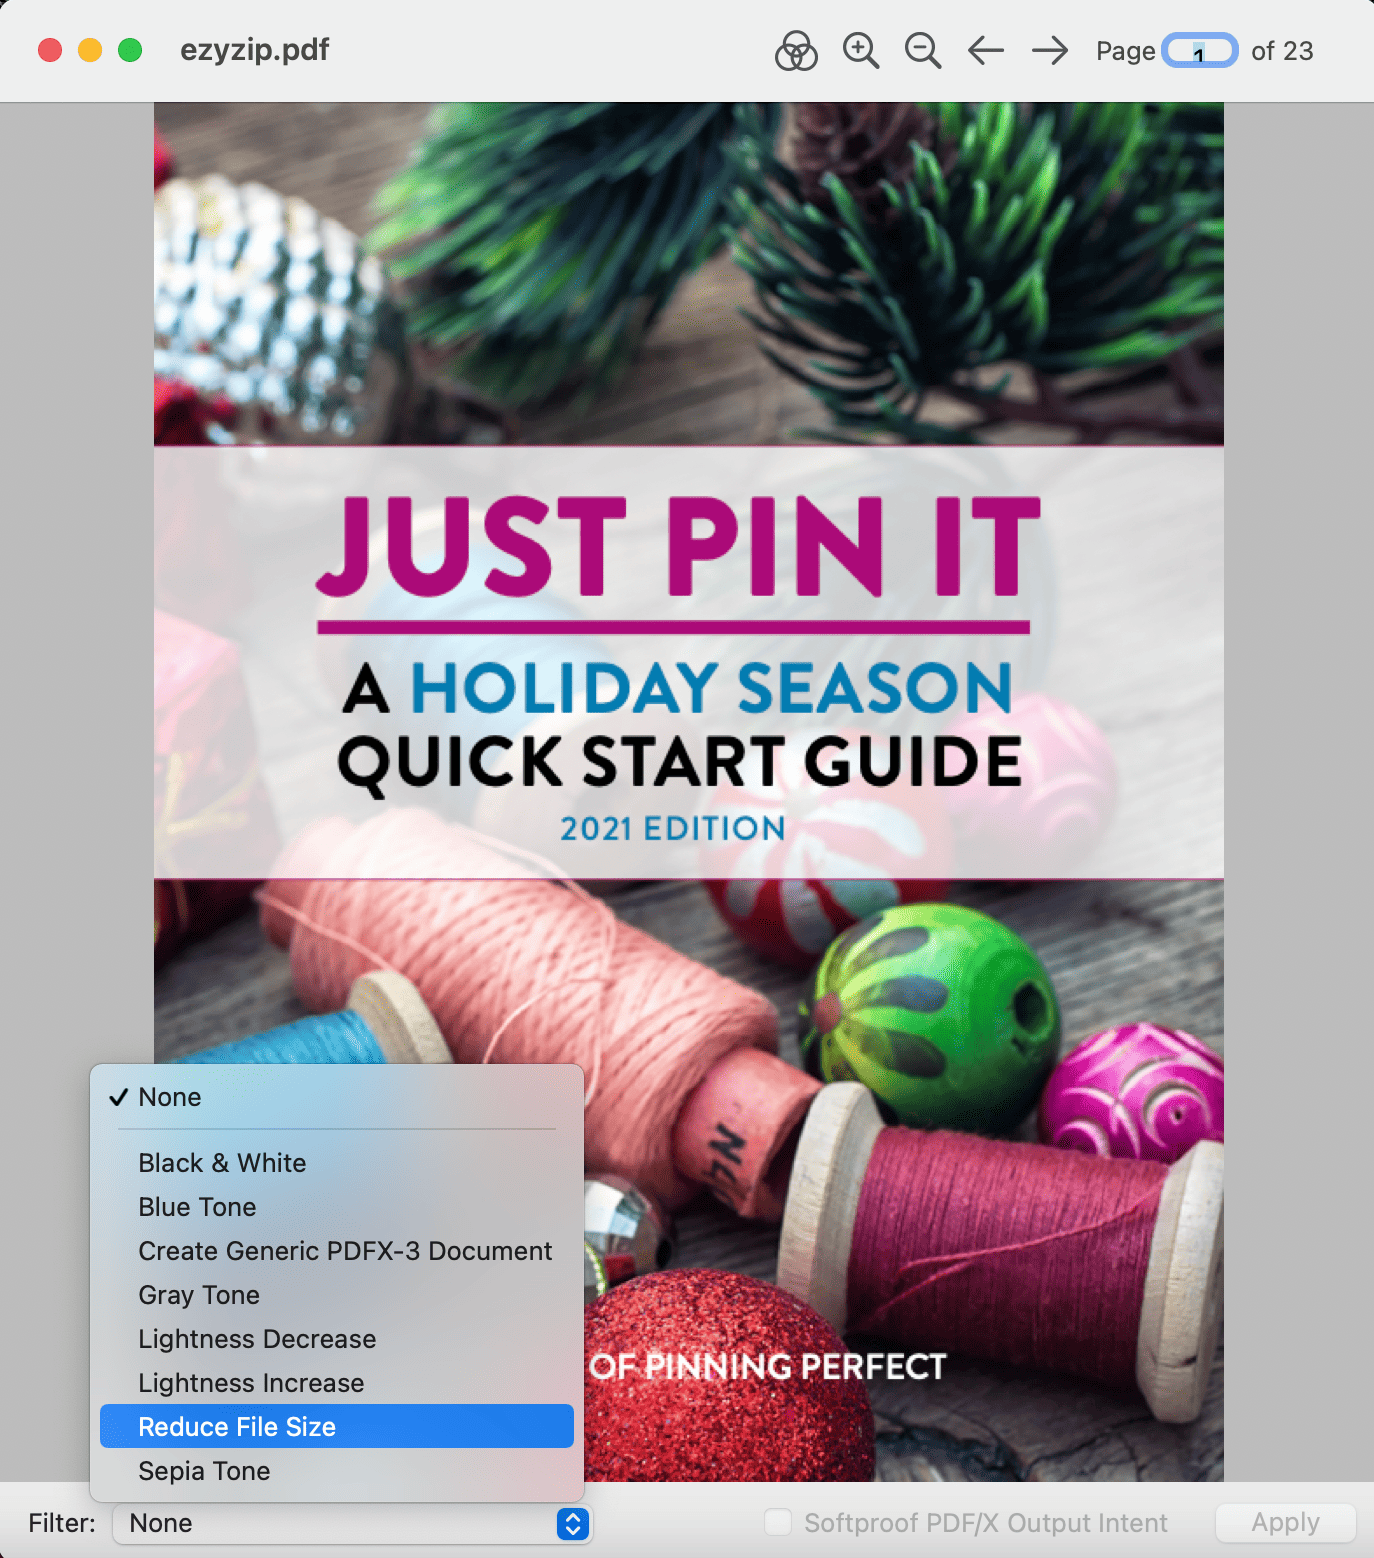
Apply Reduction Filter: Once your PDF is open, find the “Filter” dropdown menu at the bottom of the window. From the list, select the “Reduce File Size” filter. It’s as easy as a monkey selecting the tastiest fruit!
-
Save Your PDF: With the filter applied, go back to the “File” tab and select “Save As…“. Choose your preferred location to store the compressed PDF and click “Save.” Voila, your PDF has been squashed faster than a banana under a gorilla! HANG ON! Don’t go yet, let me show you a customized way to optimize your PDF file without leaving ColorSync.
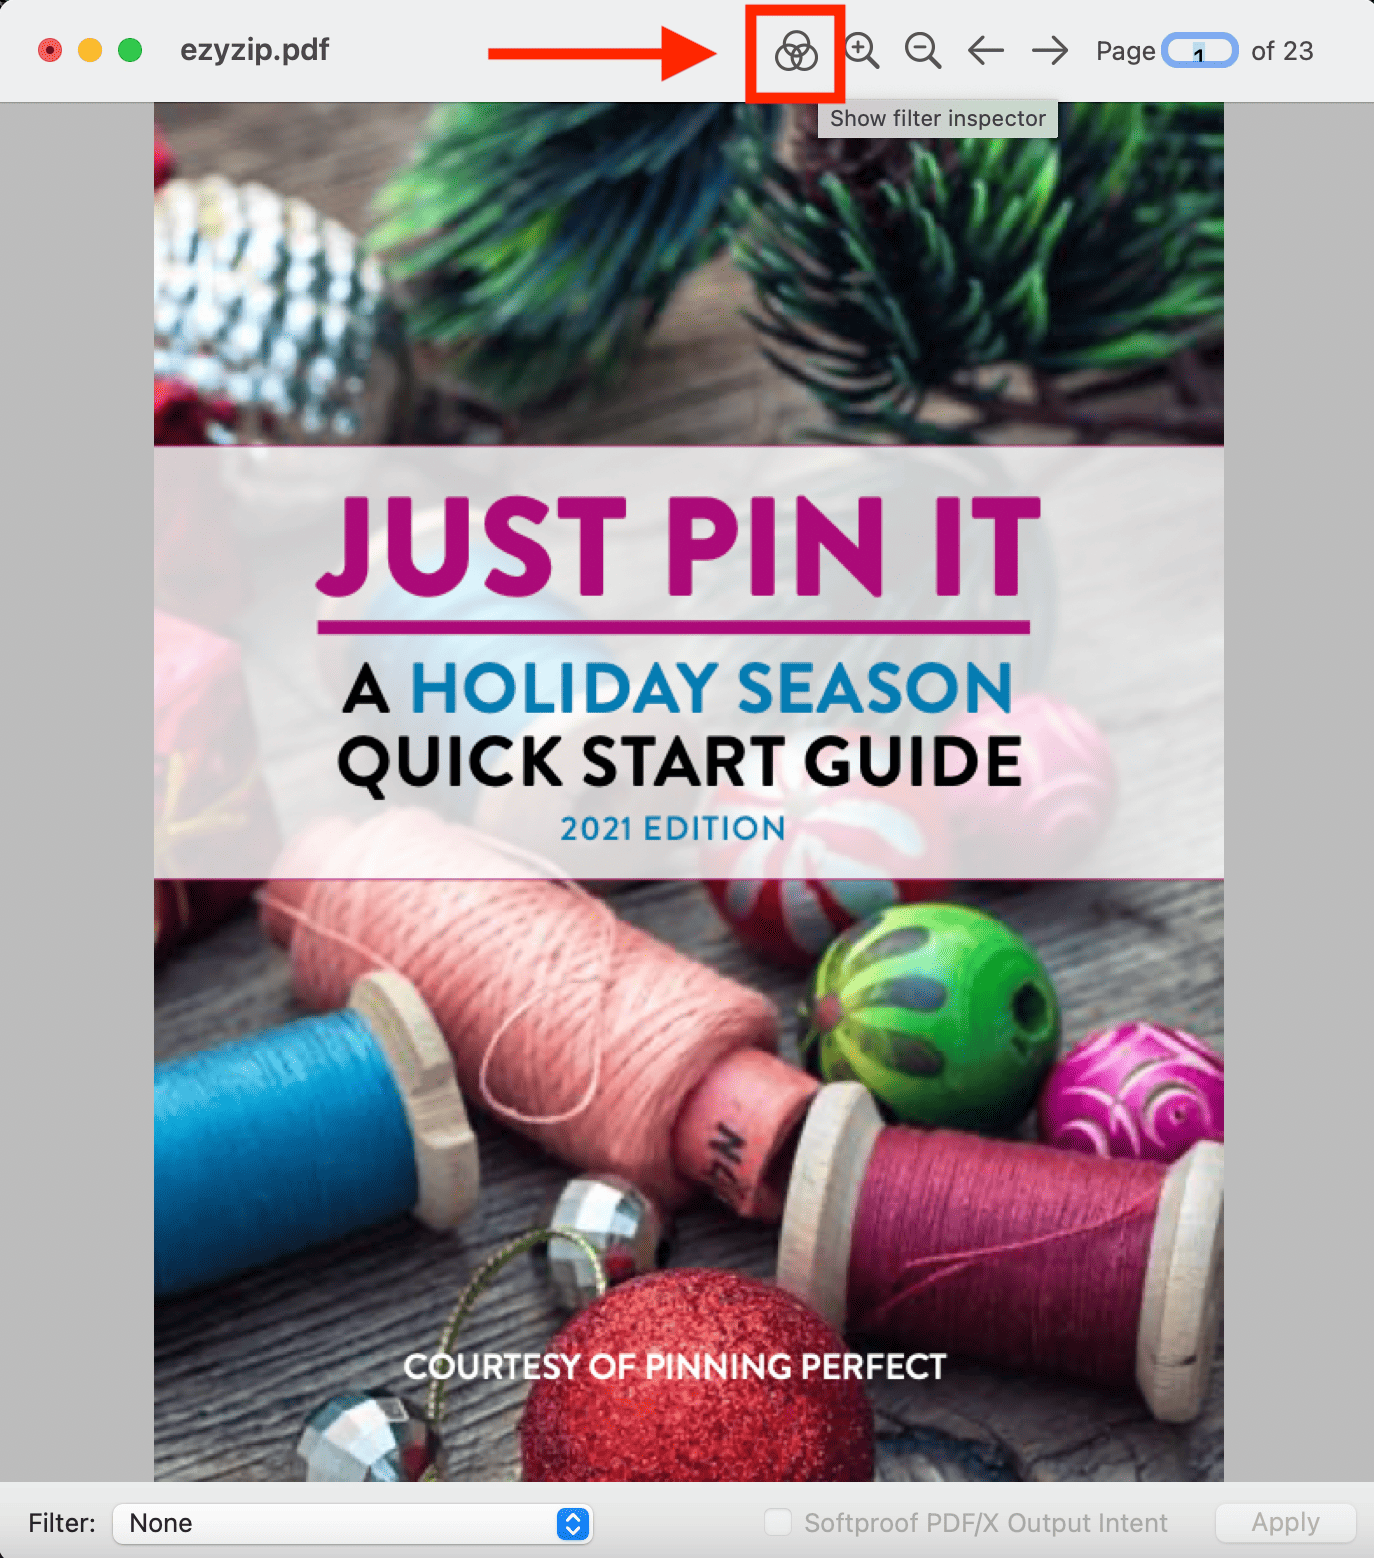
First, click on the Filter icon on the upper right corner of the app.
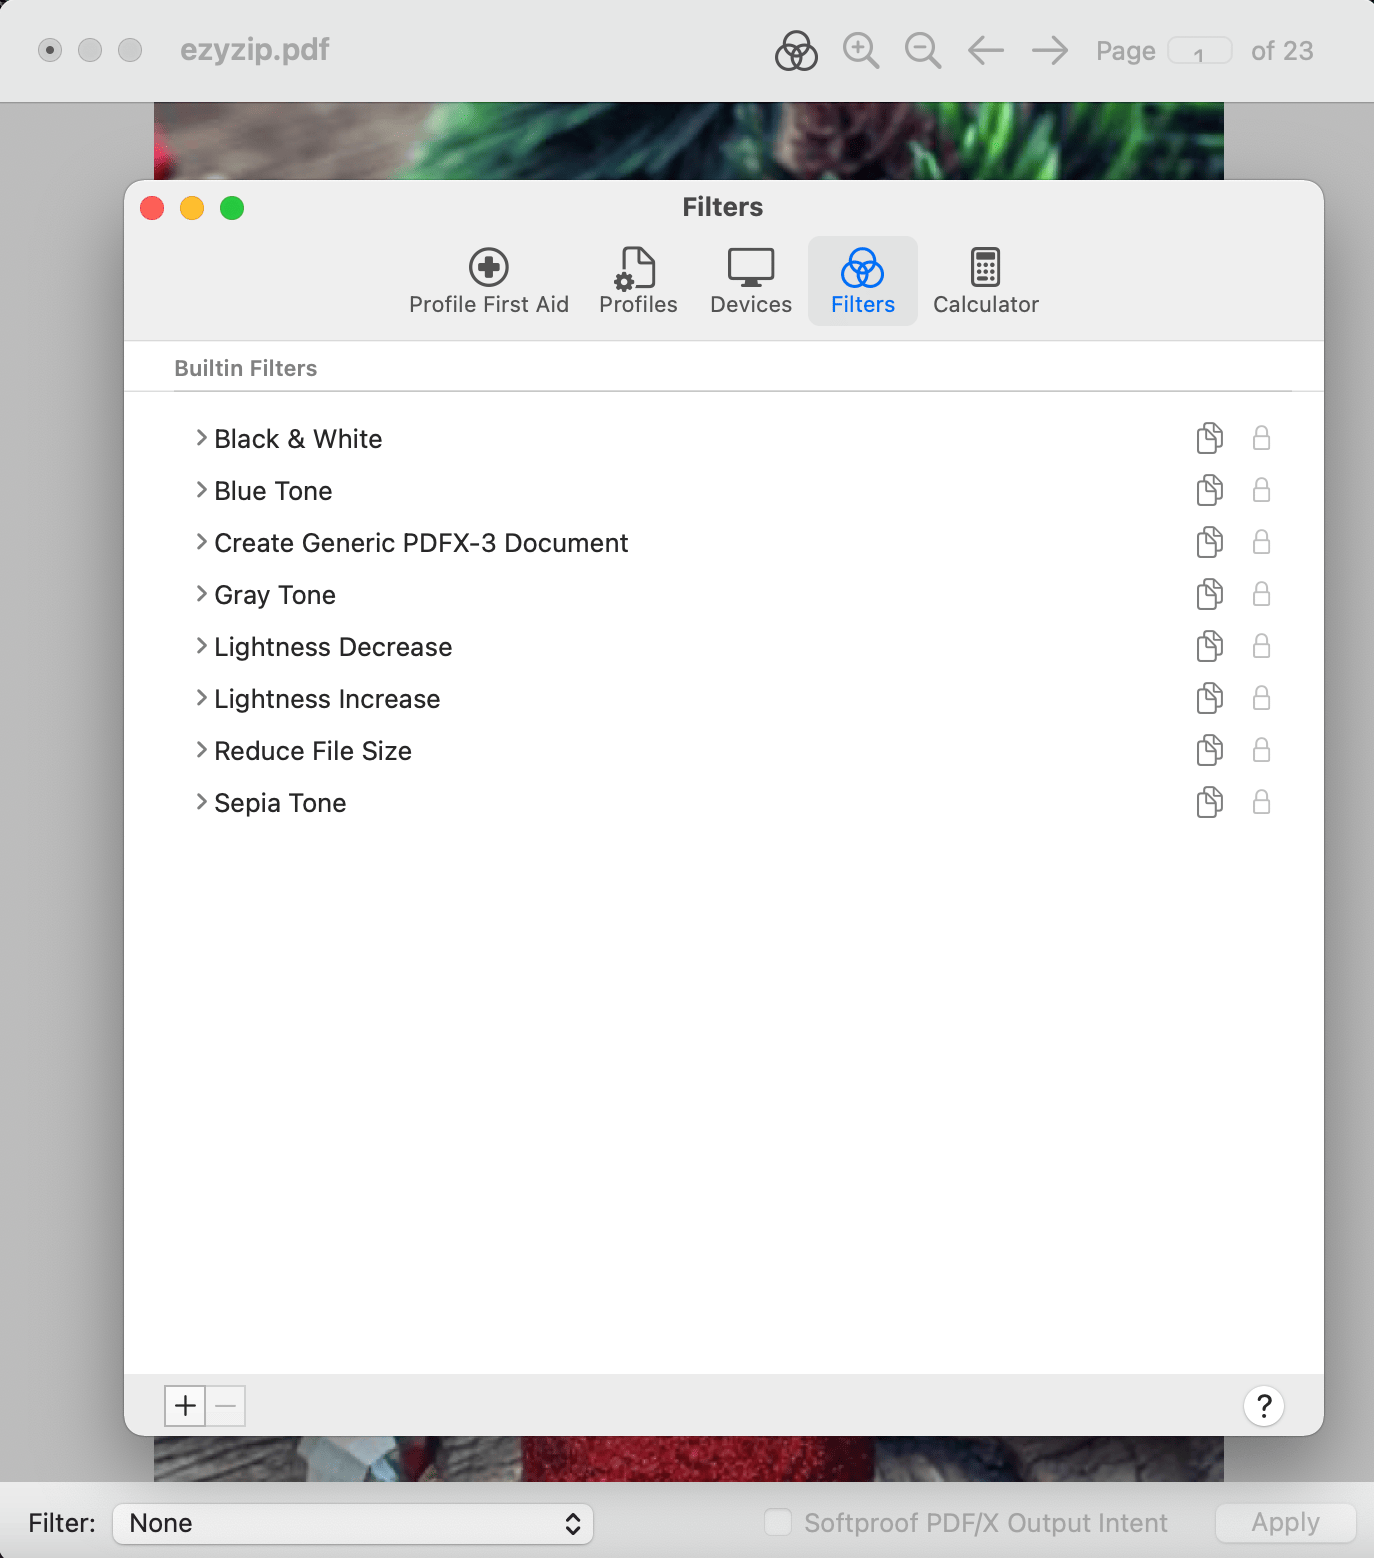
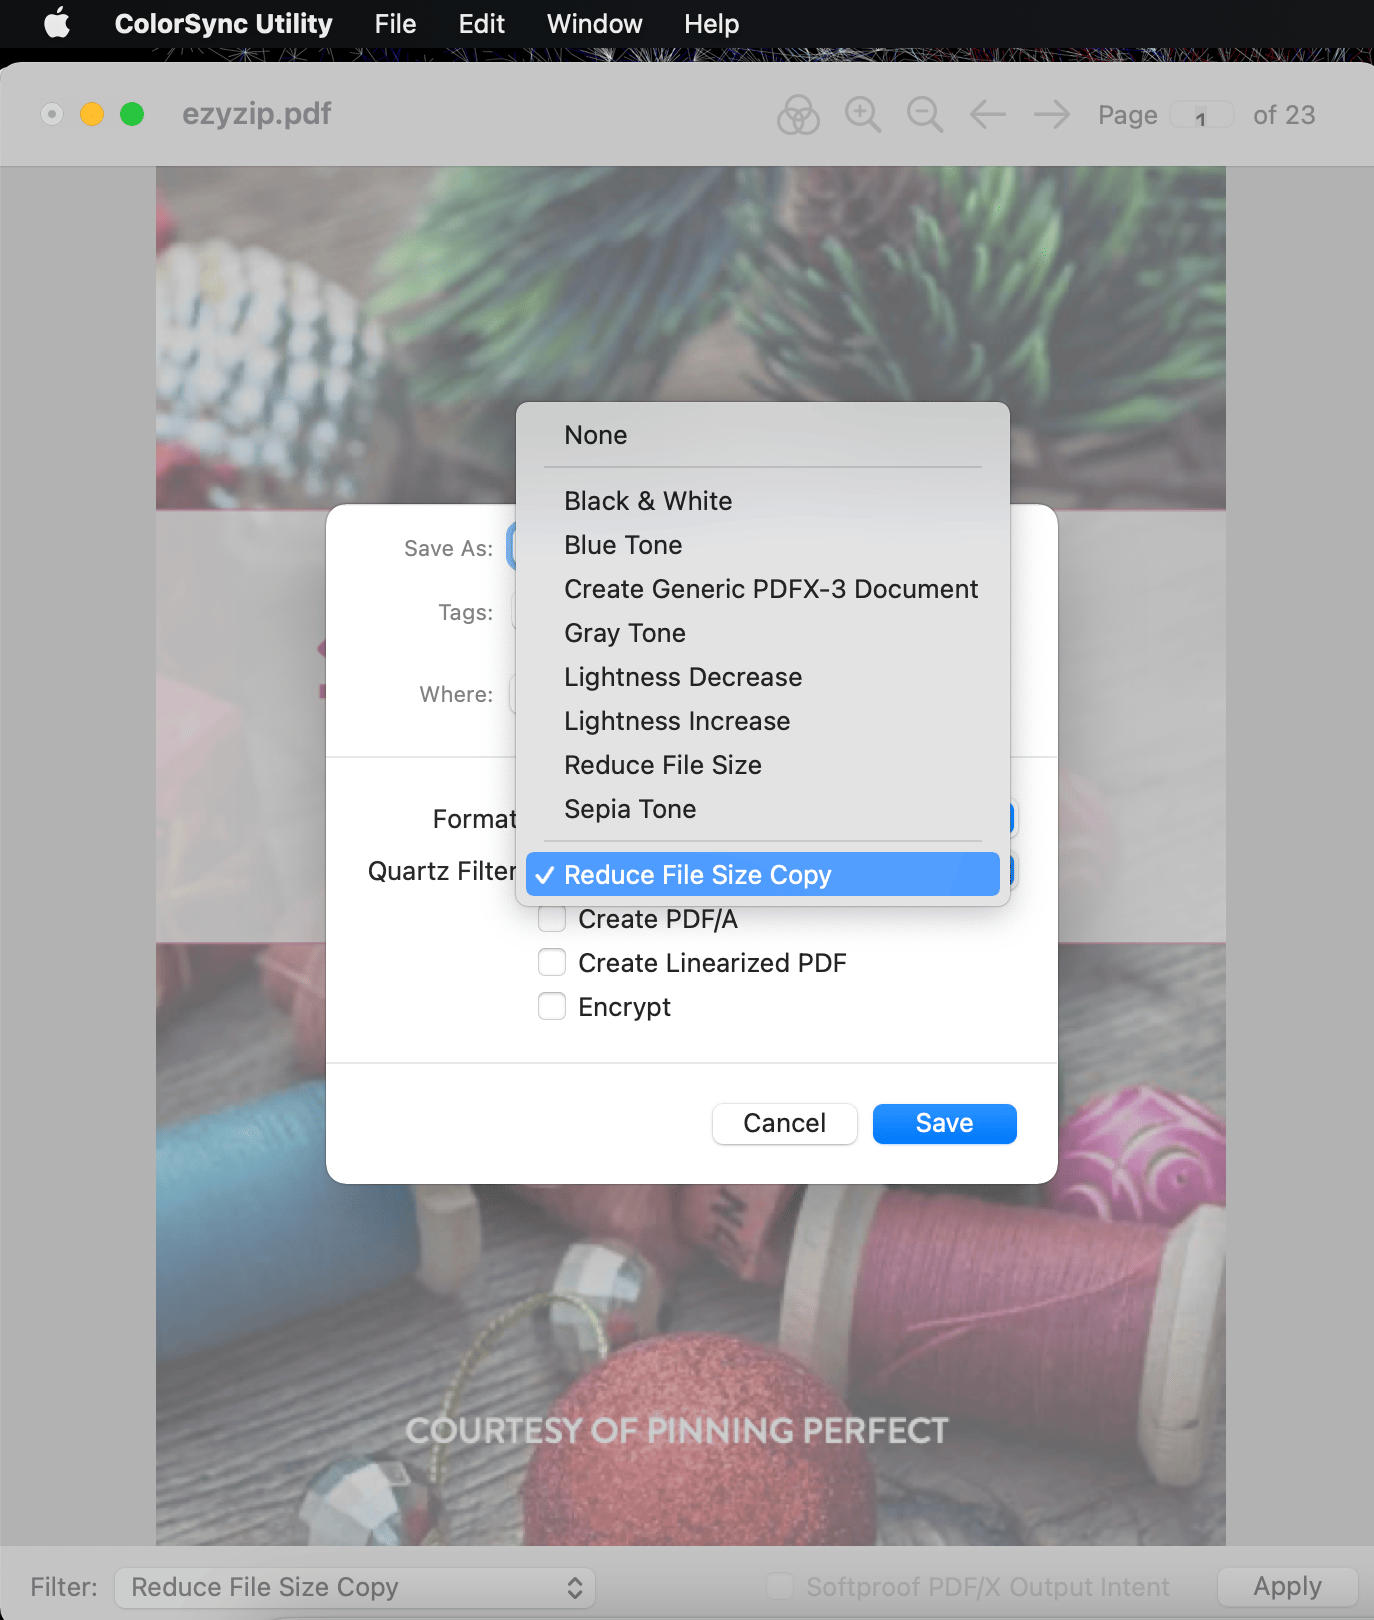
A window will open, click on “Reduce File Size”
Click on the “Duplicate” button on the right side of the tab. You can see that a custom filter has been created with the name “Reduce File Size Copy”. You can rename it as you wish but in this example we will keep the name as is.
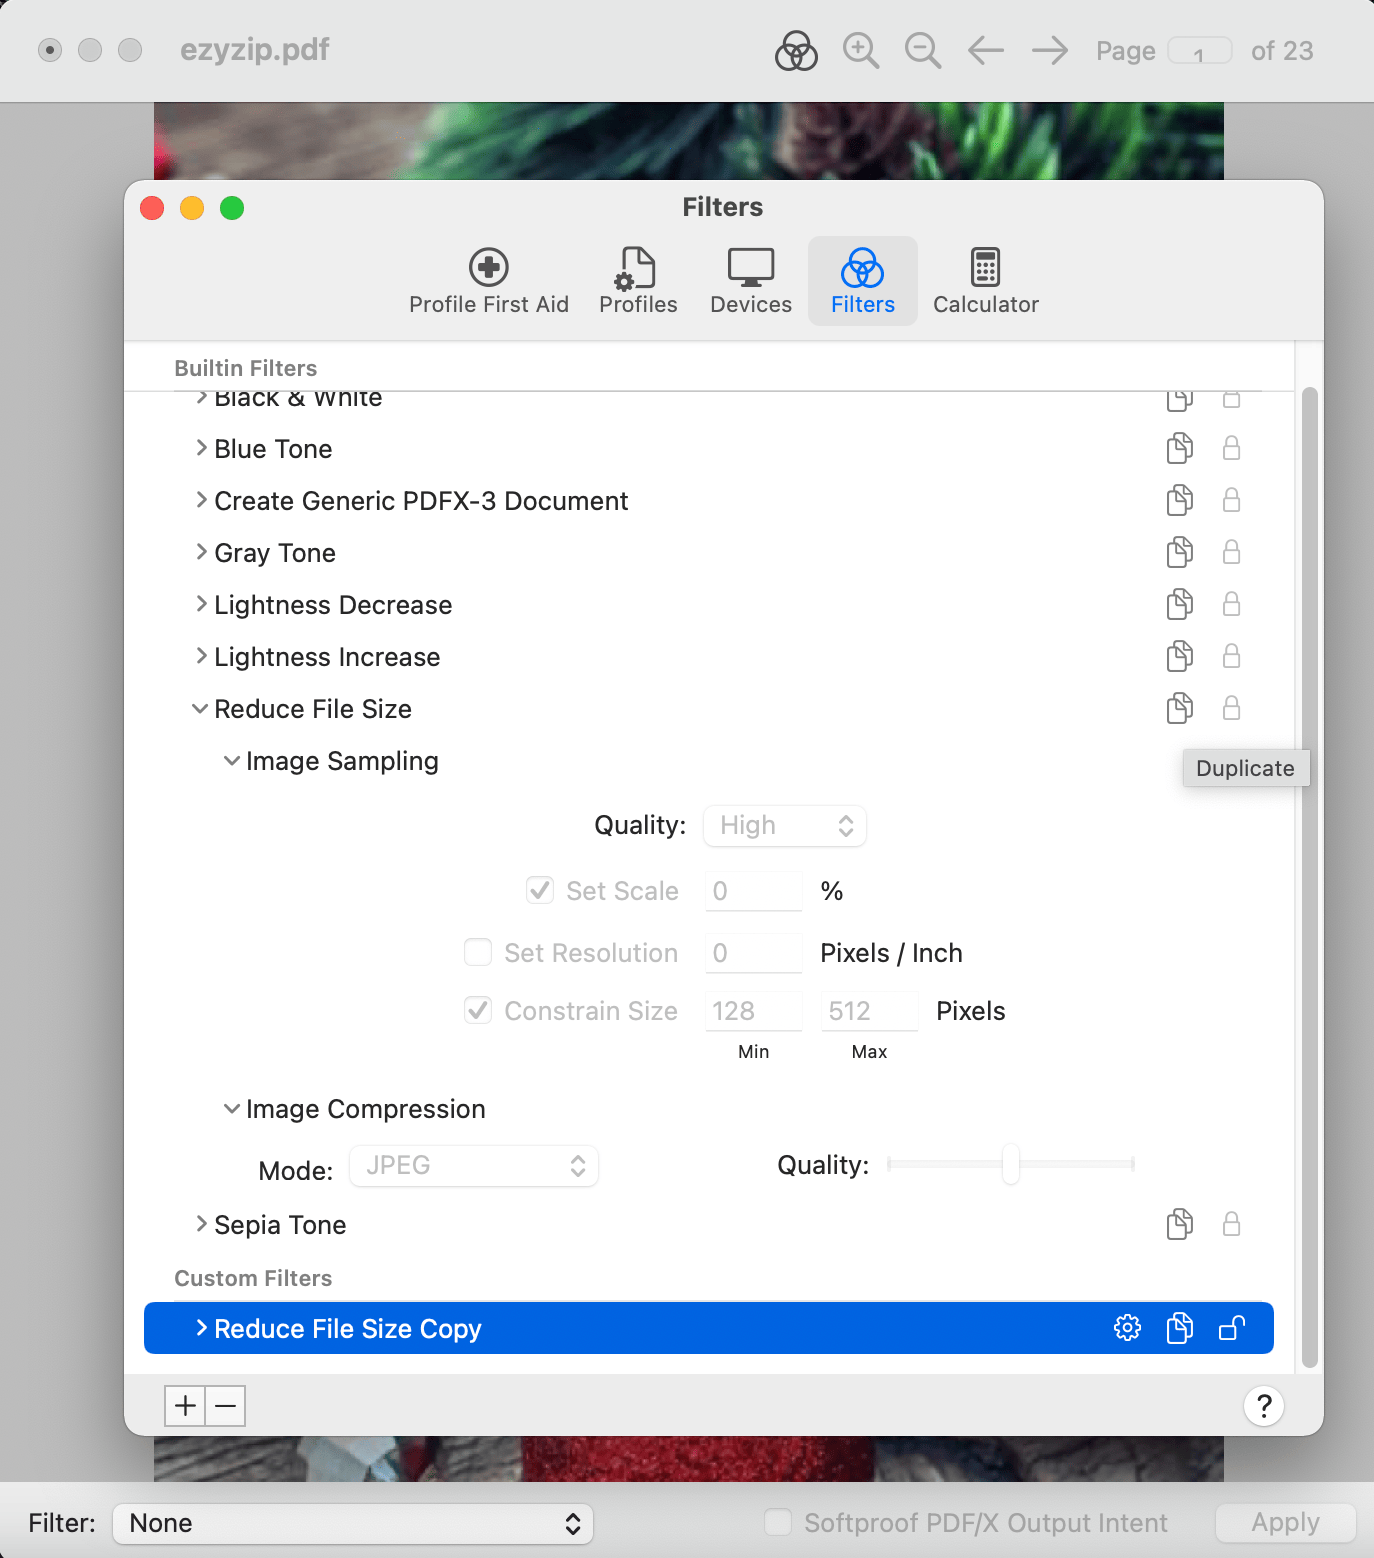
Remove the tick from “Constrain Size” and choose “Set Resolution” instead and type in the resolution you want.
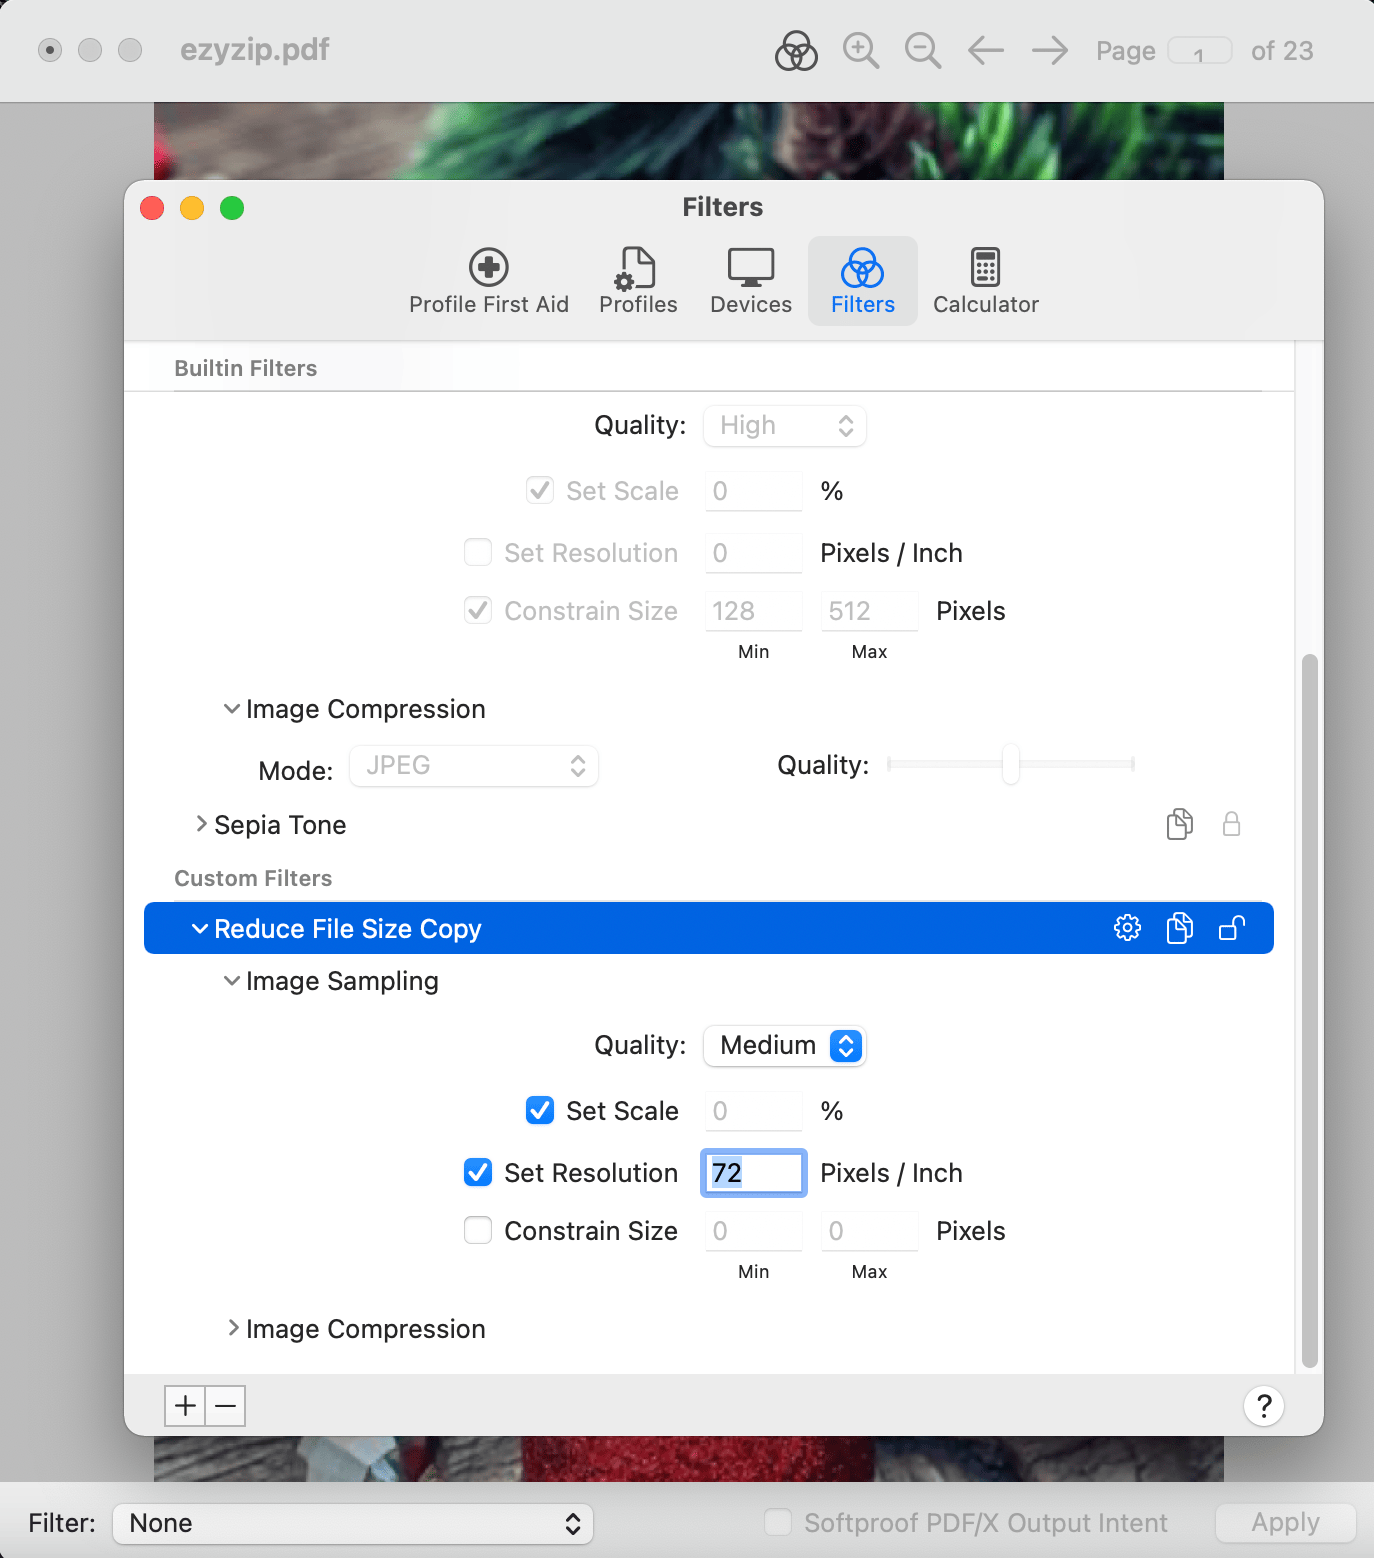
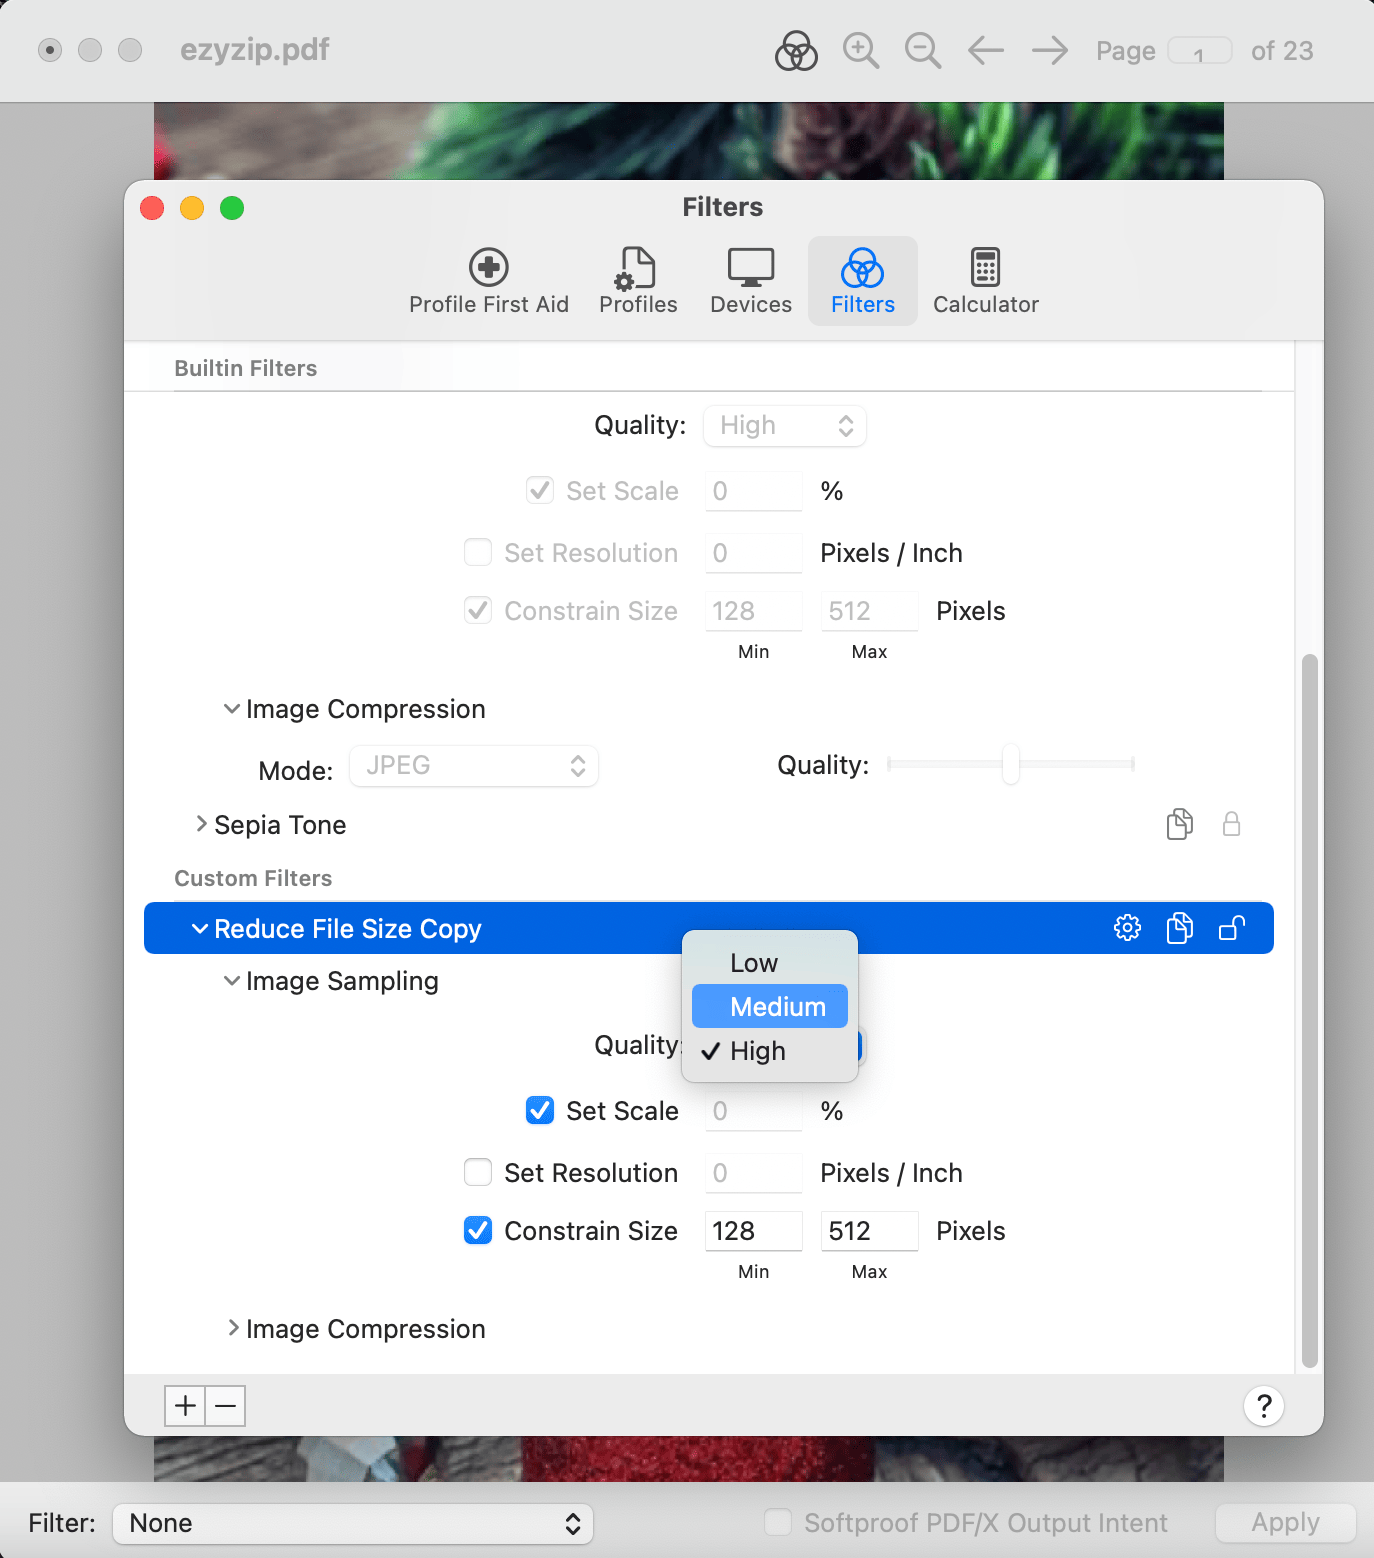
Under “Quality”, choose the level you wish.
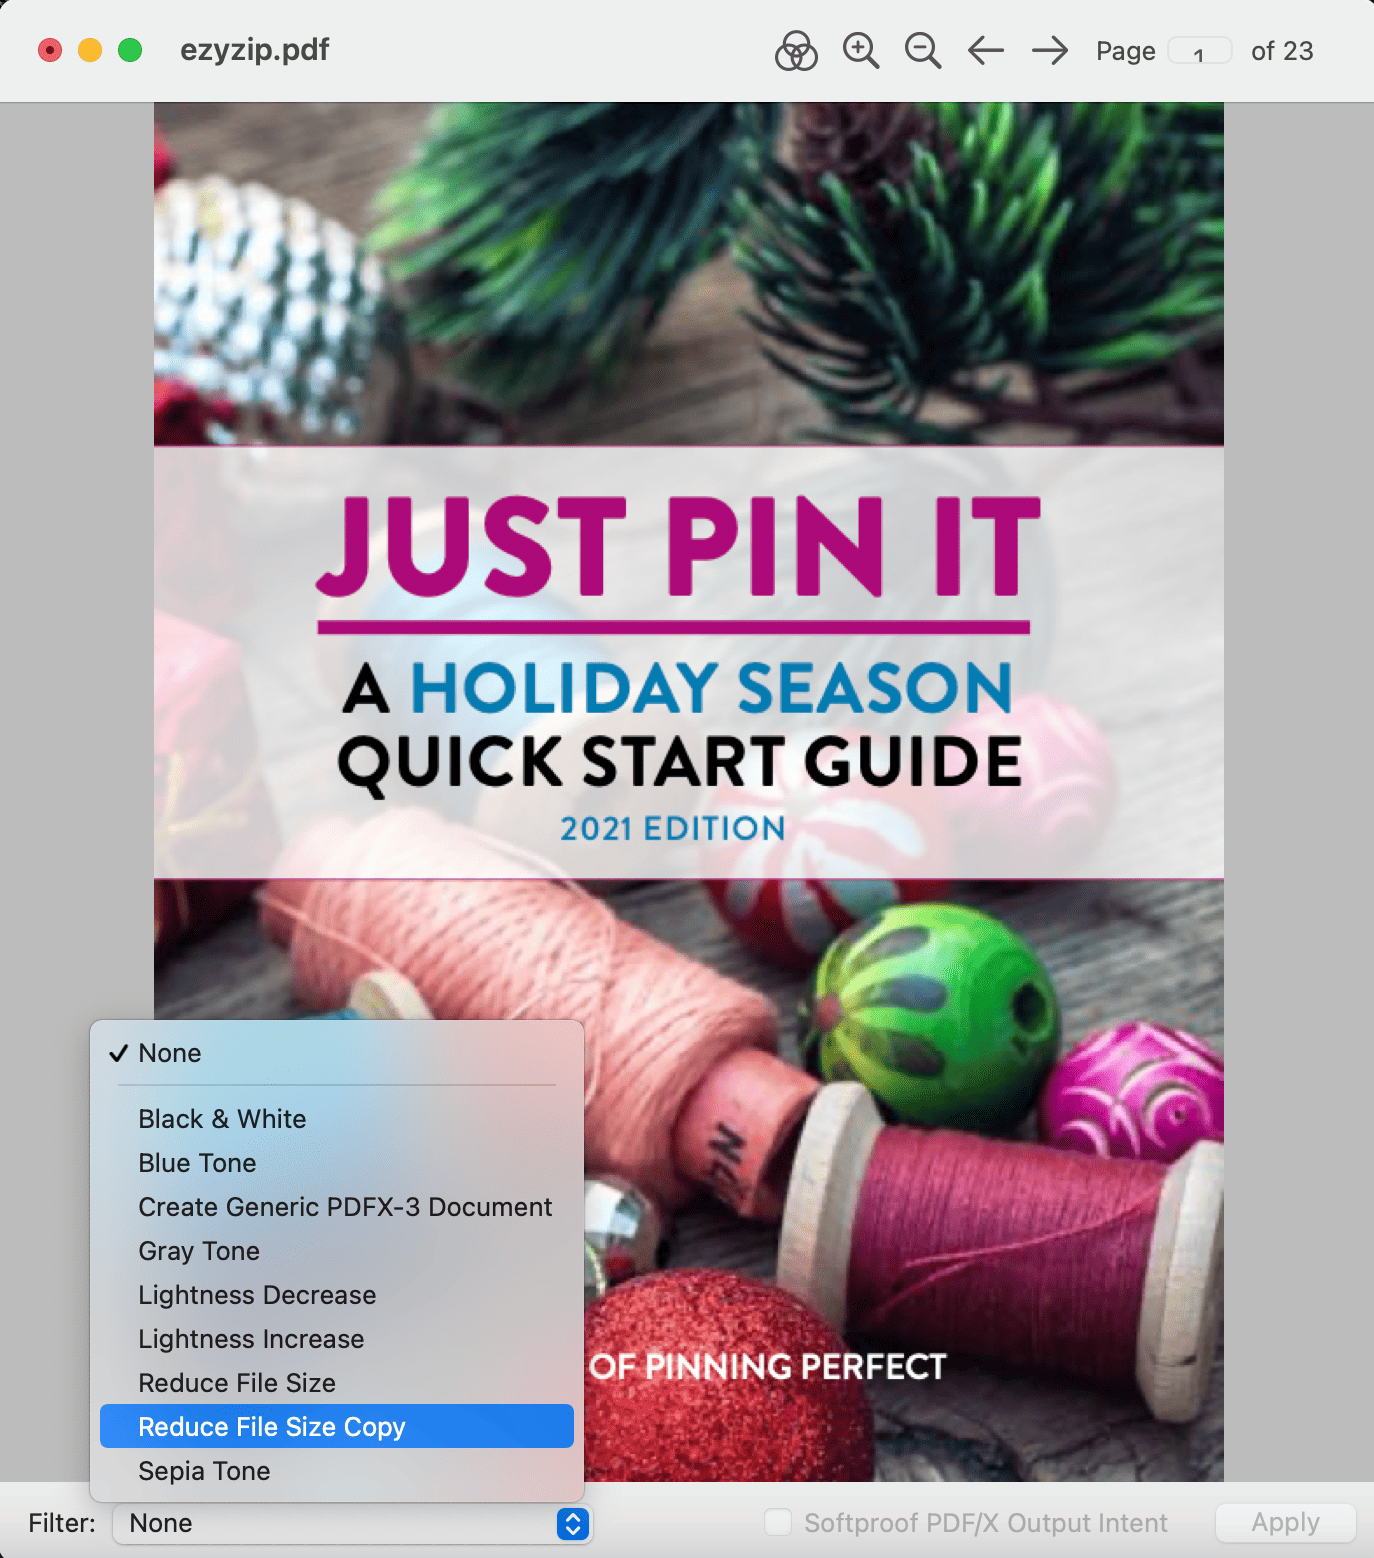
Close the window, you can see now “Reduce File Size Copy” has been added to the filter options.
Now click “File” -> “Export…”
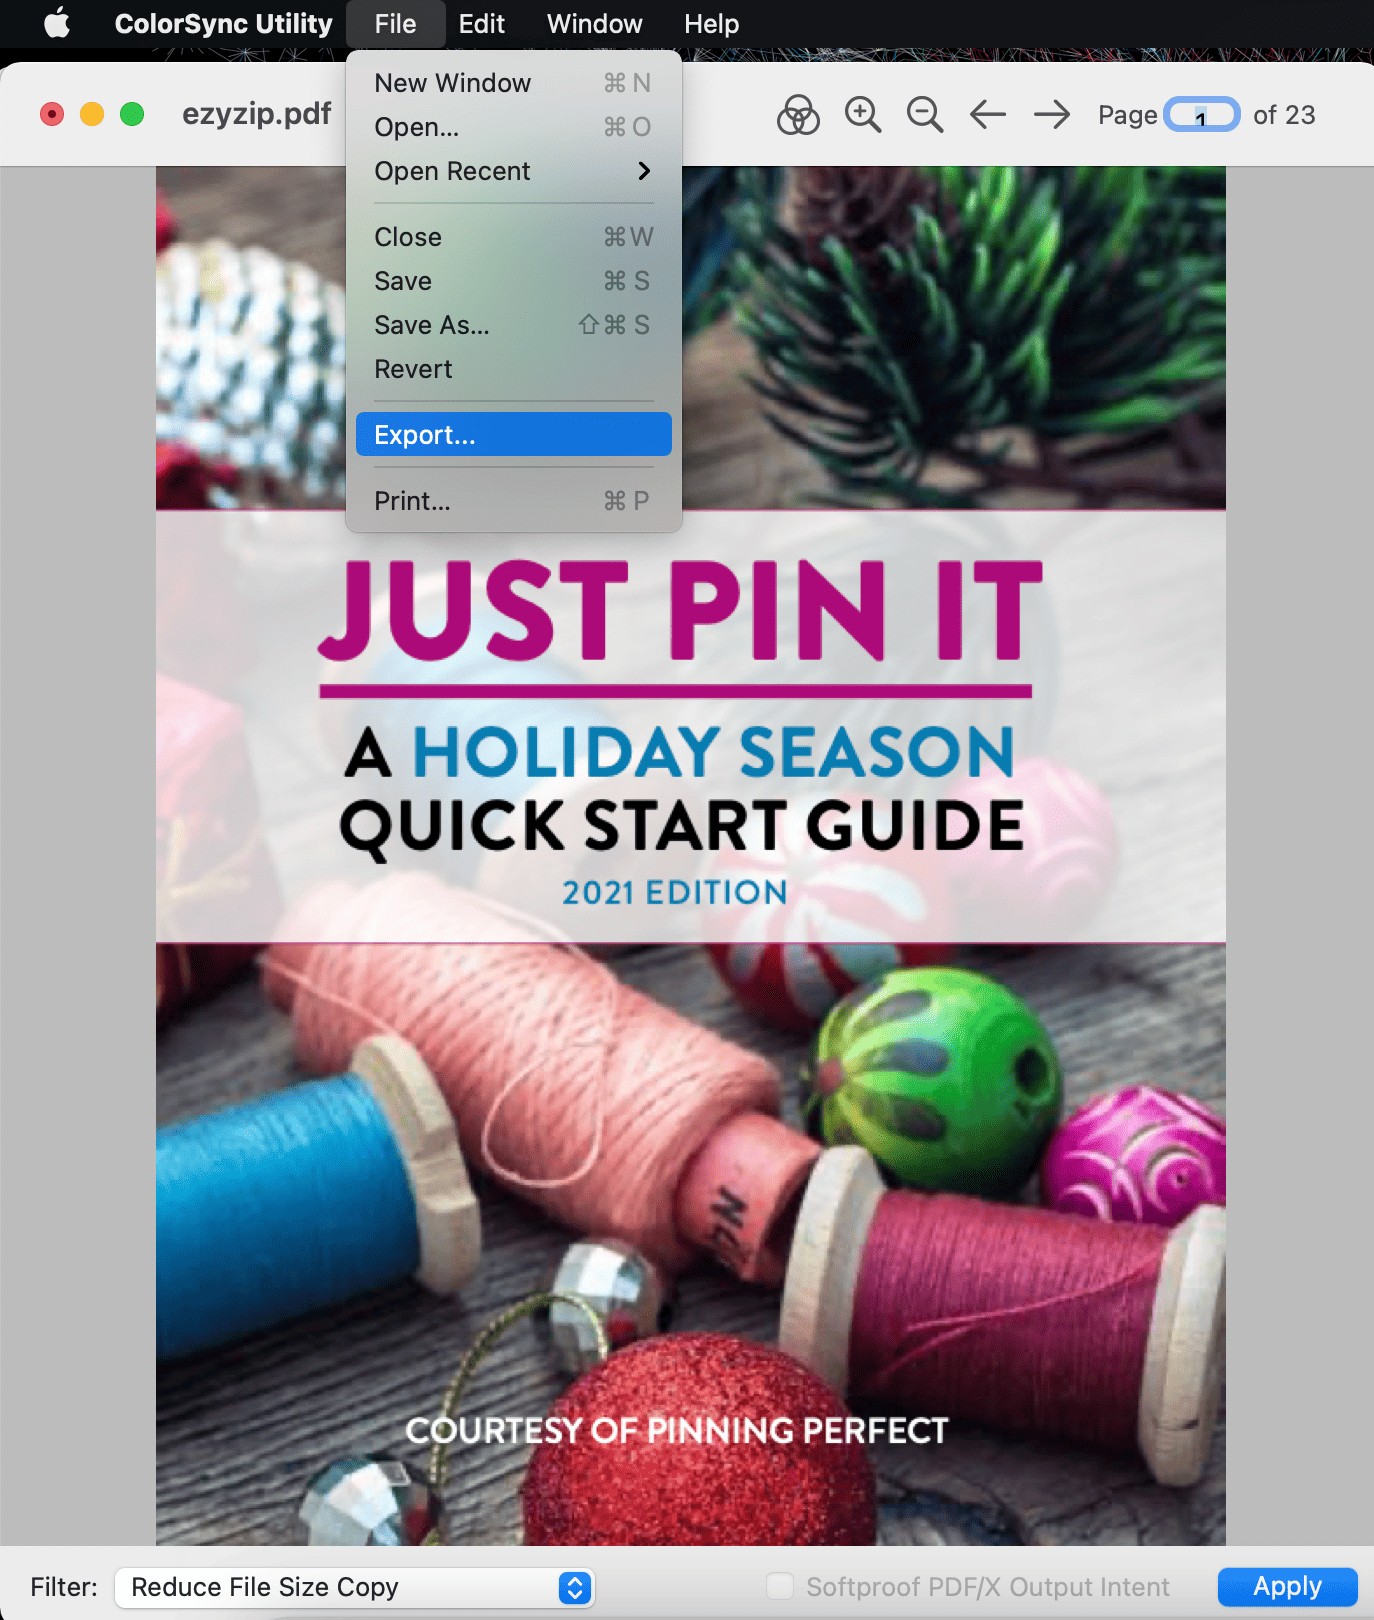
Put in the desired name for your new PDF file
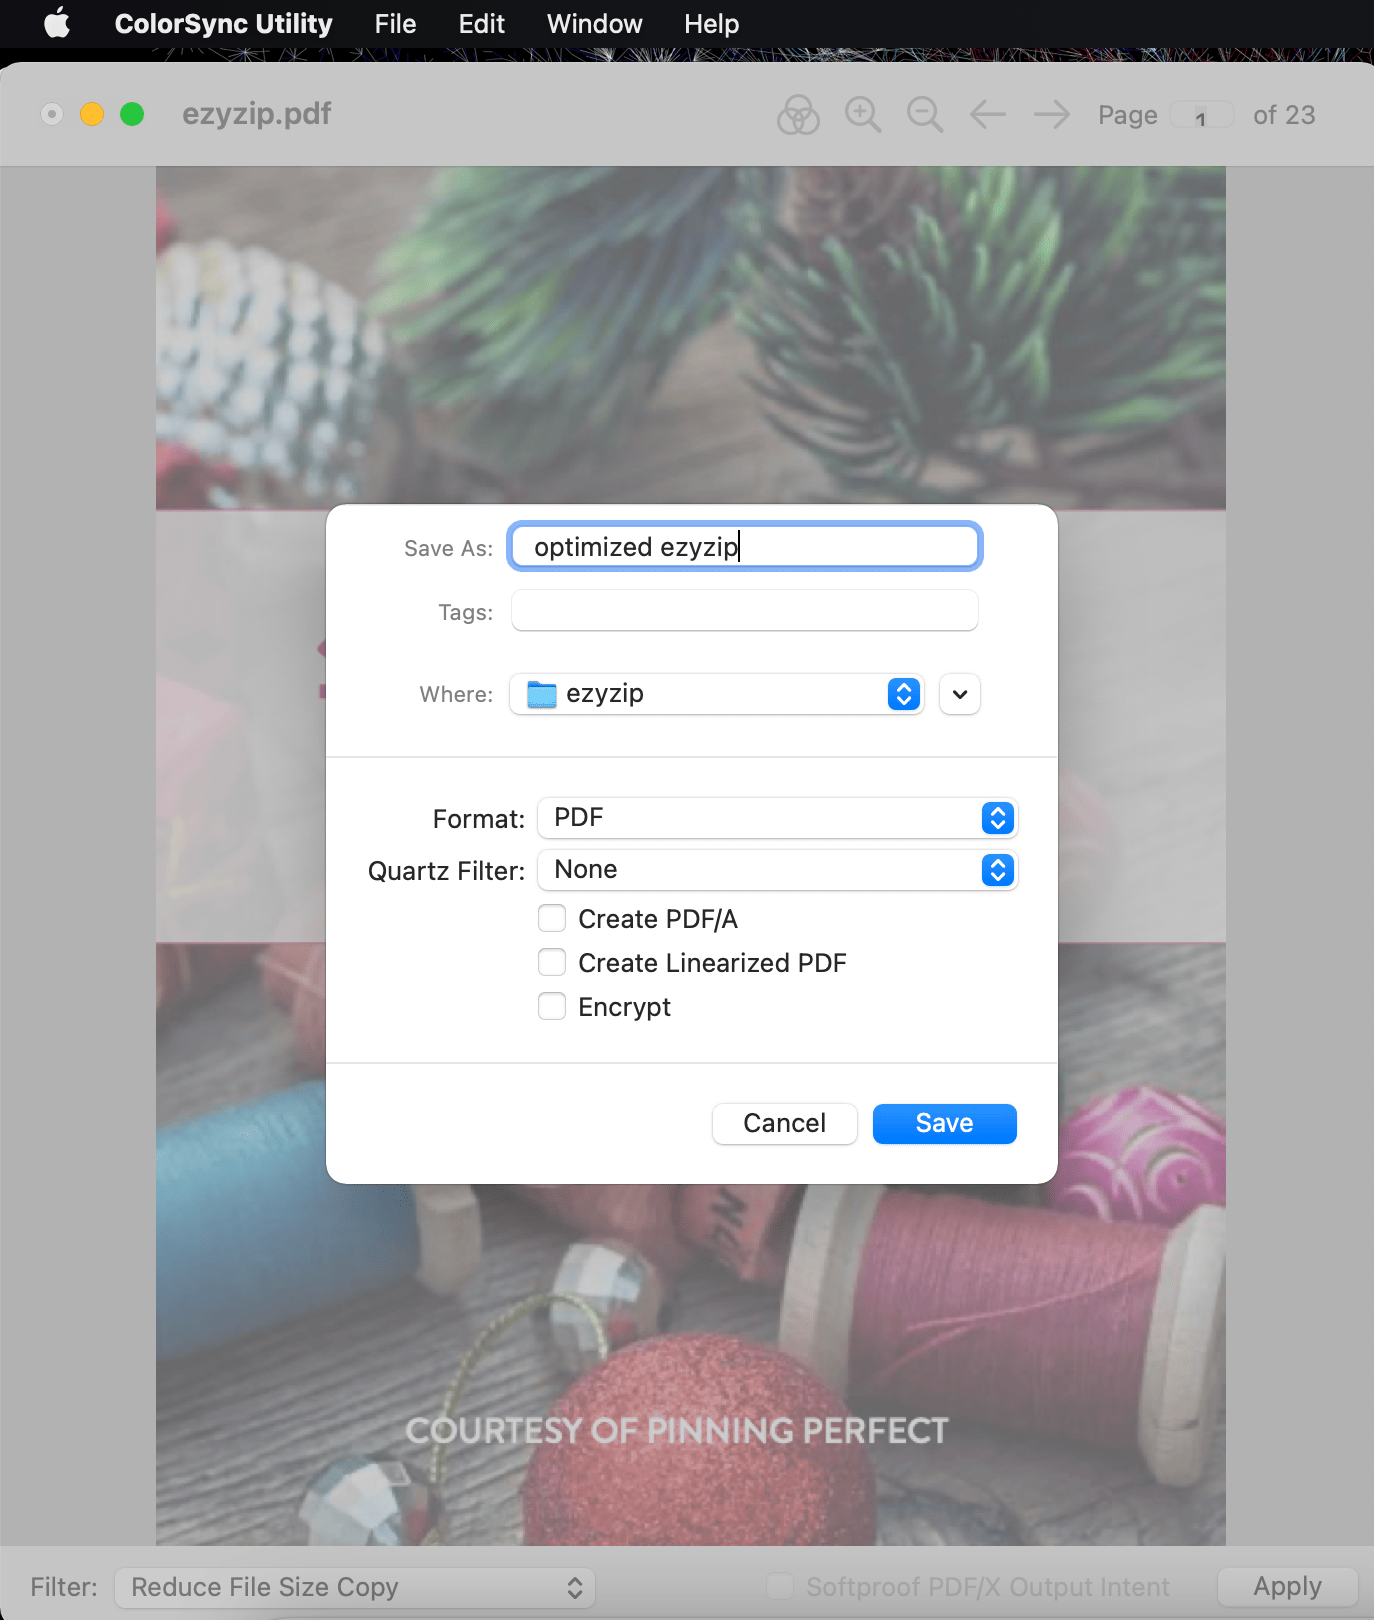
Under “Quartz Filter”, choose “Reduce File Size Copy”
That’s it! Your newly optimized PDF file will be in the folder you saved it too. You can create multiple filter options by repeating the same process for next usage! Happy Exploring!
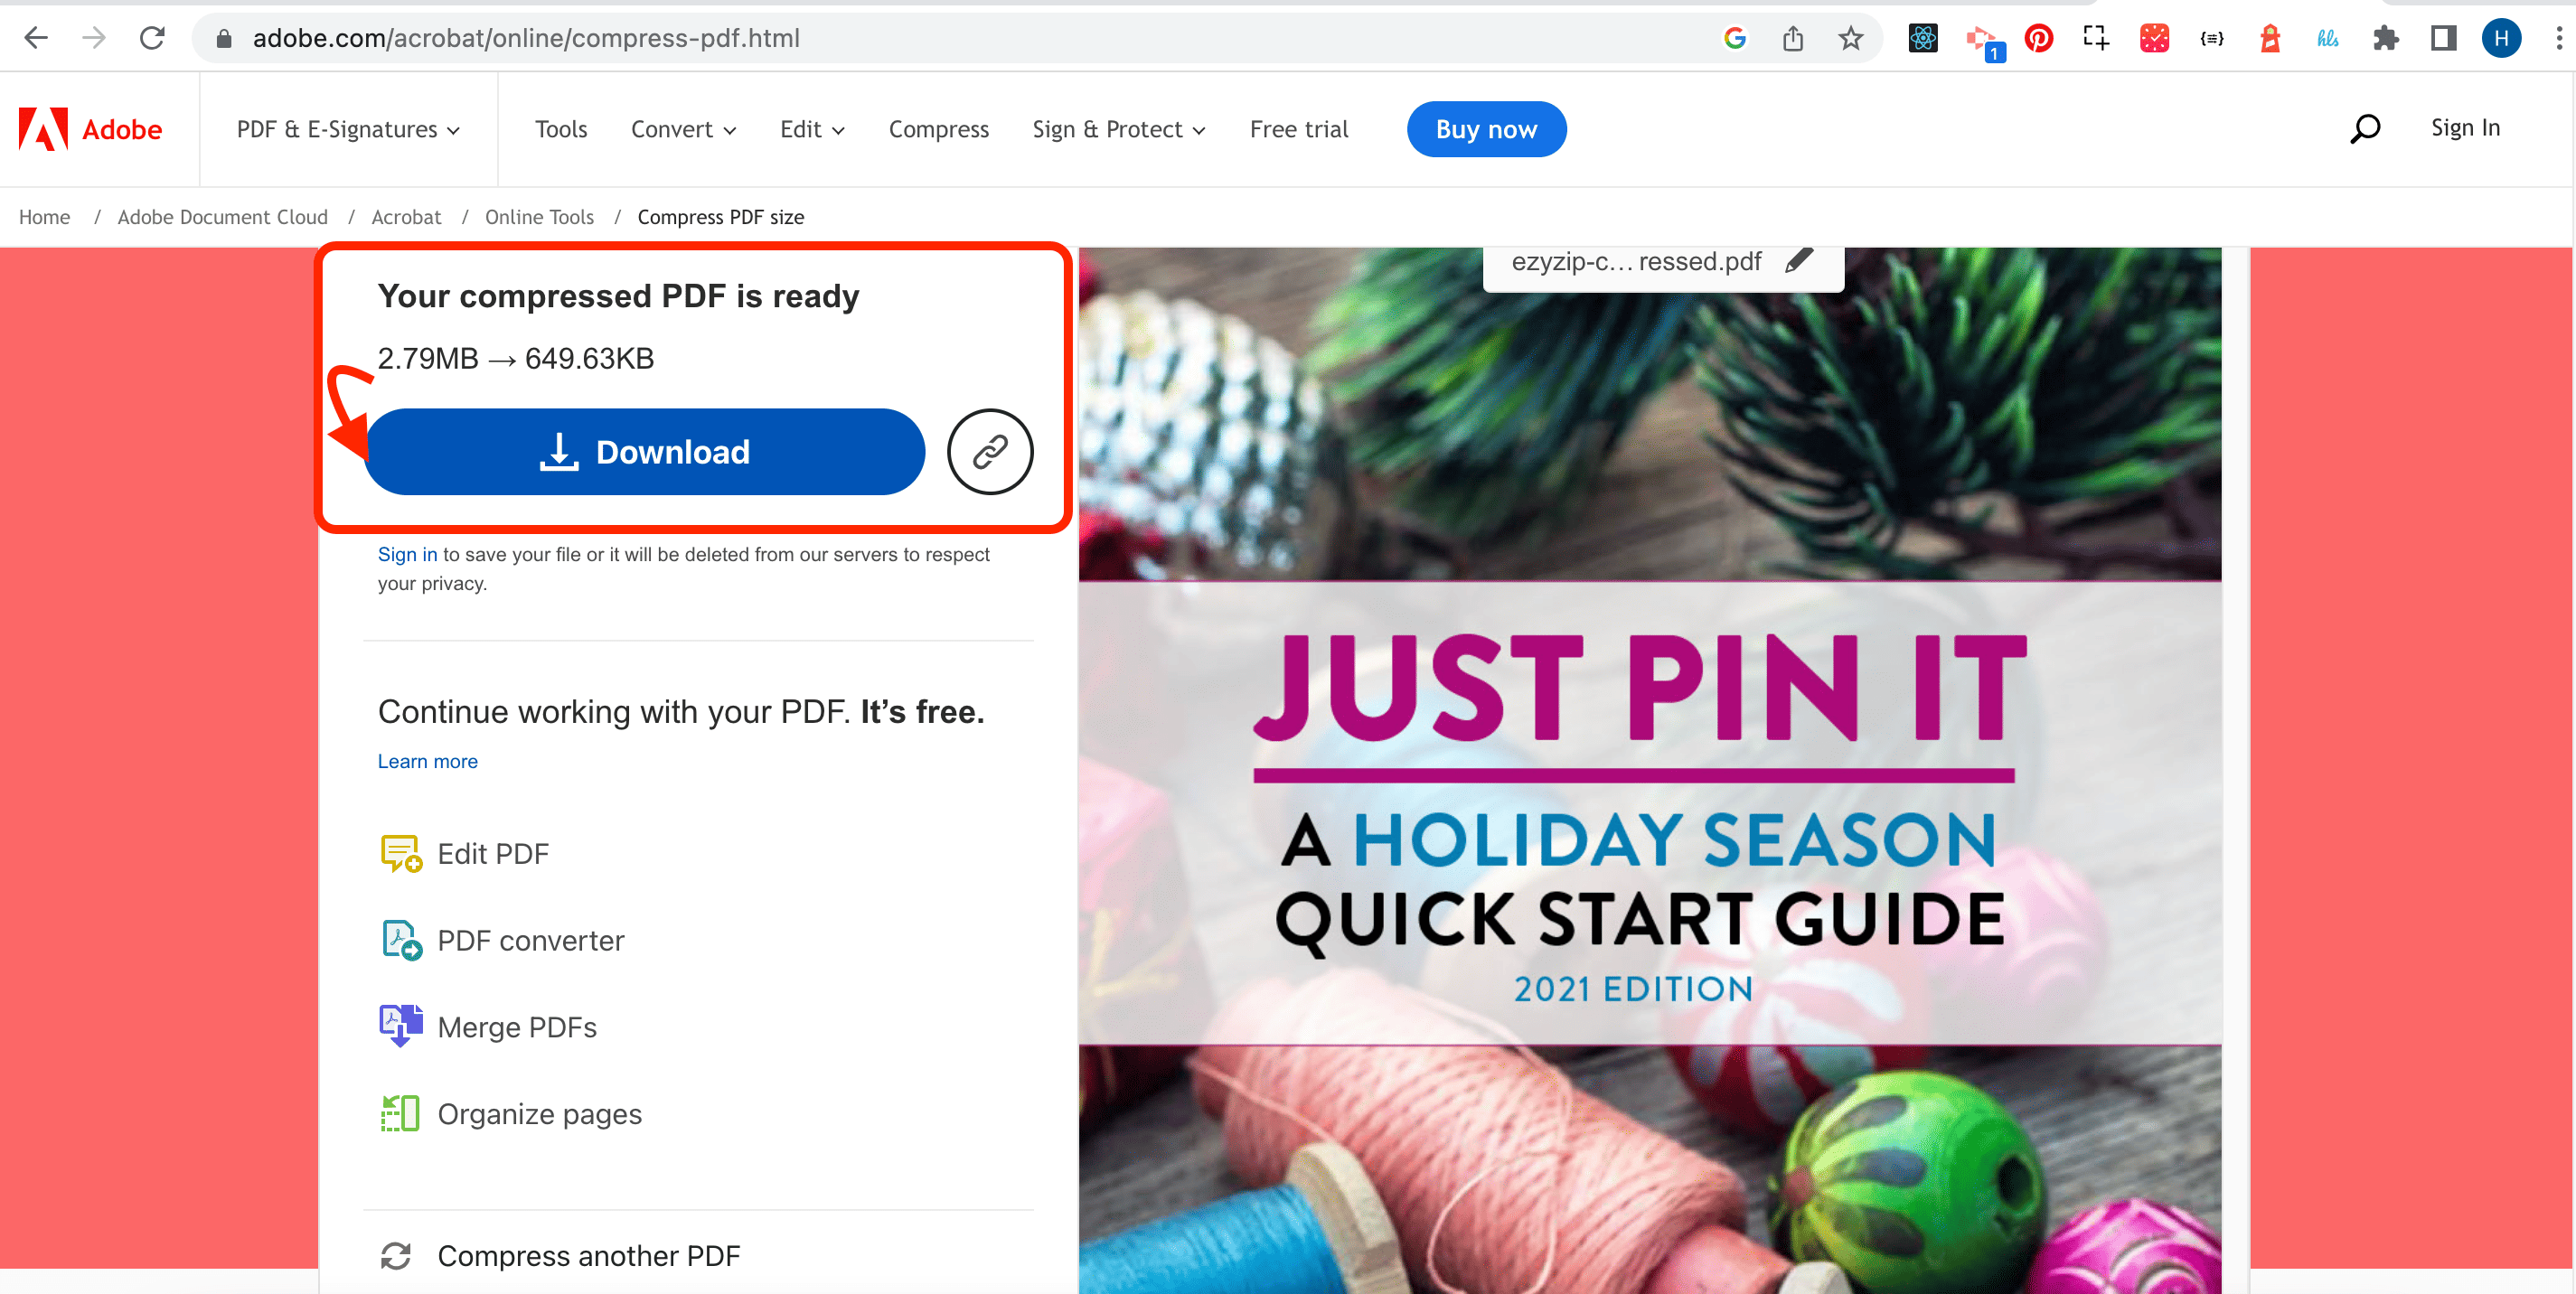
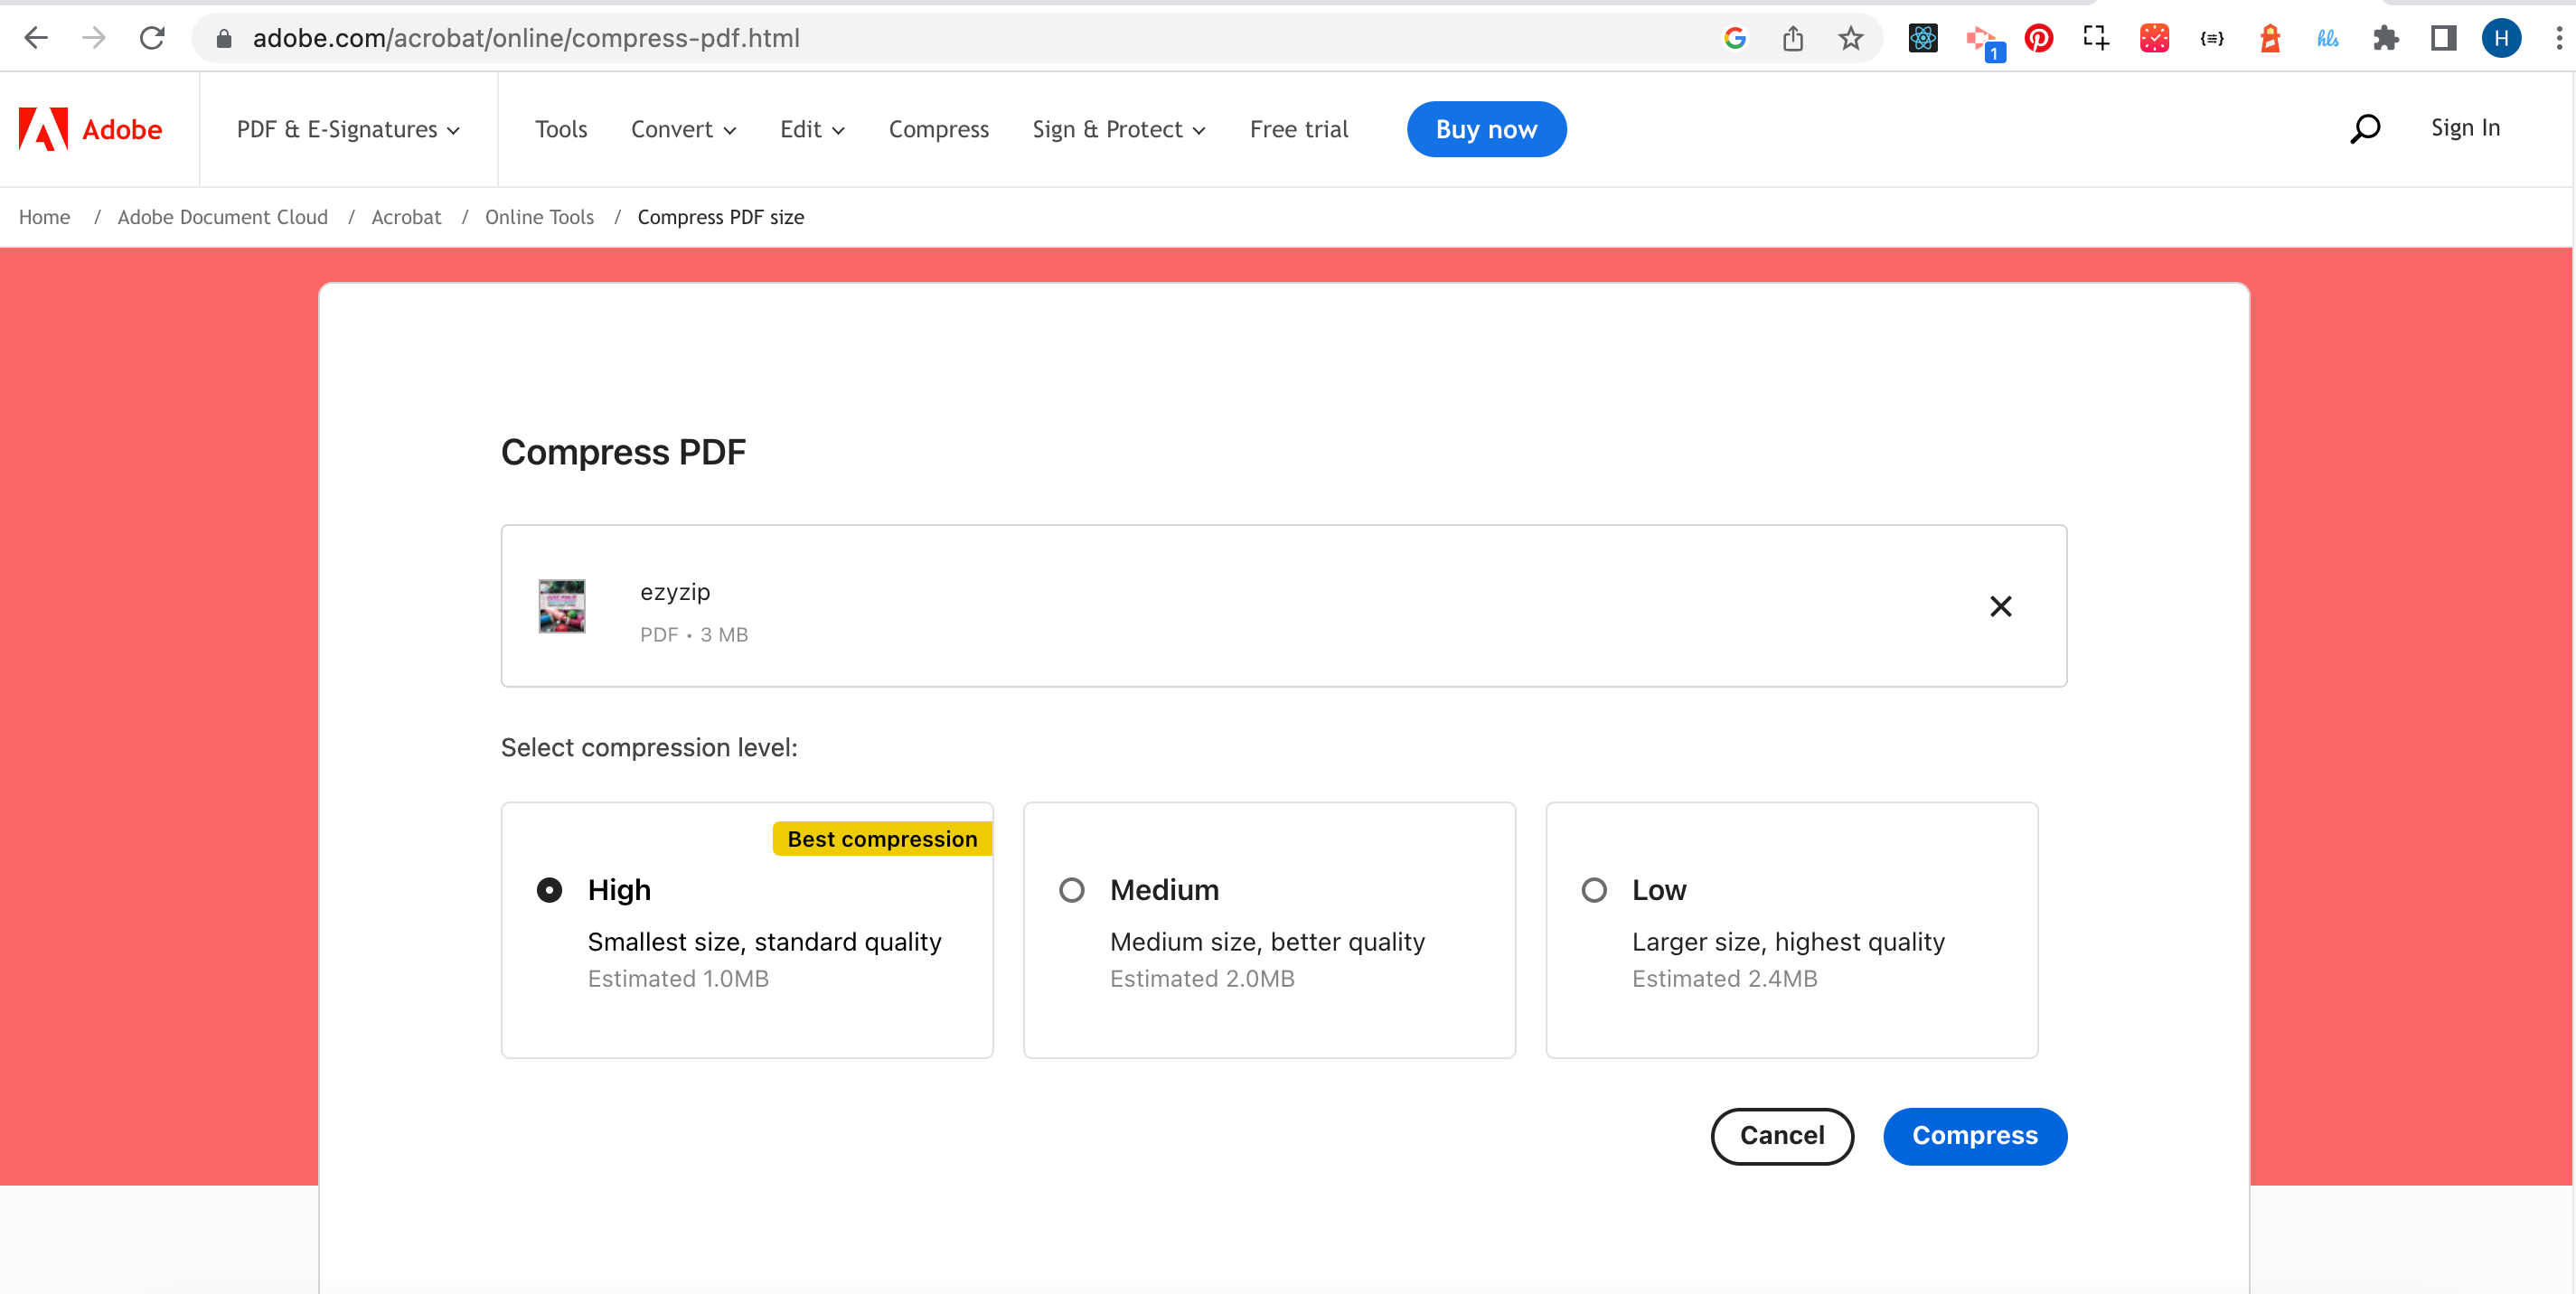
How To Reduce Size Using Adobe Acrobat’s Online PDF Compressor
Just like a monkey swinging from branch to branch, the world of the internet offers an abundance of online tools ready to reduce your PDF file size in no time. In this guide I will show you how to shrink PDFs files using Adobe Acrobat’s FREE online tool.
-
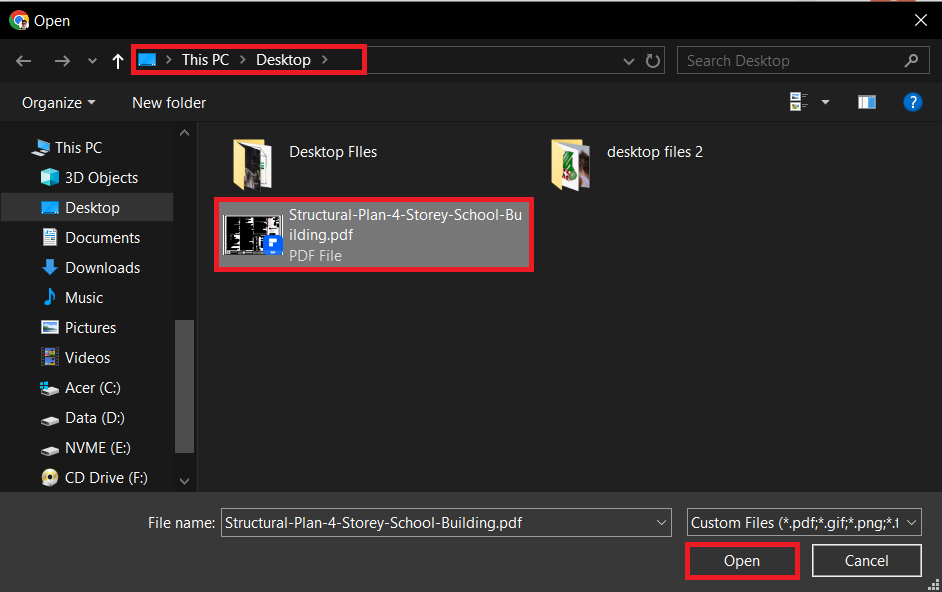
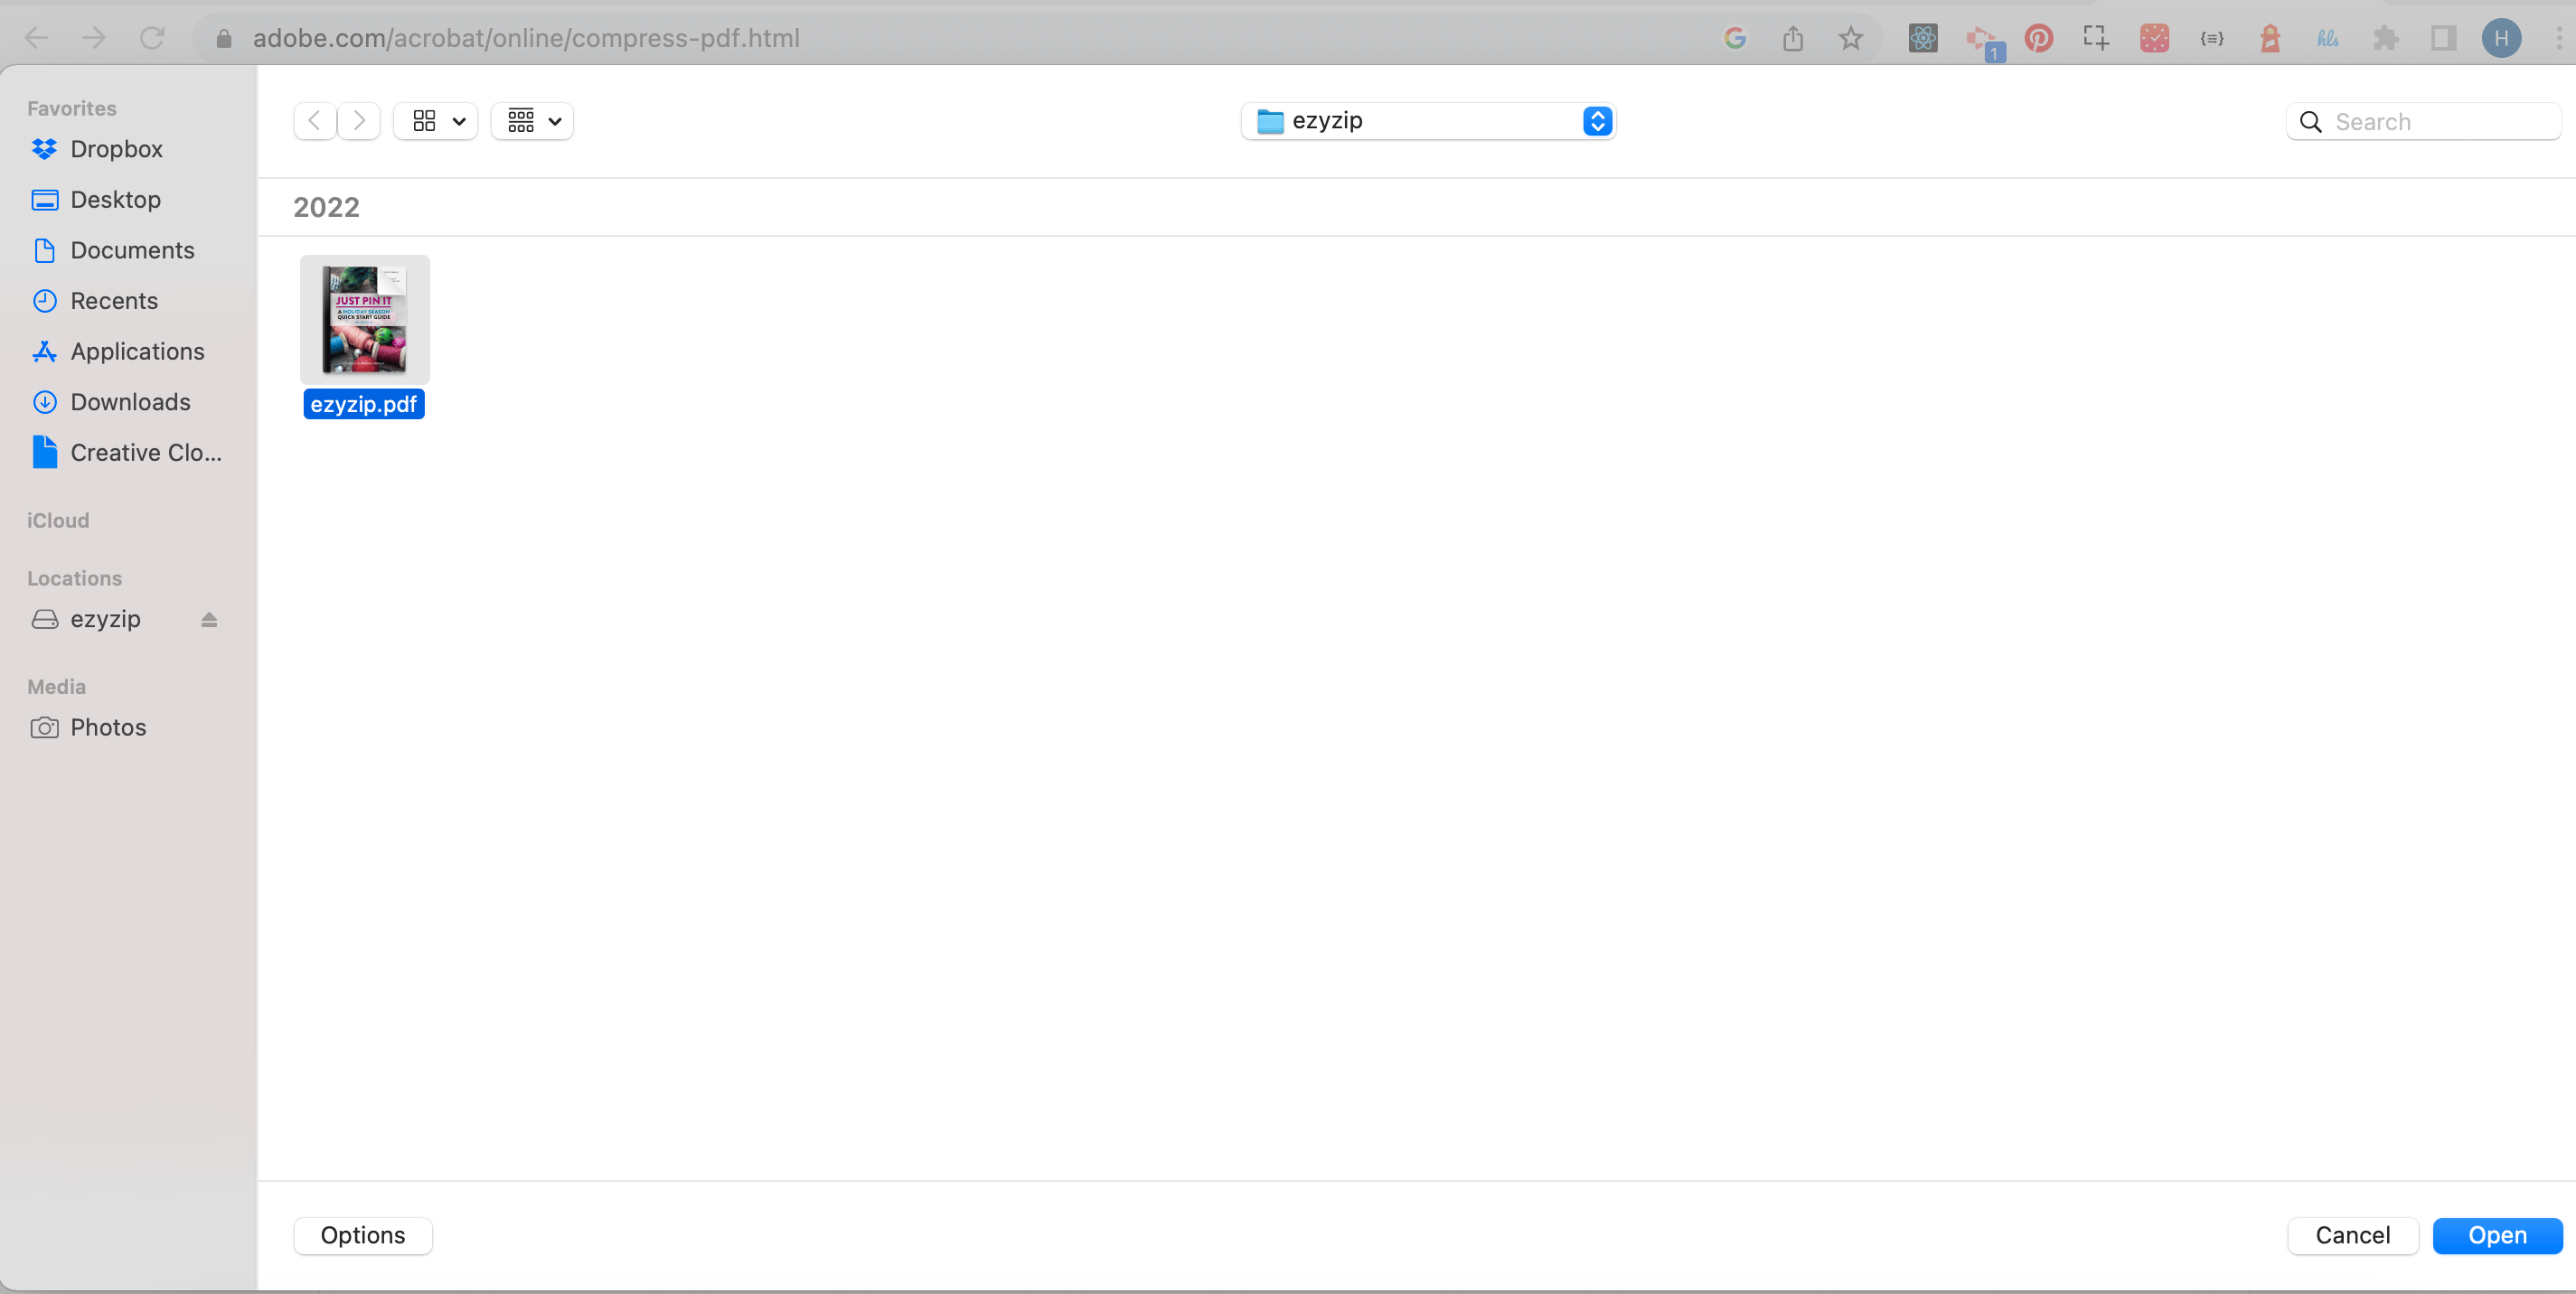
Upload Your File: Click on “Select a file”.
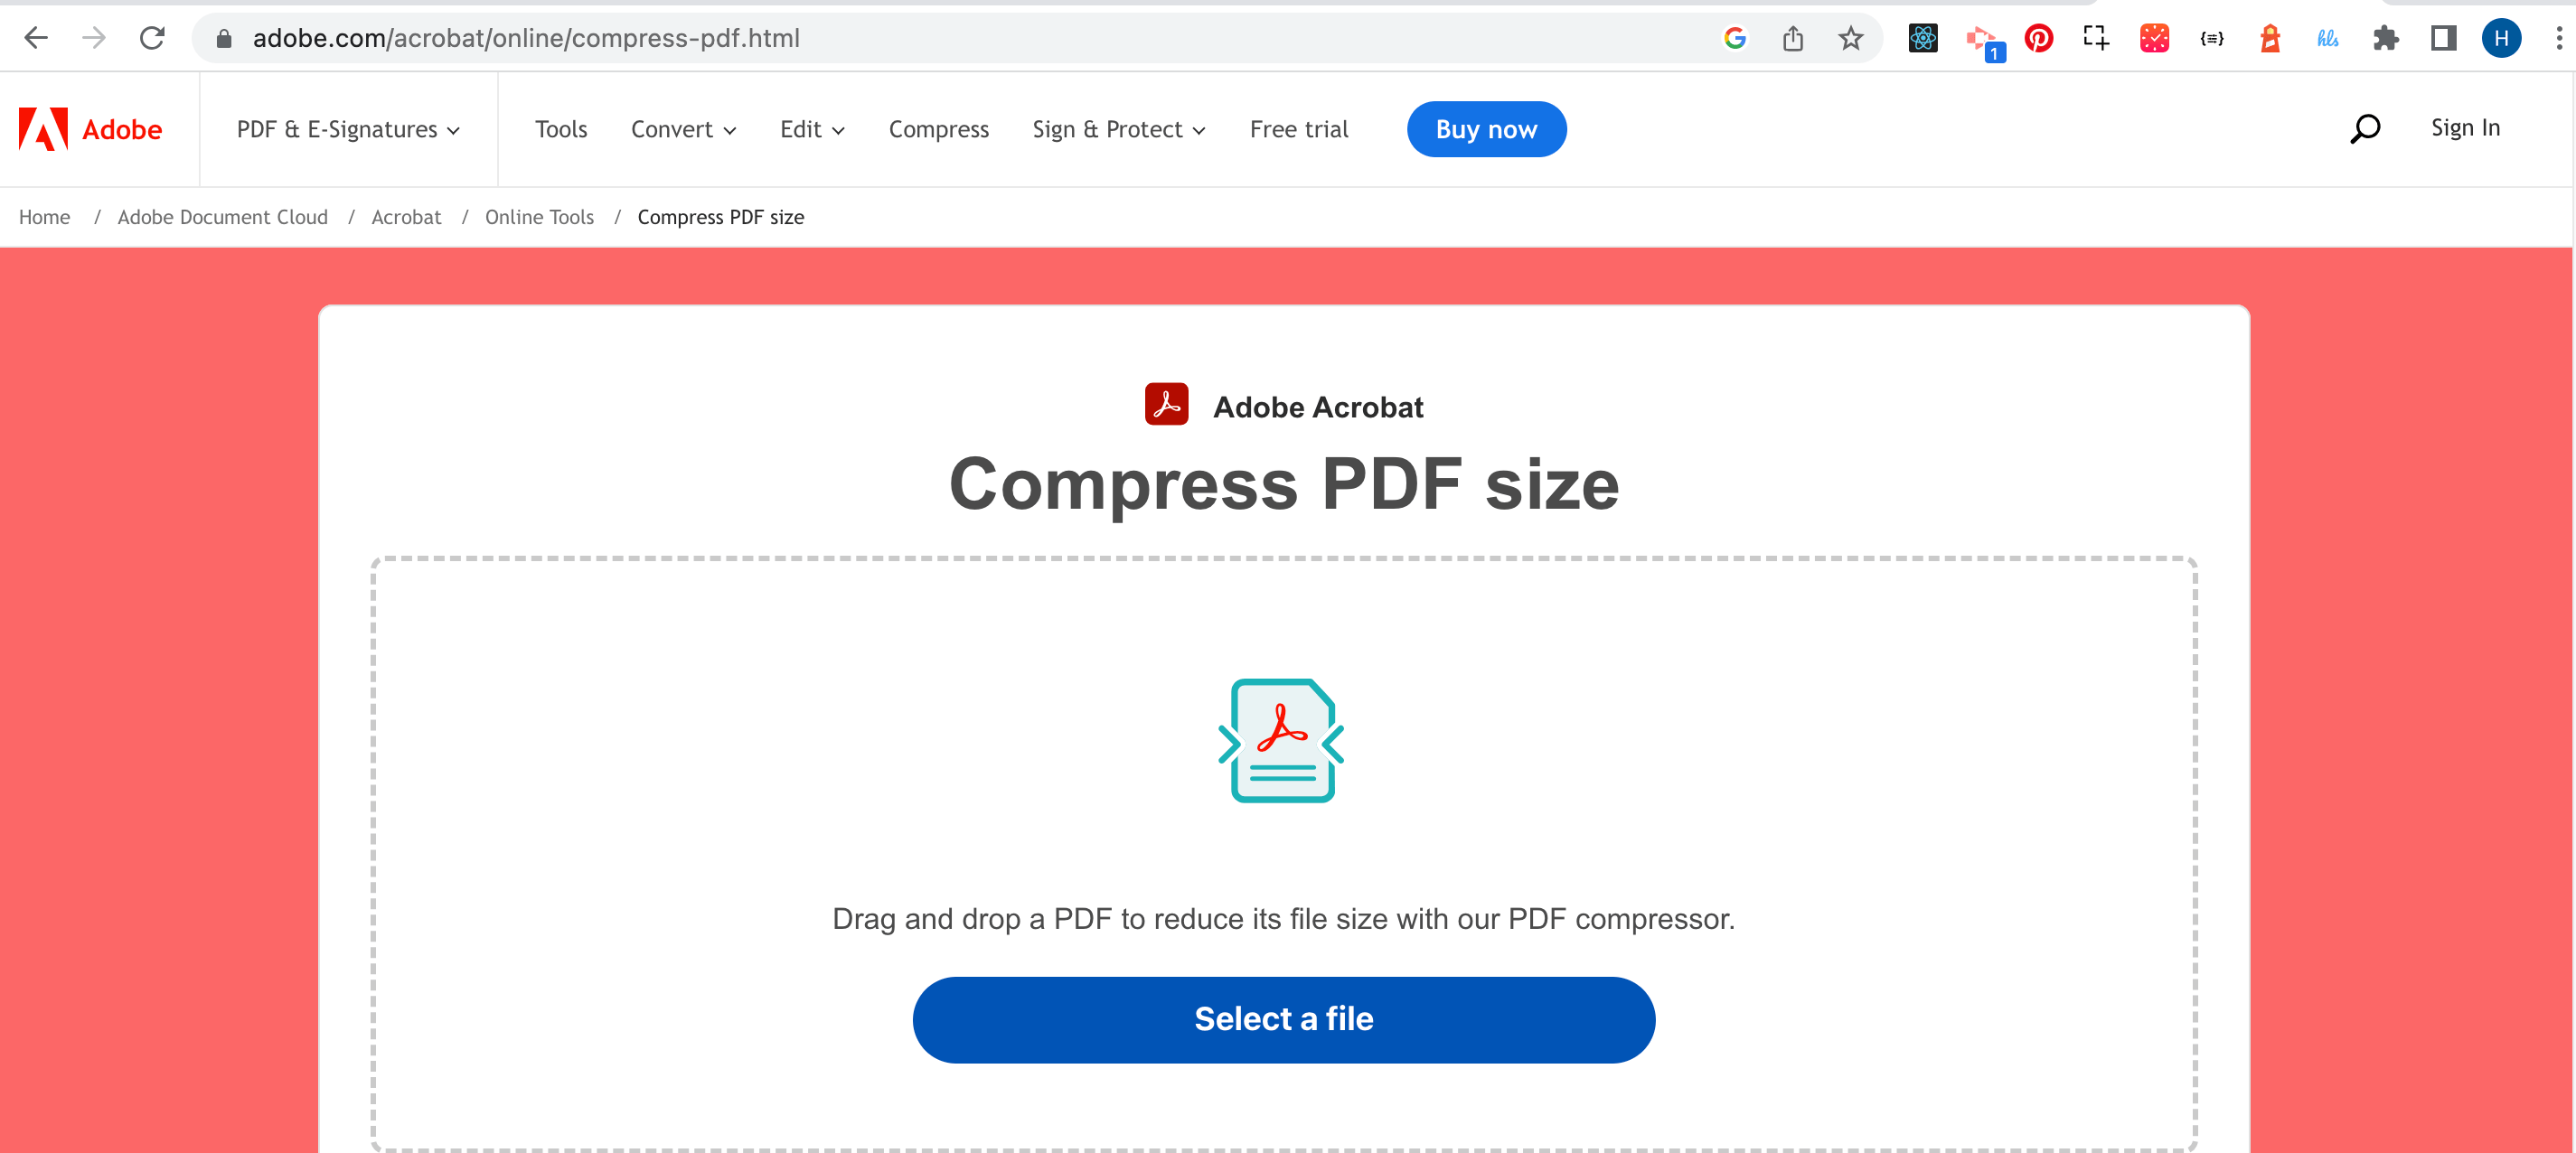
Navigate your way to your PDF file, just like you would in search of a juicy mango, then click “Open”.
-
Compress: Once uploaded, choose the compression level that you desire, hit the “Compress” button and let the online tool do its magic. It will squash that file just like you would a ripe banana!
Wait for it!
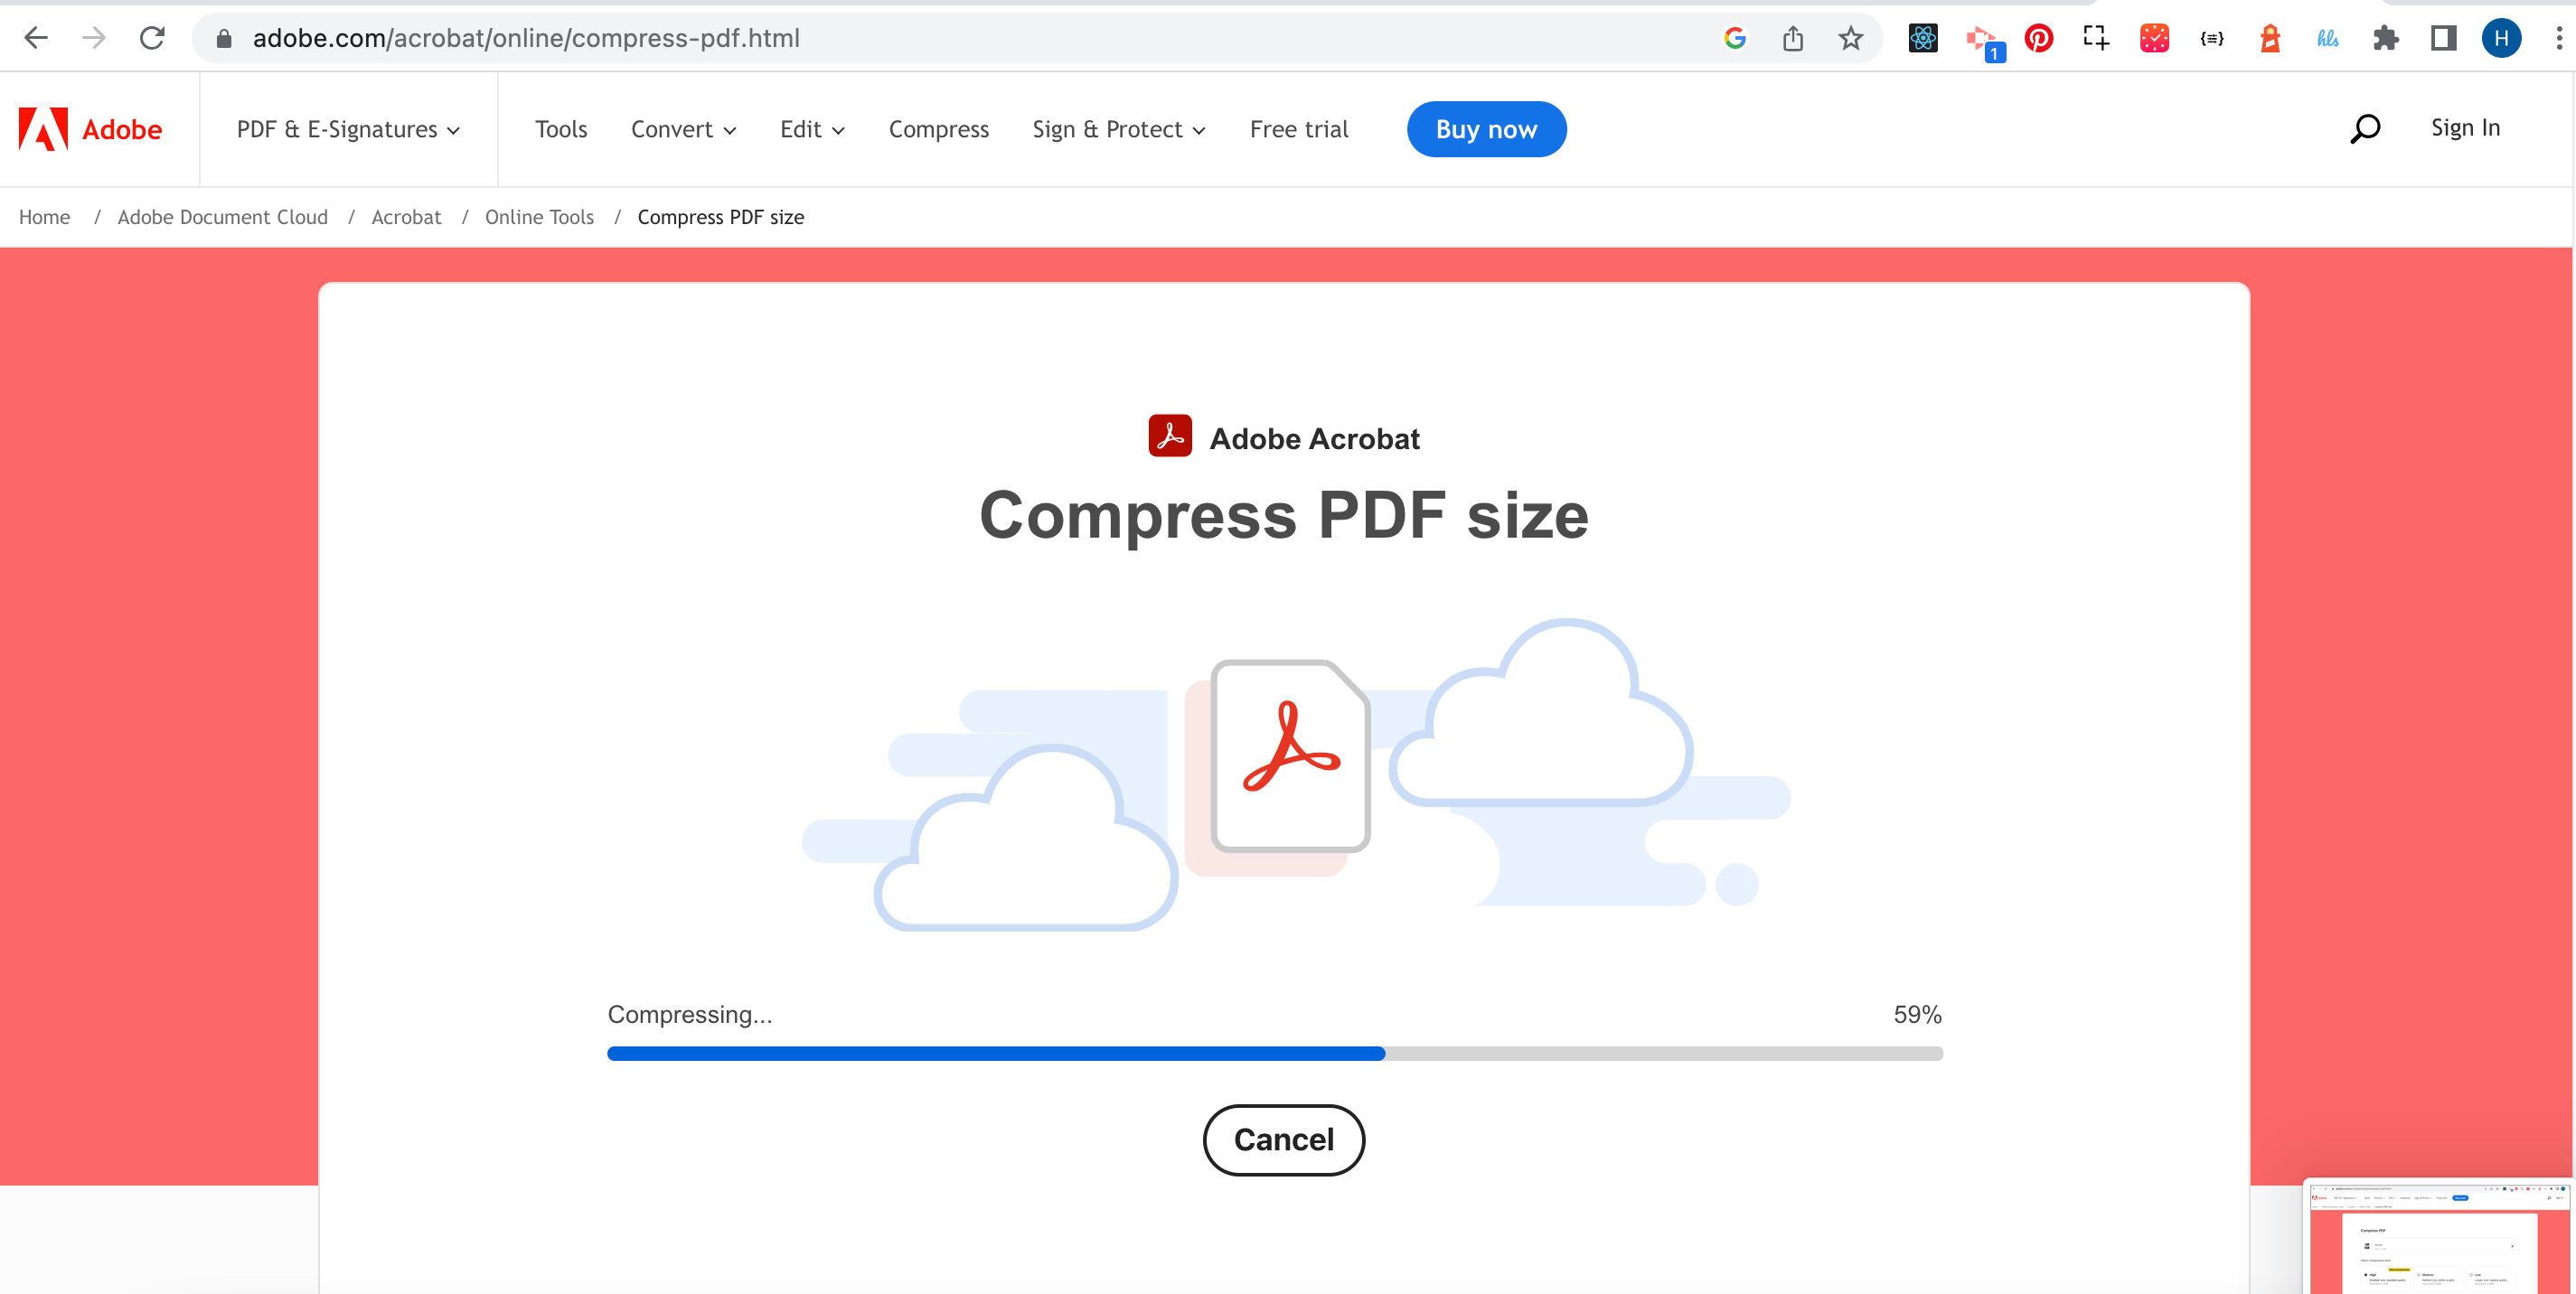
-
Download: Voila! After the compression, download your newly slimmed-down file. Easy-peasy monkey-squeezy!