
Hey, fellow jungle trekkers! 🐒 Has your digital backpack ever felt too heavy with big files? Just like how we monkeys love to squash bananas into a portable snack, you can also squash your files into smaller, more manageable sizes. Let’s embark on this compression adventure and make some room for more digital bananas!
Table of contents
- Understanding Compression: Reducing Actual File Size vs Archiving
- Compress Files Using Ezyzip Archive Creator
- Compress Files on Browser
- Compress Files on Windows
- Compress Files on MacOS
- Compress Files on Linux
Video guide showing how to compress files using your browser.
How To Compress Files Using Ezyzip Archive Creator
The simplest, fastest and easiest way to create an Zip file archive.
- Download & install EzyZip from the EzyZip Archive Creator Download Page – no monkey business required!
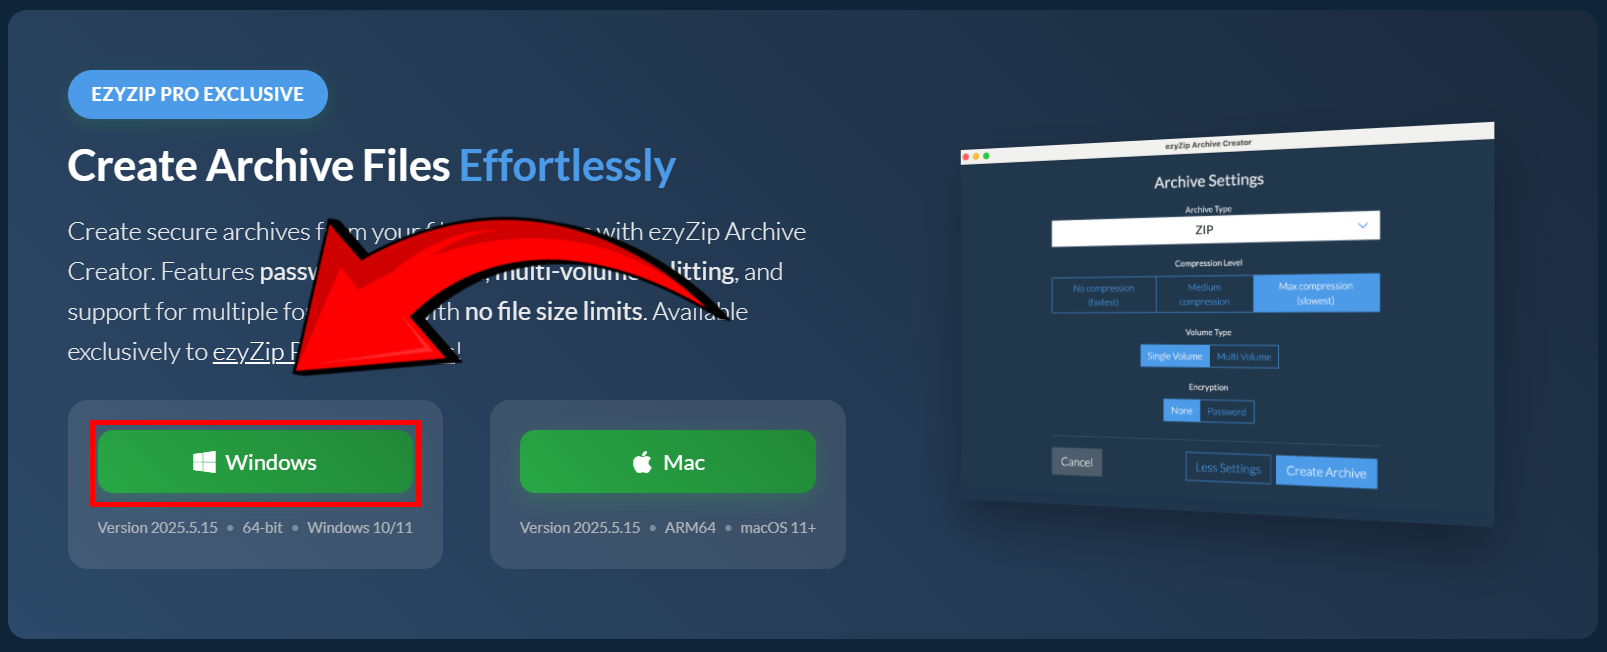
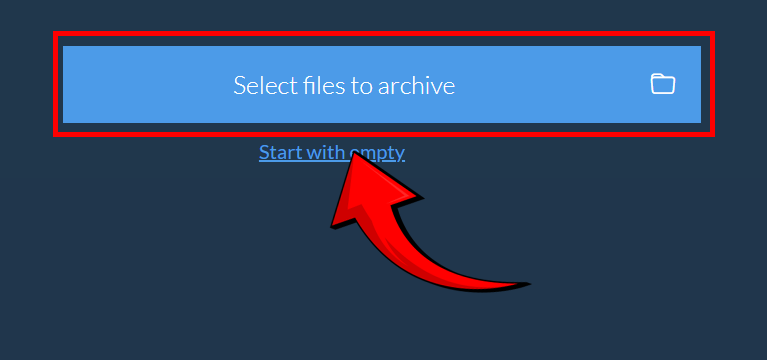
- Open the software and click “Select files to archive” – gather your digital bananas. 🍌
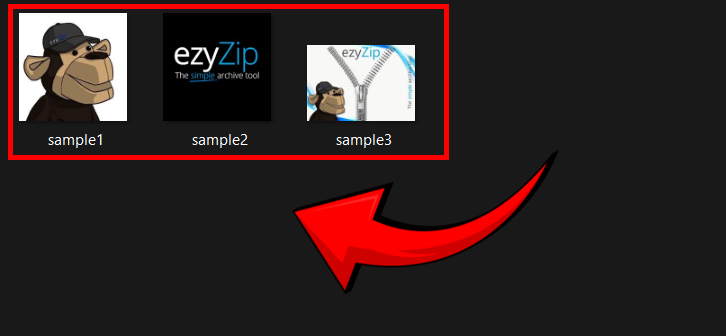
- Pick the files you want to compress – don’t drop them like a clumsy chimp!
- Click “Create Archive” – watch the magic happen faster than a jungle vine swing. 🌿
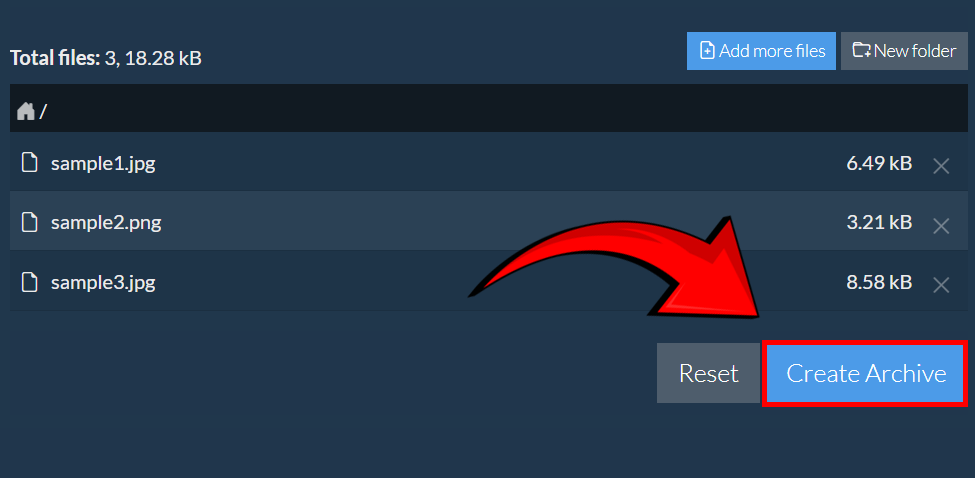
- Choose ZIP format, then hit “Create Archive” again – smooth as a gorilla’s handshake. 🦧

- Save your ZIP file – store it safely like prized jungle treasure. 🏆
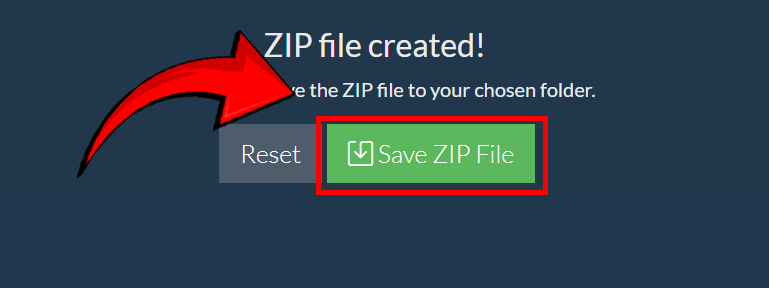
No more file chaos—just clean, compressed archives like a pro! 🚀🐒
Understanding Compression: Reducing Actual File Size vs Archiving
Before we dive into the how-to, let’s understand the difference between two types of compression:
- Reducing Actual File Size: This is like taking a big banana and squeezing out its moisture to make banana chips. The file itself changes, but it often remains readable without additional steps. For instance, using tools to reduce image resolution or quality. There might be some reduction in quality, depending how aggressively you compressed the file.
- Using an Archive File: This is like putting a bunch of bananas in a compact container. The bananas (files) remain the same inside, but they’re grouped and stored efficiently. You’ll need to “open” the container (or decompress the archive) to access the original files. The files will return back to their original file size and quality.
How To Compress Files Online
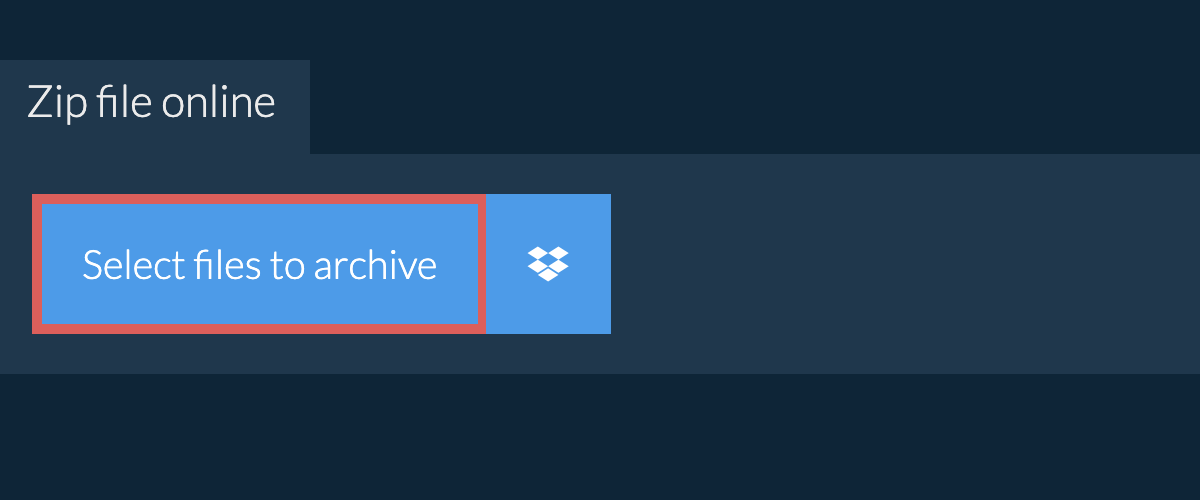
The simplest option that doesn’t require any additional software (just your trusty browser), is to use an online solution like ezyZip!
- Navigate to the zip files or zip folder page on ezyZip.
- Select the file or folder you wish to compress.
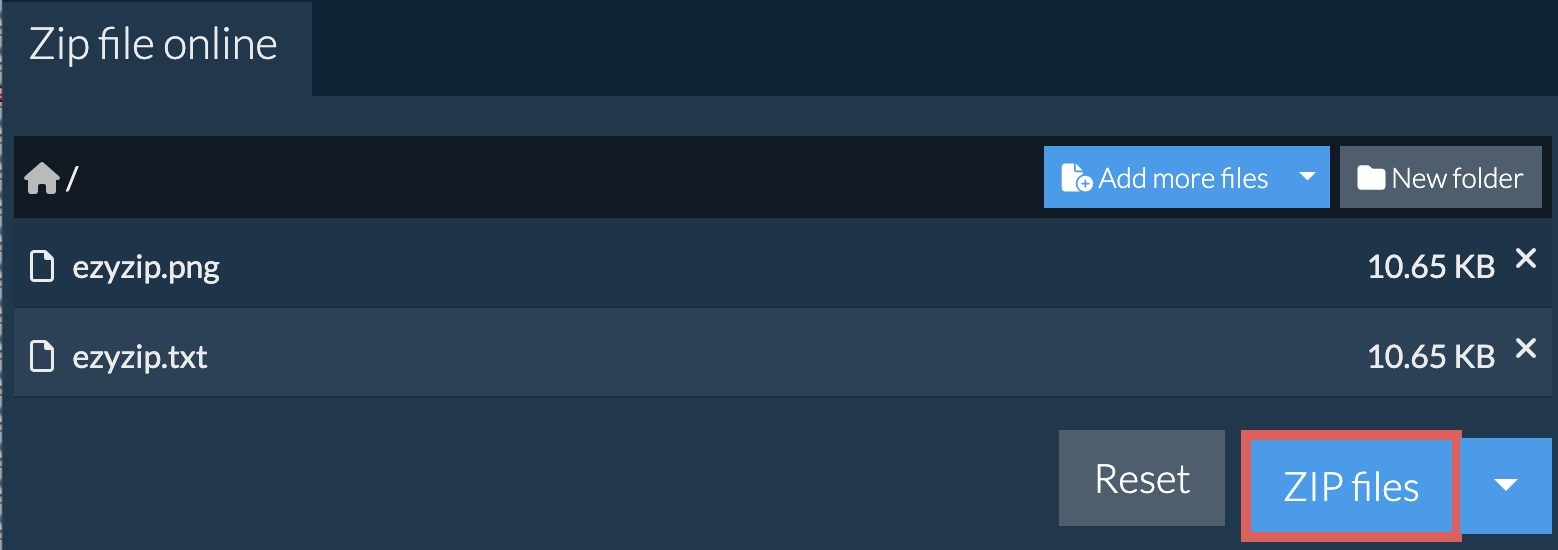
- Click “Zip Files”. It will start compressing the files.
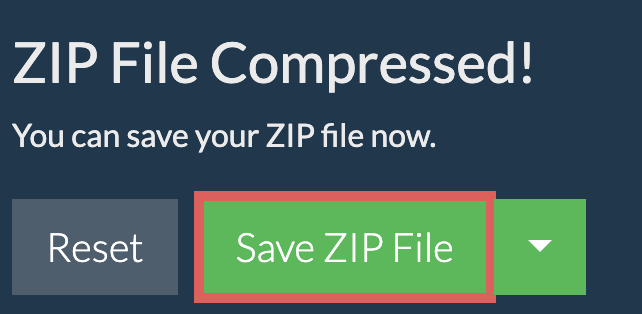
- Click “Save ZIP File” to save the archive to your local drive.
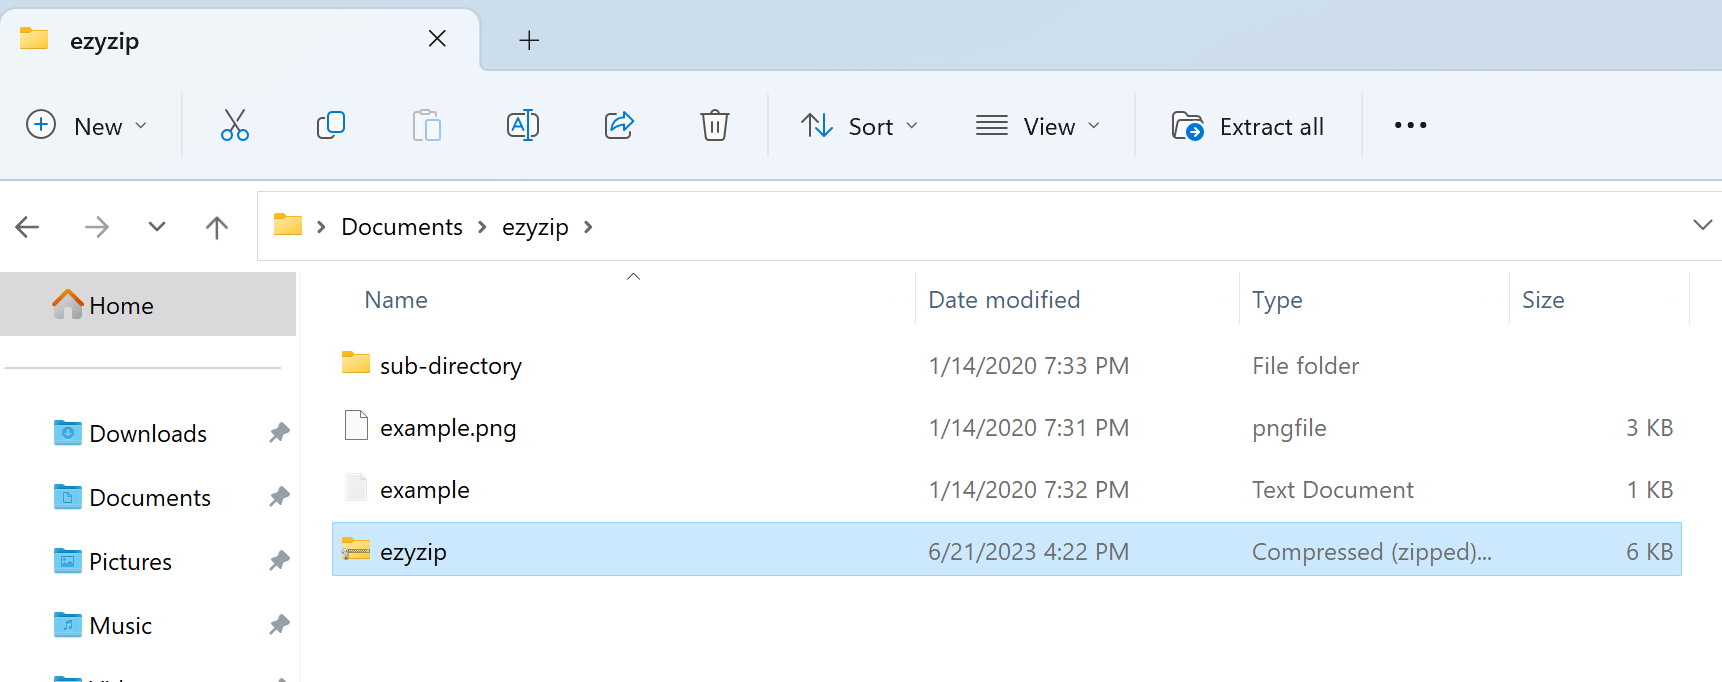
How To Compress Files on Windows
Windows has a built-in feature to zip up your files.
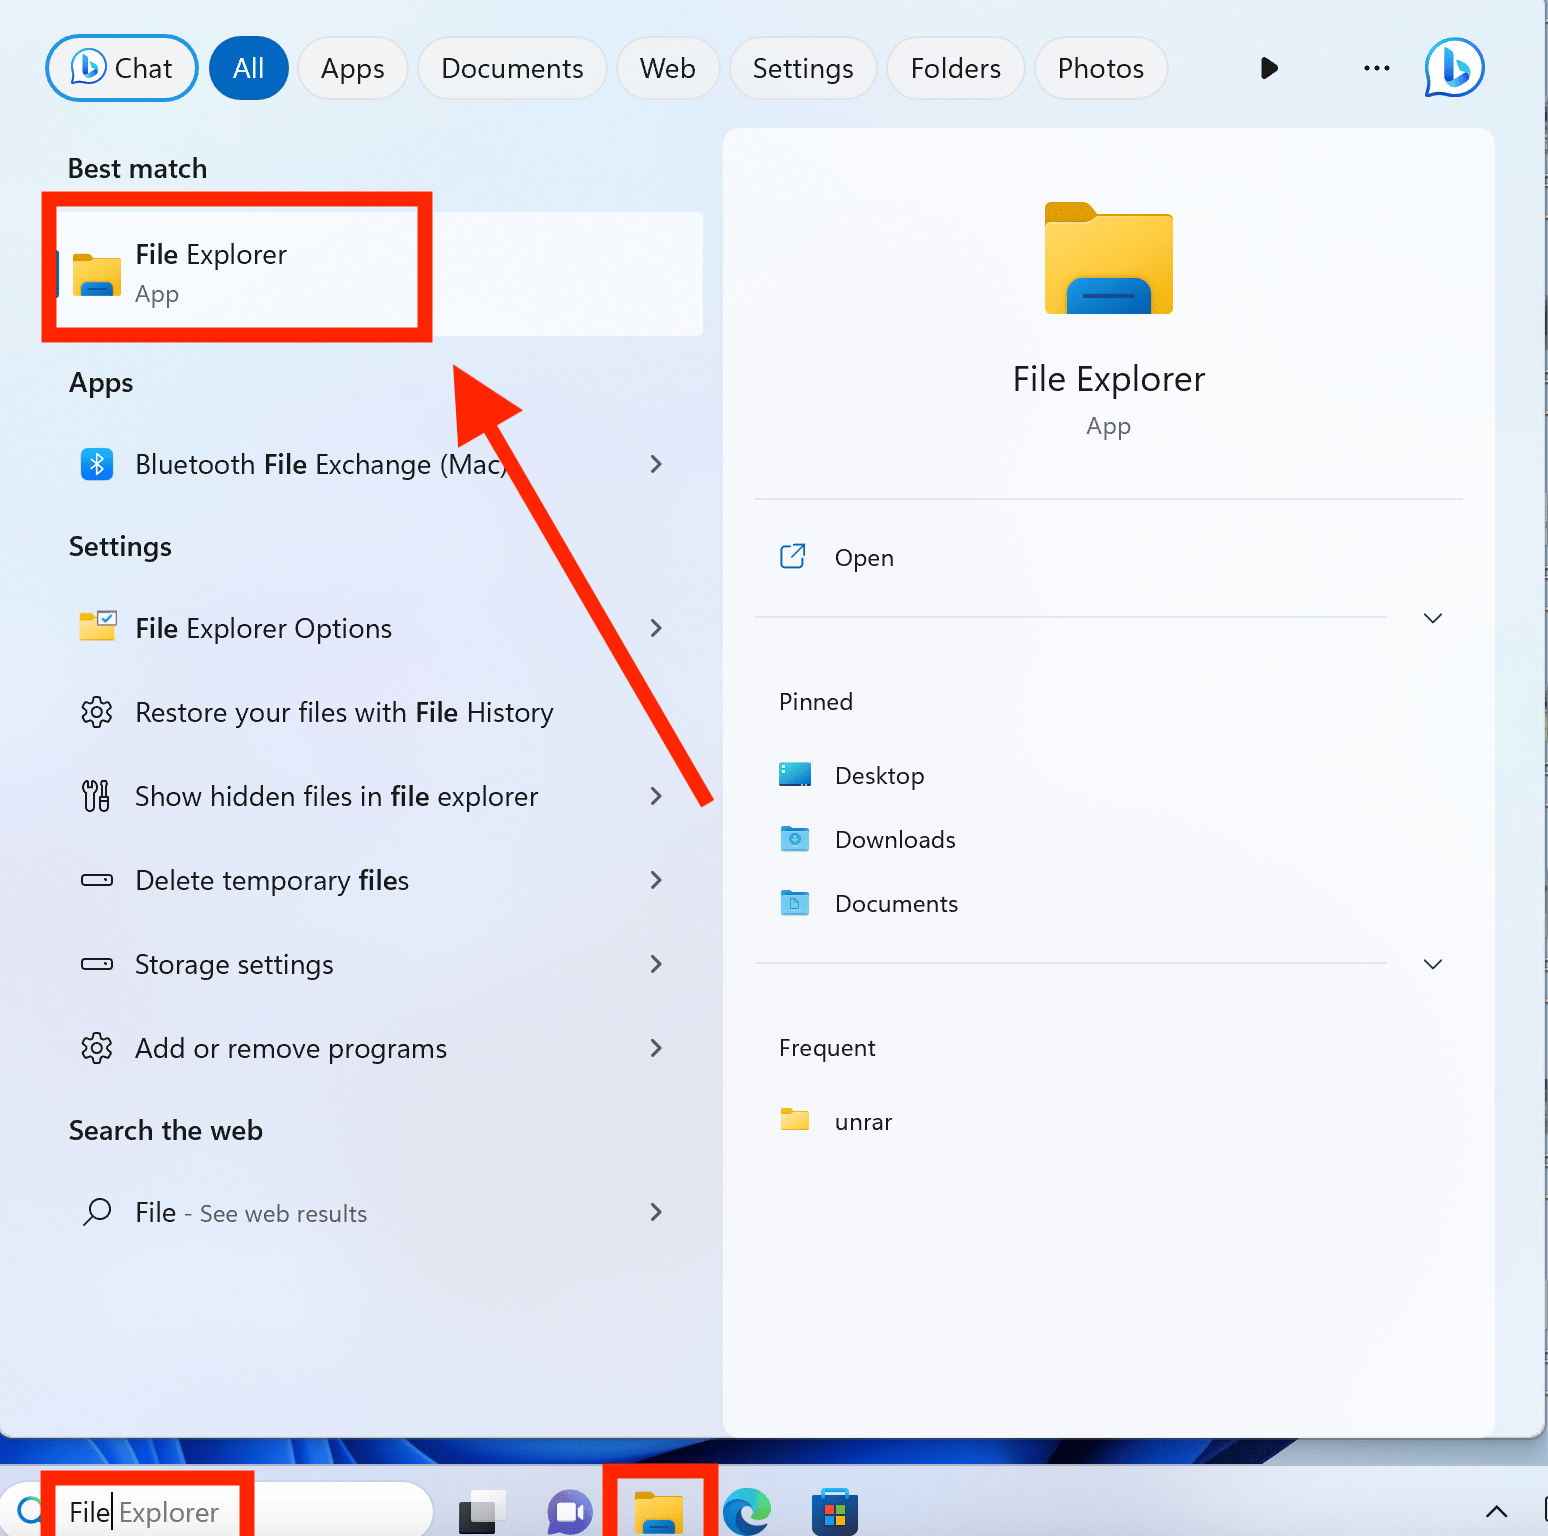
- Open File Explorer. You can either click on the File Explorer icon on the bottom bar or via the Search function.
- Navigate to the folder with the files to compress.
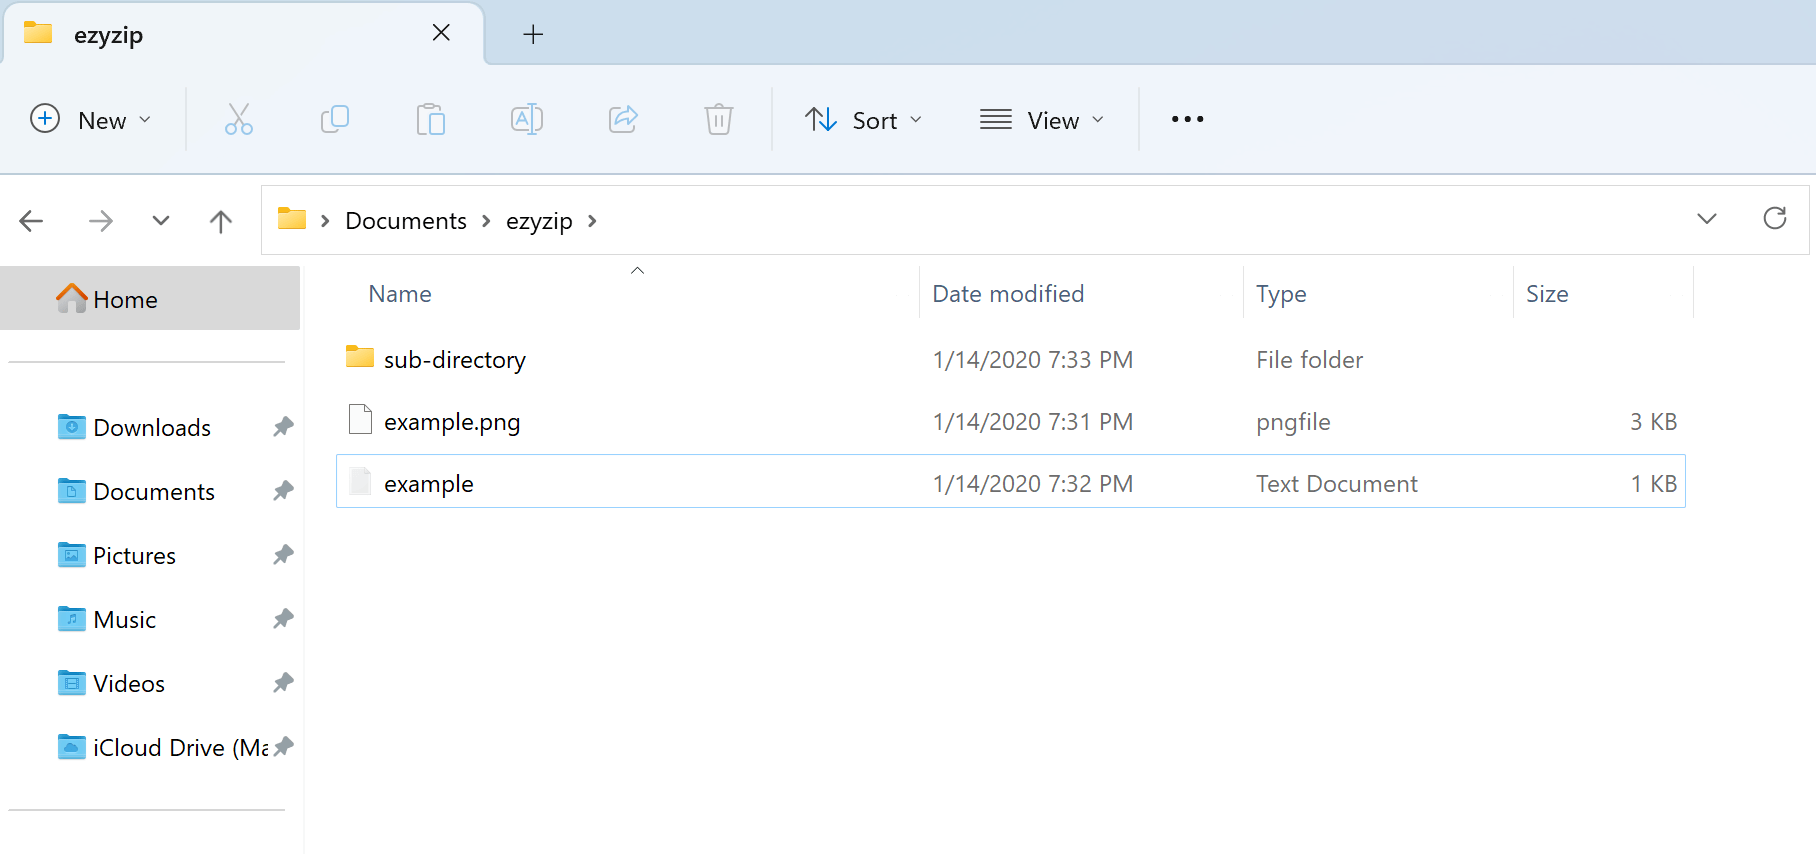
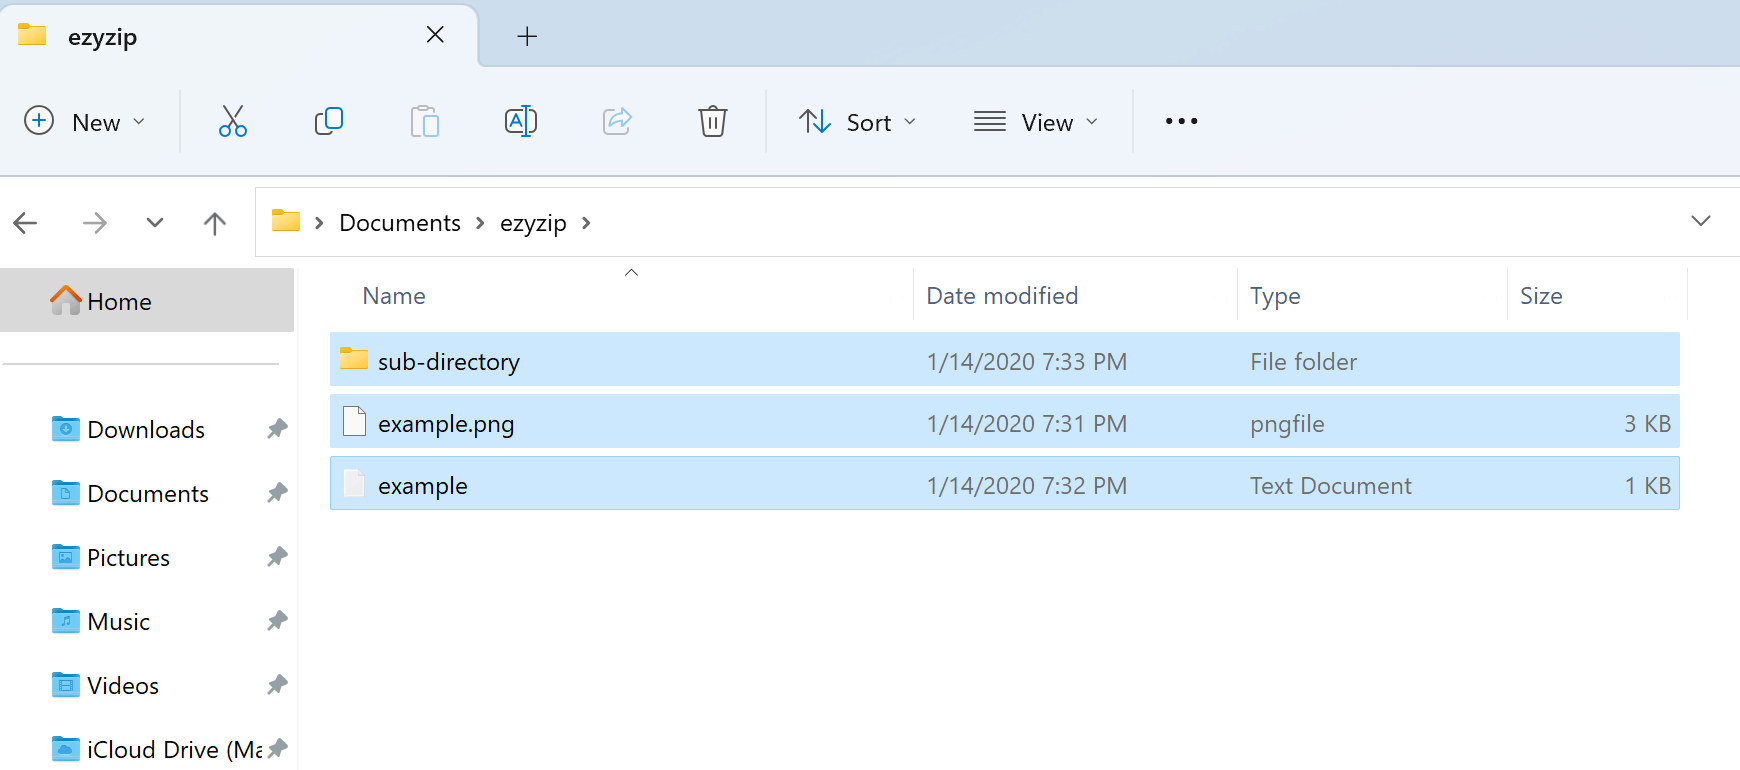
- Select the files or folders you want to zip. Remember, the more you zip, the merrier!
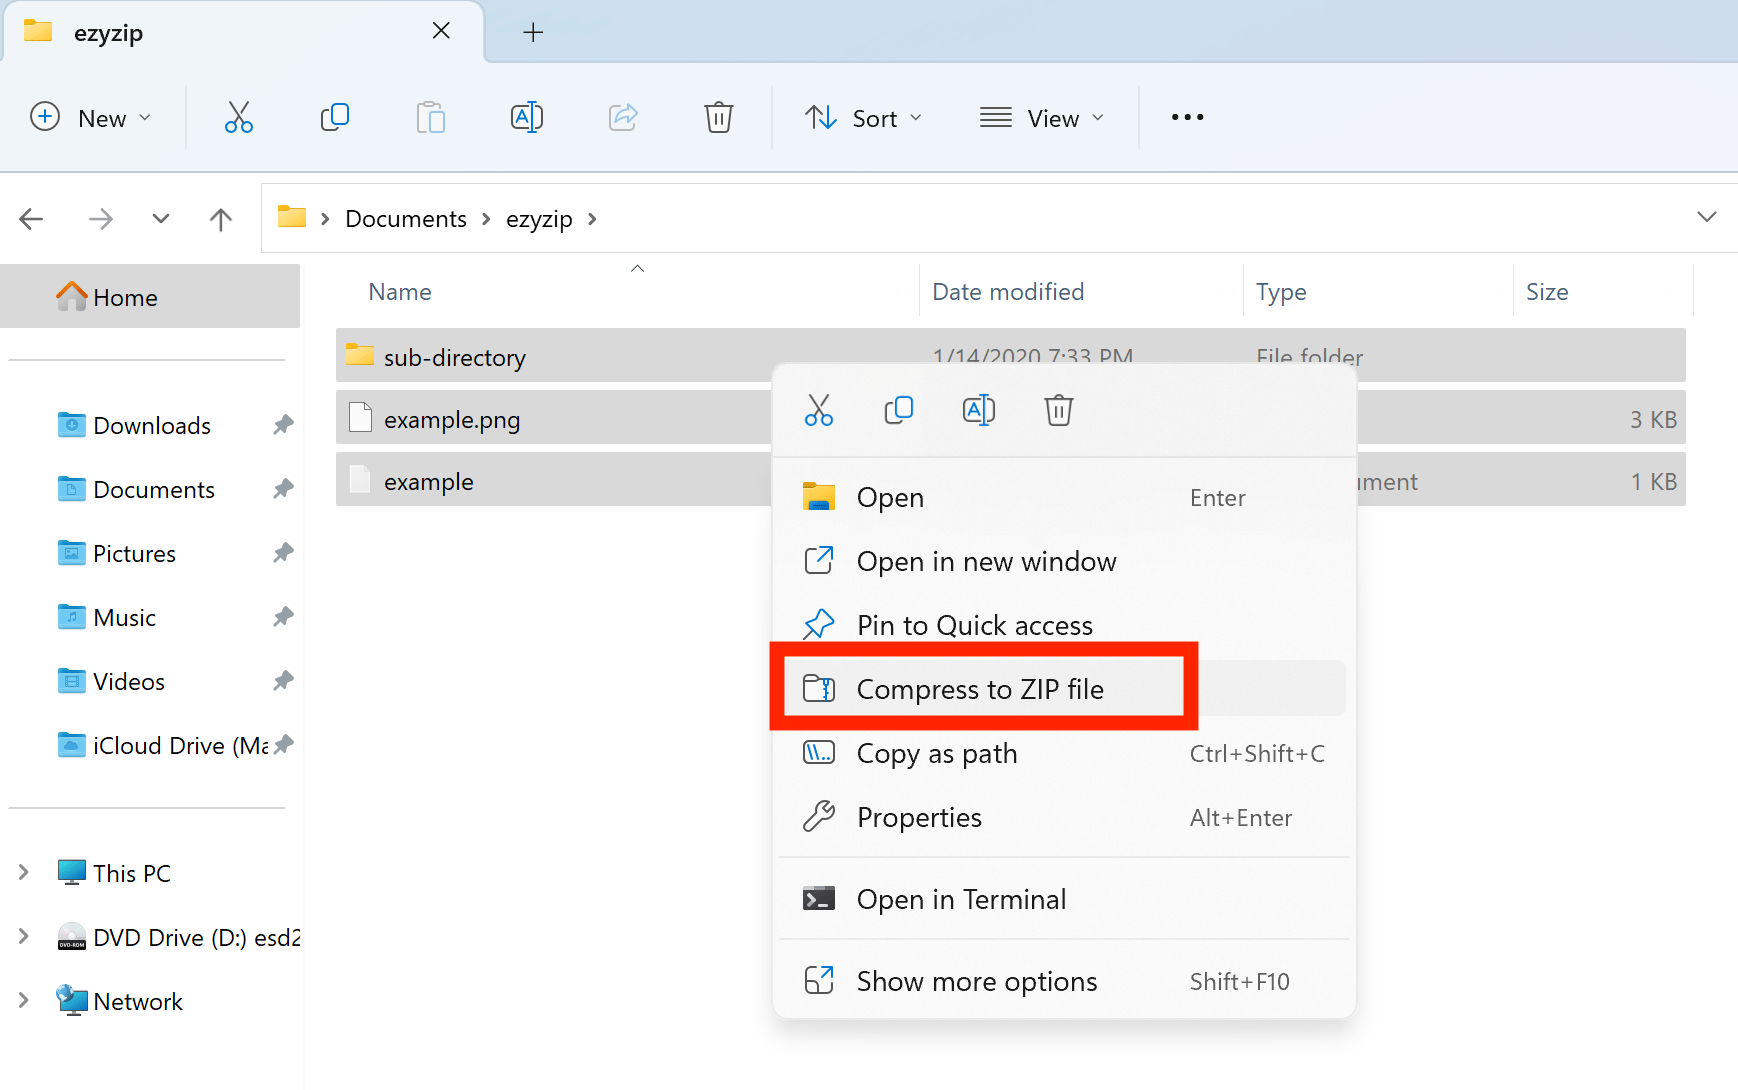
- Right-click the selection and select “Compress to ZIP file.”
- Give your new ZIP archive a name.

- Voila! Your ZIP file will appear in the same folder as the source files.
 More more detailed instructions, check out our guide on how to zip files using Windows.
How To Compress Files on MacOS
MacOS makes compressing files as easy as swinging from tree to tree.
- Select the files or folders: Locate the files or folders that you want to zip. You can select multiple items by holding down the Command key while clicking on each item.
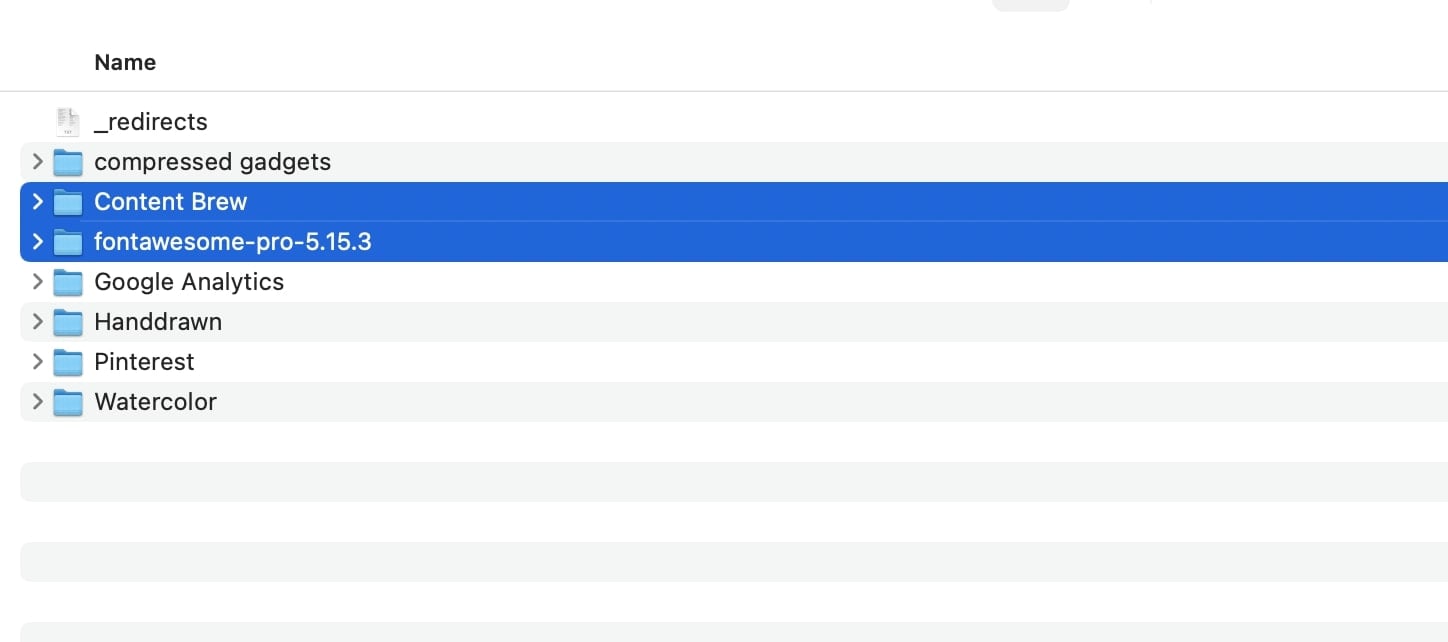
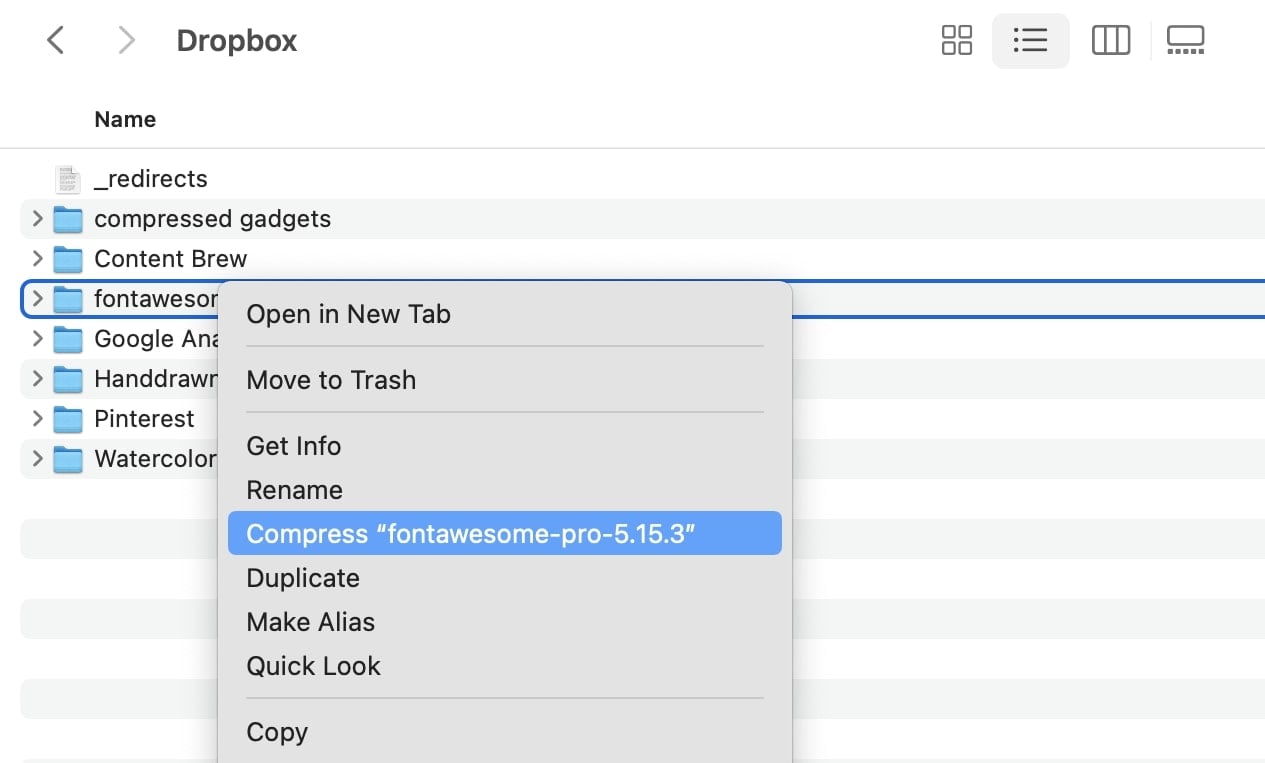
- Right-click or Control-click: Once you’ve selected the files or folders, right-click (or Control-click) on one of the selected items to open the context menu.
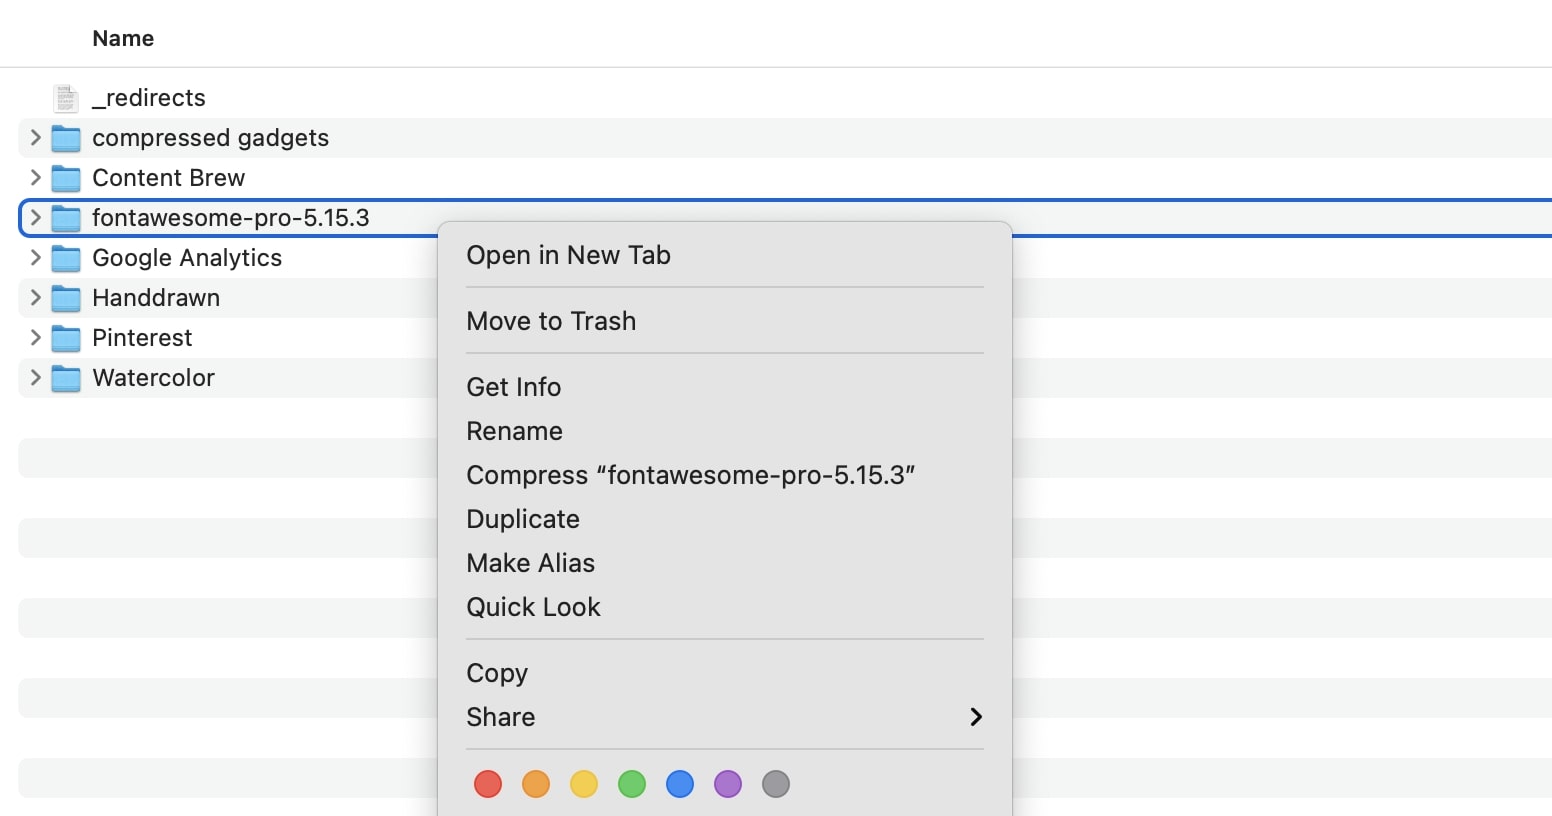
- Choose “Compress X Items”: In the context menu, click on the “Compress X Items” option, where X represents the number of selected items.
- Wait for compression: The Mac will start compressing the selected files or folders into a zip file. The compressed file will have the same name as the first file or folder you selected, with the extension “.zip”.
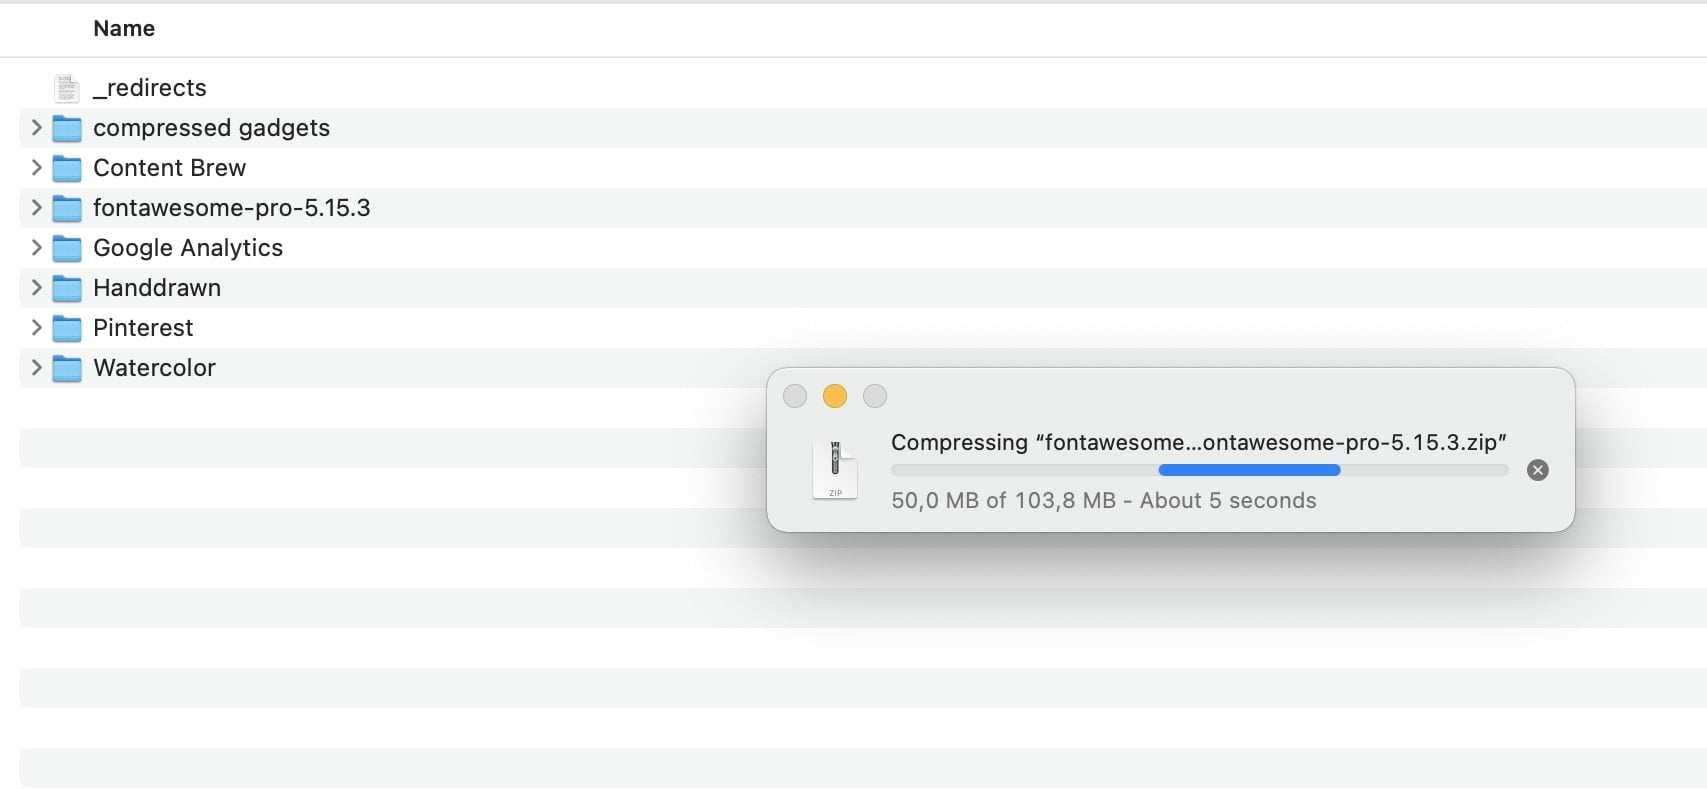
- Locate the zip file: Once the compression process is complete, you can find the newly created zip file in the same location as the original files or folders. You can also use the search function in Finder to locate the file by its name.
 More more detailed instructions, check out our guide on how to zip files using MacOS.
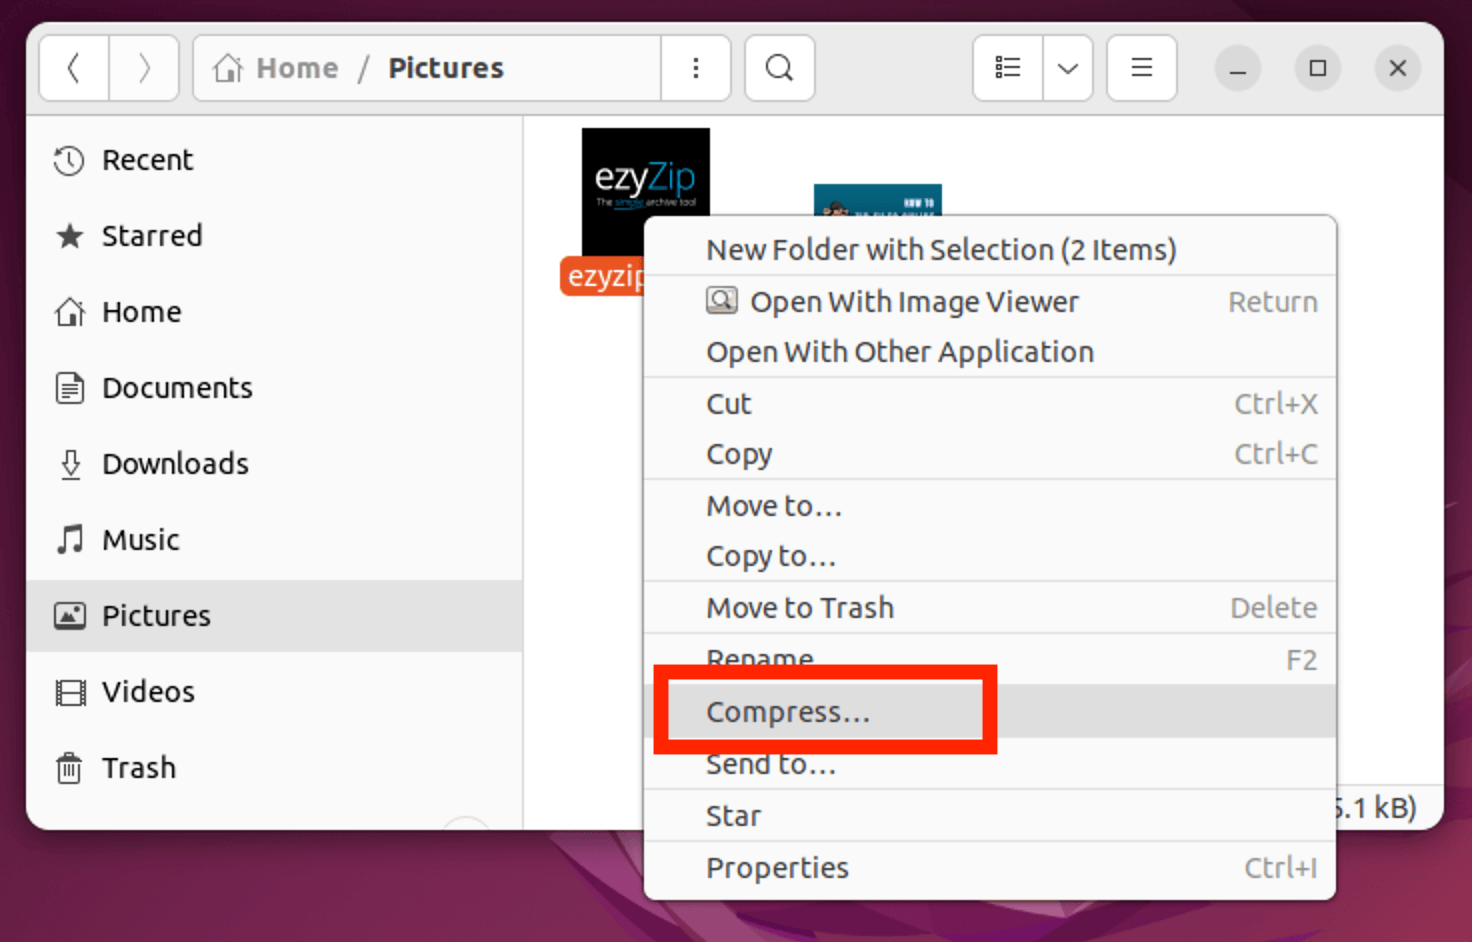
How To Zip Files on Linux
File Roller is a free, open-source tool that comes pre-installed on many Linux distributions. It’s a great option for those who prefer a graphical user interface (GUI) over the command line.
- Open your file explorer and navigate to the directory containing the files you want to compress.
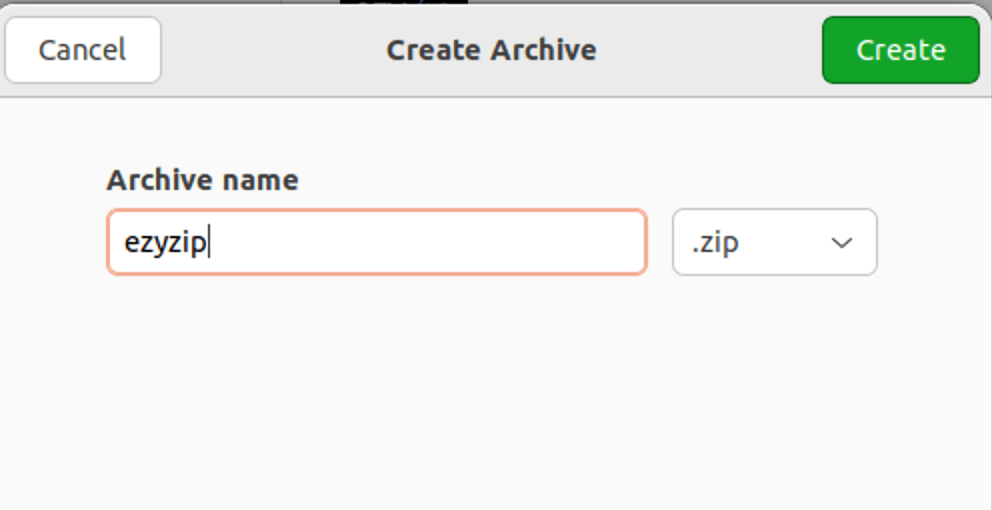
- Select the files, then right-click and select”Compress”. A wild window appears!
- In this new window, choose the format you want (zip, tar, etc.), give your archive a name, and hit the “Create” button. It’s like naming your first pet, but with fewer responsibilities.
 That’s all there is to it!
To learn more about other ways to zip files on Linux, check out our detailed article.
That’s all there is to it!
To learn more about other ways to zip files on Linux, check out our detailed article.
FAQ
Why would I want to compress my files?
Compressing files makes them smaller in size, making it easier to share, upload, or save storage space. It’s like turning a pile of bananas into a compact bunch, making them easier to carry on your jungle adventures!
Does compressing files affect their quality?
It depends. Lossless compression retains the original quality, while lossy compression might reduce quality for smaller file sizes. Think of it as the difference between a whole banana and banana chips – both tasty, but with different textures!
Which file formats can I compress?
Almost any file can be compressed! From documents to images to videos. That’s the monkey magic of compression – squeezing everything from giant bananas to tiny berries into snug bundles.
Can I compress multiple files into one?
Yes! Tools like ZIP, RAR, or 7-Zip allow you to bundle multiple files into a single compressed archive. It’s like having a monkey backpack to hold all your jungle essentials.
How do I decide which compression method or tool to use?
It depends on your needs. Some tools offer better compression rates, while others prioritize speed. In the wild world of file compression, it’s all about finding the right tree branch to swing from!
After compressing, how do I get my files back to their original form?
You’ll need to ‘decompress’ or ‘extract’ them using the same or a compatible tool. Like peeling a banana, it’s the step to enjoy the goodness inside!
Is it safe to compress important files?
Generally, yes! But as always, it’s wise to keep a backup of important files. Because even in the jungle, it’s smart to have an extra banana stash just in case.
Does compression work better for certain types of files?
Absolutely! Some files, like text documents or BMP images, compress more efficiently than already compressed formats like MP3 or JPG. It’s like how some bananas squish easily while others are tough nuts… or fruits.
Can I compress a file multiple times?
Technically, yes, but it might not reduce the size further and could even make the file bigger. After all, there’s only so much you can squish a banana before it just becomes banana pudding.
Will compressed files open normally on other computers or devices?
If the device has the appropriate software to decompress the file, then yes! Sharing compressed files is like passing bananas among monkey friends – as long as everyone knows how to peel, they can all enjoy the treat!
Conclusion
And there you have it! With these tools and tricks up your sleeve, no file is too big to handle. Whether you’re reducing or archiving, remember: it’s all about making your digital journey smoother. So, keep exploring, compressing, and of course, enjoying those digital bananas! 🍌🌴💾