
Ever felt like you’re trying to squeeze an elephant into a mini-cooper? That’s what dealing with large media files can feel like. Whether it’s a video that’s too bulky to email or a photo collection taking up too much space on your hard drive, sometimes you just need to make things a bit more… compact. Fear not! You don’t need to be a tech wizard or a jungle explorer to tackle this challenge. With a few simple tools and steps, you’ll be compressing those mammoth files down to size in no time. So, let’s dive into the digital jungle and turn those oversized files into manageable, shareable treasures – with a bit of monkey humor to keep us swinging!
Table of contents
- Method 1: Compress Large Media Files Using ezyZip Media Converter
- Method 2: Compress Large Media Files Using VLC on Windows
- Method 3: Compress Large Media Files Using iMovie on MacOS
- Method 4: Compress Large Media Files Using FFmpeg on Linux
- FAQ on How to Compress Large Media Files
Video guide showing how to compress large video files using VLC.
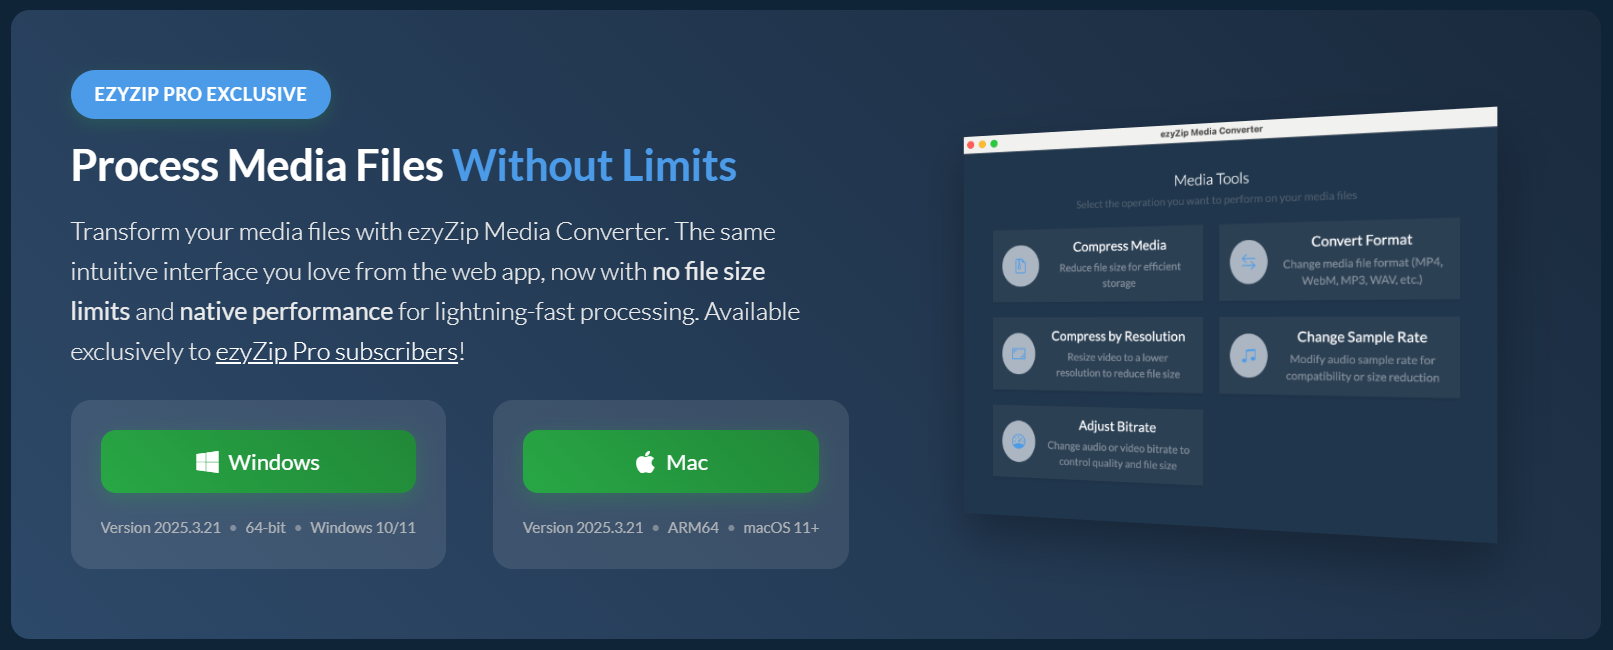
How to Compress Large Media Files Using ezyZip Media Converter
Want to reduce your video file size for easier storage and sharing? ezyZip Media Converter streamlines the process—quick, efficient, and hassle-free! 🚀🎥
- Download & install ezyZip Media Converter – because shrinking a file shouldn’t feel like defusing a digital bomb! 🧯🎞️
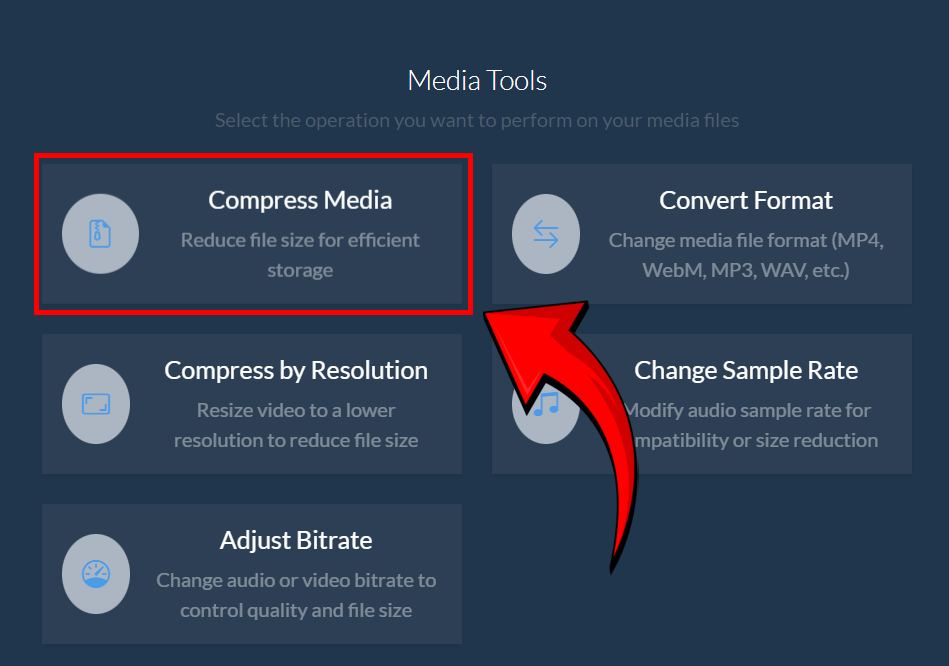
- Launch ezyZip & click “Compress Media” – time to reduce your video’s size for seamless sharing! ✂️
- Click “Select Media File” – choose the video you need to compress. 🎥


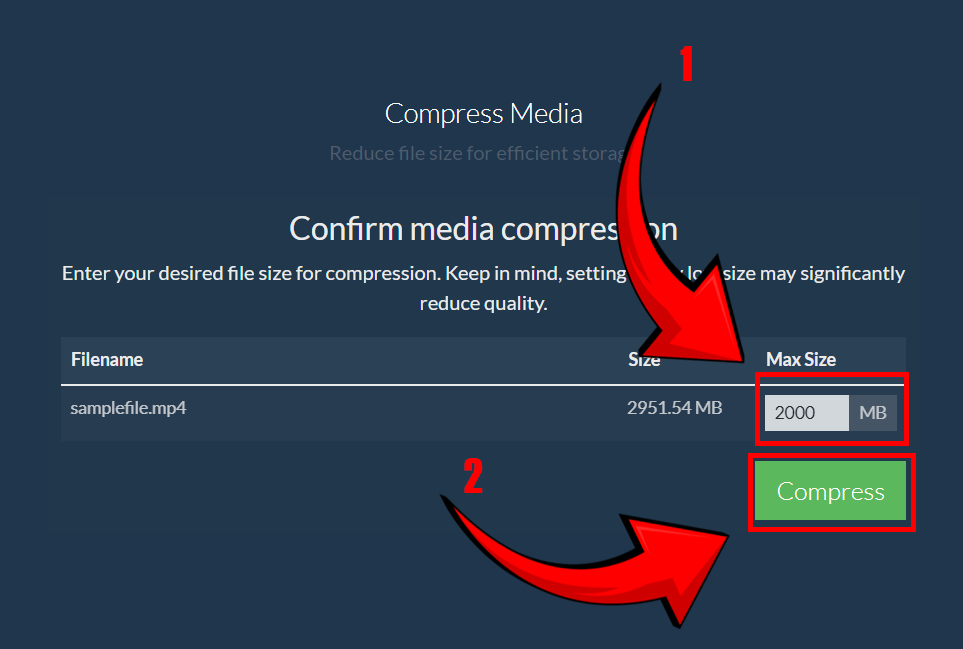
- Set your desired maximum file size, then click “Compress” – while keeping your content crystal clear! 📏✨
- Save your newly compressed file – now you’re ready to upload and share it effortlessly 📲
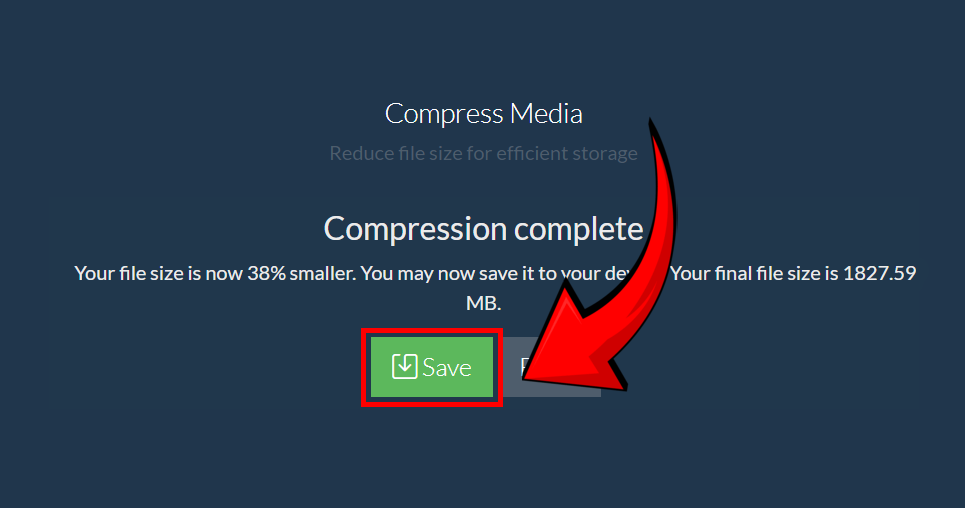
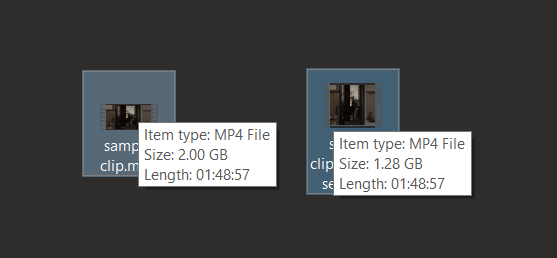
And just like that, your video file is now optimized—smaller, efficient, and ready for easy storage or uploads! 🚀🎬
How to Compress Large Media Files on Windows
Windows, the jungle gym of operating systems, offers several tools to help you Compress Large media files. Here’s how to do it without getting lost in the vines:
- Open VLC: If you don’t have VLC, it’s time to add this versatile tool to your jungle toolkit.
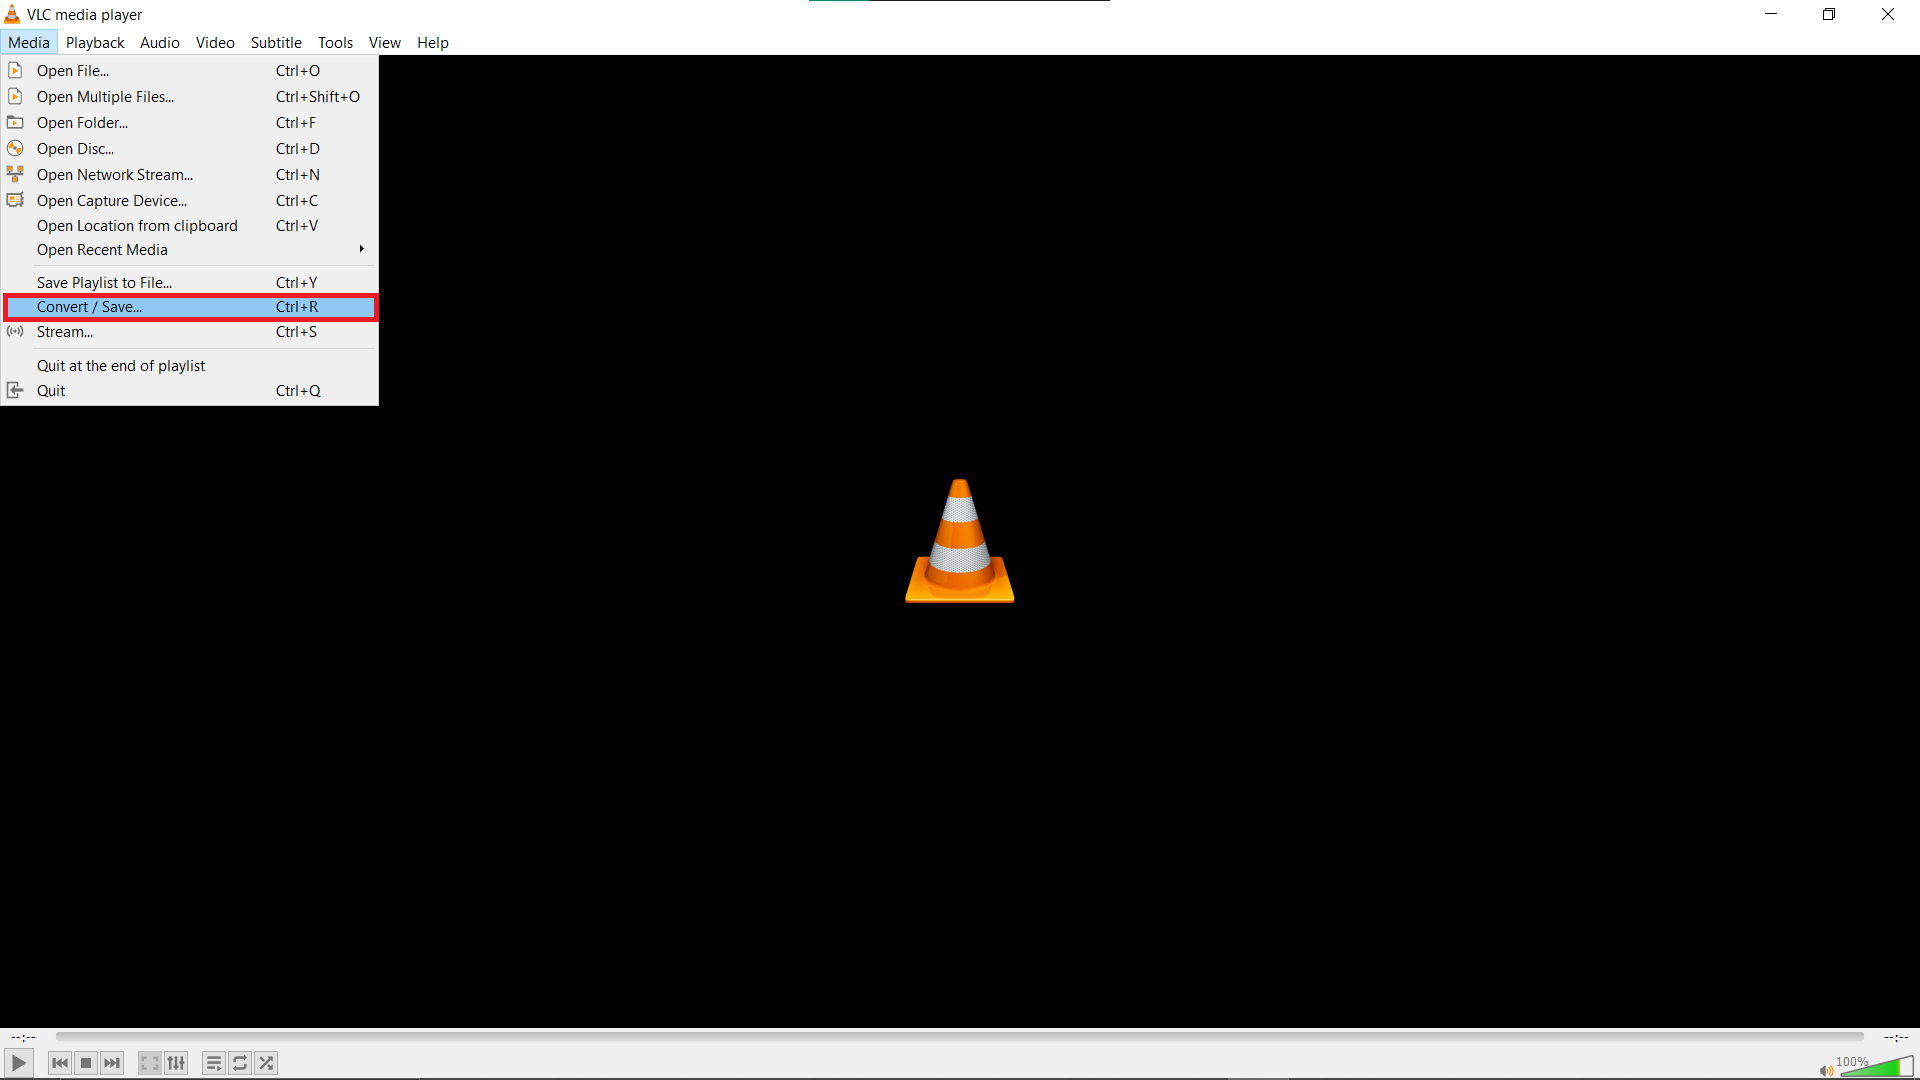
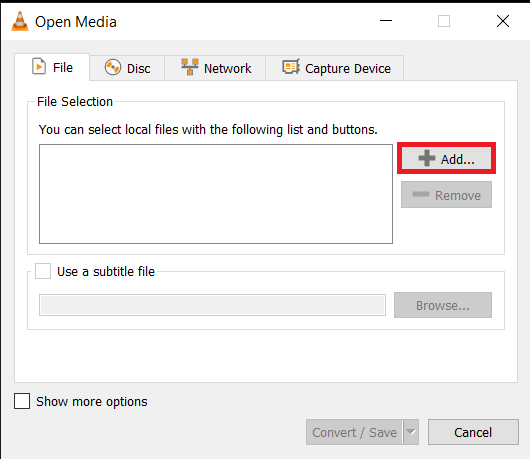
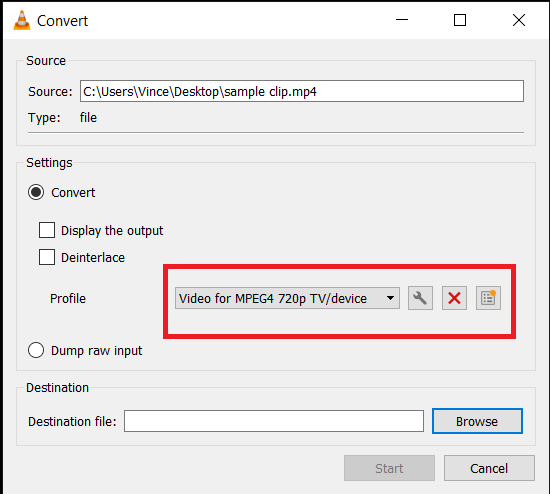
- Go to Convert/Save: In VLC, click “Media” and then “Convert/Save…” Add your video file for compression.

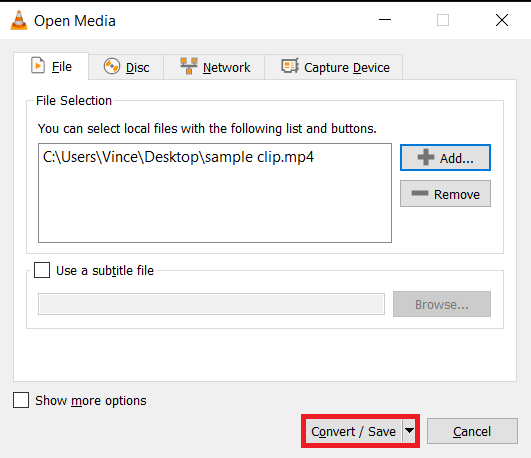
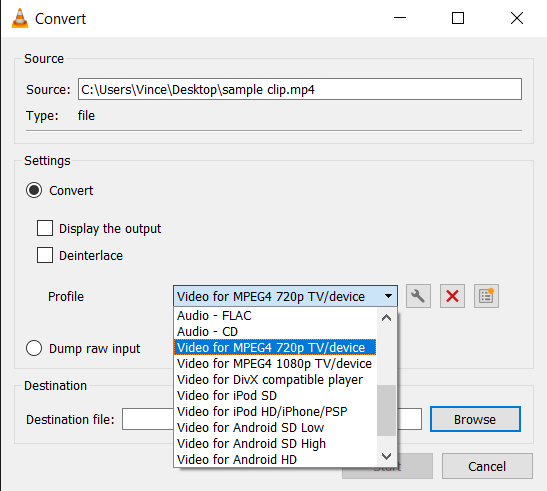
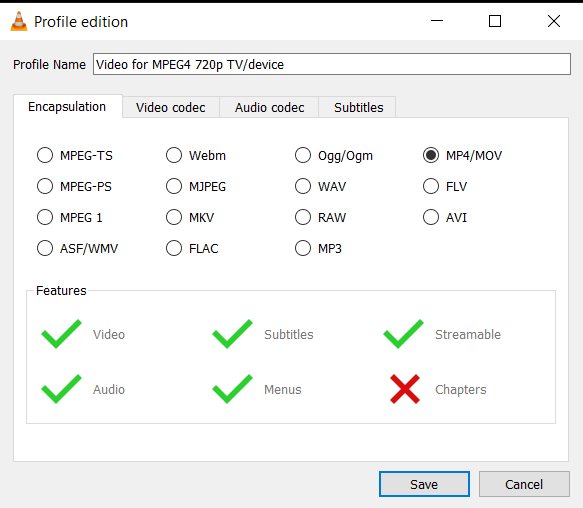
- Adjust Conversion Settings: Choose the right format and settings to reduce the video size. You’re the master of your video domain!
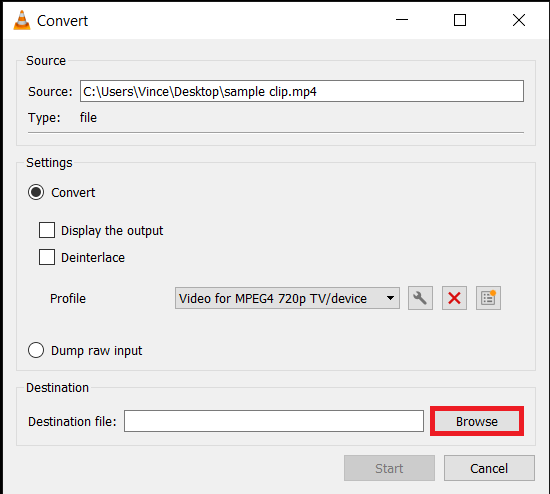
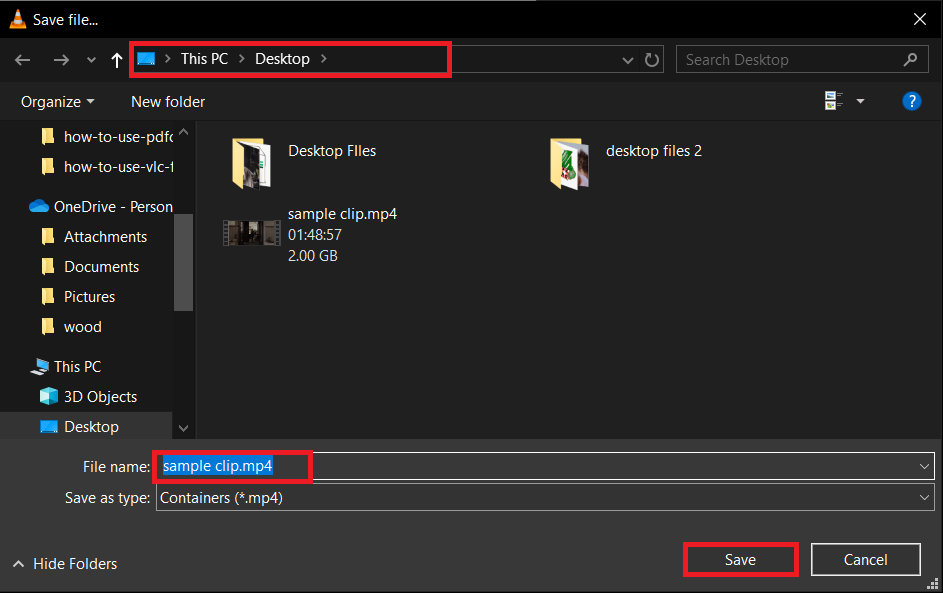
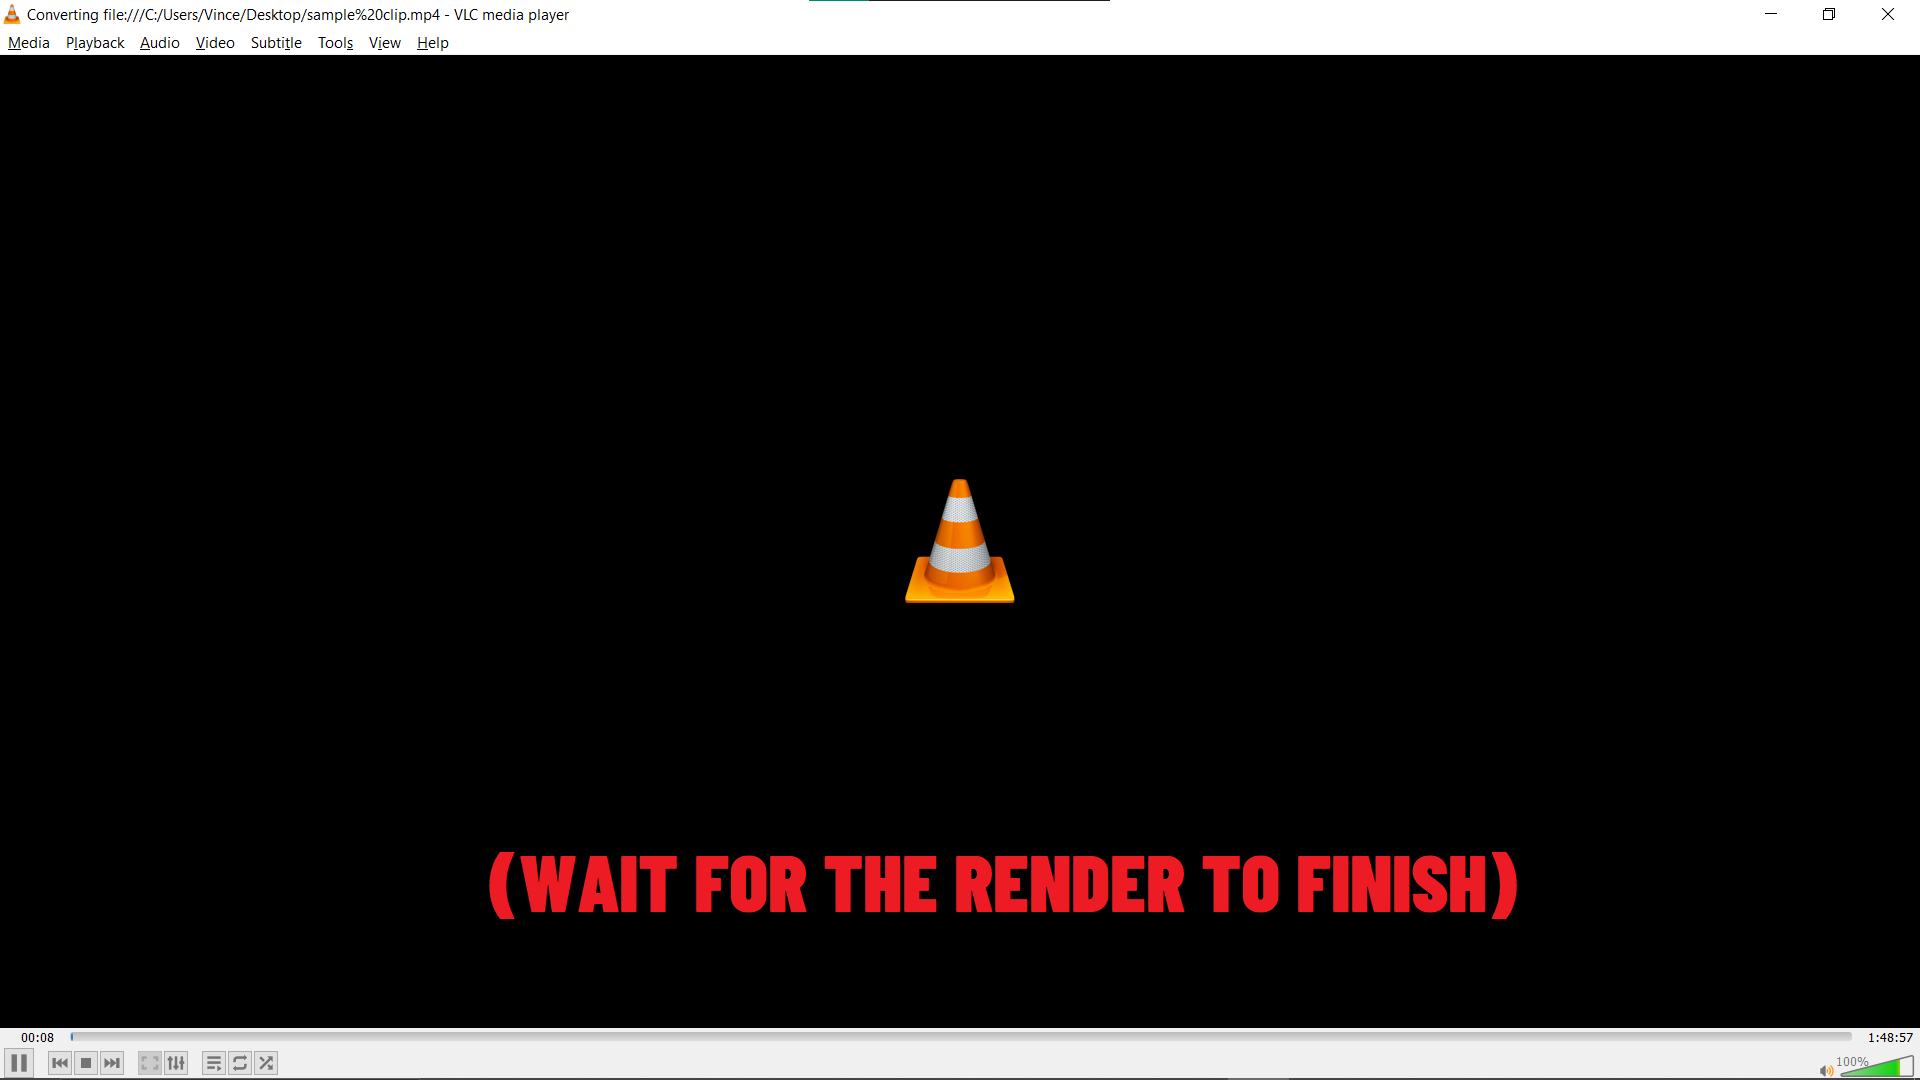
- Start the Conversion: Press “Start” and let VLC compress your video. It’s like having a powerful, silent monkey doing all the hard work for you.
How to Compress Large Media Files on MacOS
MacOS, with its sleek design and powerful core, is like the panther of operating systems – silent but deadly. Here’s how to convert files without breaking a sweat:
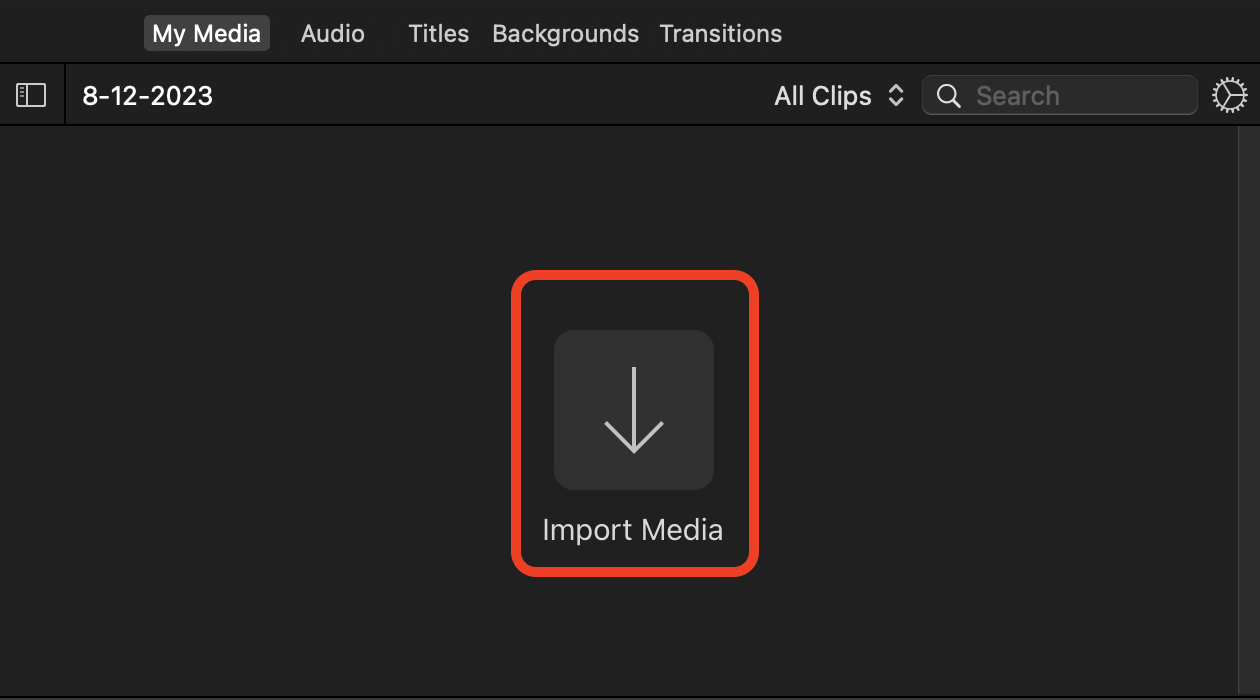
- Open iMovie: Launch iMovie. It’s the digital equivalent of your favorite tree branch – familiar and reliable.

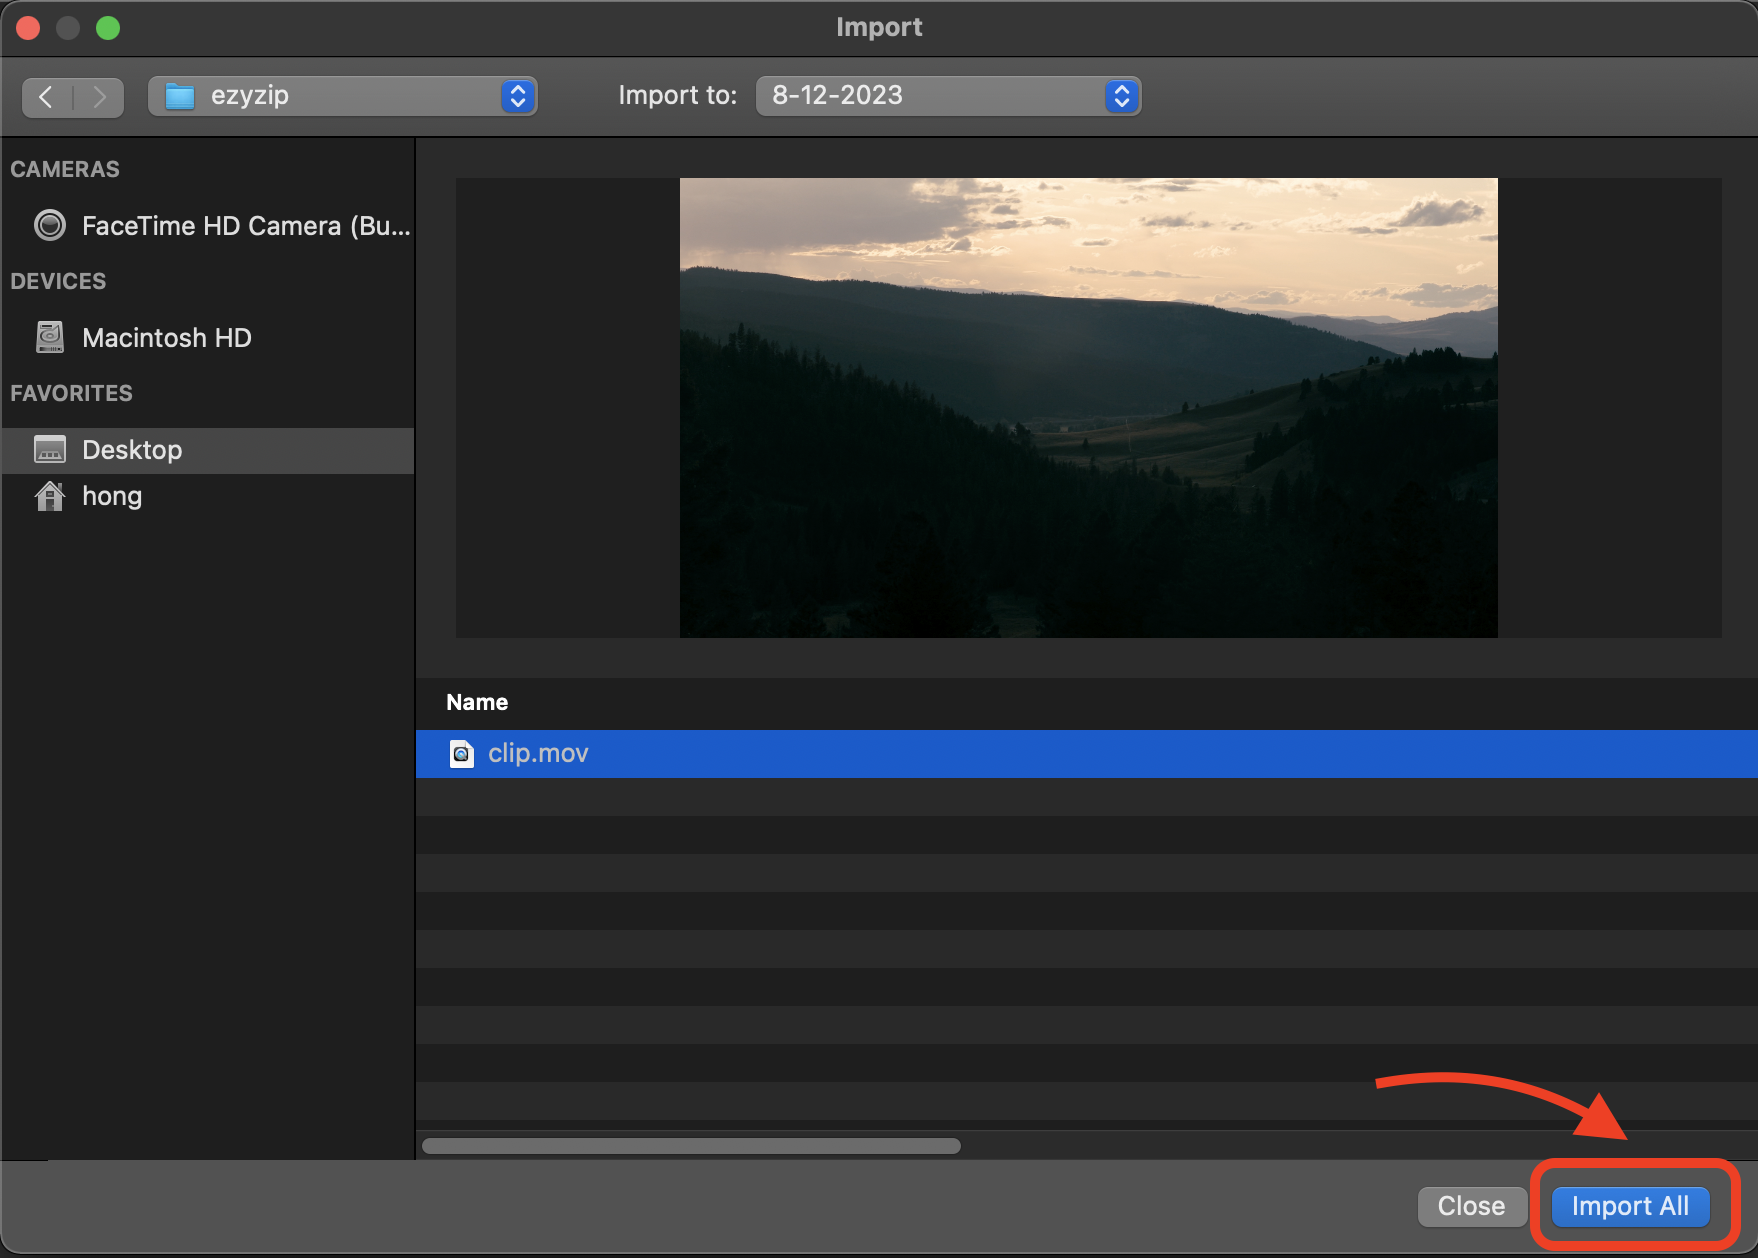
- Import Your Video: Click “Import Media” and choose the video you want to compress. Just like picking the juiciest mango from the bunch!
- Edit If Needed: Trim or tweak your video if you like. Sometimes, less is more, especially when swinging from vine to vine.
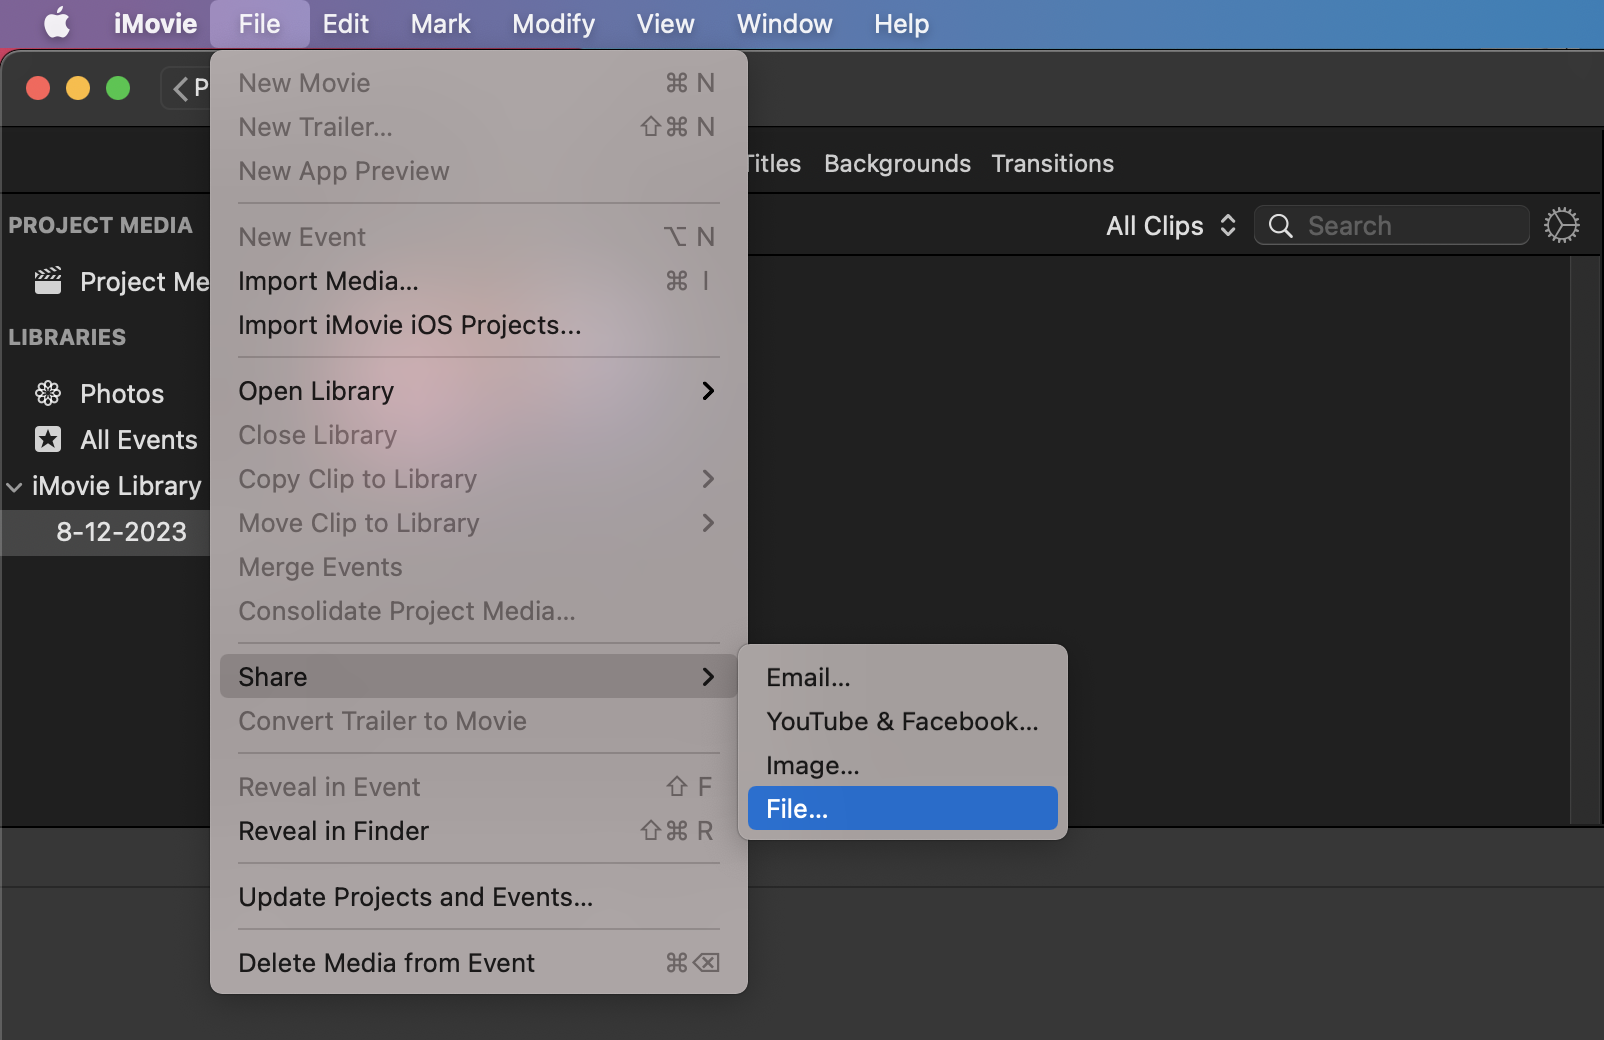
- Share the Video: Once you’re happy with your video, click “File” > “Share” > “File…”
- Compress the Video: In the export menu, choose a lower resolution or quality to reduce the file size. It’s like fitting a big banana into a small lunchbox. Then click “Next” and you’re almost there!

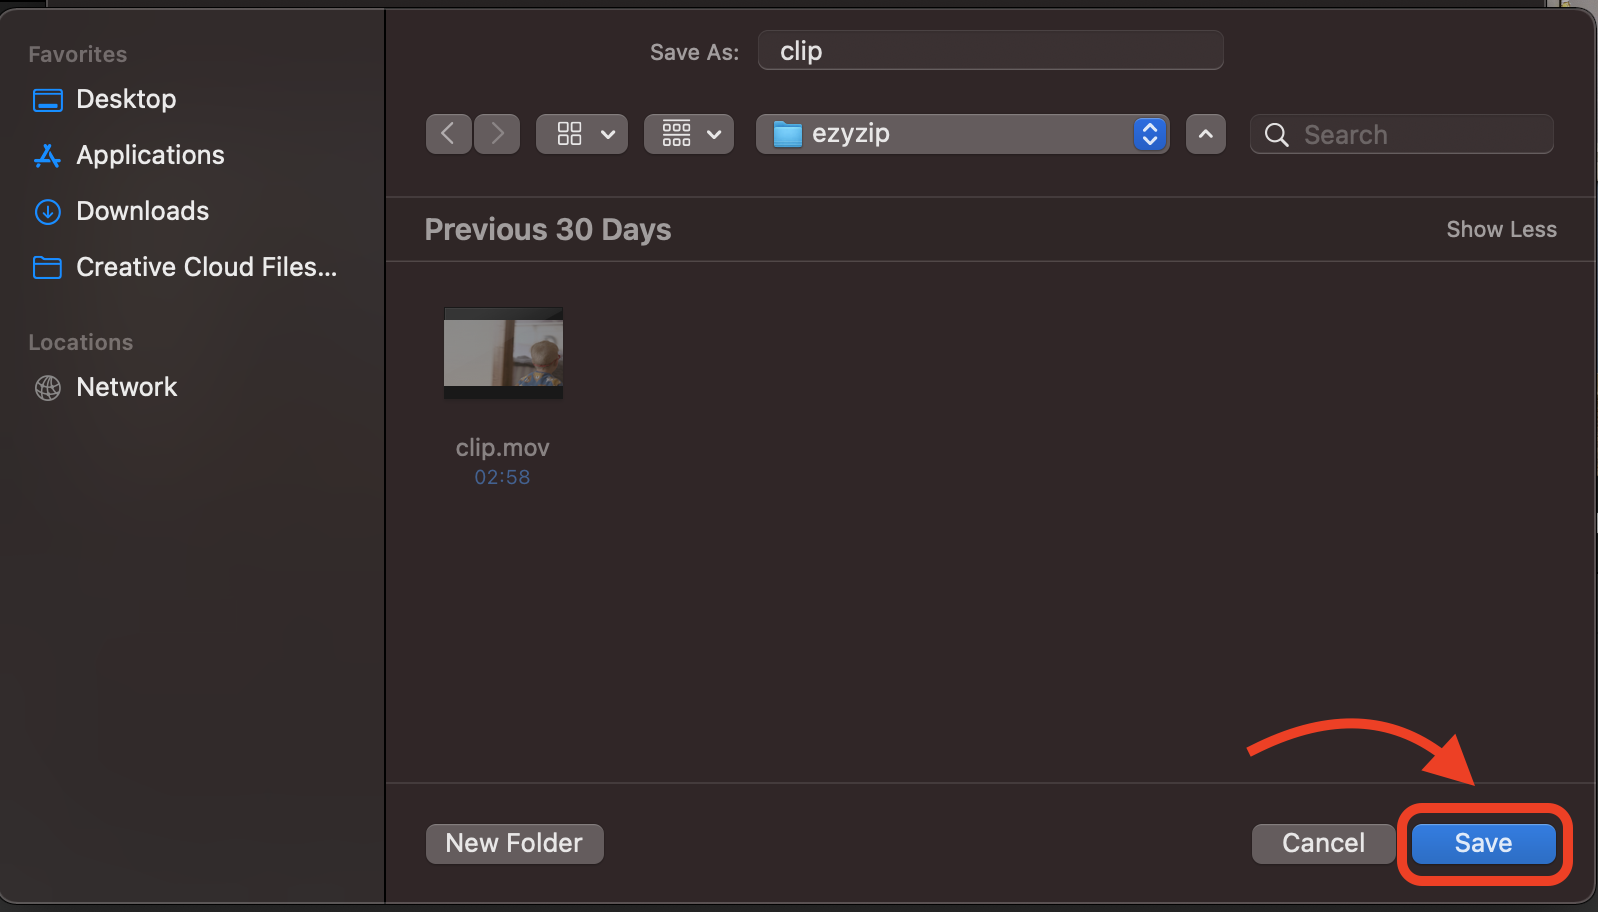
- Save Your Video: Save the compressed video to your Mac. It’s now ready to be shared on Telegram, as agile as a monkey in the canopy.
How to Compress Large Media Files on Linux
Linux, the wild and free operating system of the tech jungle, offers a robust set of tools for file conversion. Here’s how to navigate the open-source wilderness:
- Select a Tool: For Linux users, FFmpeg is a powerful and flexible tool. It’s like the machete of media conversion – it can cut through anything.
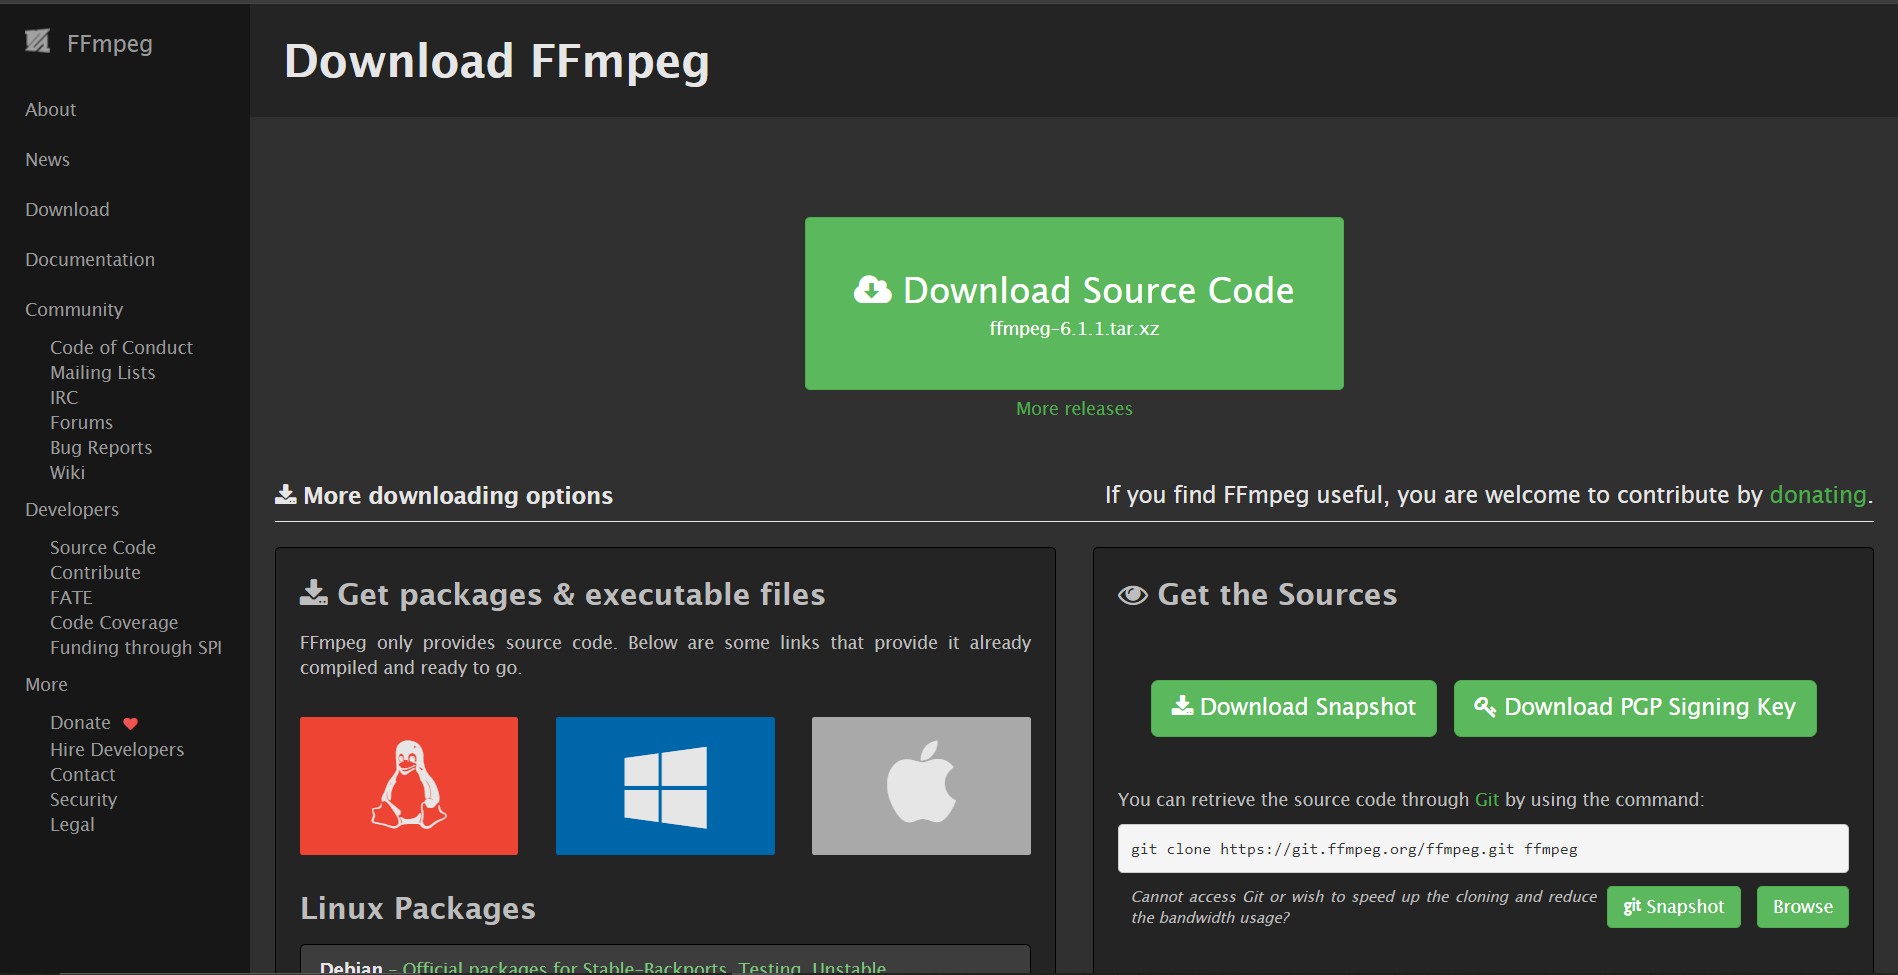
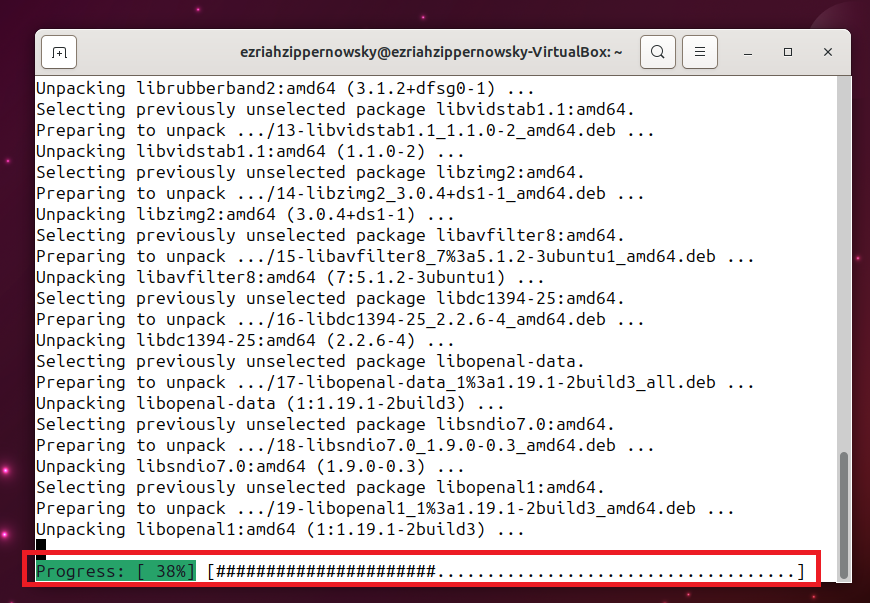
- Install FFmpeg: Open your terminal and install FFmpeg using your distribution’s package manager. It’s like setting up your base camp before the expedition.
sudo apt install ffmpeg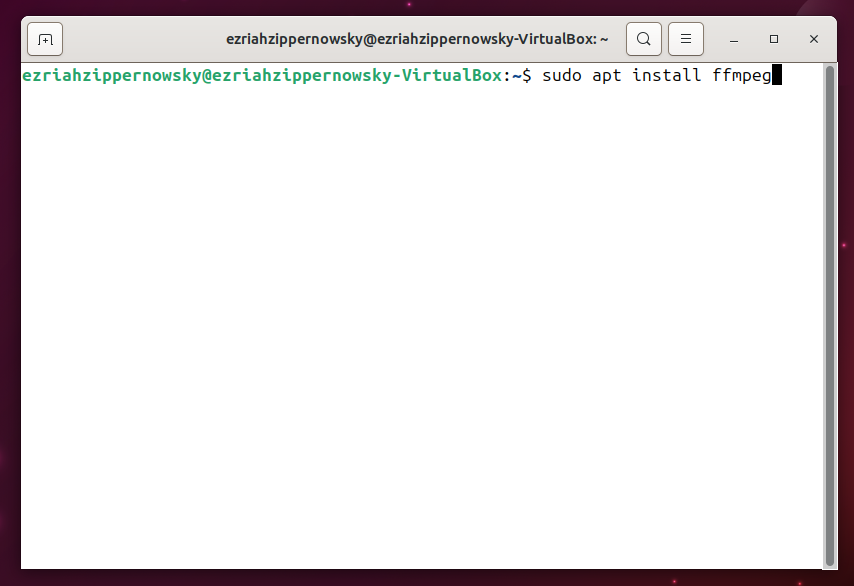
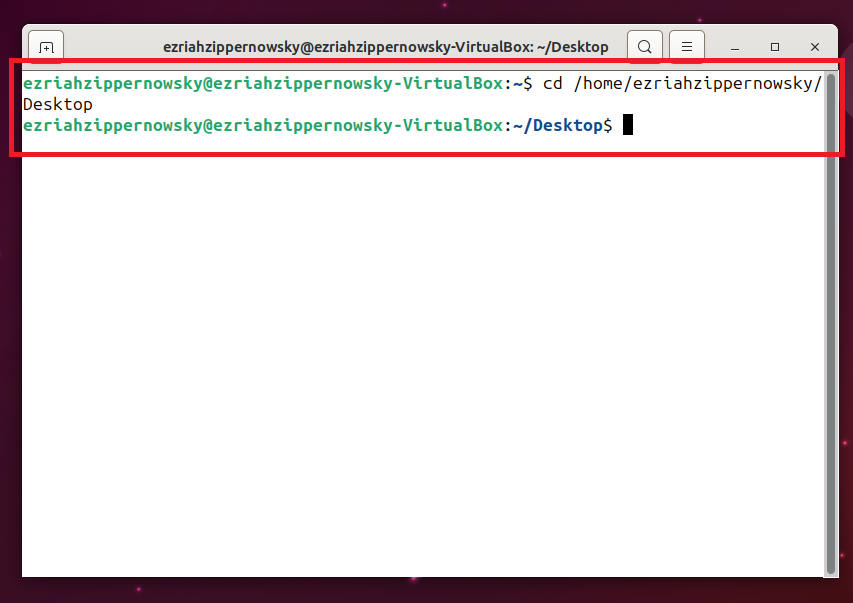
- ** Use the CD Command:** Navigate to the folder where the file you want to convert is stored by using typing cd (path of the file) then hit enter.
- Prepare Your Command: FFmpeg uses command-line instructions, so prepare your command based on the conversion you need. It’s like mapping out your path through the dense foliage.
ffmpeg -i input.mp4 -codec:v libx264 -crf 20 output.mp4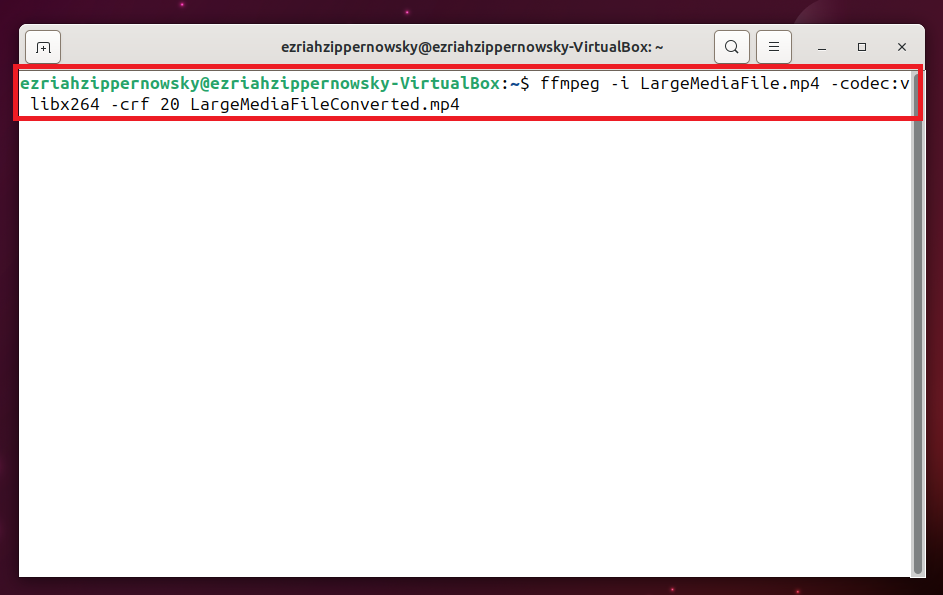
- Run FFmpeg: Execute your command in the terminal. Watch as FFmpeg swiftly compresss your file, as agile as a monkey swinging through the trees.

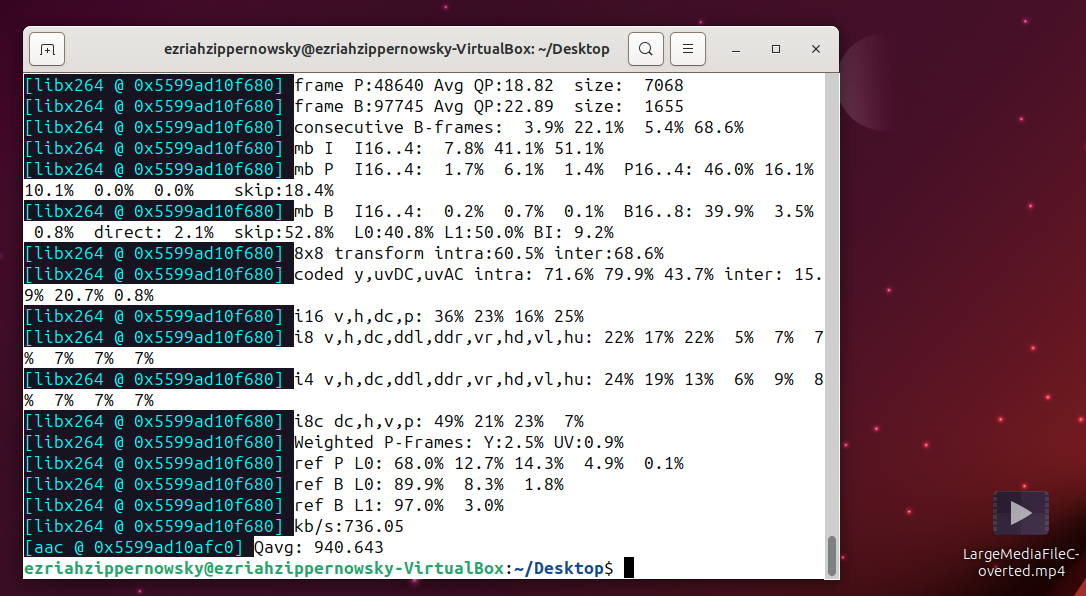
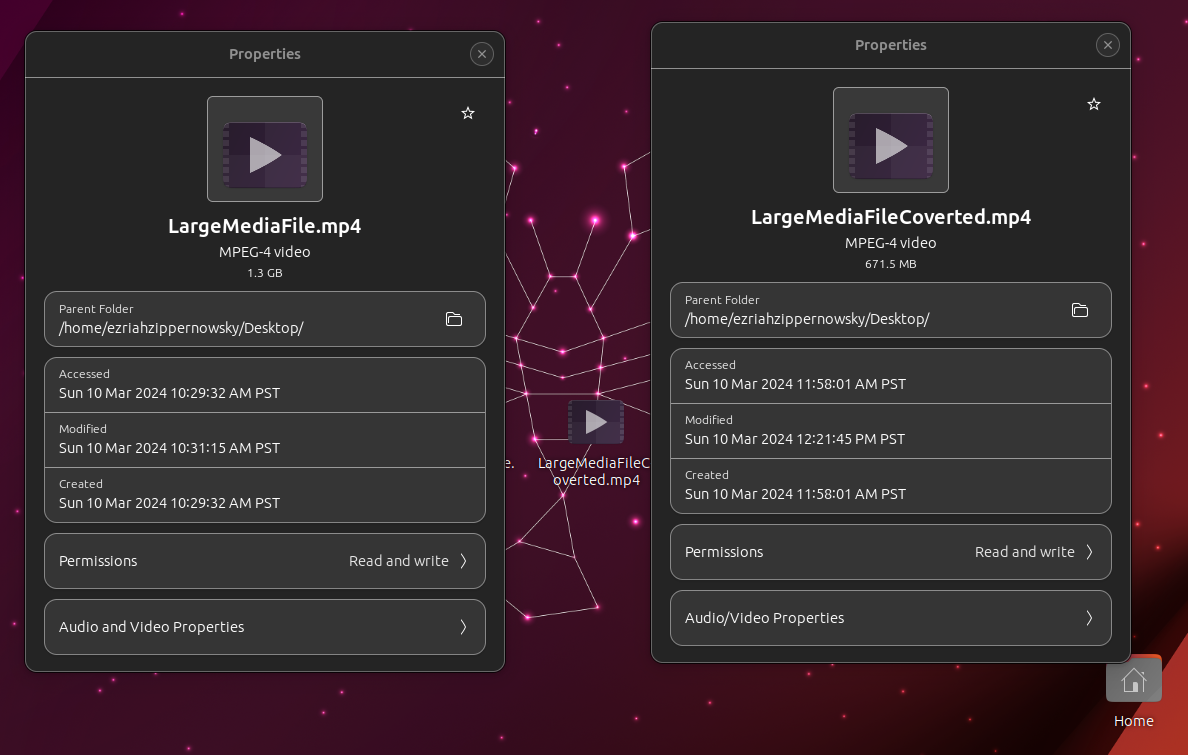
- Retrieve Your File: Once the conversion is complete, your file is ready for any adventure. It’s as rewarding as reaching the top of the canopy.
FAQ on How to Compress Large Media Files
Why can’t I compress large media files online?
Compressing large media files using online services can be problematic for several reasons. Online compression tools often have file size limits to ensure their servers can efficiently handle the workload from multiple users simultaneously. Large files exceed these limits, making them unsuitable for such platforms. Additionally, the process of uploading and downloading large files requires significant bandwidth, which can be impractical or slow on many internet connections, leading to timeouts or failed processes. The compression of large media files is also a resource-intensive task that demands considerable processing power, which might exceed the capabilities allocated to individual tasks by free or budget-friendly online services. This can result in prolonged processing times or incomplete compression tasks. These challenges make it difficult to compress large media files effectively using online services, often necessitating the use of local software solutions that can handle the file size and offer more control over the compression process.
What is the best format for compressing large media files?
The best format often depends on your needs, but generally, MP4 using the H.264 codec is widely recommended. It provides a good balance between compression and quality, making it suitable for a variety of uses, from streaming to storage.
Will compressing a large media file reduce its quality?
Yes, compressing a media file typically involves some loss of quality. The extent of the quality loss depends on the compression level and the codec used. Using modern codecs like H.264 or H.265 and carefully choosing compression settings can help minimize noticeable quality loss.
How can I compress a large video file without losing quality?
To compress a video file without significant quality loss, use a high-efficiency codec like H.264 or H.265 and choose a higher bitrate that allows for smaller file size without drastically affecting the video quality. Tools like HandBrake allow for fine-tuning of these settings.
Can I compress large media files online?
While there are online services available for compressing media files, they often have size limits and may not be suitable for files larger than 1GB. For large files, desktop applications like HandBrake, FFmpeg, or iMovie are more reliable and offer greater control over the compression process.
How long does it take to compress a large media file?
The time it takes to compress a large media file depends on the file’s original size, the settings chosen for compression, and the power of your computer. Larger files and higher quality settings will take longer to process. Using a powerful computer can significantly speed up the compression time.
Is it possible to compress a large media file for email?
Yes, it’s possible to compress large media files to sizes suitable for email, but this may require significant compression, leading to quality loss. A better approach might be to compress the file to a reasonable size and then use a cloud storage service to share a link to the file instead of attaching it directly to an email.
What tools are recommended for compressing large media files?
For Windows and Linux users, HandBrake and FFmpeg are highly recommended due to their flexibility and powerful compression options. MacOS users can benefit from iMovie for basic compression needs and HandBrake for more advanced options. All these tools offer a range of settings to balance file size and quality effectively.
By addressing these common questions, users can better navigate the process of compressing large media files, ensuring their files are more manageable without sacrificing too much on quality.