
Welcome to the digital jungle, where the images are large, and the competition is fierce! If you’re looking to list your products on Amazon, you know that high-quality images can make your bananas stand out from the bunch. But what if your images are as heavy as a gorilla? Fear not! I’m here to guide you through the vines of reducing image sizes, ensuring your product photos are as sleek and swift as a monkey swinging through the trees. Remember, Amazon’s file size limit is a lean 10MB, so let’s get those images dieting down to size with some humor and easy-to-follow steps.
Table of contents
- Method 1: Reduce Image Size For Amazon Using Online Tool
- Method 2: Reduce Image Size For Amazon On Windows Using Photo Viewer
- Method 3: Reduce Image Size For Amazon On Windows Using Photoshop
- Method 4: Reduce Image Size For Amazon On Mac Using Preview
- Method 5: Reduce Image Size For Amazon On Linux Using GIMP
- Method 6: Reduce Image Size For Amazon Using Web Browser
- Frequently Asked Questions About How To Reduce Image Size For Amazon
How To Reduce Image Size For Amazon Using Online Tool
For those who prefer not to install additional software and enjoy the freedom of the online jungle, ezyZip is your vine. It’s as easy as peeling a banana!
- Visit the Site: Swing over to ezyzip.com.
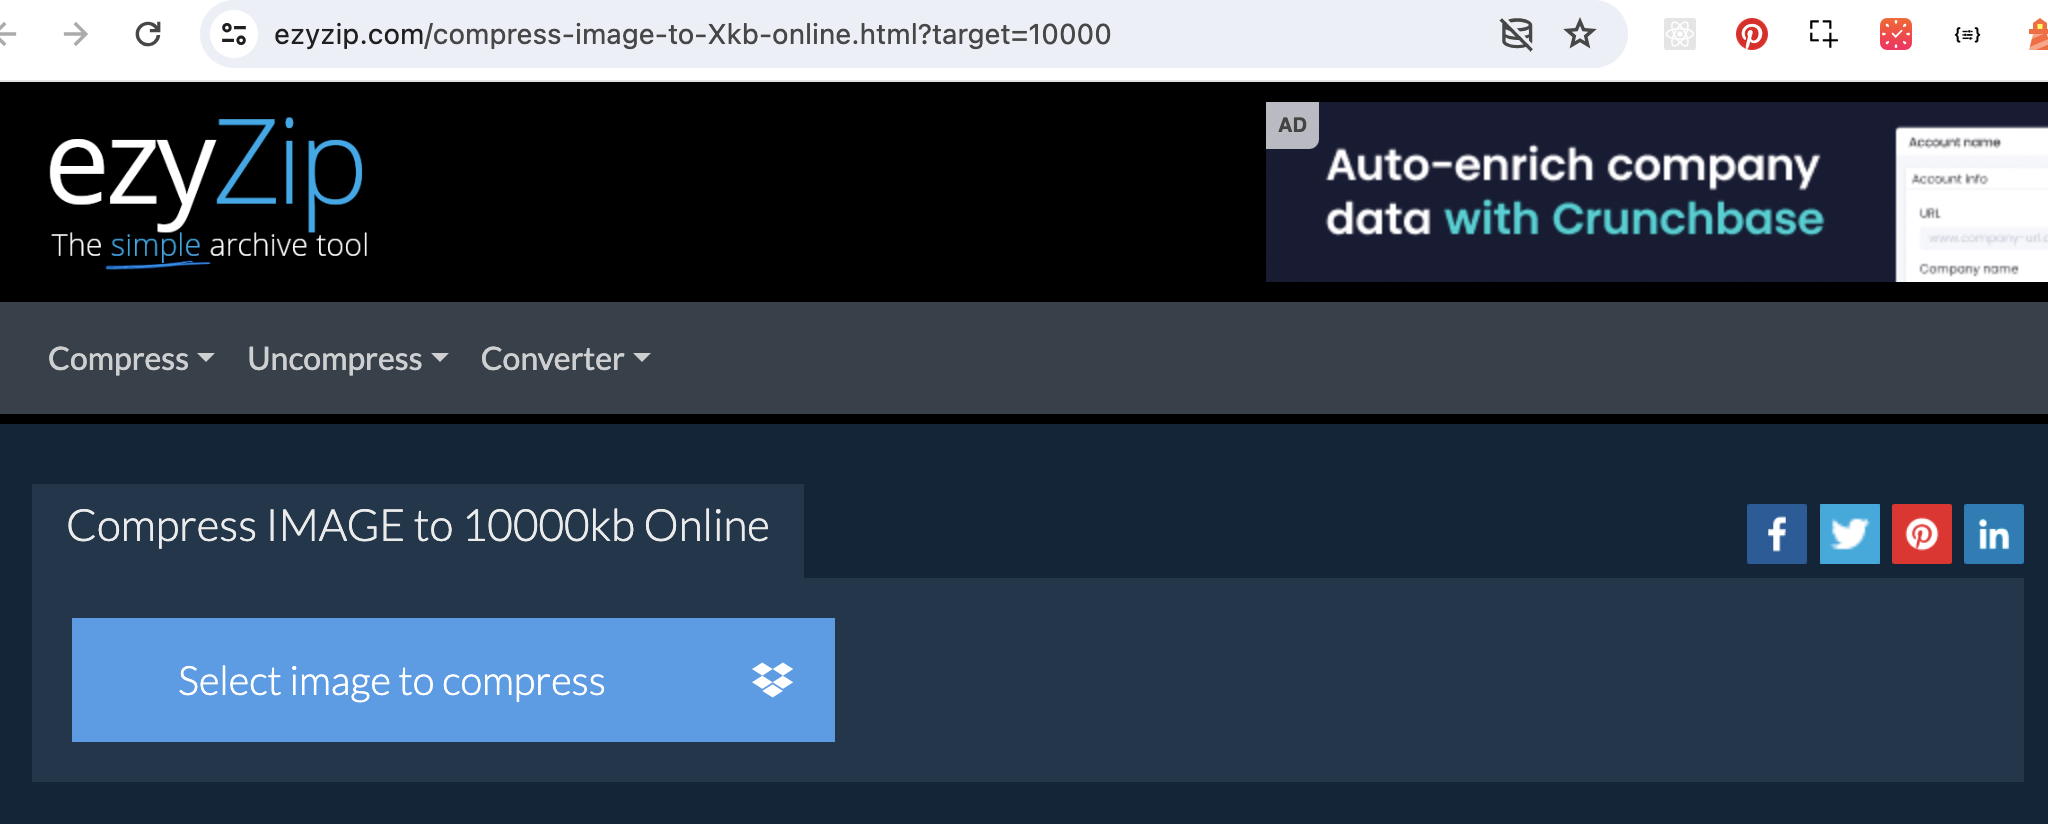
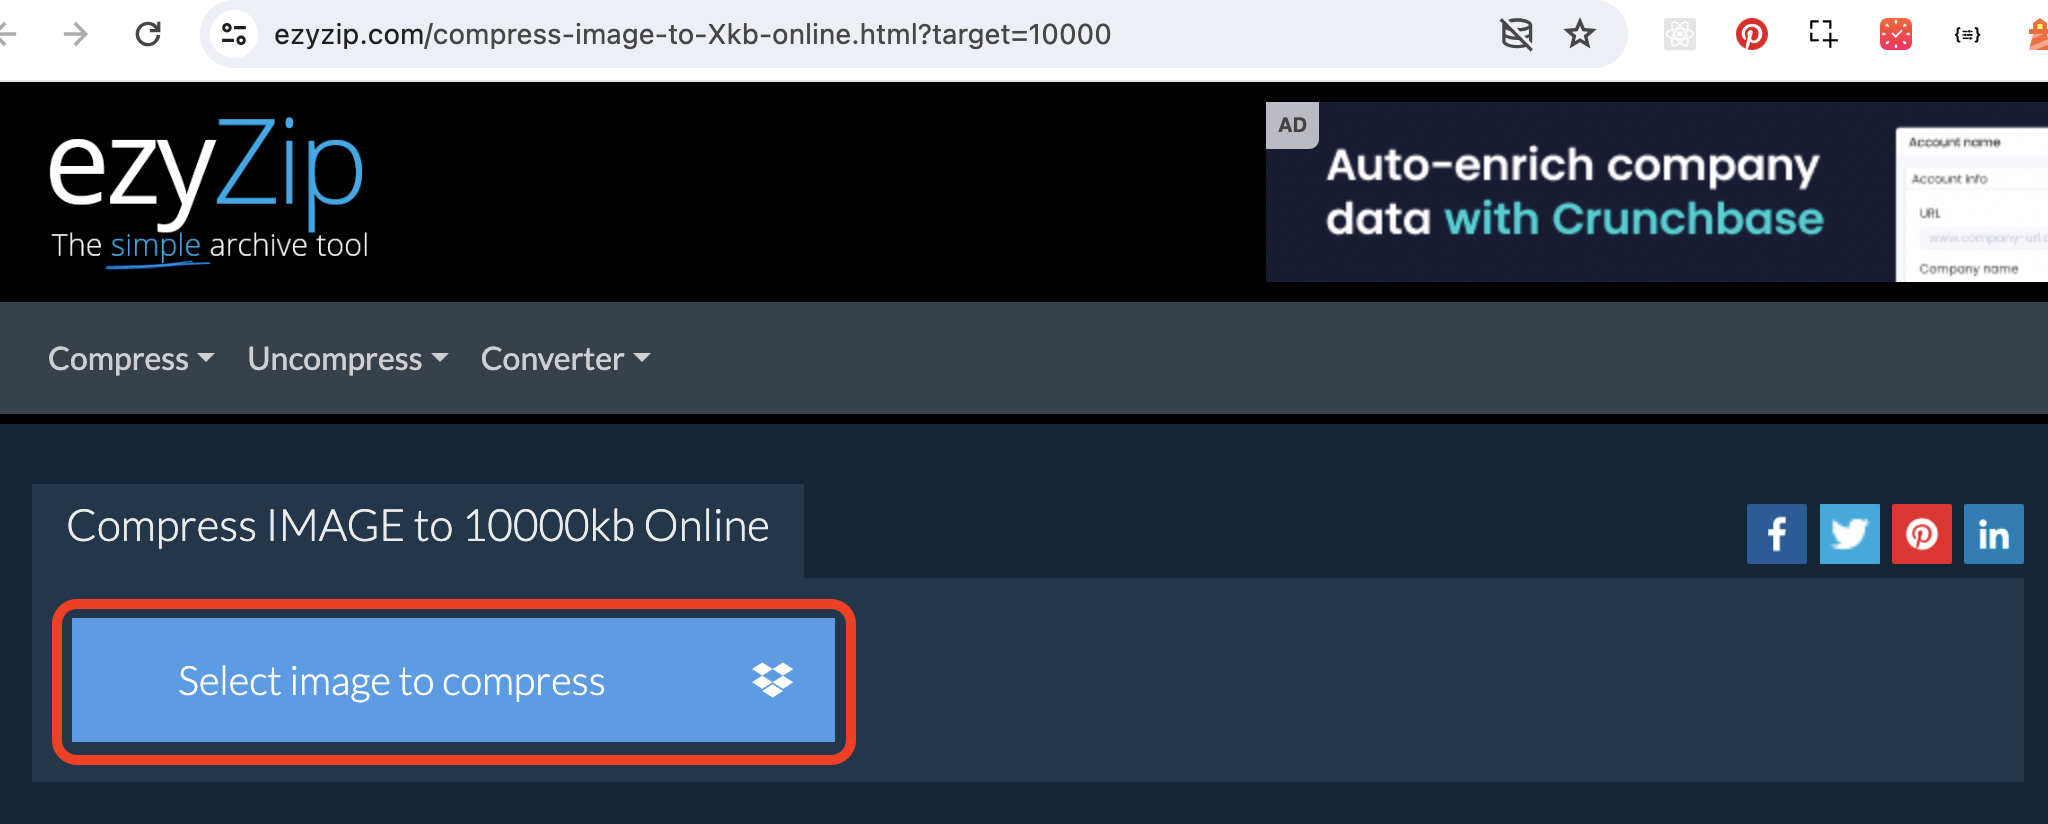
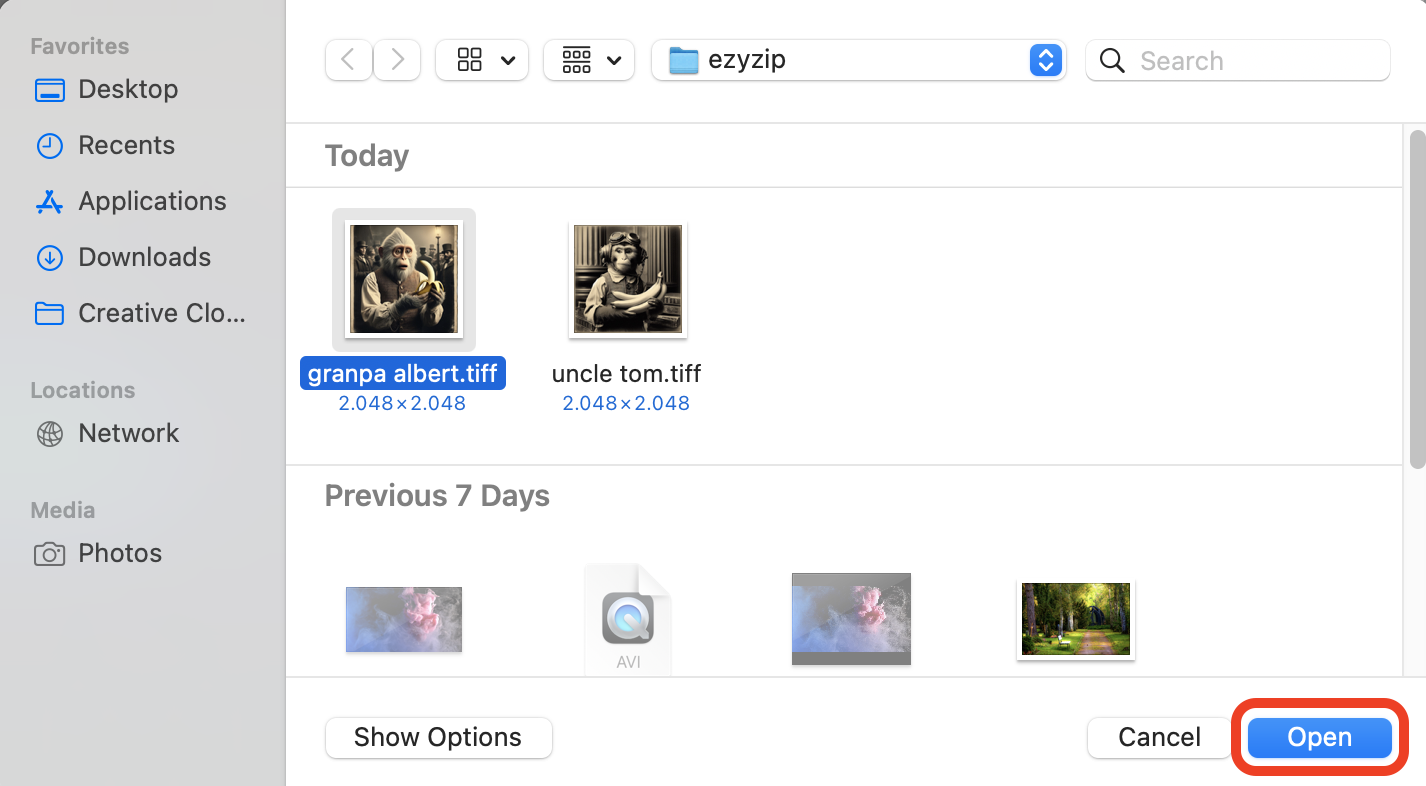
- Upload Your Image: Click on the “Select image to compress” button and select the photo(s) you want to resize. You can select more than 1 image. Imagine you’re handing over a banana to a friend.
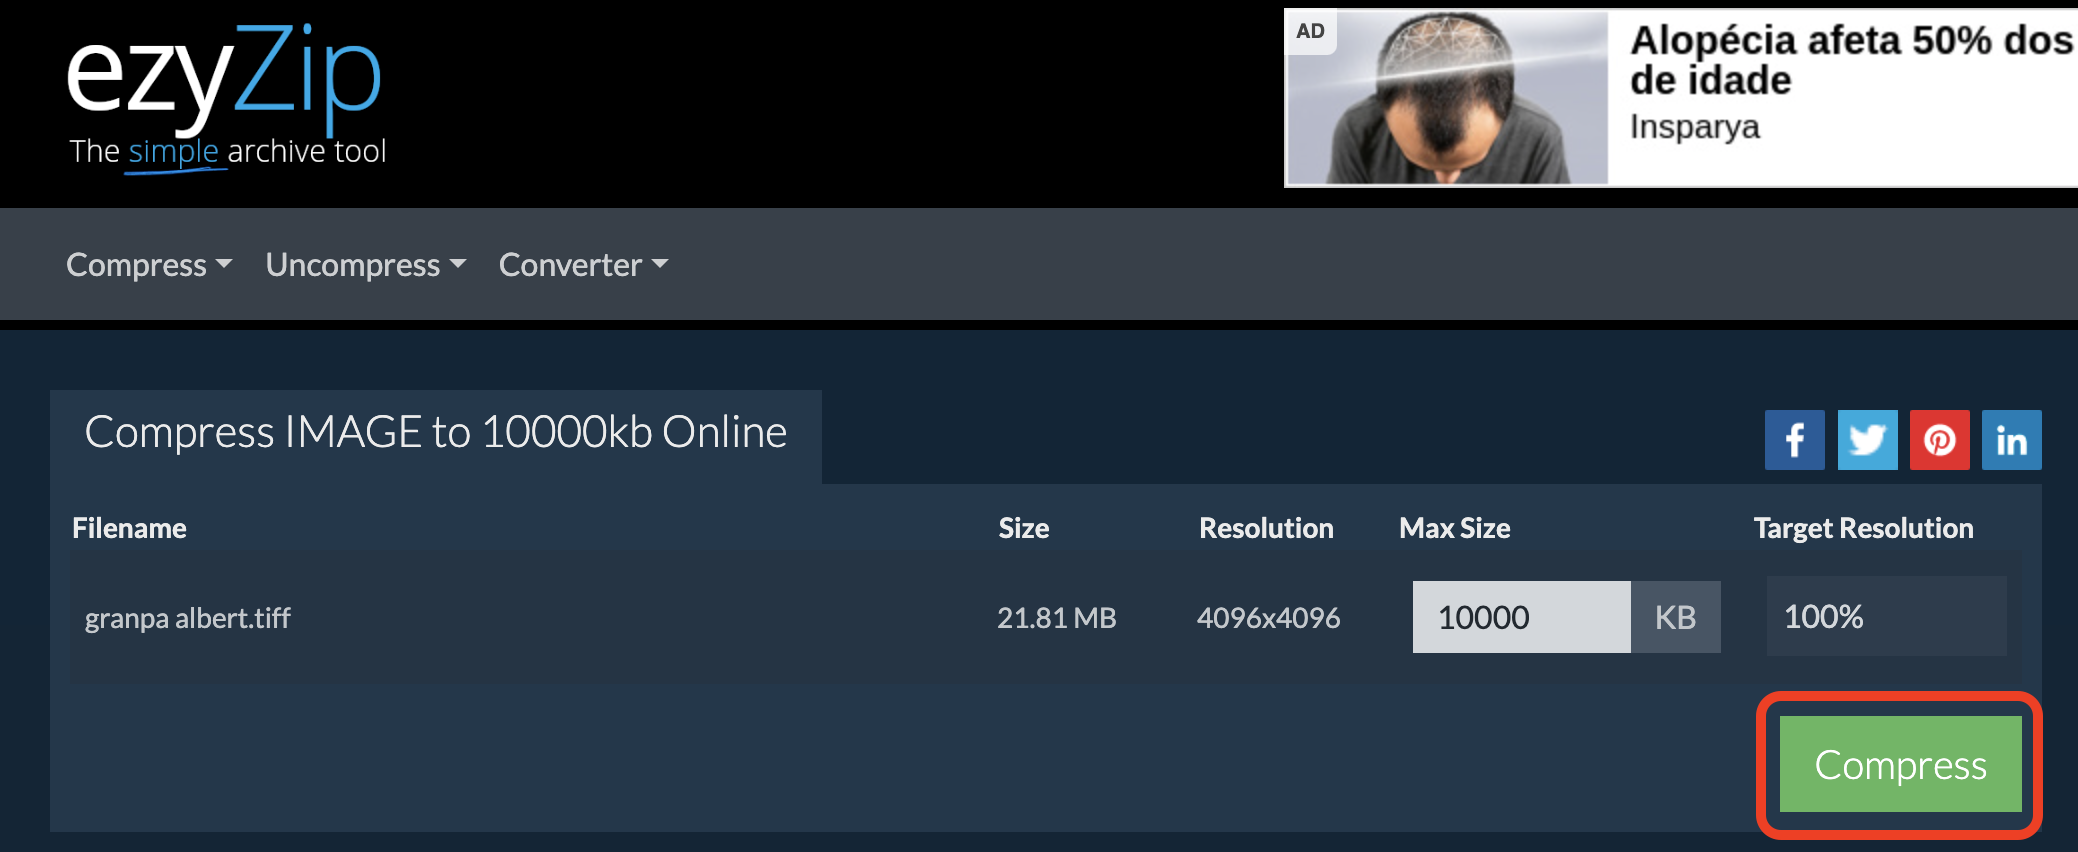
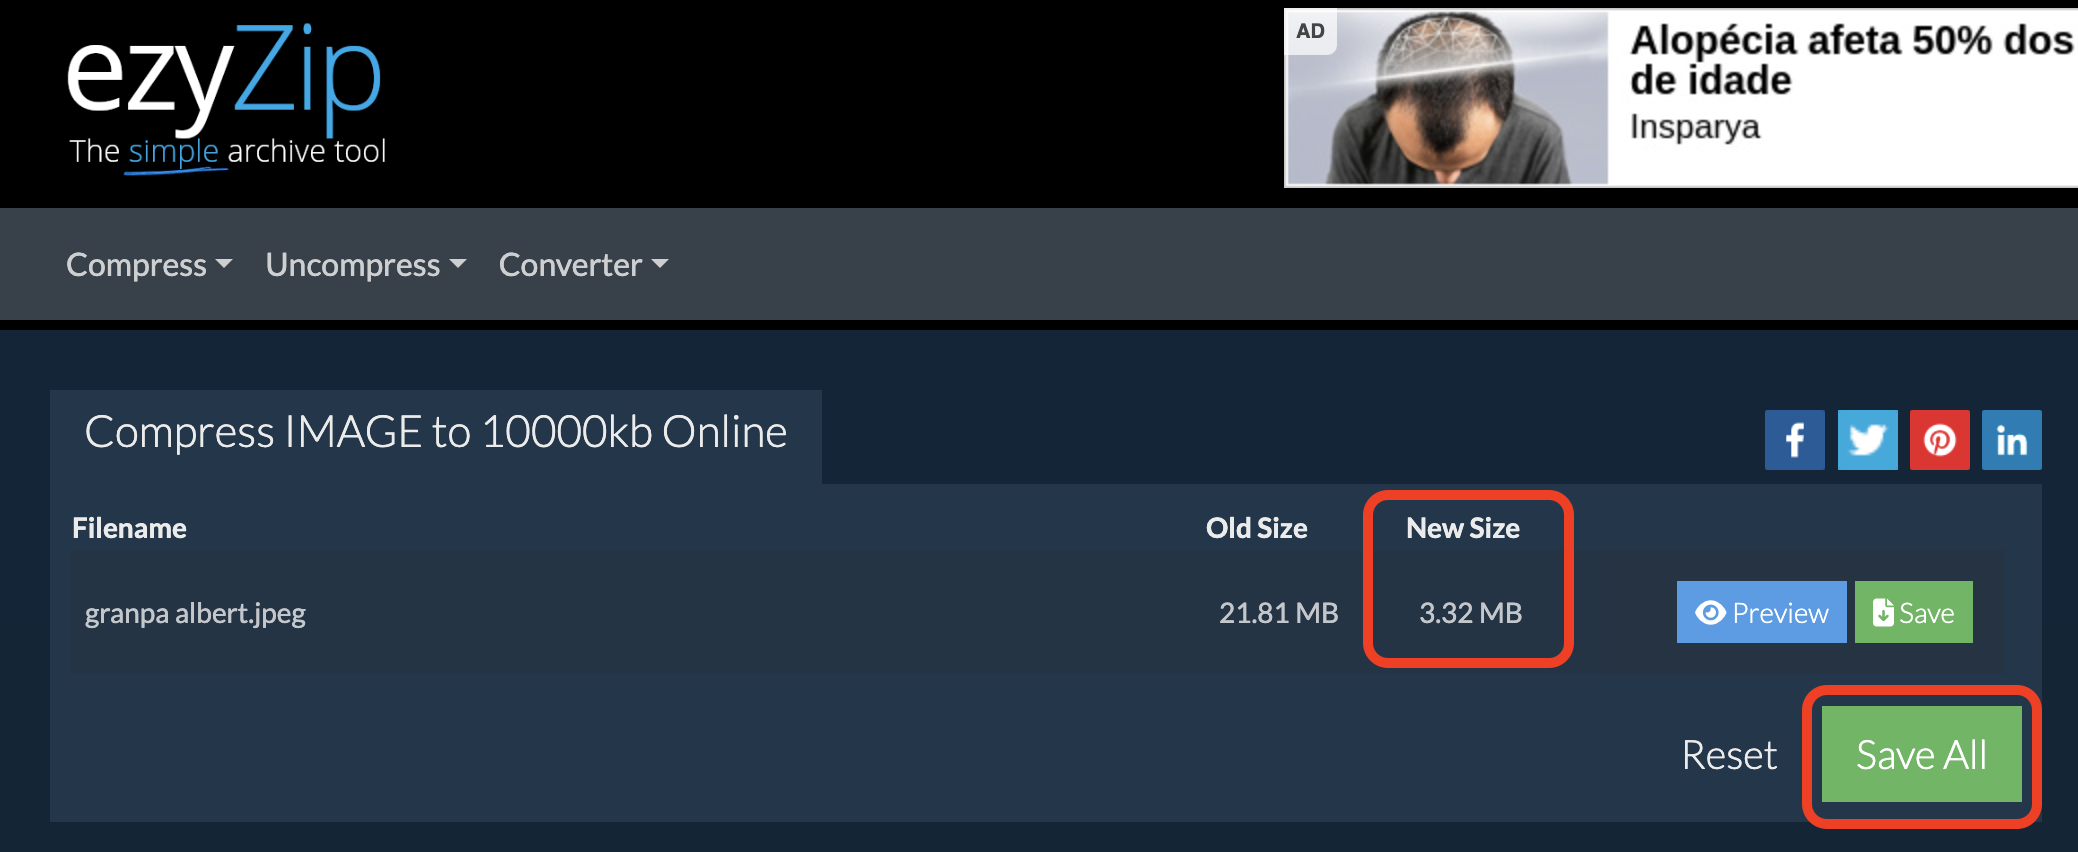
- Compress: Click on the “Compress” button and wait for the magic to happen. It’s like watching a banana ripen before your eyes!
- Download: Hit the “Save All” button and then download your newly slimmed-down image. Congratulations, you’ve just made that image as light as a monkey’s lunch!
How To Reduce Image Size For Amazon Using Photo Viewer on Windows
For the Windows warriors who prefer to keep it simple and native, the built-in Photo Viewer is your trusty companion for resizing images.
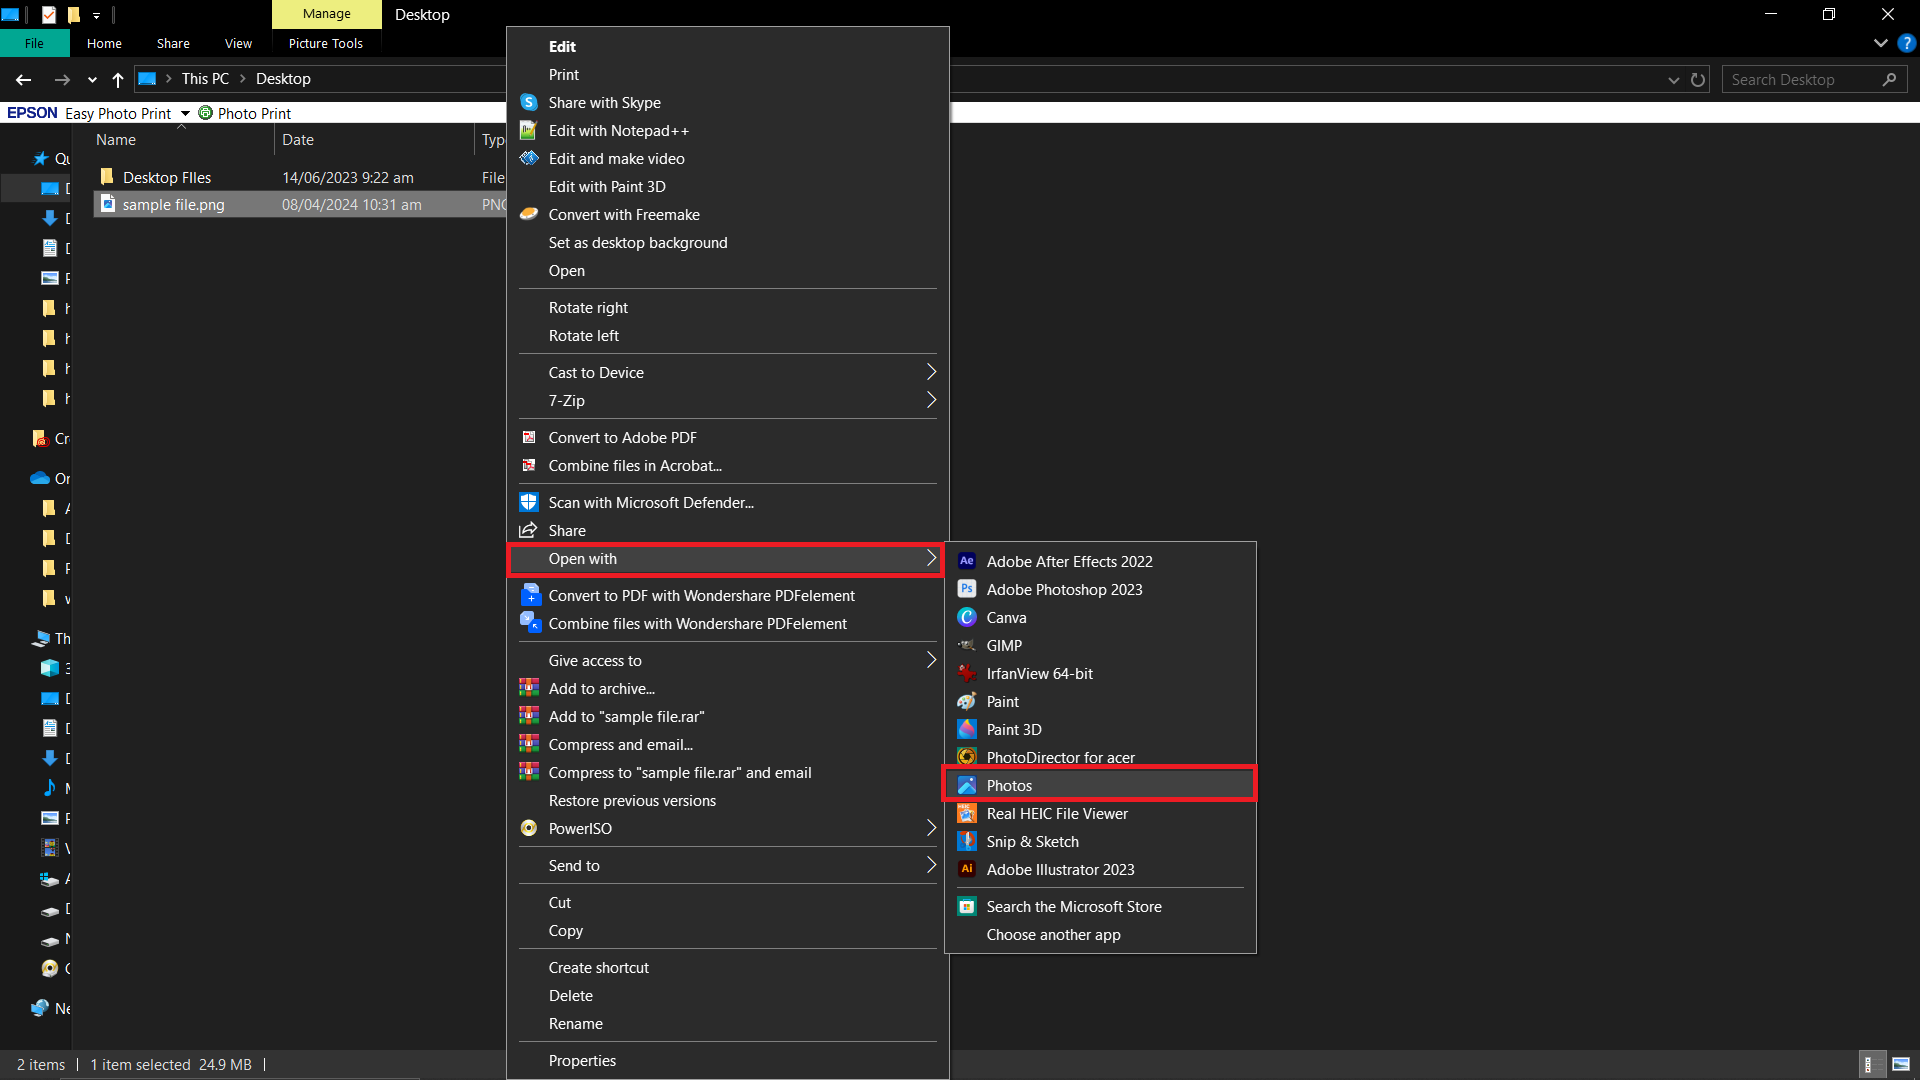
- Open Your Image: Right-click on your image and select “Open with > Photos”.
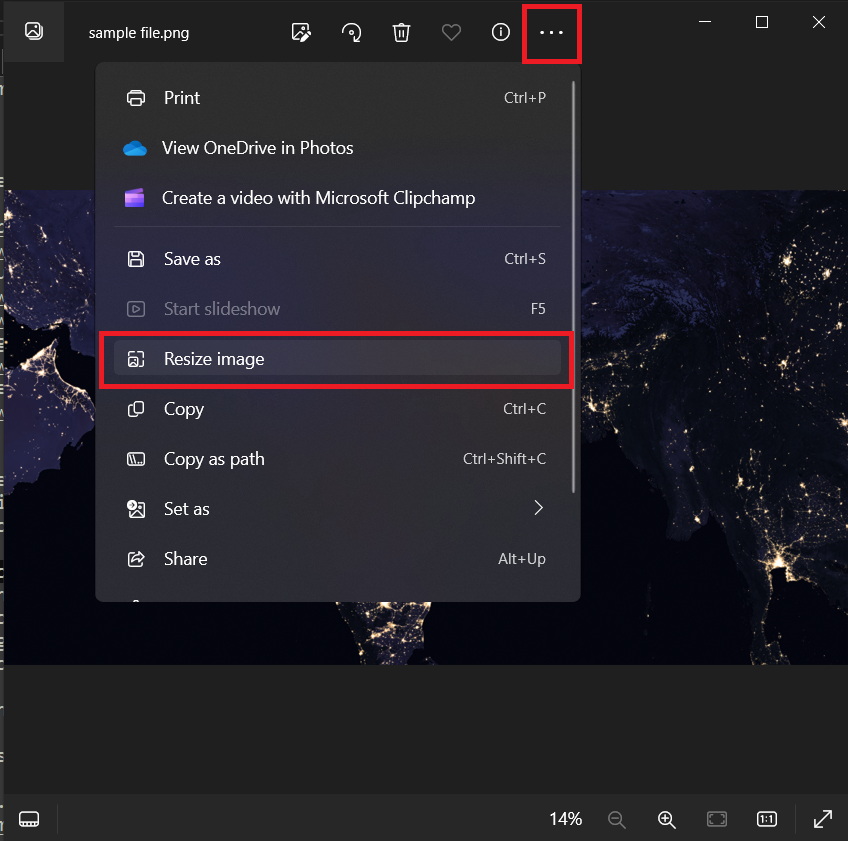
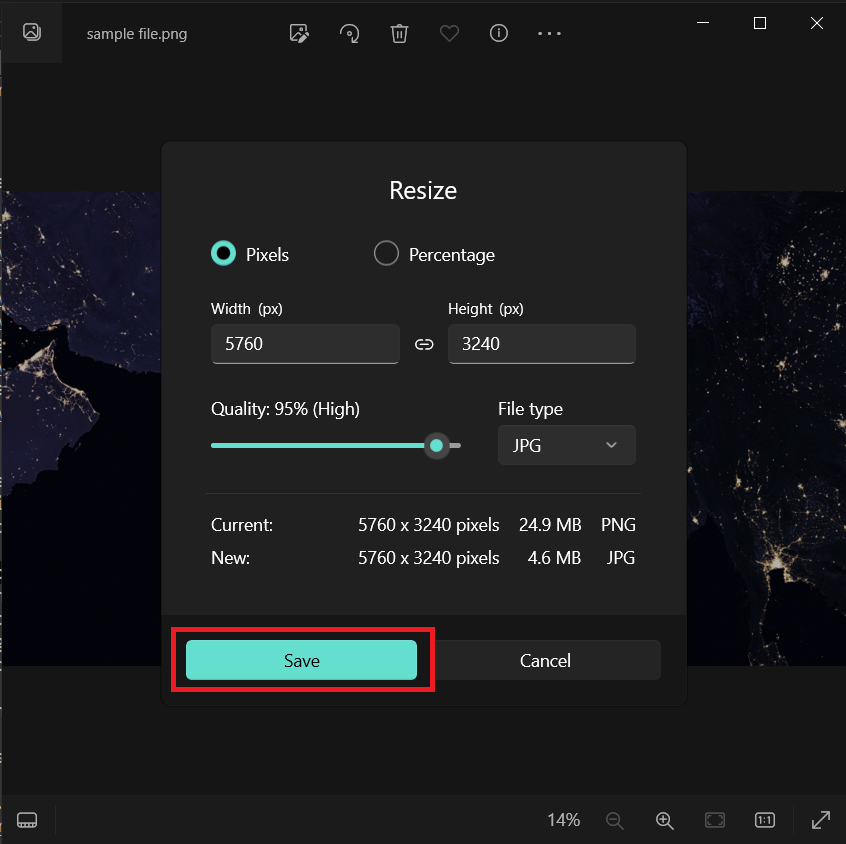
- Edit & Create: Click on the “Three Dot” button at the top and select “Resize”.
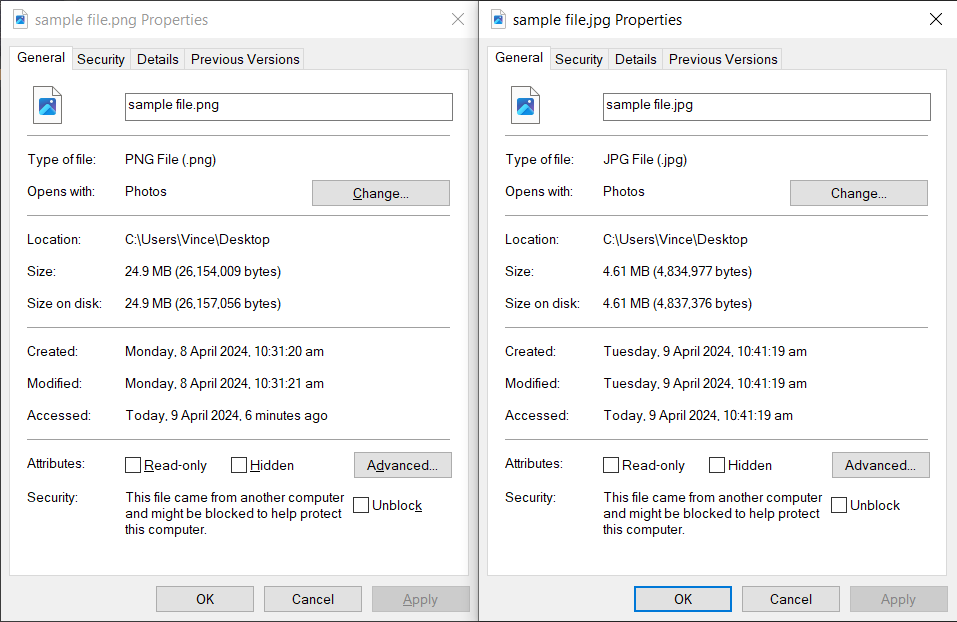
- Choose a Size: Select the desired size for your image, ensuring it stays under the 10MB limit.
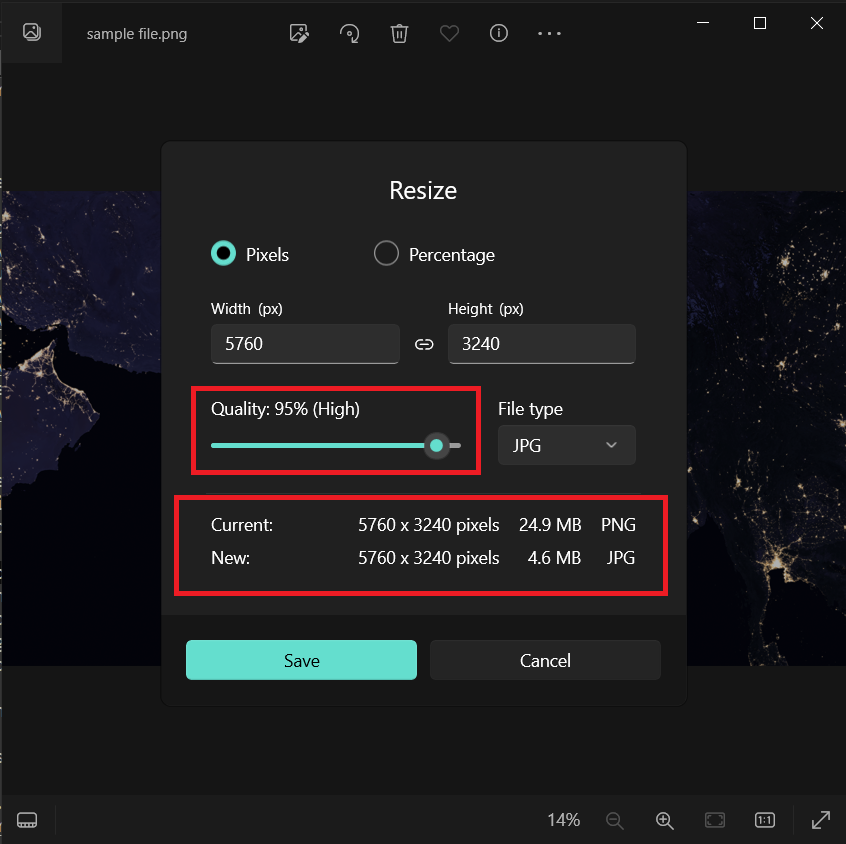
- Save Your Image: Click “Save” to save your resized image. Your image is now ready to be uploaded to Amazon, light and nimble as a jungle cat.

How To Use Photoshop to reduce image size for Amazon Using Photoshop
For the tech-savvy explorers who demand precision and control, Photoshop is the tool to carve through the jungle with.
- Open Photoshop: Launch your digital machete, Adobe Photoshop.
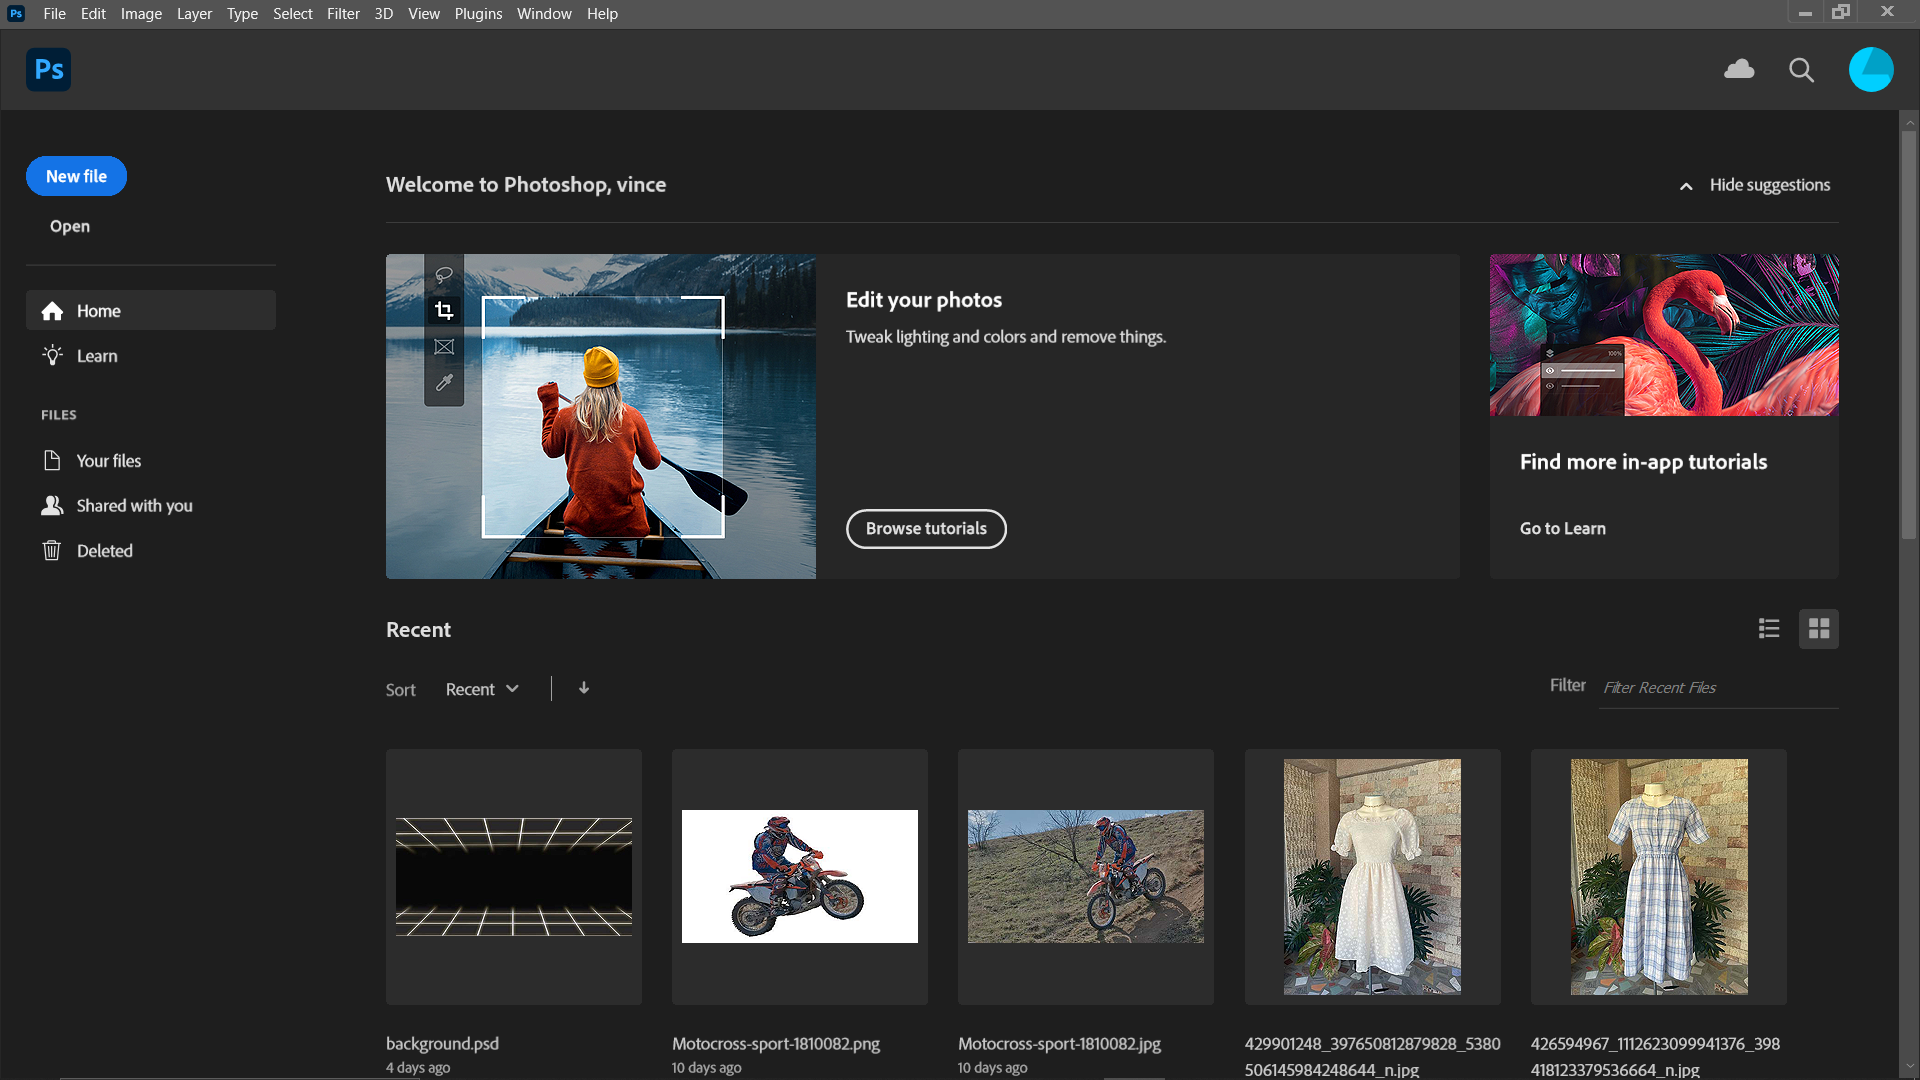
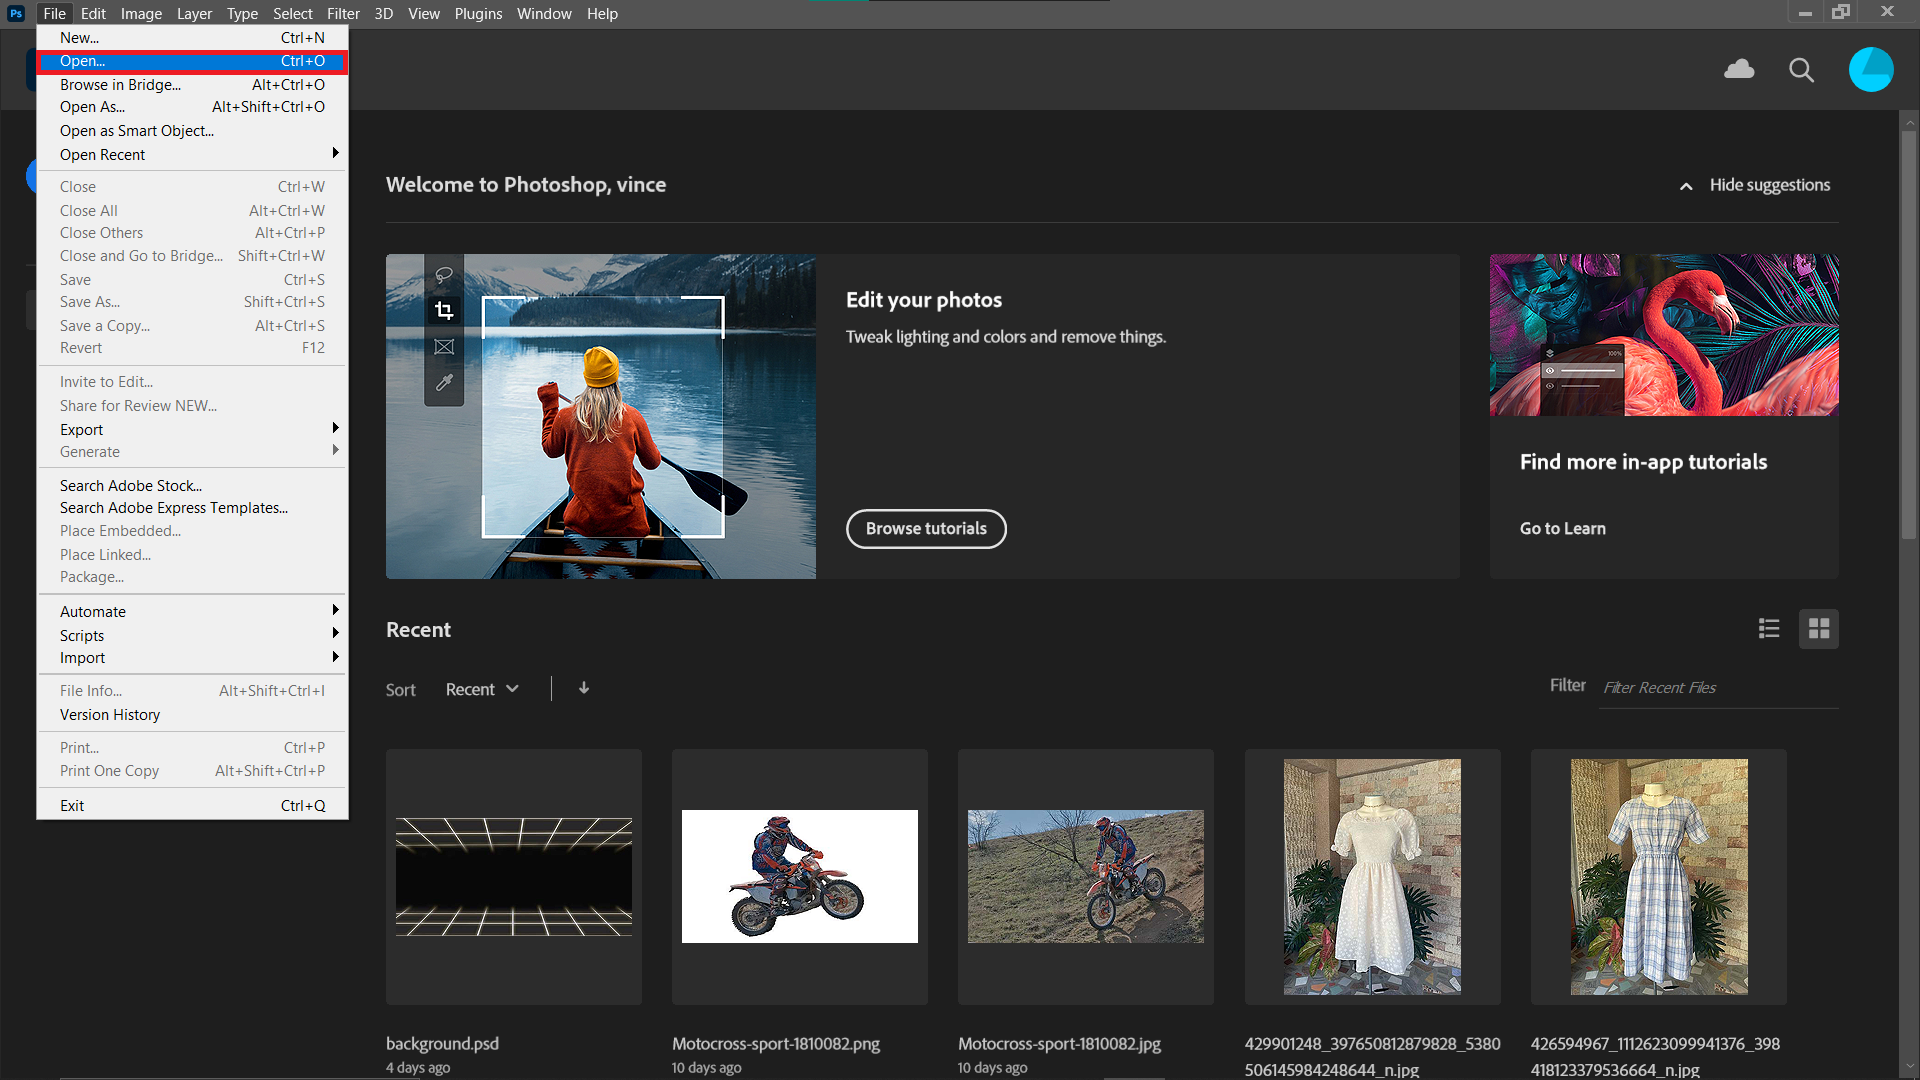
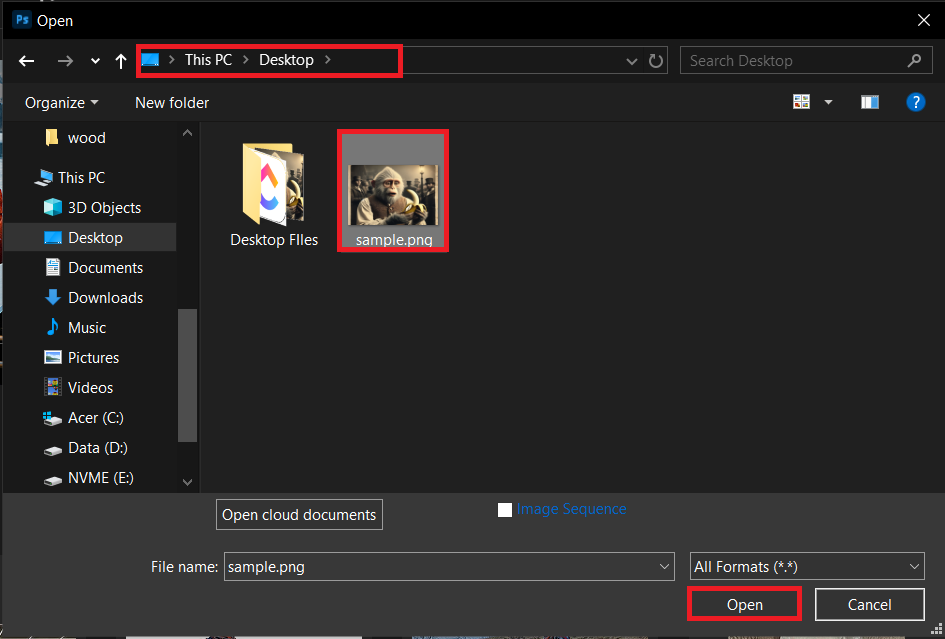
- Open Your Image: “File > Open”, then select the image you want to optimize for Amazon.
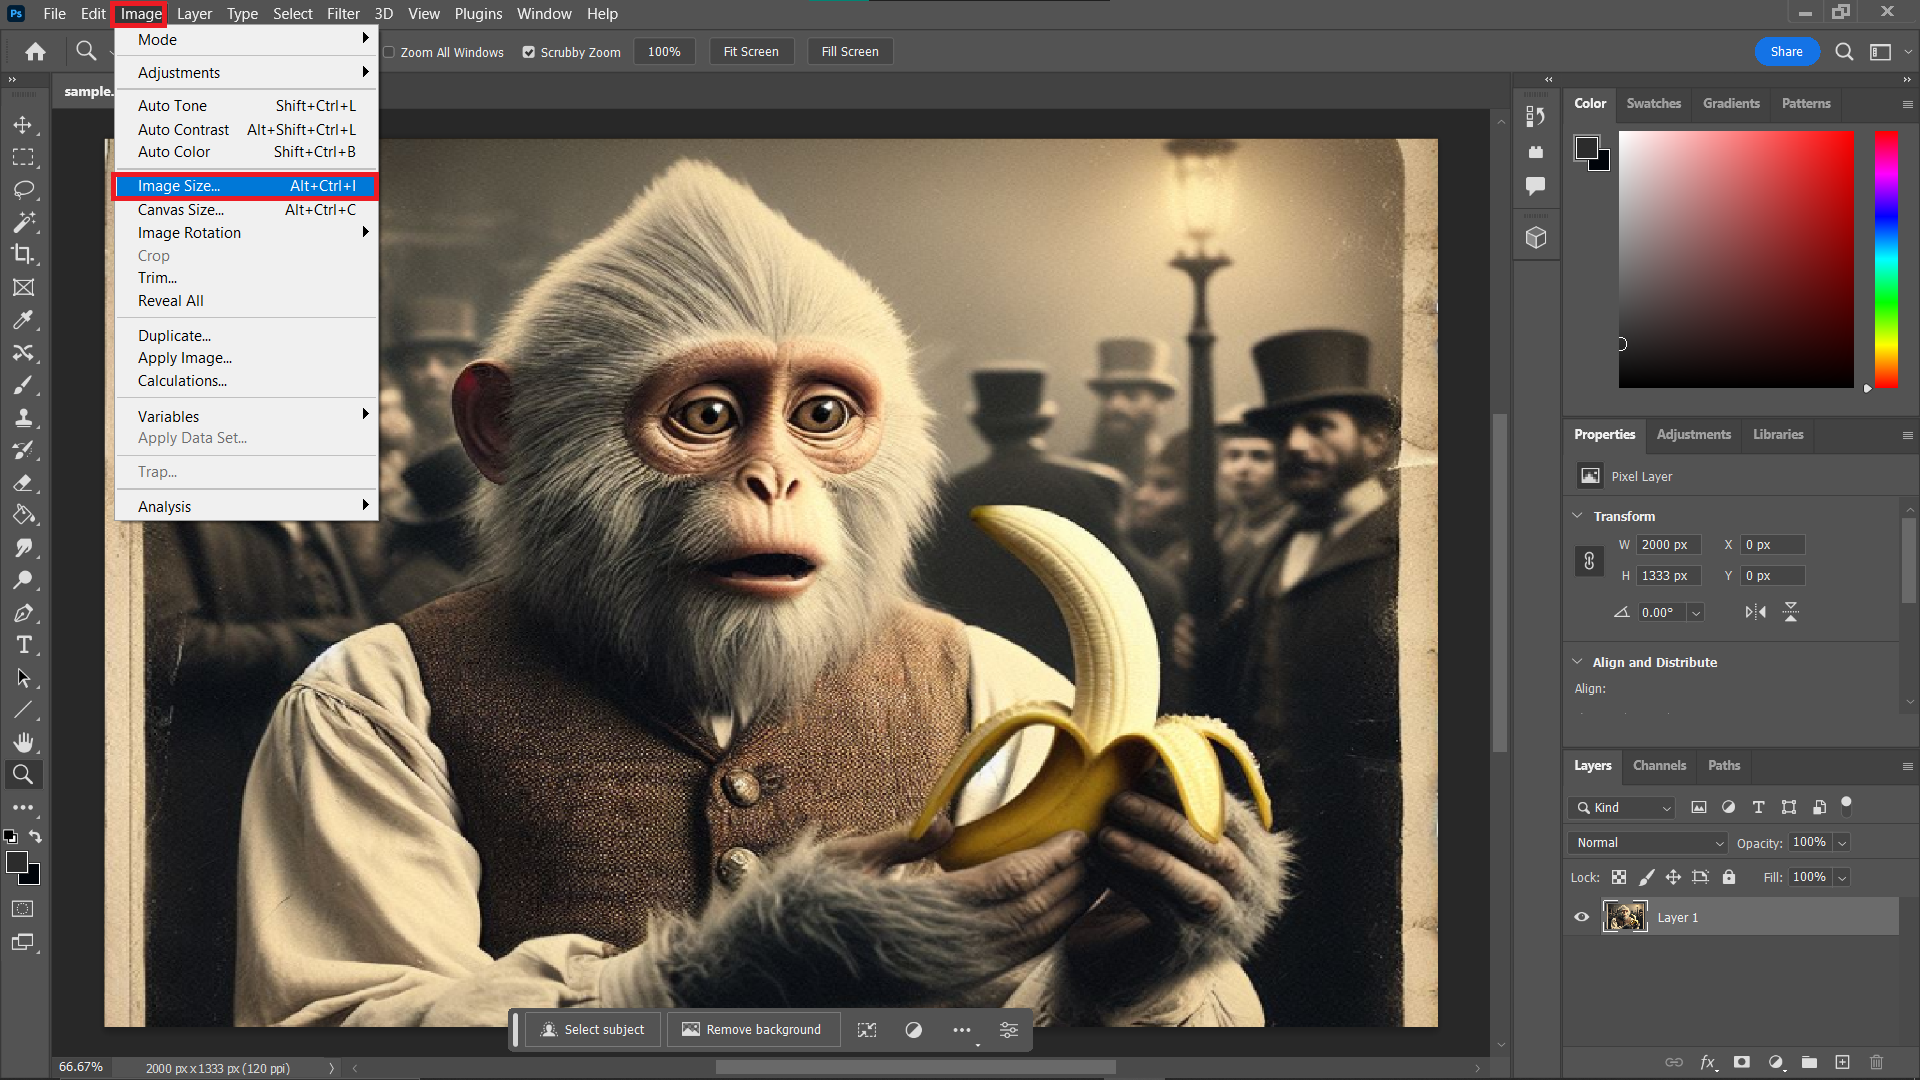
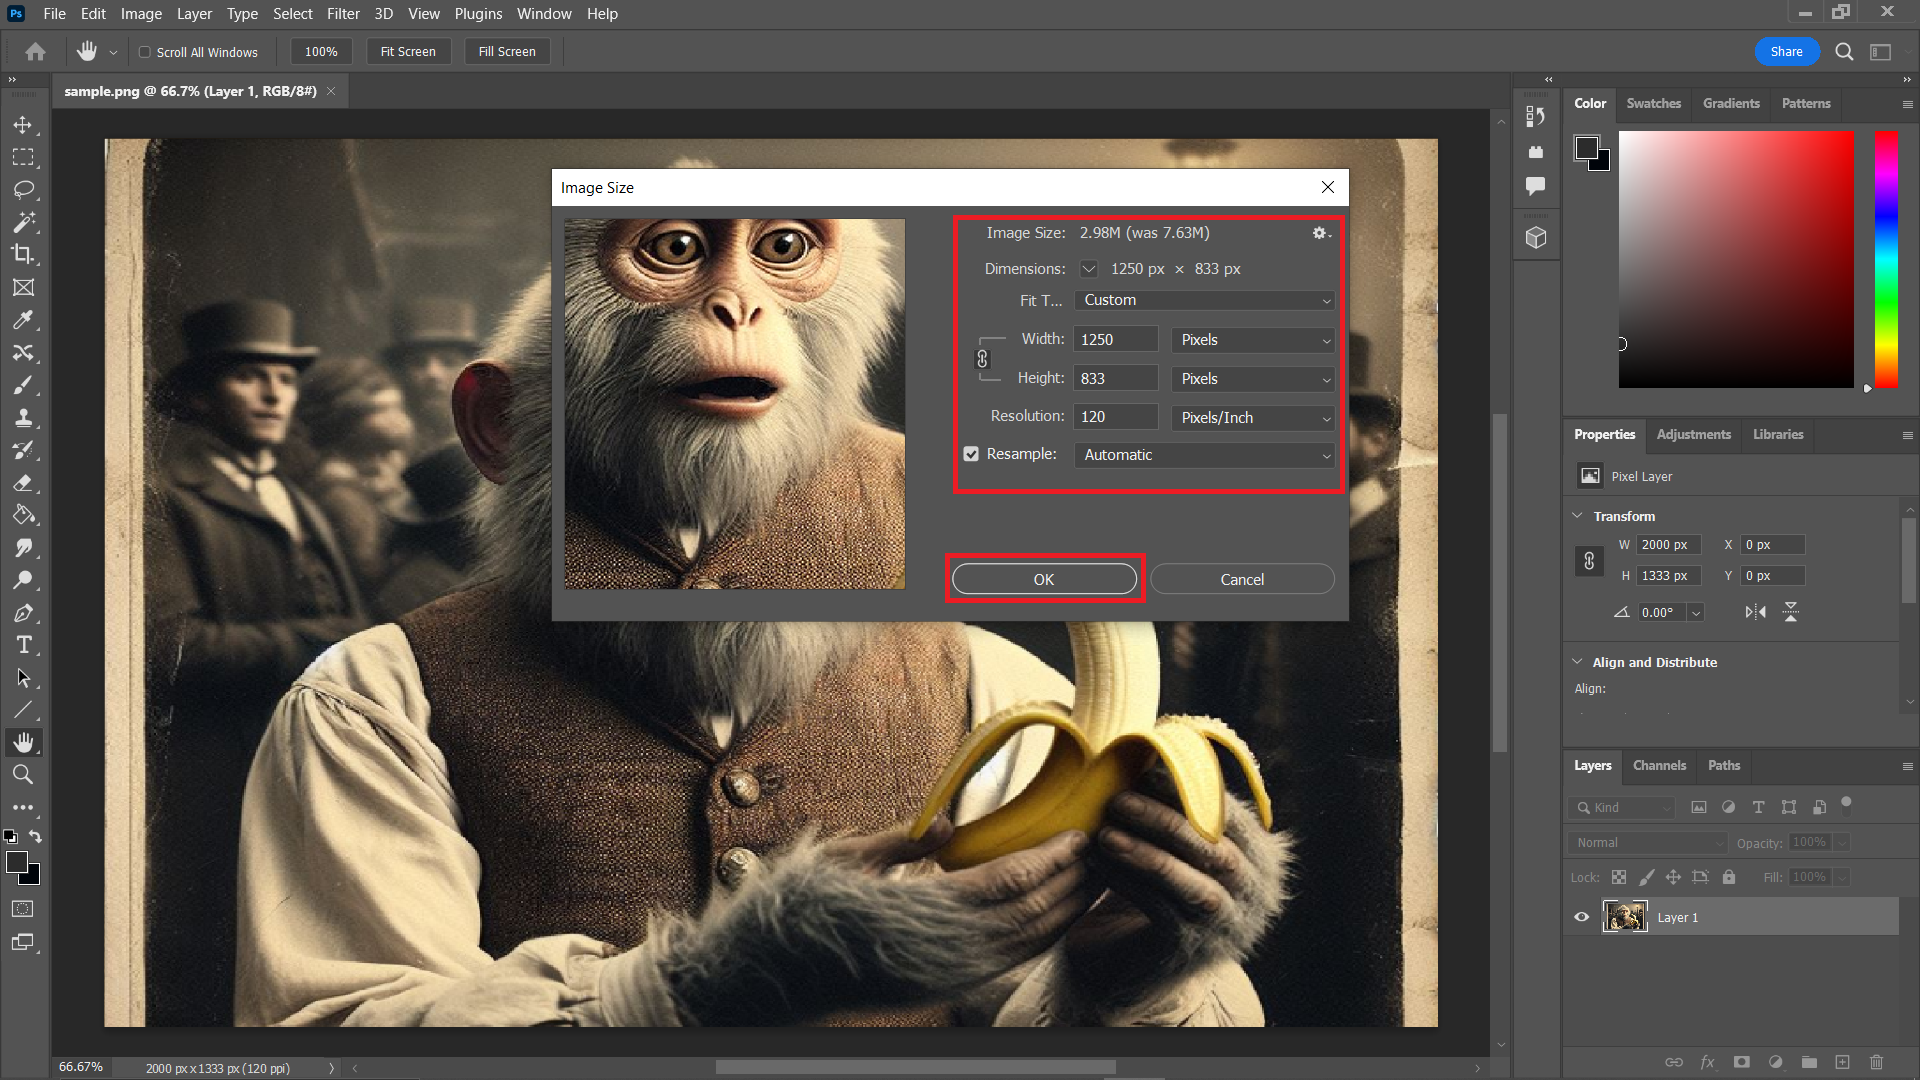
- Resize the Image: Navigate to “Image > Image Size”, and adjust the dimensions or resolution to make sure your image is swinging under the 10MB vine.
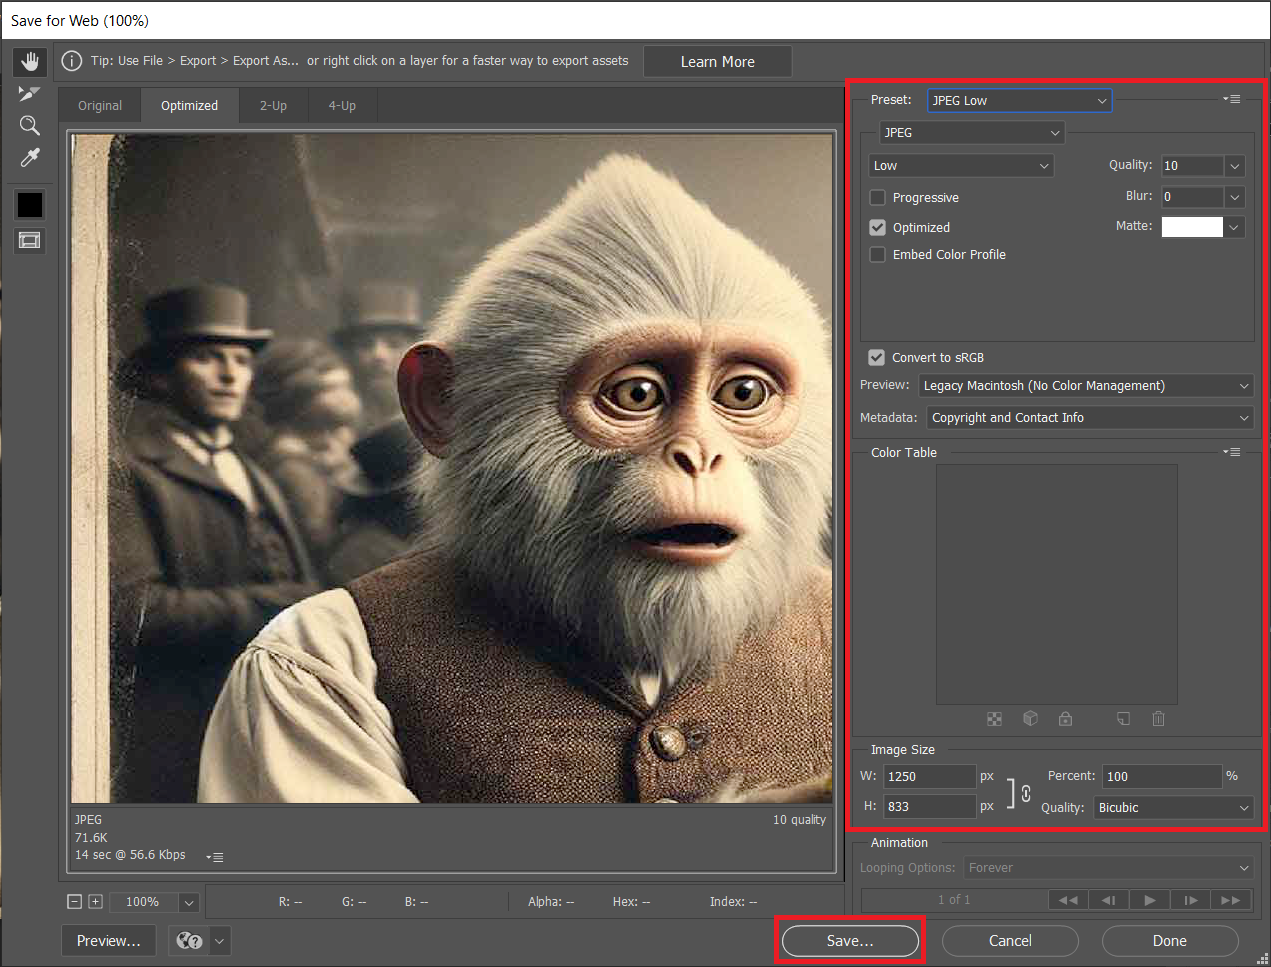
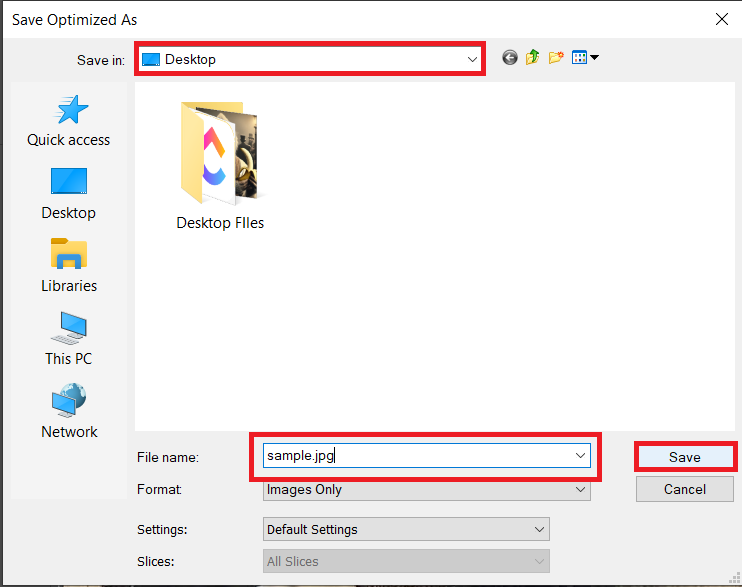
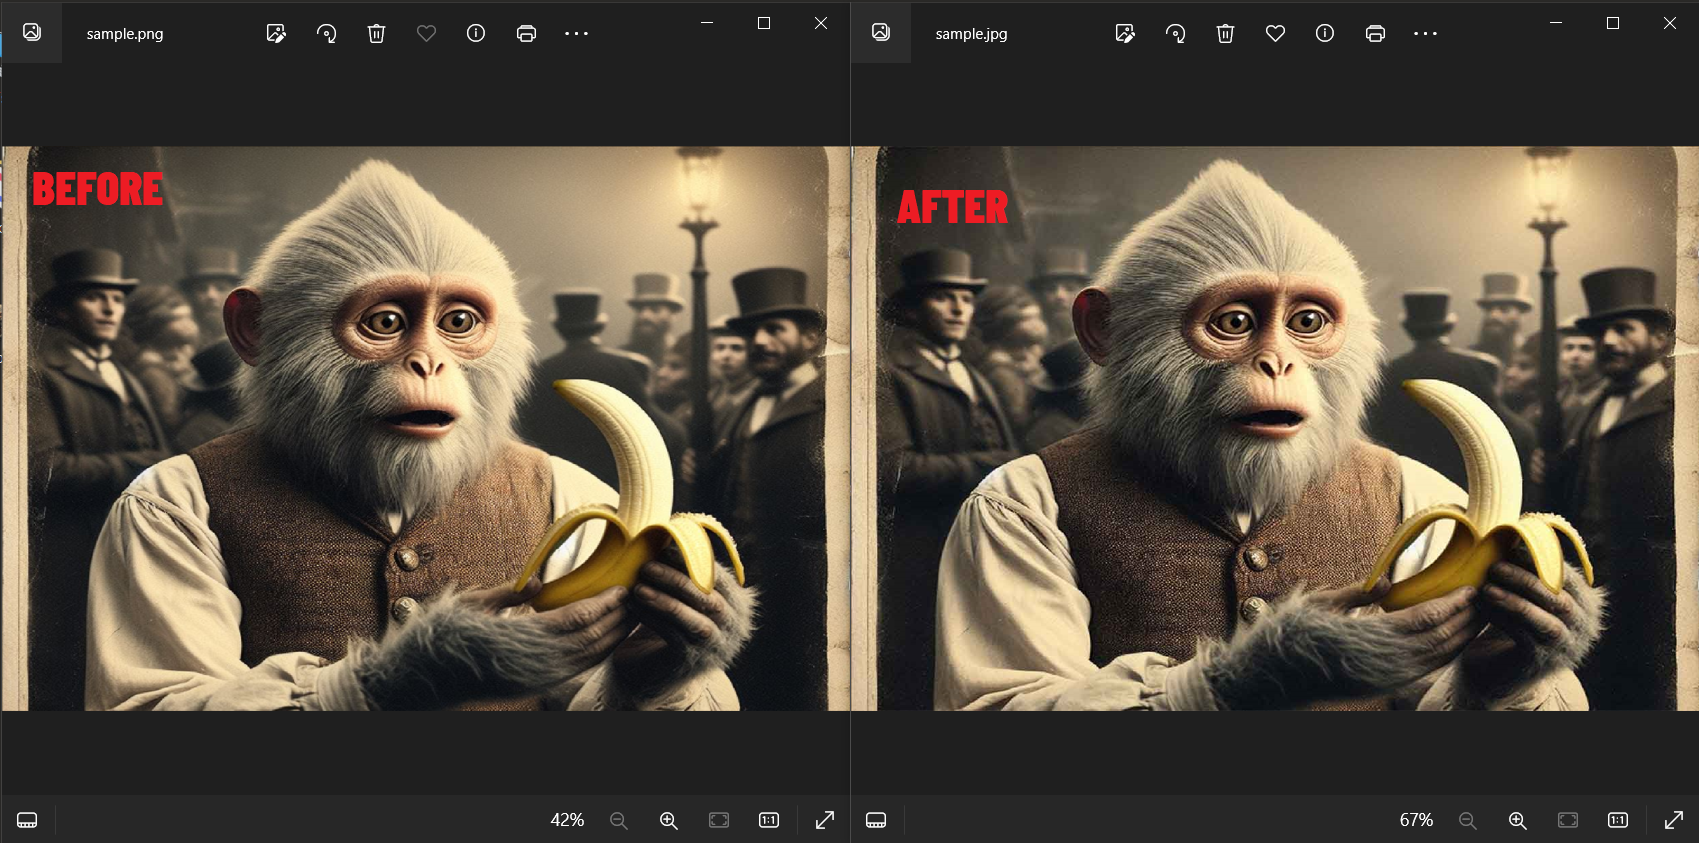
- Save for Web: “File > Export > Save for Web (Legacy)”, and choose the optimal format and compression settings. Aim for the best balance between quality and file size, like picking the perfect banana.

- Save Your Image: Once you’re happy with the preview, save your image. It’s now ready to climb the ranks on Amazon.
How To Compress Images For Amazon on Mac with Preview
For the Mac users in the tribe, Preview is your native tool for quick image resizing, no additional downloads required.
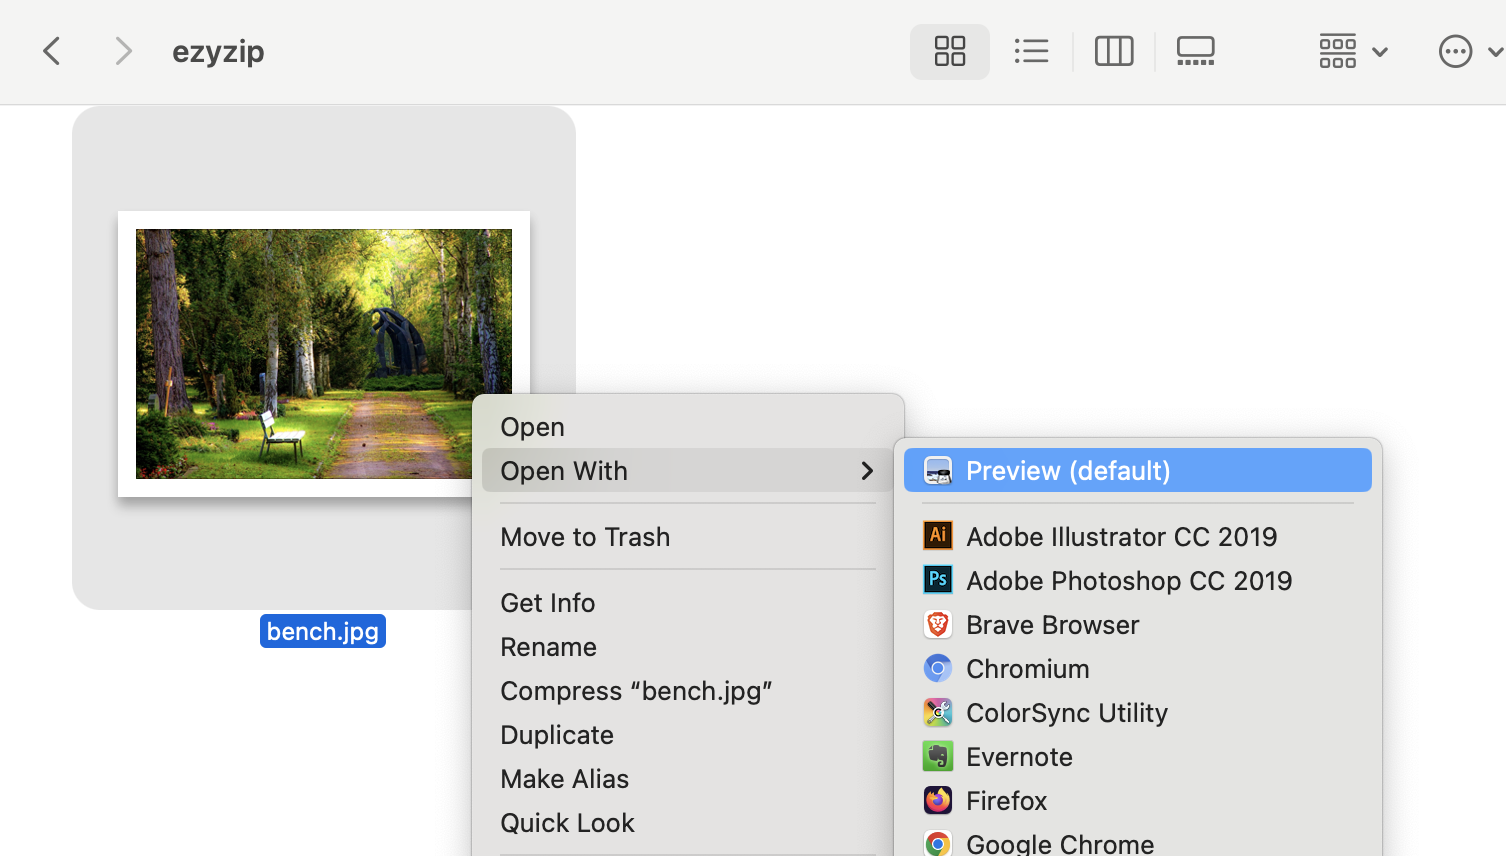
- Open with Preview: Right-click on your image and select “Open With > Preview.”
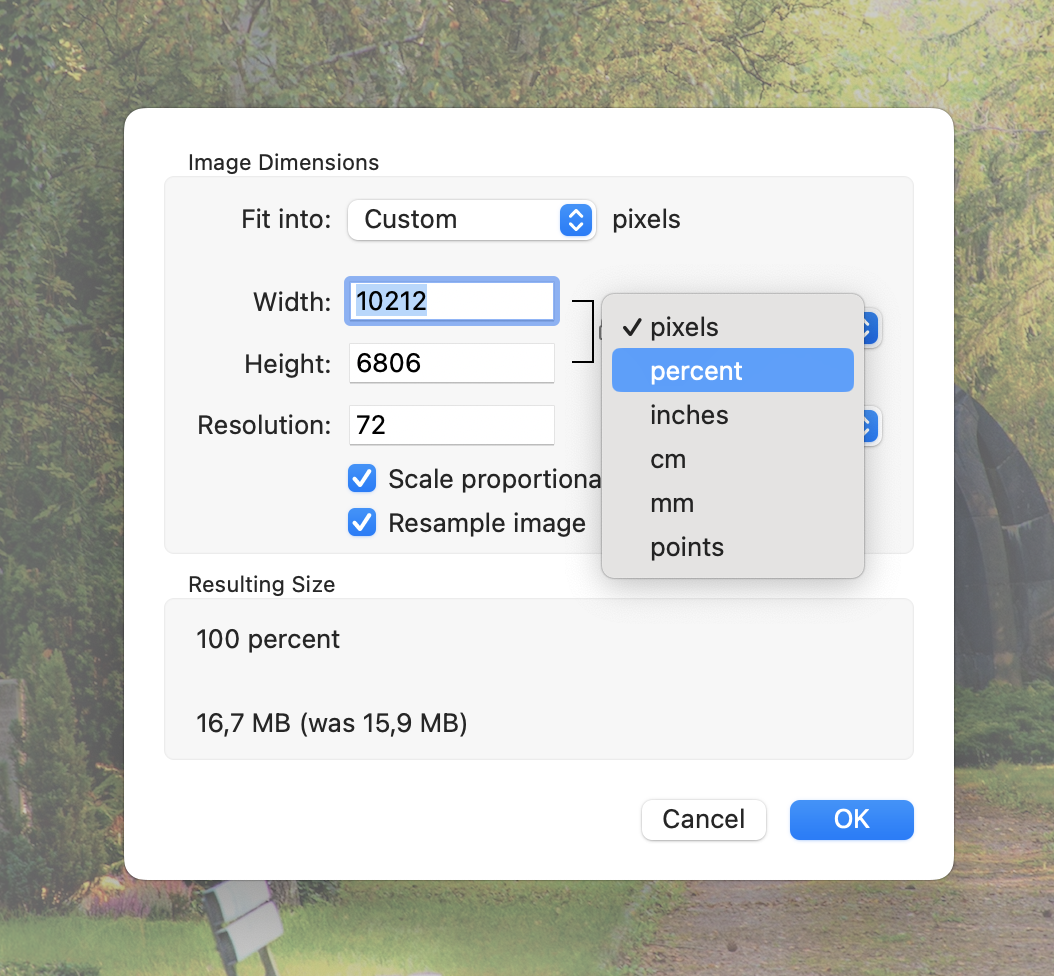
- Adjust Size: In the menu bar, click “Tools > Adjust Size”. You can change the dimensions and resolution here, making sure your image isn’t hogging all the bananas (stays below 10MB).
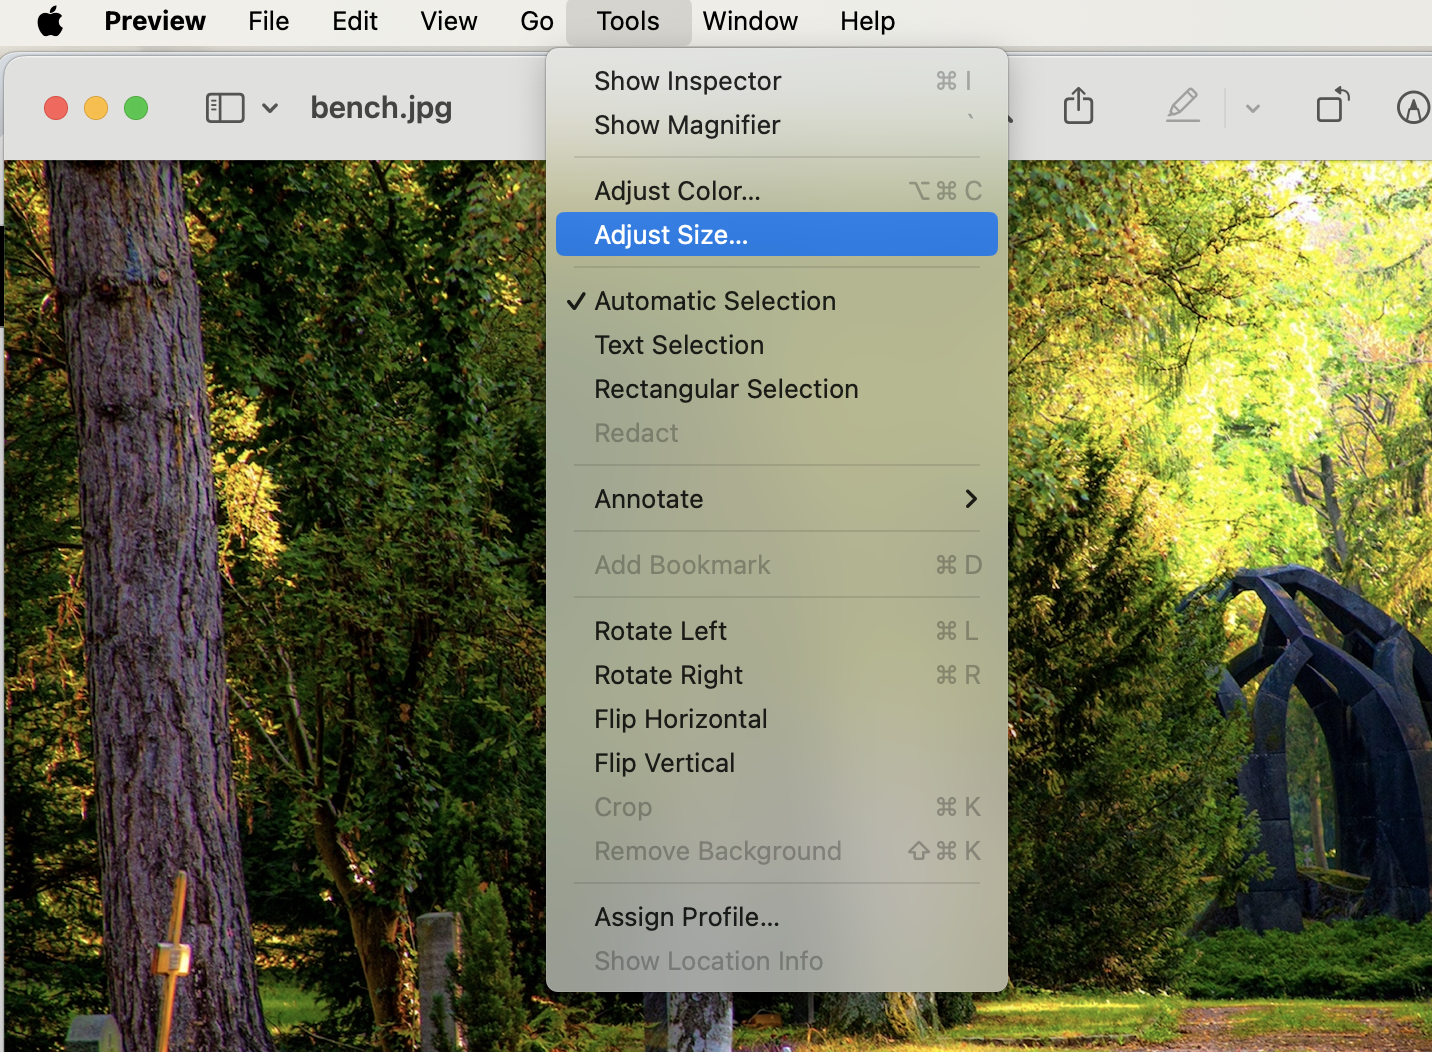
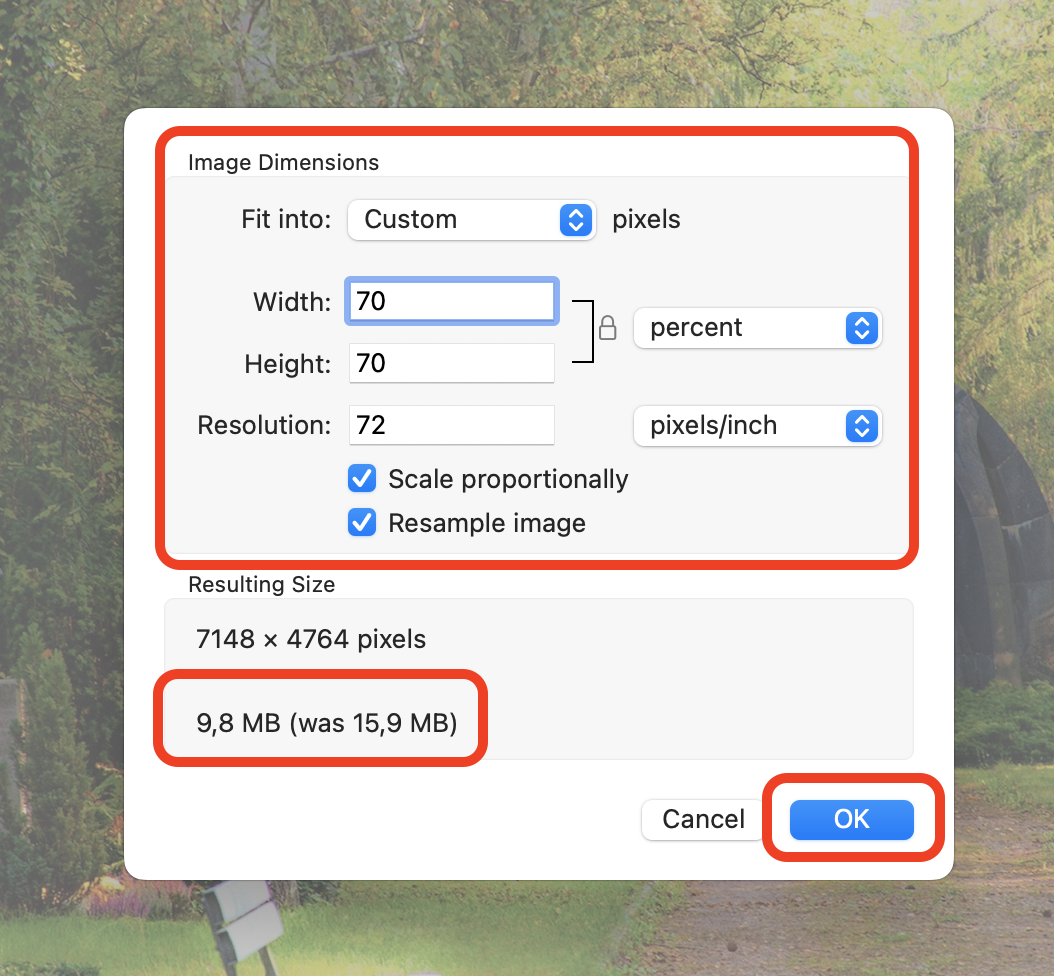
- Adjust Your Image: Under Image Dimensions, choose from pixels/percentage/… to adjust the quality to your desire. Change the “Resolution” to reduce the file size if necessary.
- Save Your Image: Click “OK” to save your optimized image. Your product photo is now as appealing and lightweight as a monkey’s snack.
How To Resize Images For Amazon on Linux with GIMP
For the open-source enthusiasts navigating the Linux jungle, GIMP is your versatile and powerful ally.
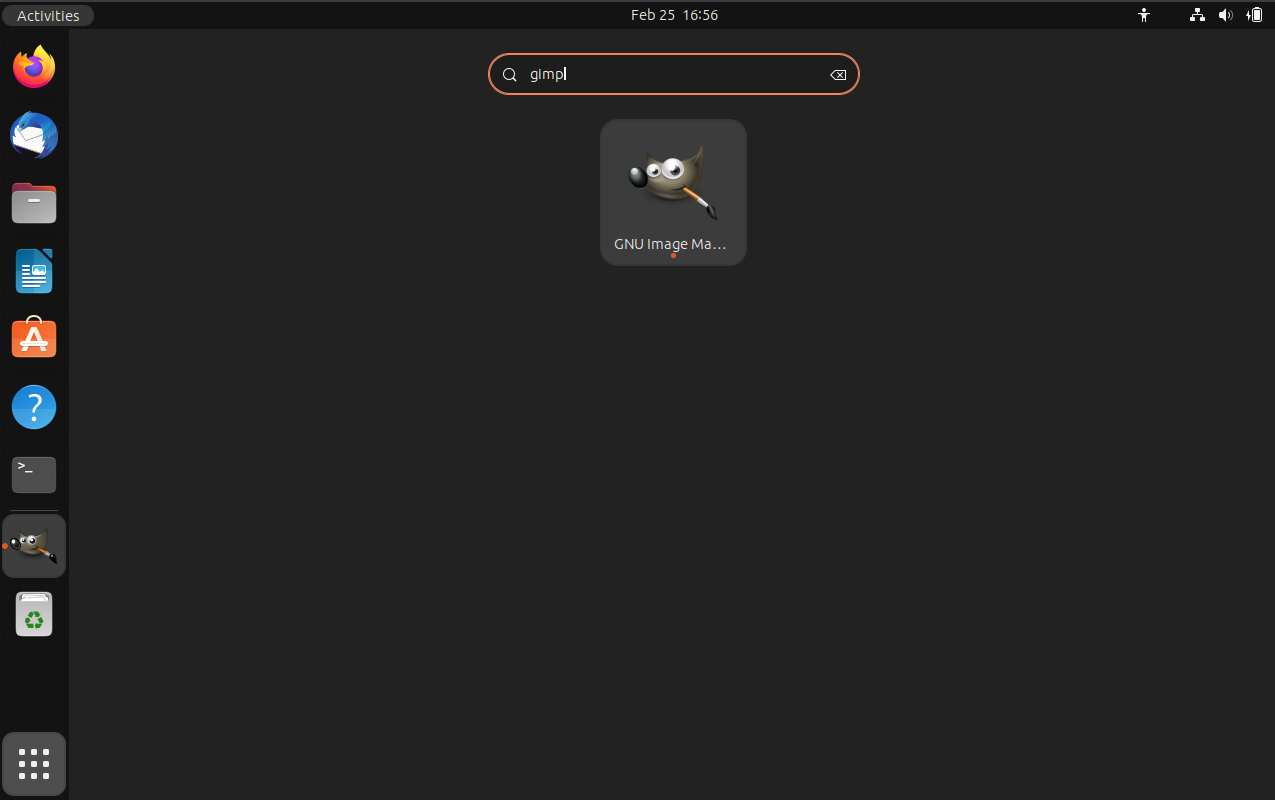
- Install GIMP: If you haven’t already, open a terminal and type sudo apt-get install gimp, then press Enter.
sudo apt-get install gimp
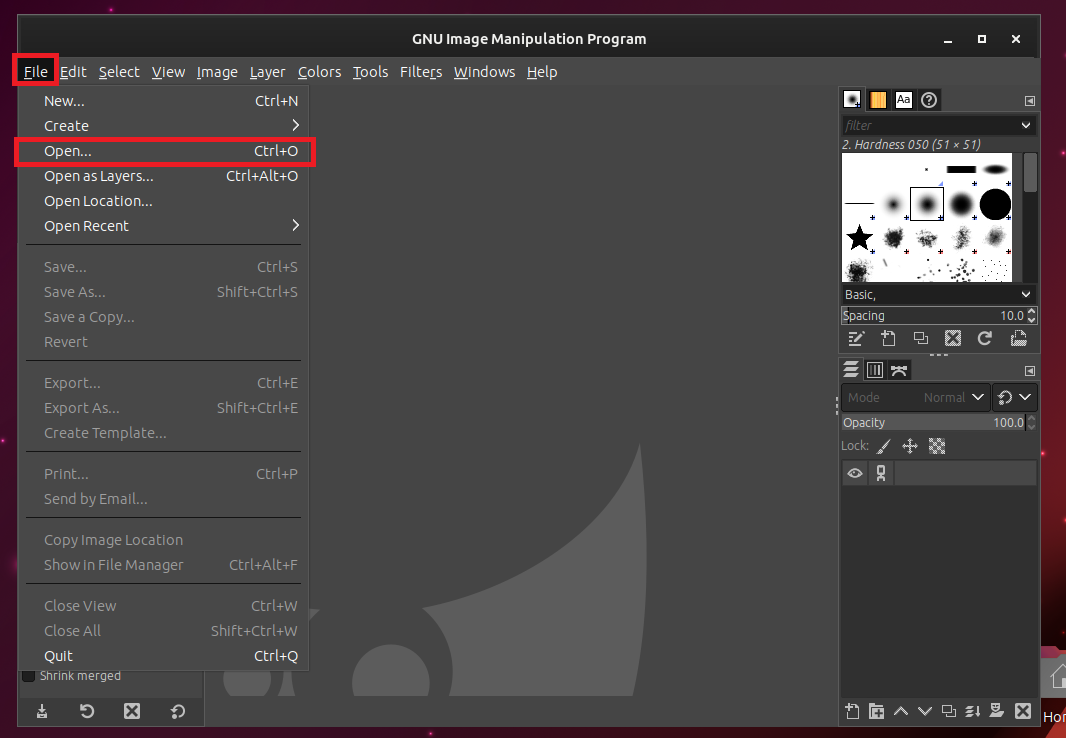
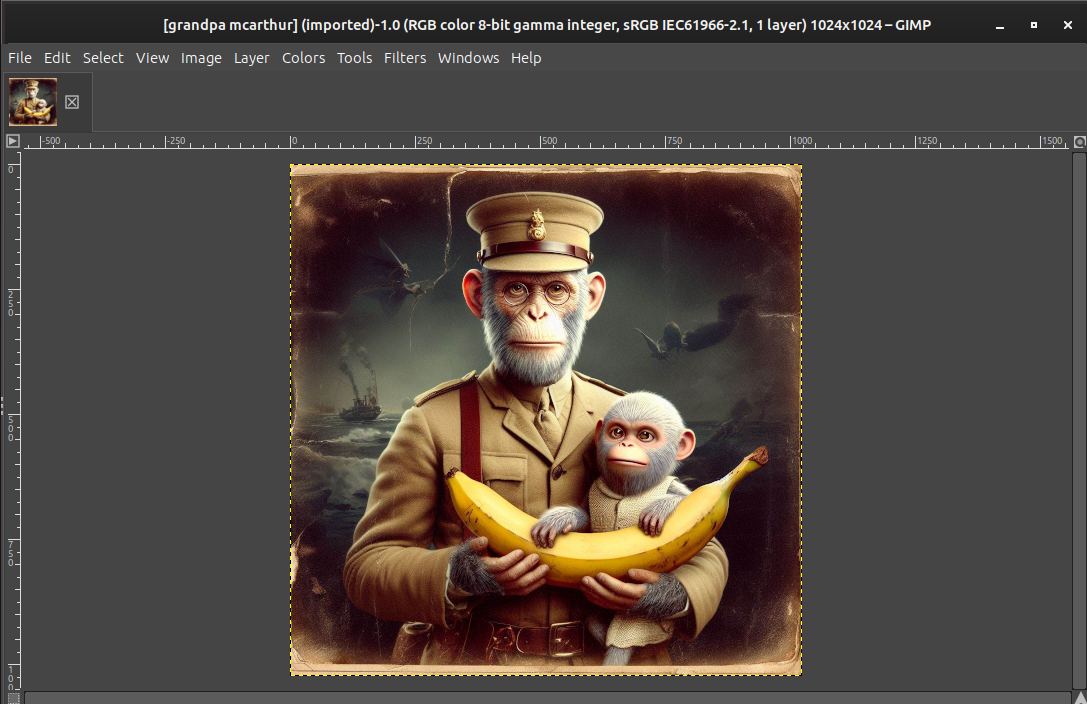
- Open Your Image: Launch GIMP, and open your image through “File > Open”.
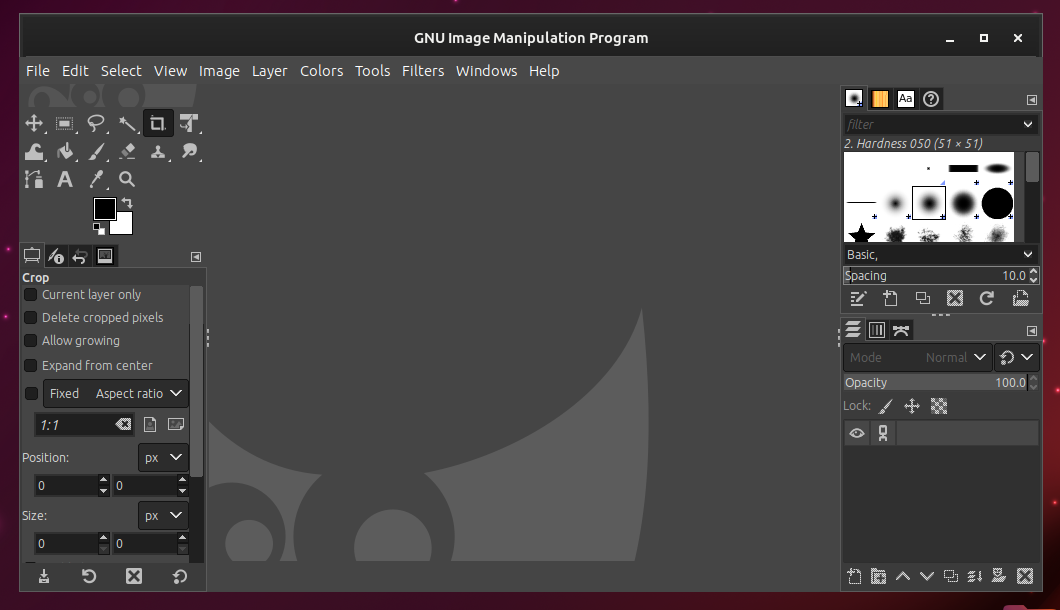
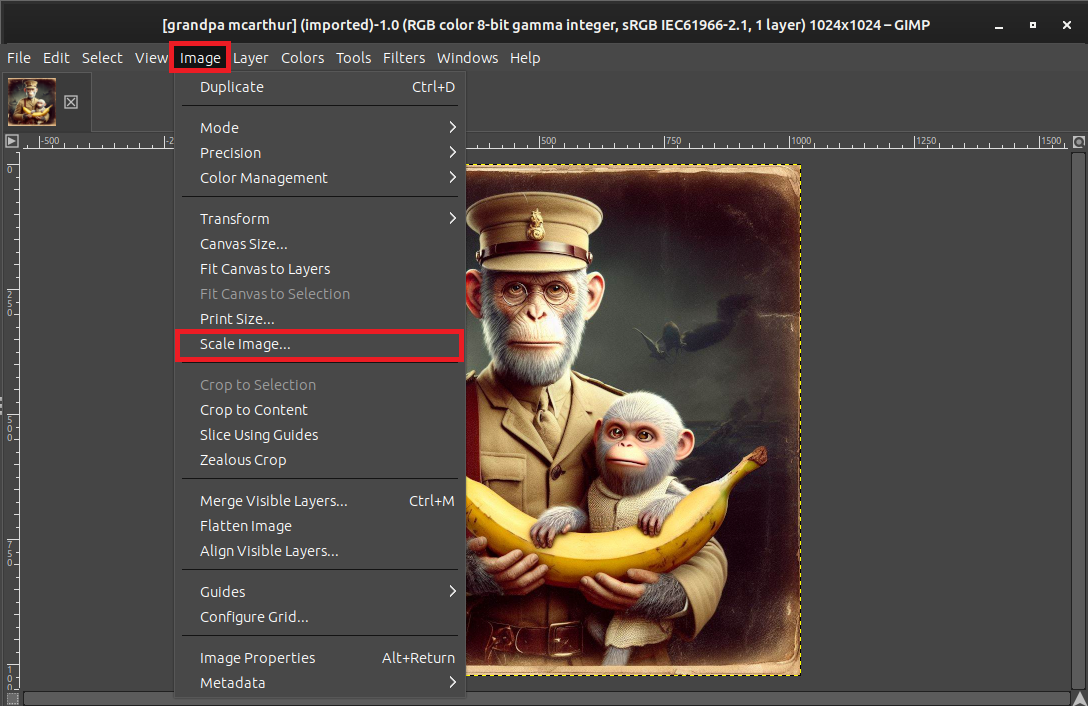
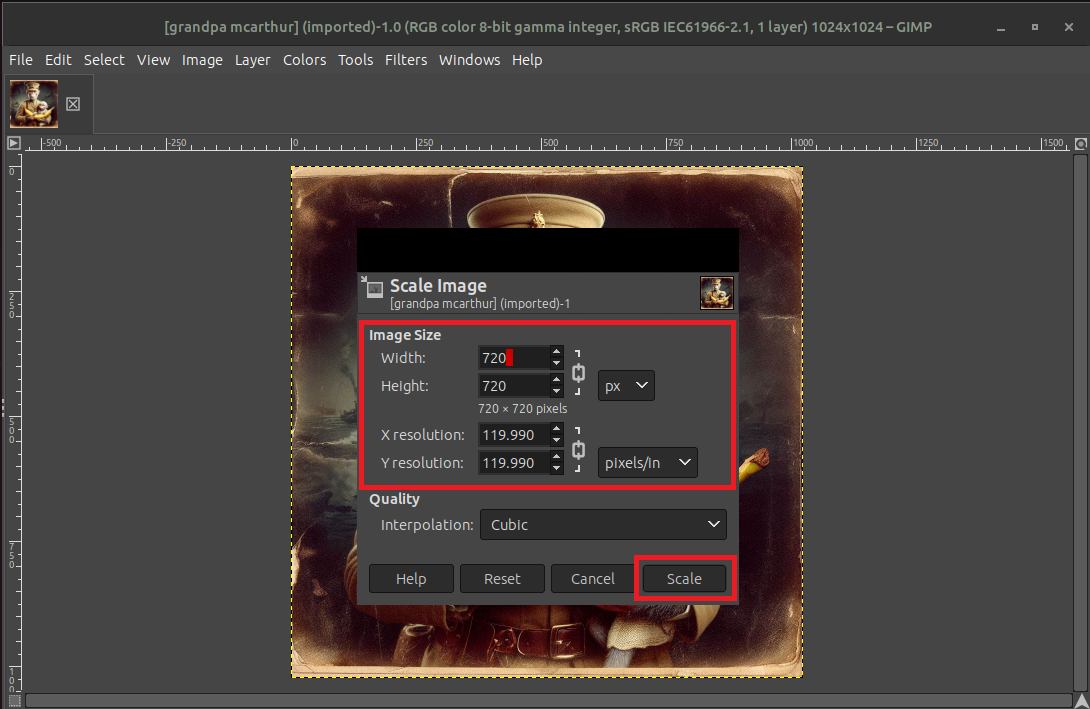
- Resize Your Image: Navigate to “Image > Scale Image”, and adjust the width, height, or resolution to ensure your image is agile (under 10MB).
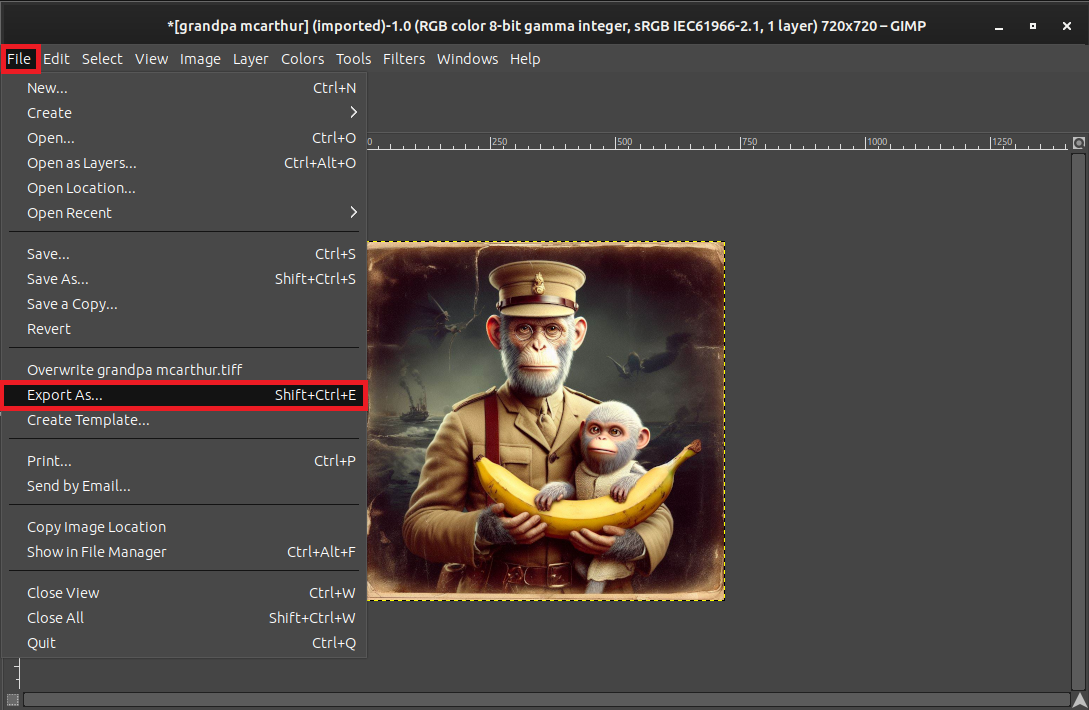
- Export Your Image: “File > Export As”, choose your desired format, and adjust the quality settings to balance between clarity and size.
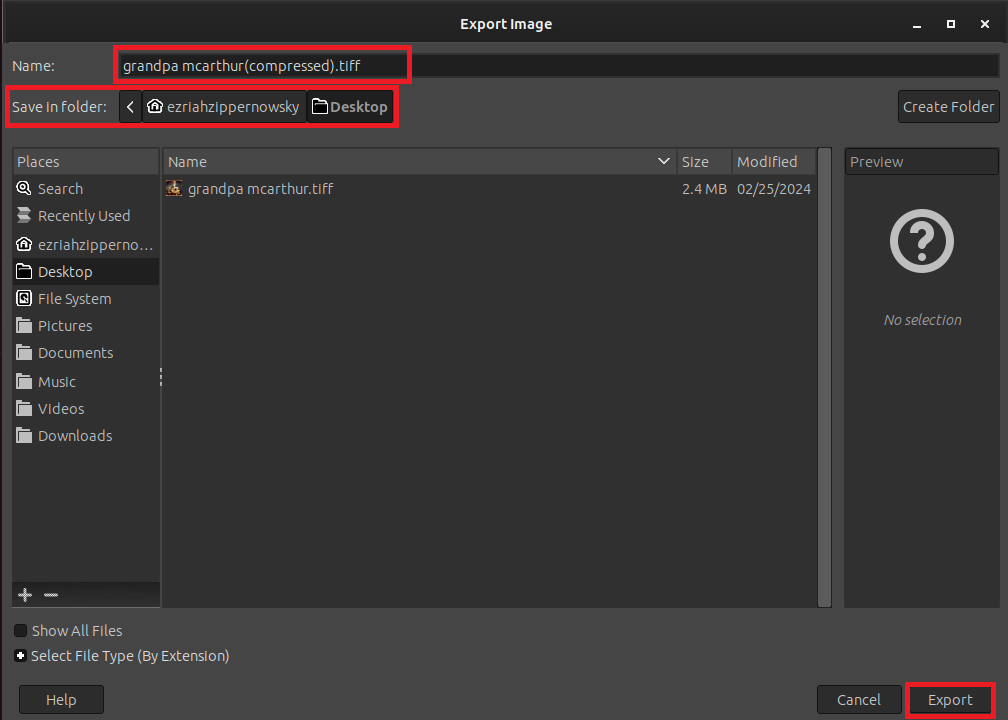
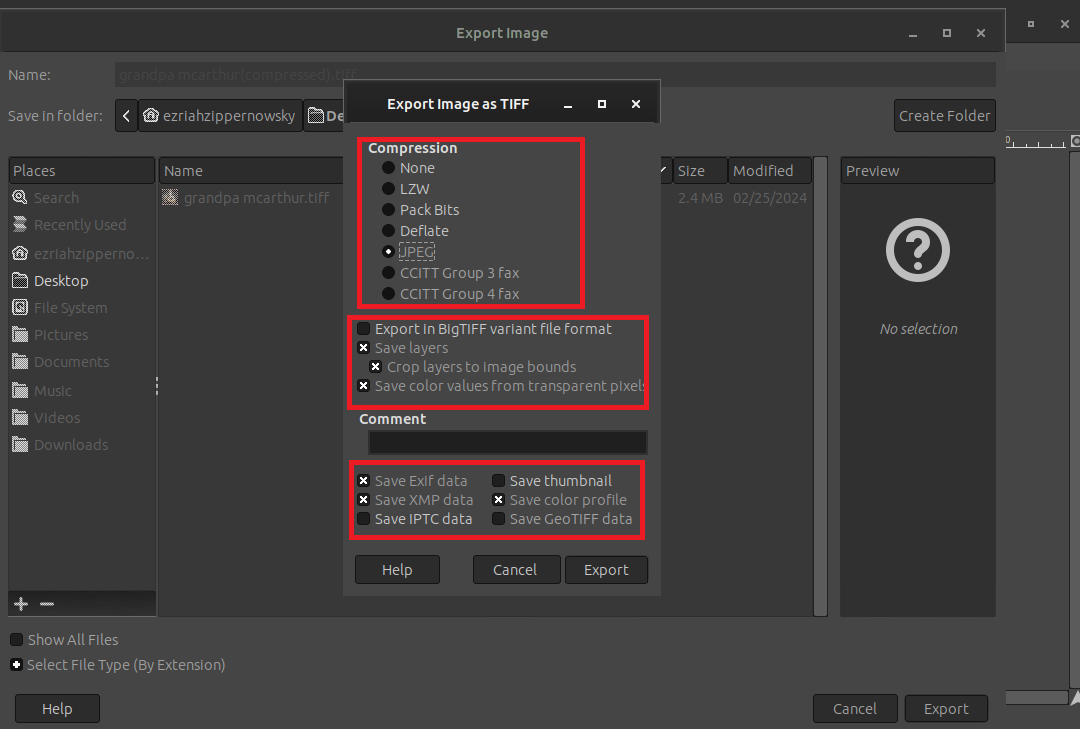
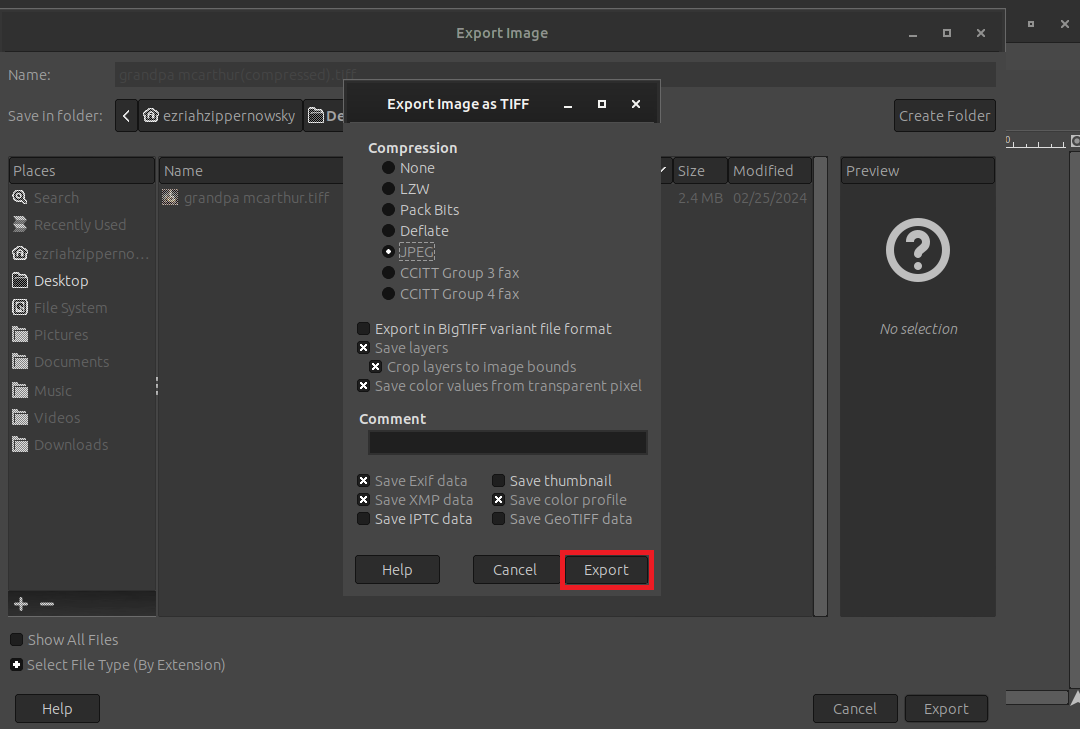
- Save Your Image: Export your image by clicking “Export”, and it’s ready to leap onto Amazon, captivating customers with its optimized beauty.
How To Reduce Image Size For Amazon Using Web Browser
For those who prefer the quick and easy path through the jungle, Image Resizer is your trusty vine. No downloads, no fuss – just a straightforward way to slim down those hefty images.
- Swing Over: Navigate to ImageResizer.com.
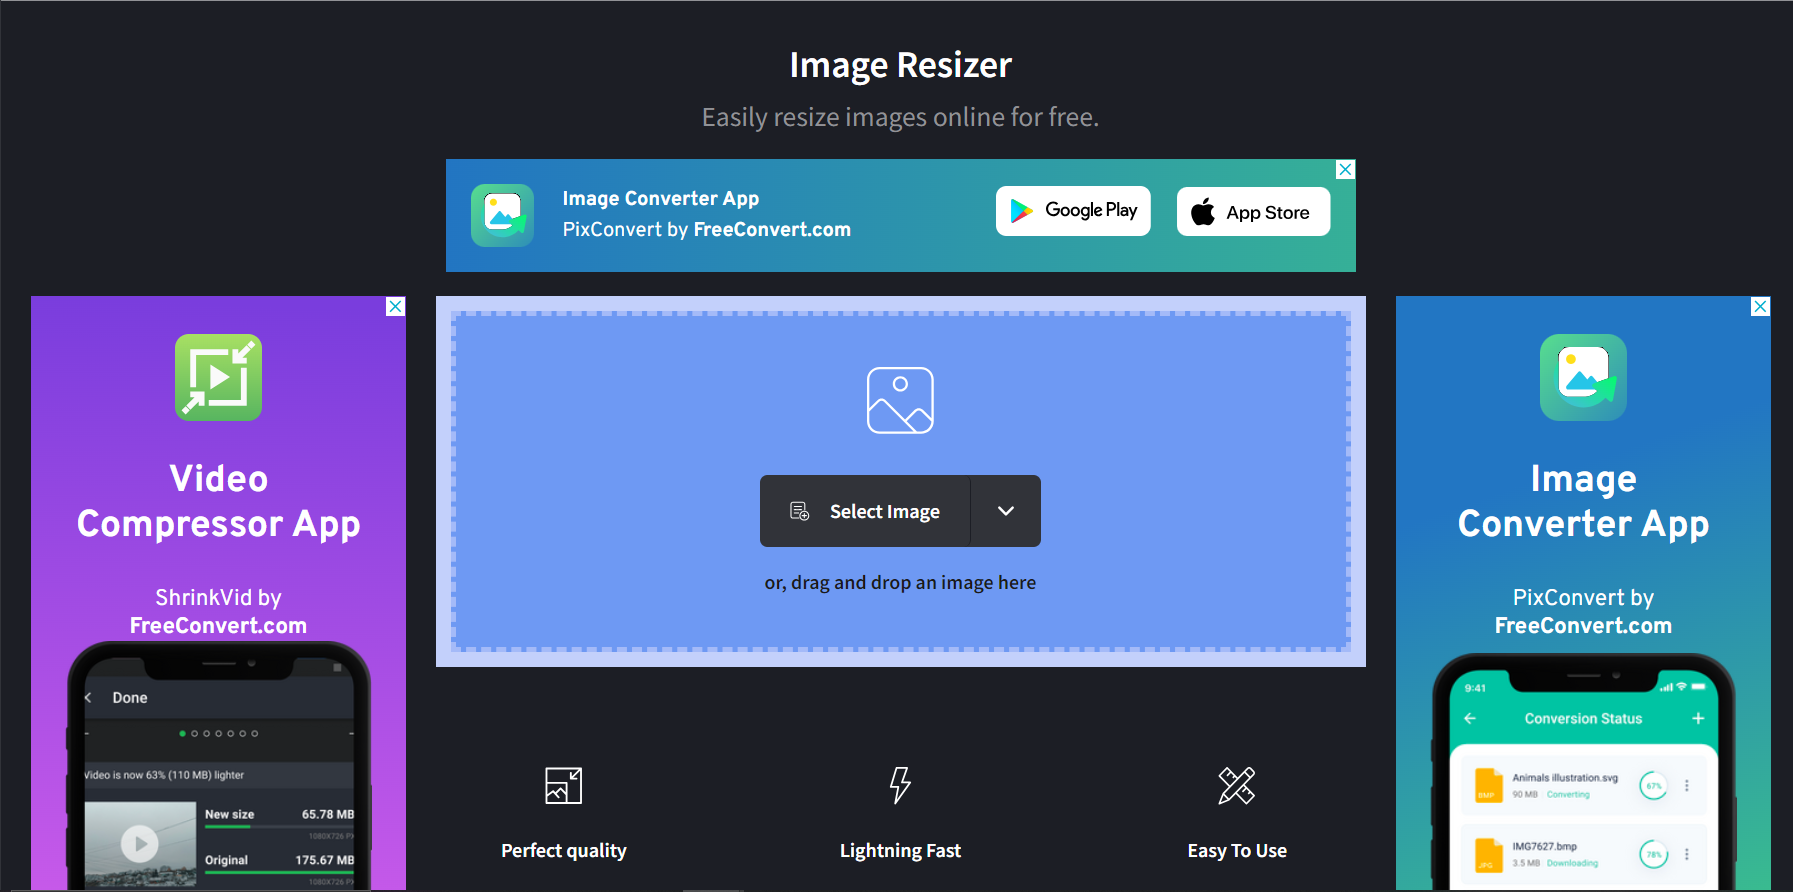
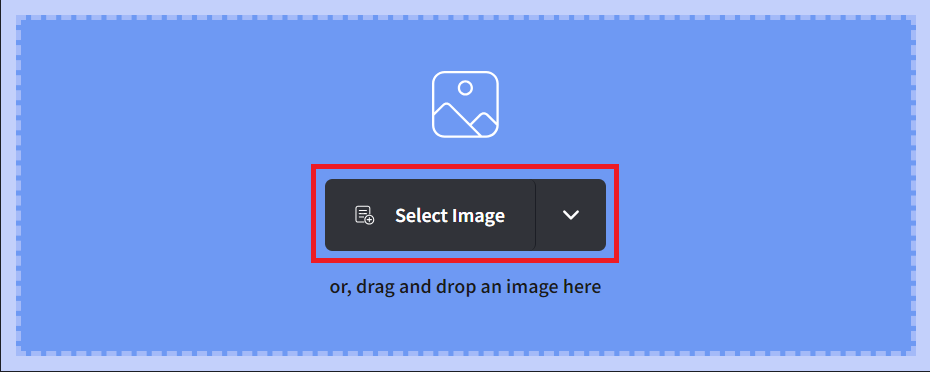
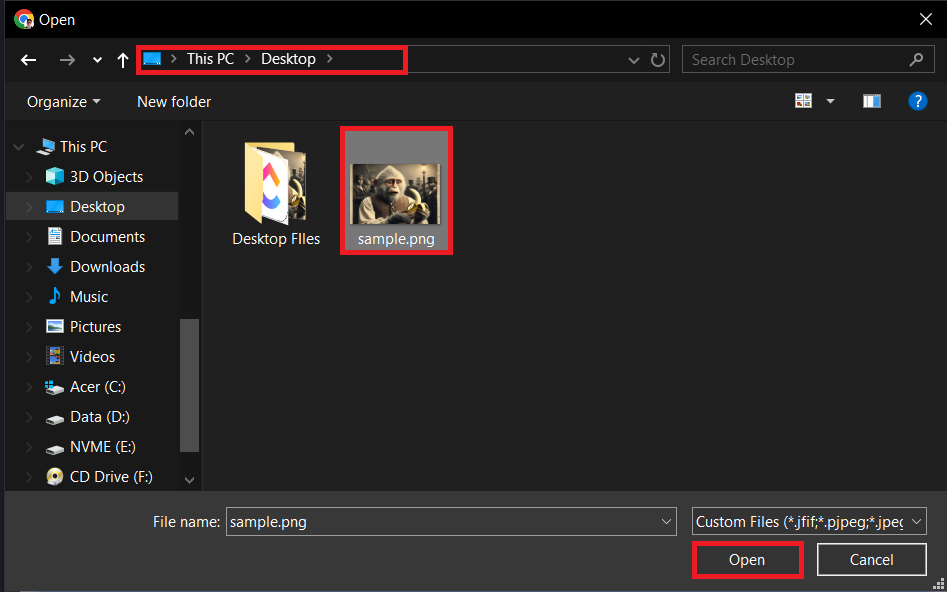
- Upload Your Image: Click the “Select Image” button and select the jungle beast (your image) you wish to tame.
- Resize Your Image: Choose the resize options that best fit your needs. Whether it’s by percentage or specific dimensions, make sure your image doesn’t eat too many bananas (stays under 10MB).
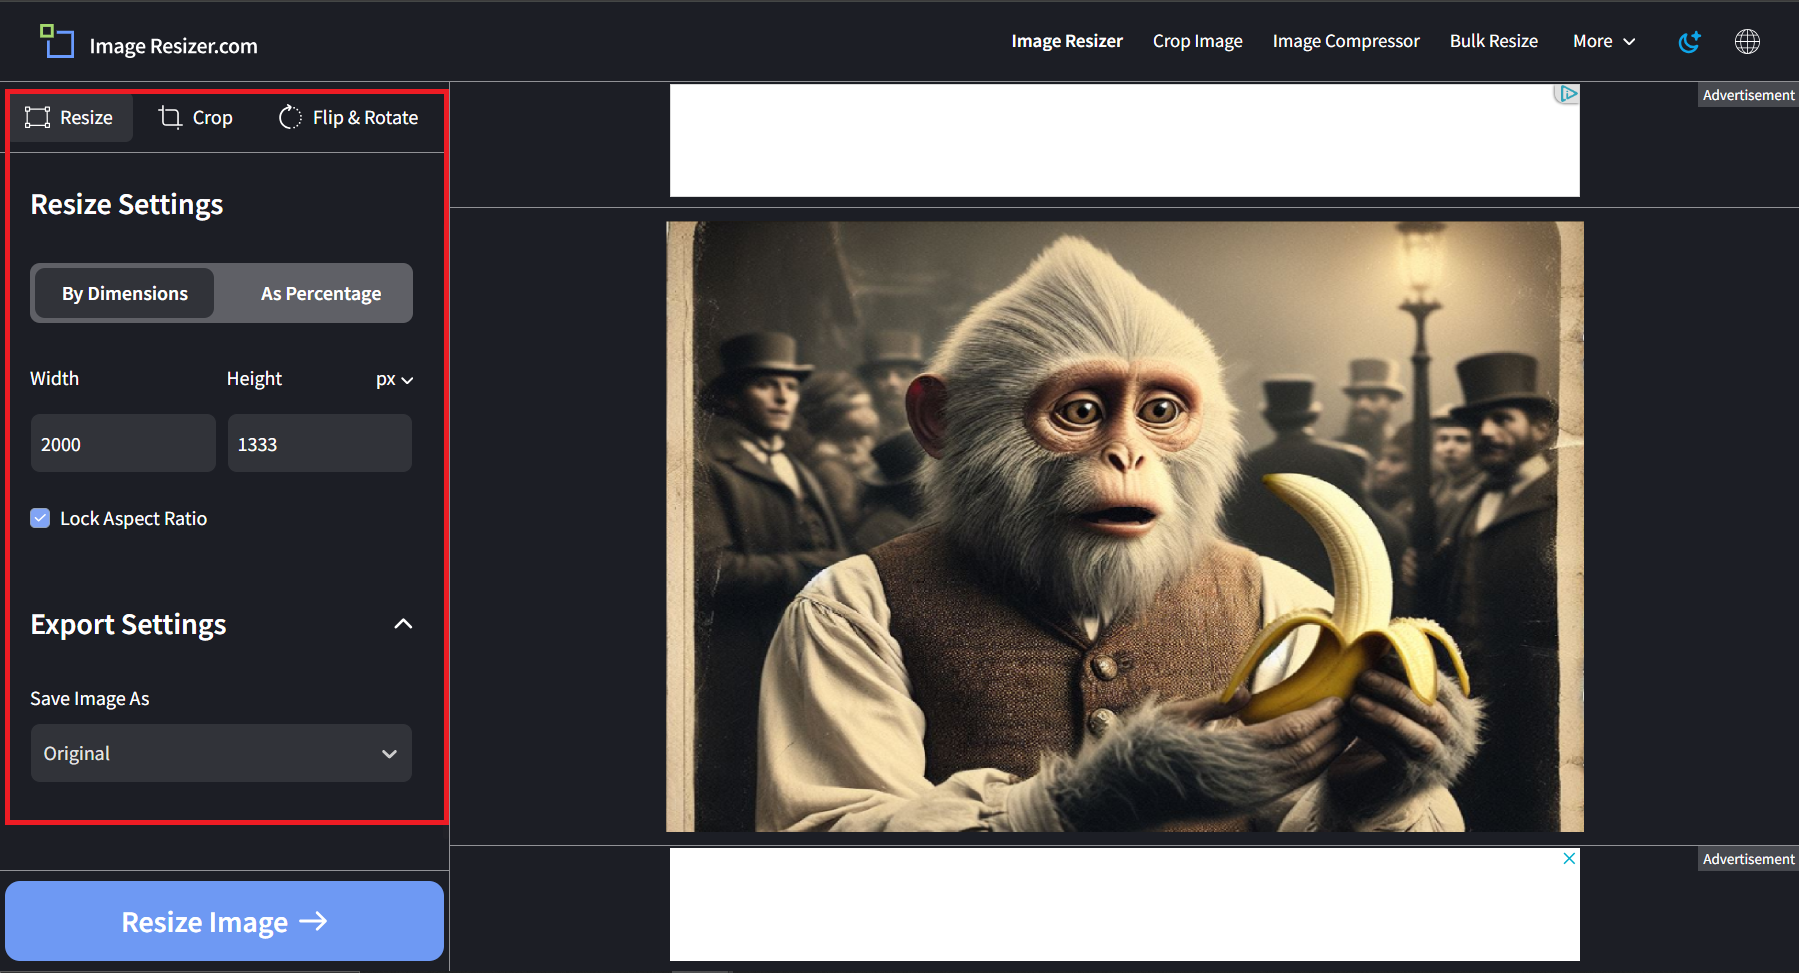

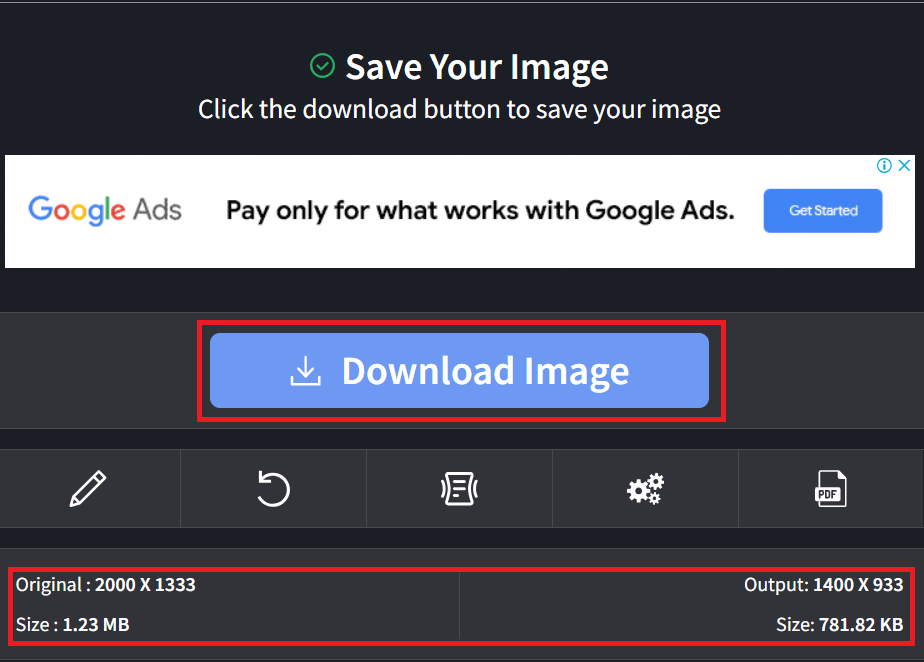
- Download Your Image: Once your image is as fit as a jungle monkey, download it and it’s ready to be showcased on Amazon.
And there you have it, my fellow jungle dwellers! Whether you’re a fan of online tools, a Windows warrior, a Mac monkey, or a Linux lionheart, you now have the know-how to ensure your Amazon images are perfectly pruned and polished. No more going bananas over big files; you’ve got this zipped!
Frequently Asked Questions About How To Reduce Image Size For Amazon
Navigating the world of online product listings can be as tricky as finding your way through a dense jungle. To help you out, here’s a handy FAQ section that addresses common queries about reducing image sizes for Amazon listings.
What is the maximum image size allowed on Amazon?
Amazon allows images up to 10MB in size. It’s important to keep your images within this limit to ensure they upload successfully.
How does image size affect my product listings?
Optimized images load faster, look better on various devices, and can improve your product page’s SEO, leading to better visibility and potentially higher sales.
Why is it important to reduce image size for Amazon?
Reducing image size helps ensure your listings load quickly, providing a better browsing experience for customers and meeting Amazon’s image requirements.
What tools can I use to reduce image size for free?
There are several free tools available, such as ImageResizer.com for online use, GIMP for Linux users, and the built-in Preview app on Mac. Windows users can utilize Photoshop or free alternatives like Paint.NET.
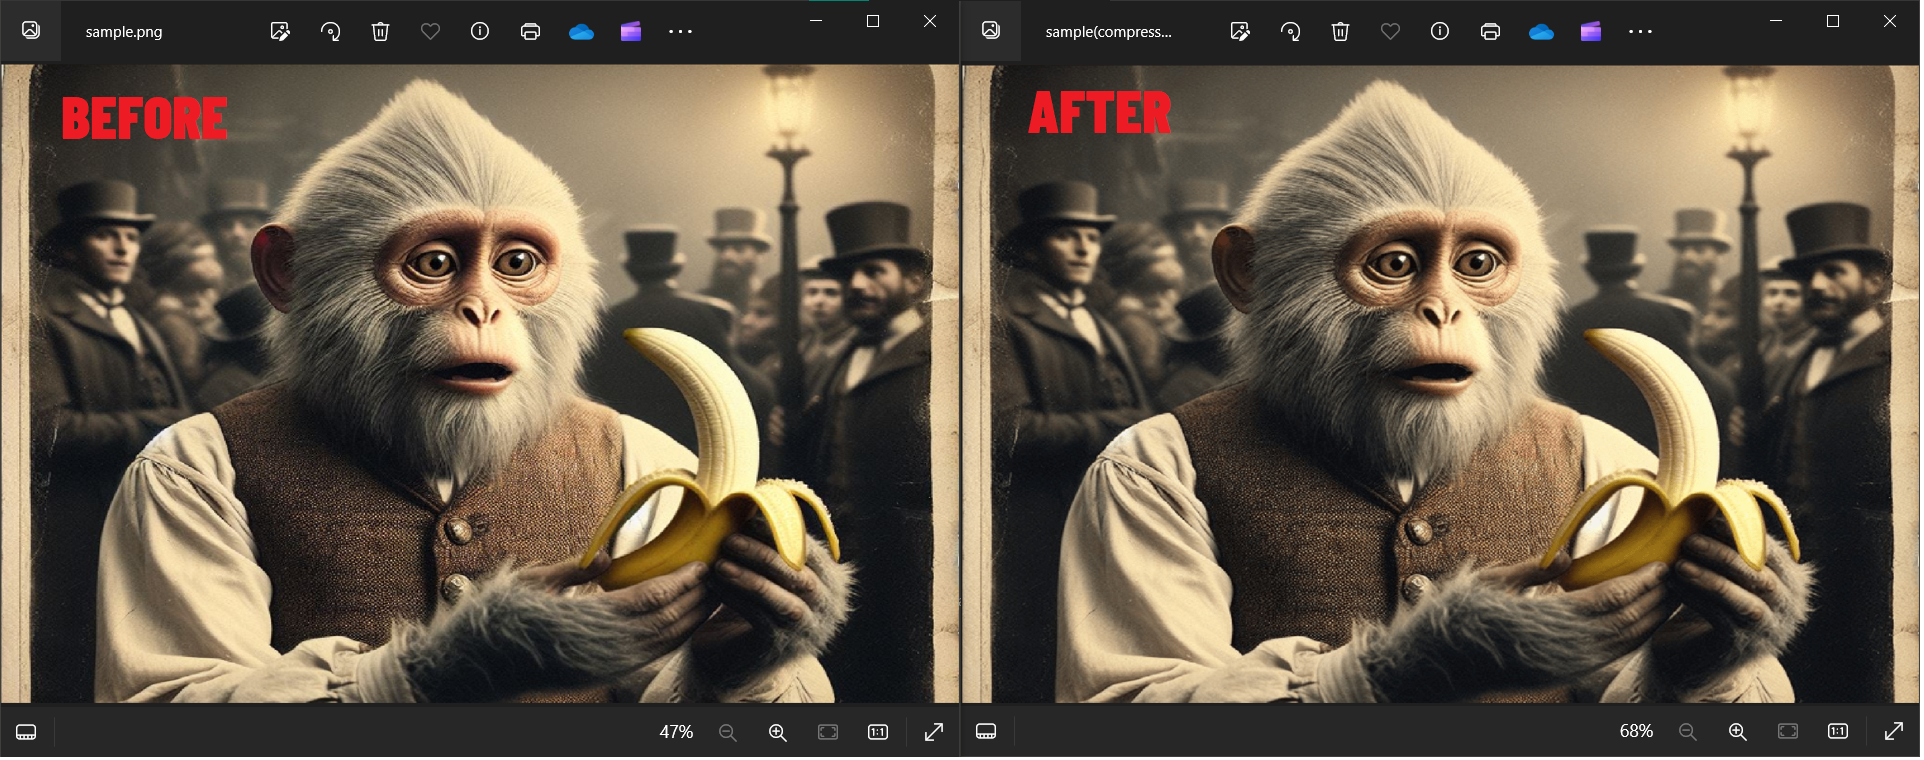
How do I choose the right compression level for my images?
The goal is to find a balance between image quality and file size. Aim for the lowest file size possible without significantly compromising the image’s clarity and detail. Previewing the image after compression can help you make the right choice.
By keeping these questions and answers in mind, you’ll be better equipped to prepare your images for Amazon, ensuring they attract and engage potential buyers.