
Hello, fellow primates! Welcome to the jungle of archive files. If you’re going bananas over big files, let’s squash them up for you! Using the 7Z command line is as easy as peeling a banana. So, let’s stop monkeying around and get started!
Table of contents
- How To Install p7zip (Must do if you haven’t installed p7zip yet)
- Method 1: Compress Files Using 7Z Command Line
- Method 2: Extract Files Using 7Z Command Line
- Method 3: List Contents of an Archive Without Extracting Using 7Z Command Line
- Method 4: Compress Files with Maximum Compression Using 7Z Command Line
- Method 5: Compress a Folder Recursively Using 7Z Command Line
- Method 6: Add More Files to an Existing Archive Using 7Z Command Line
- Method 7: Extract Files to a Different Folder Using 7Z Command Line
- Method 8: Extract a Specific File from an Archive Using 7Z Command Line
Video guide showing how to create 7z files in terminal.
How To Install p7zip Using 7Z Command Line
Before everything else, first, you need to install p7zip using command line. Here’s how you do it:
-
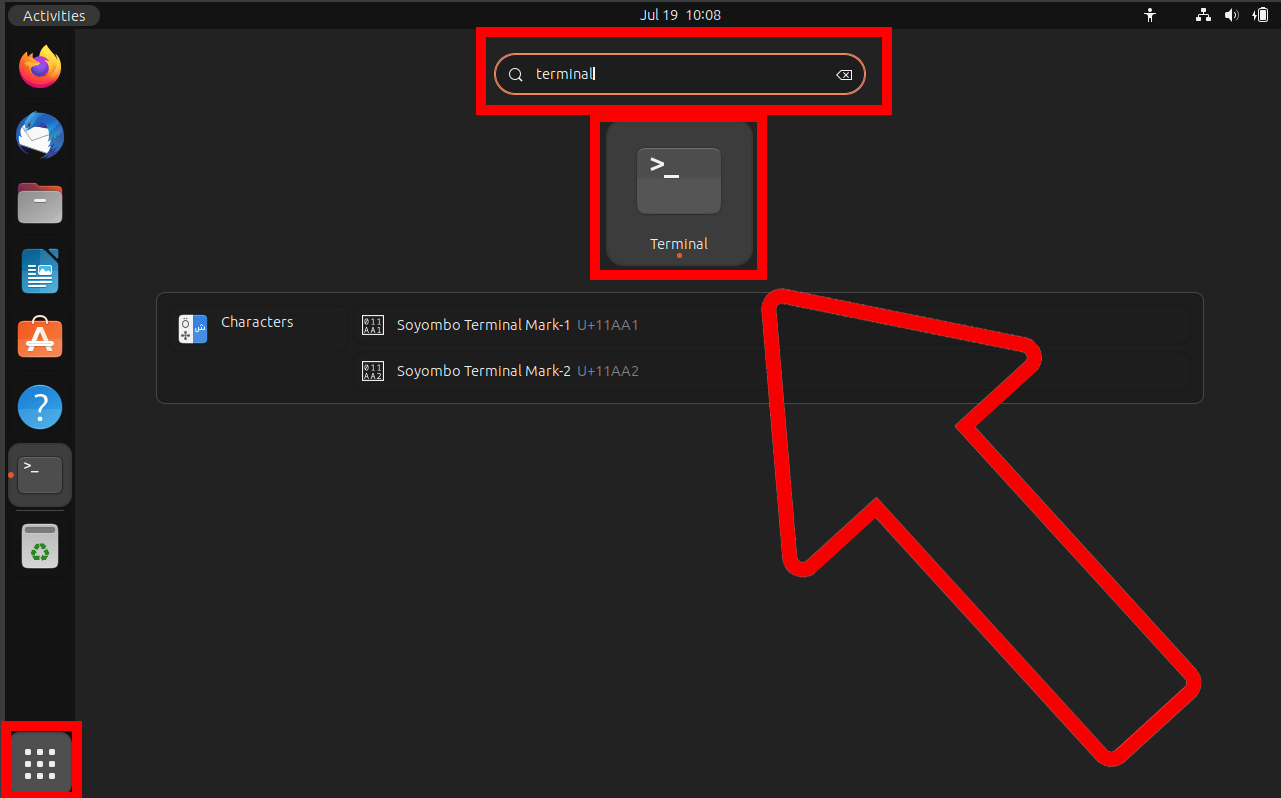
Open Terminal: Open the terminal. Our bestfriend to everything.

-
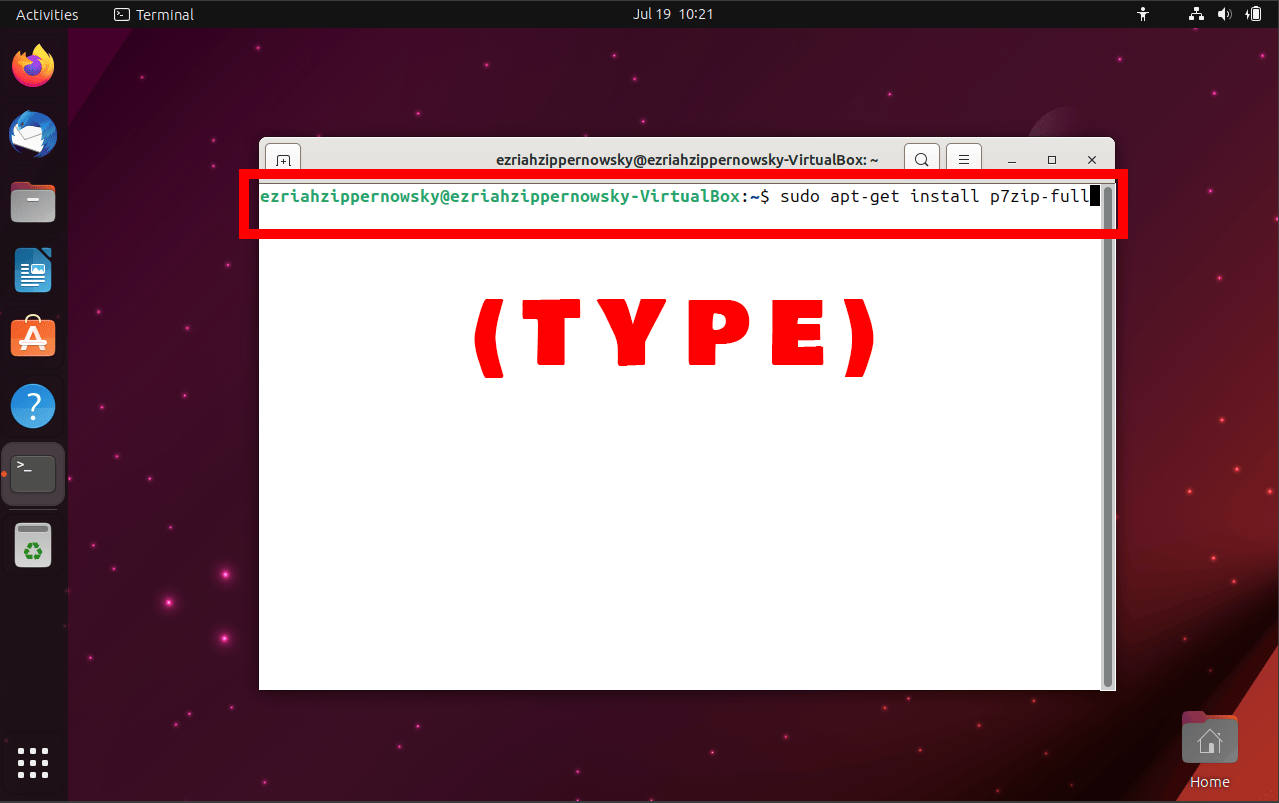
Install p7zip using command line: Type
sudo apt-get install p7zip-fullcommand to start installing p7zip. Just like that, so easy.
-
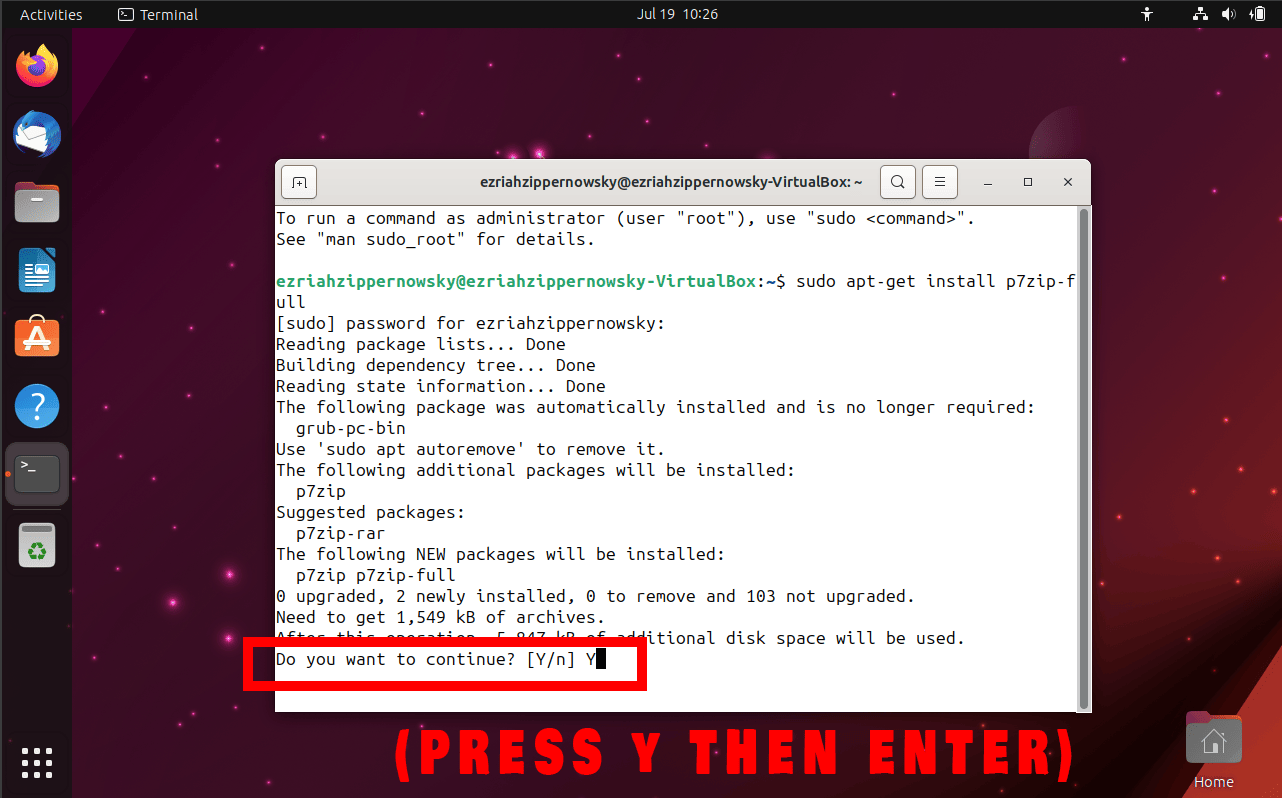
New package will be installed prompt: Type Y and press ENTER to install nescessary updates of p7zip. Voila you are all set.
How To Compress Files Using 7Z Command Line
Compressing files is like squishing a bunch of bananas into a single, neat bundle. Here’s how you do it:
-
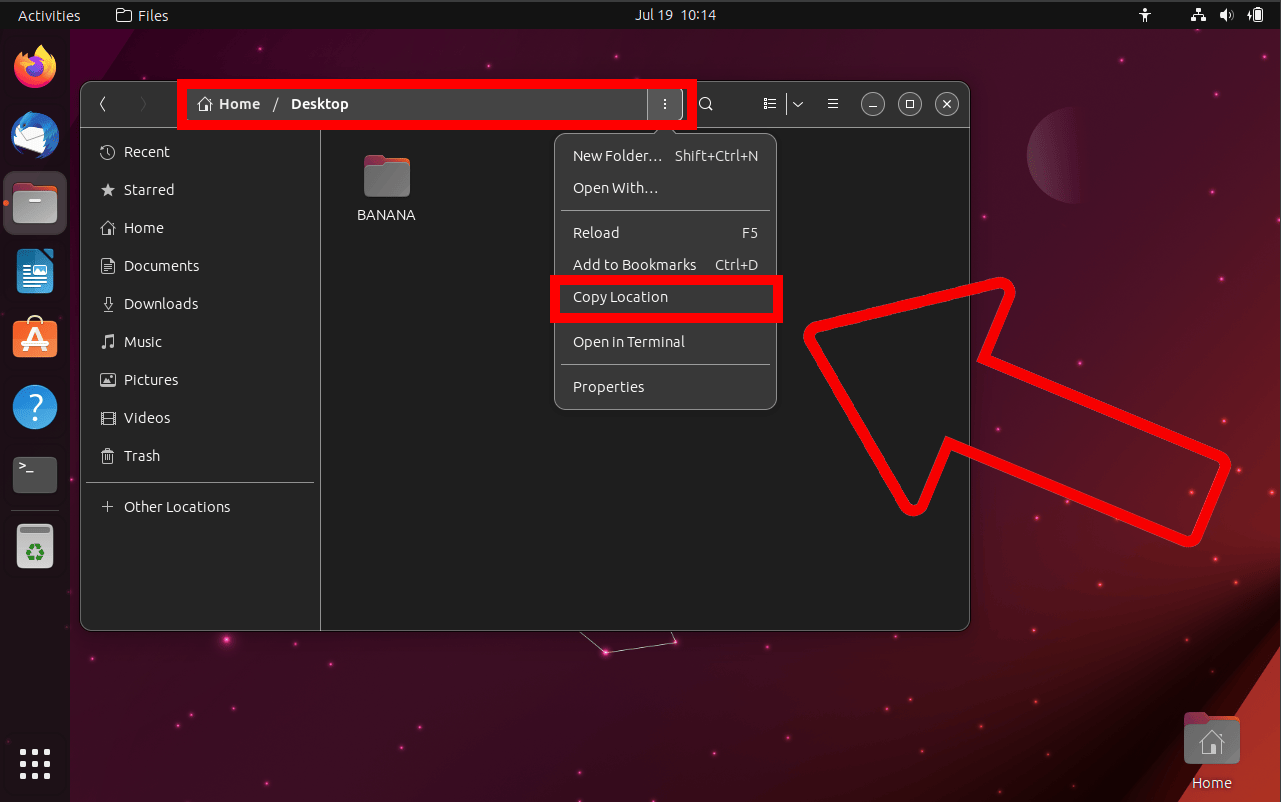
Copy the path file location: Open you file manager and navigate to the path of the file you want to compress. Then, click the three dots and click copy location.
-
Open Terminal: Fire up your terminal. It’s like the tree where all the magic happens.

-
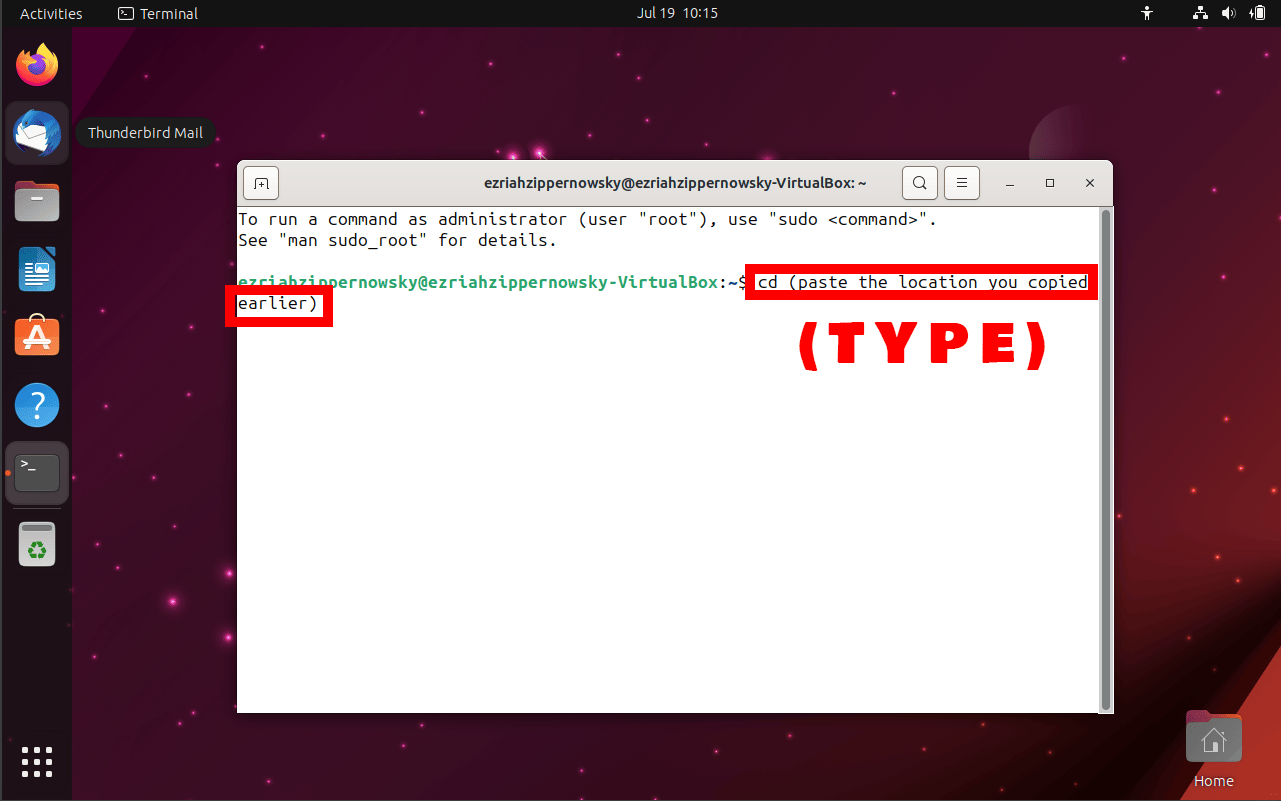
Navigate to Directory: Use the cd command to navigate to the directory containing the files you want to compress. It’s like swinging from branch to branch.

-
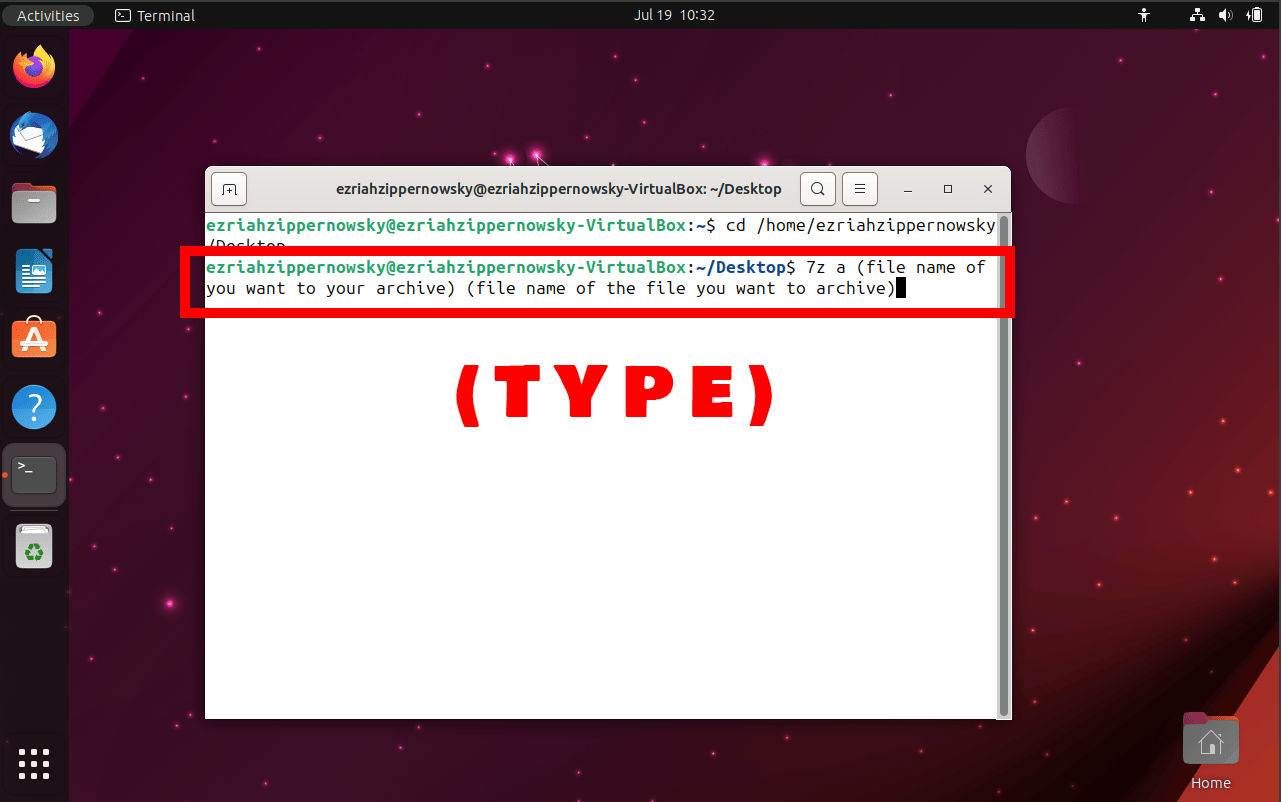
Compress Command: Type
7z a yourarchive.7z yourfileThis is the magic spell that squashes your files together. Replace ‘yourarchive’ with the name you want for your compressed file, and ‘yourfile’ with the name of the file you want to compress.
How To Extract Files Using 7Z Command Line
Extracting files is like pulling a banana from its bunch. Here’s how you do it:
-
Copy the path file location: Open you file manager and navigate to the path of the file you want to compress. Then, click the three dots and click copy location.
-
Open Terminal: Back to the tree, folks!
-
Navigate to Directory: Use the cd command to swing over to the directory containing the archive you want to extract.
-
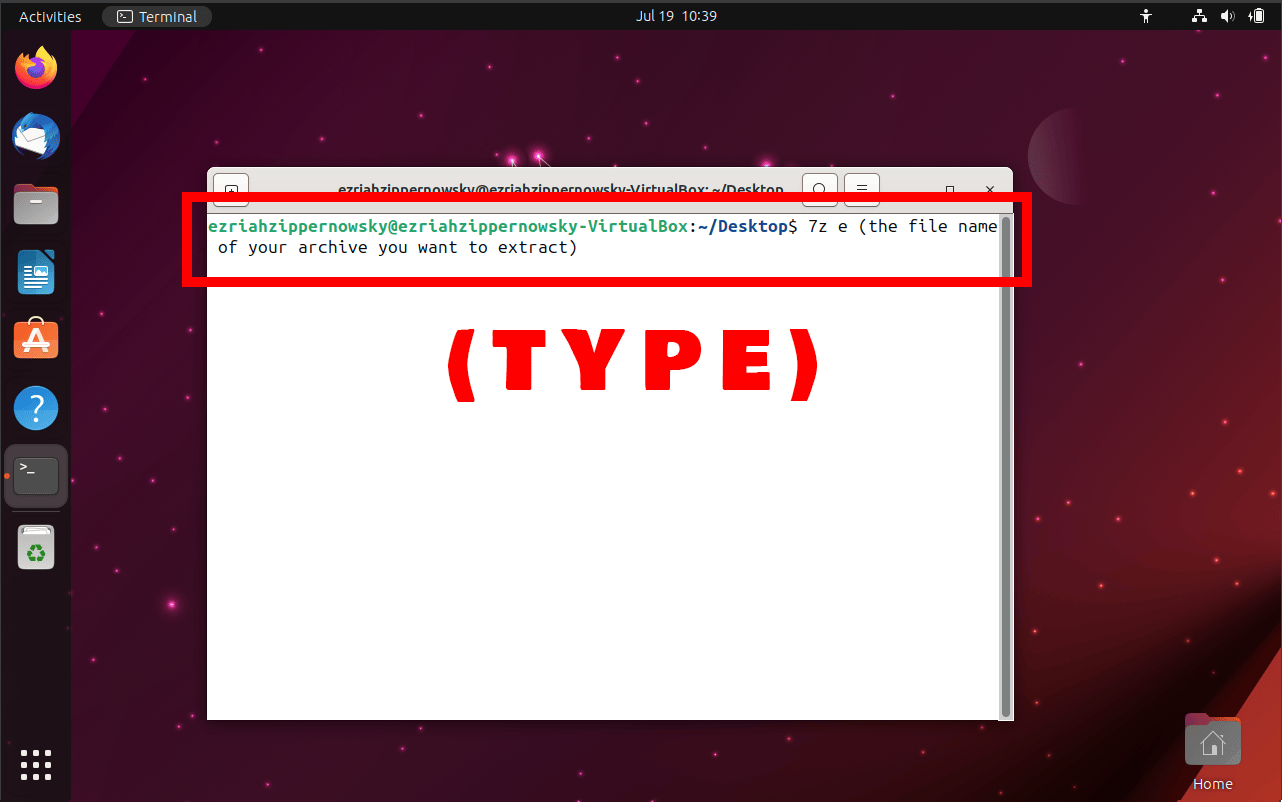
Extract Command: Type
7z e yourarchive.7zThis is the magic spell that peels the banana. Replace ‘yourarchive’ with the name of the archive you want to extract.
How To List Contents of an Archive Without Extracting Using 7Z Command Line
Want to count your bananas without peeling them? Here’s how you do it:
-
Copy the path file location: Open you file manager and navigate to the path of the file you want to compress. Then, click the three dots and click copy location.
-
Open Terminal: You know the drill, back to the tree!

-
Navigate to Directory: Swing over to the directory containing the archive you want to inspect using the cd command.

-
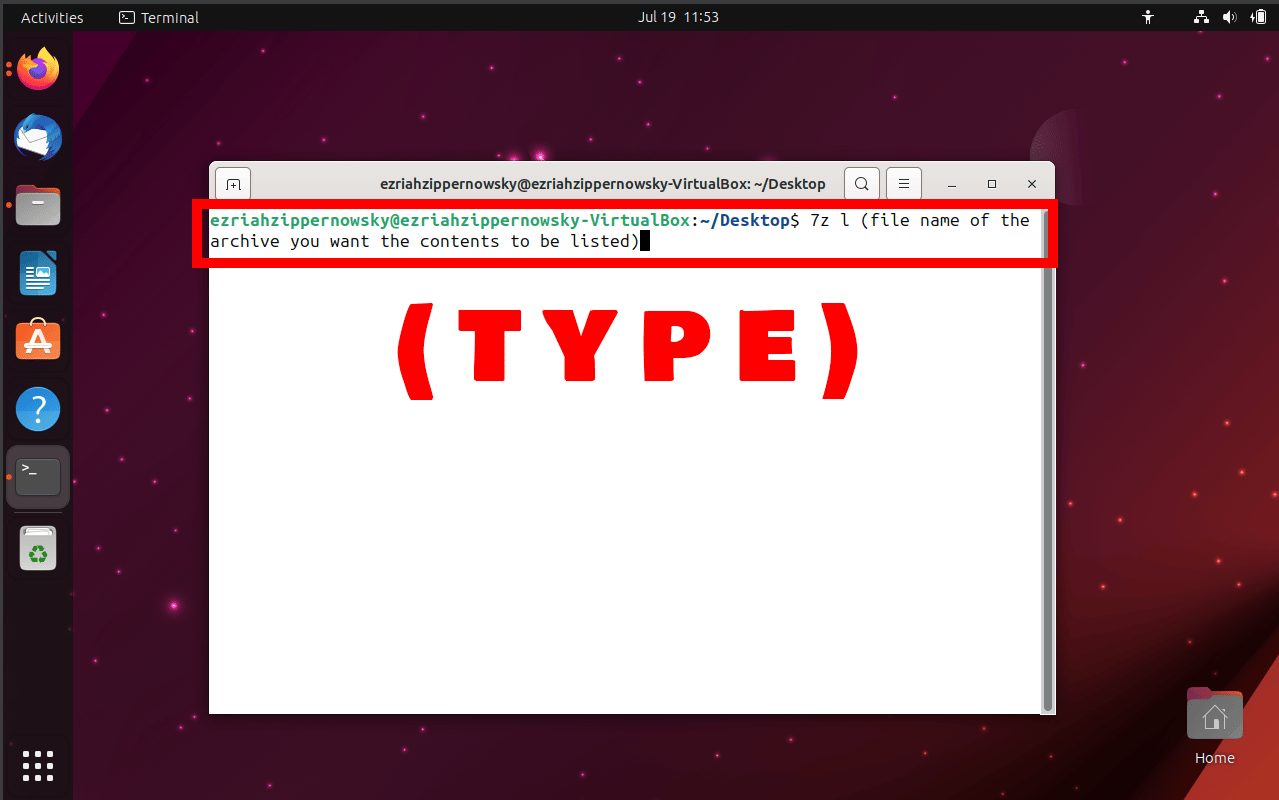
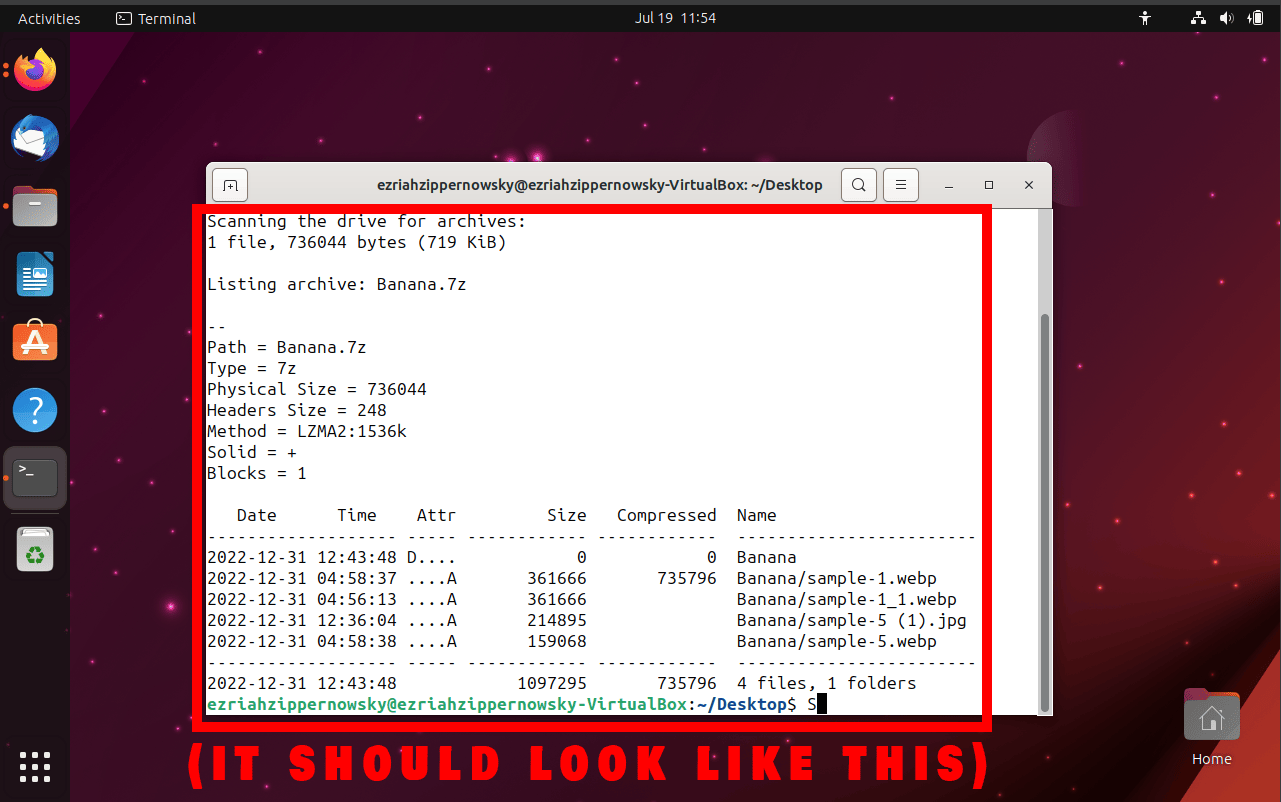
List Command: Type
7z l yourarchive.7zThis is the magic spell that lets you count your bananas. Replace ‘yourarchive’ with the name of the archive you want to inspect.
You can see that the files have been listed like so.
Remember, when it comes to archiving software, it’s a jungle out there! But with the 7Z command line, you’ll be the king of the jungle in no time. Happy archiving!
How To Compress Files with Maximum Compression Using 7Z Command Line
Want to squash your files even more? Here’s how you do it:
-
Copy the path file location: Open you file manager and navigate to the path of the file you want to compress. Then, click the three dots and click copy location.
-
Open Terminal: Back to the tree, folks!

-
Navigate to Directory: Swing over to the directory containing the files you want to compress.

-
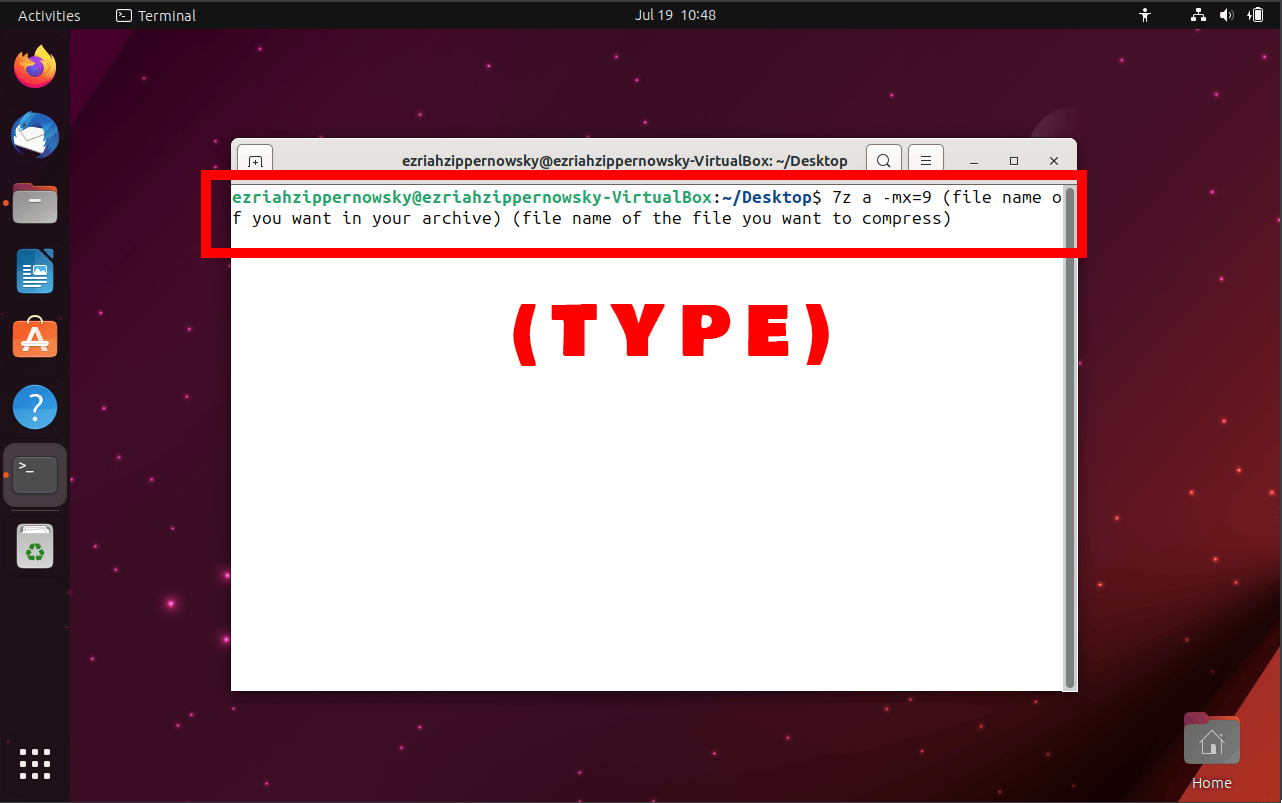
Compress Command: Type
7z a -mx=9 yourarchive.7z yourfileThe -mx=9 switch is the magic spell that squashes your files to their smallest size.
How To Compress a Folder Recursively Using 7Z Command Line
Got a whole tree of files to compress? No problem!
Compressing a folder recursively means that the compression operation will include the specified folder, its subfolders, and all the files within those folders and subfolders.
In other words, when you compress a folder recursively, you’re telling the compression program to “dig down” into all the levels of the folder’s hierarchy and include everything it finds. This is particularly useful when you have a complex directory structure with many nested folders and you want to compress it all into a single archive file.
So let’s start, shall we?
-
Copy the path file location: Open you file manager and navigate to the path of the file you want to compress. Then, click the three dots and click copy location.
-
Open Terminal: You know the drill, back to the tree!

-
Navigate to Directory: Swing over to the directory containing the folder you want to compress.

-
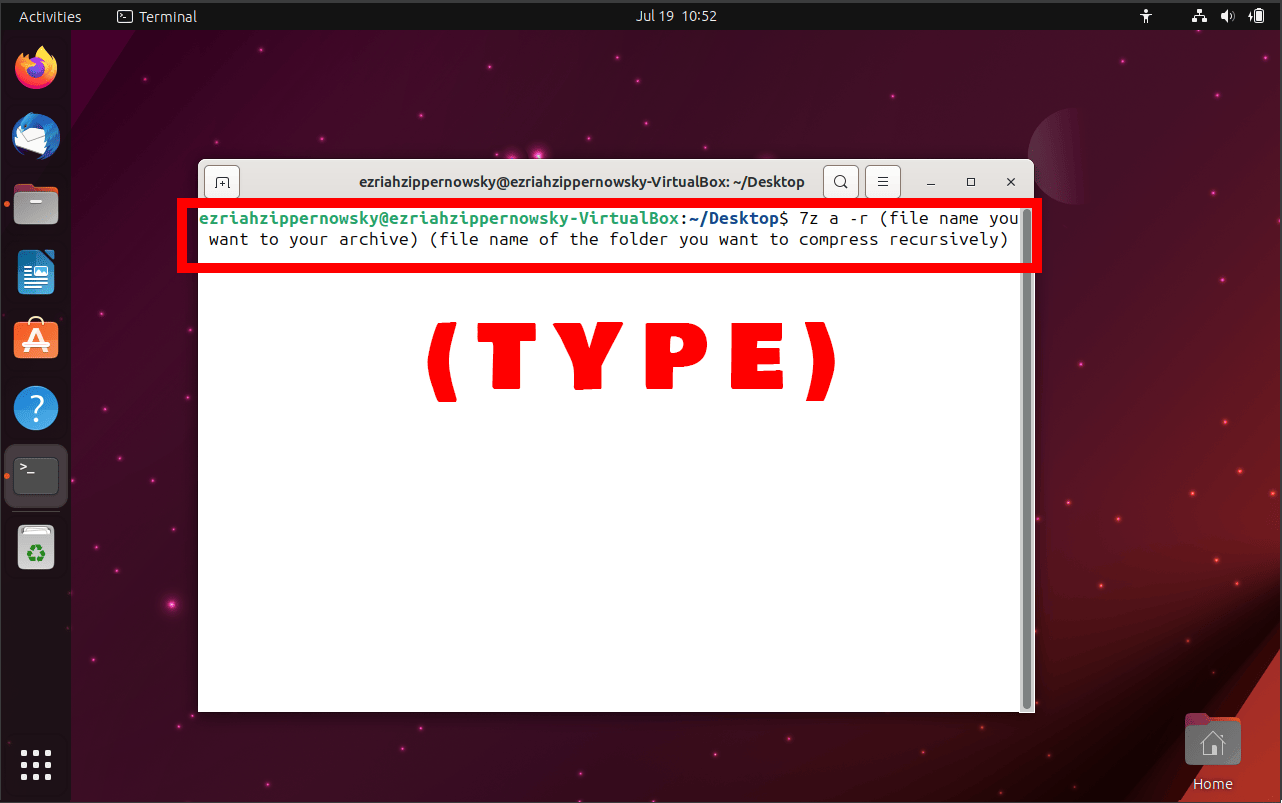
Compress Command: Type
7z a -r yourarchive.7z yourfolder/The -r switch is the magic spell that compresses all the files in your folder and its subfolders.
How To Add More Files to an Existing Archive Using 7Z Command Line
Got more bananas for your bunch? Here’s how you add them:
-
Copy the path file location: Open you file manager and navigate to the path of the file you want to compress. Then, click the three dots and click copy location.
-
Open Terminal: Fire up your terminal, it’s time to add more bananas!

-
Navigate to Directory: Use the cd command to swing over to the directory containing the files you want to add and the existing archive.

-
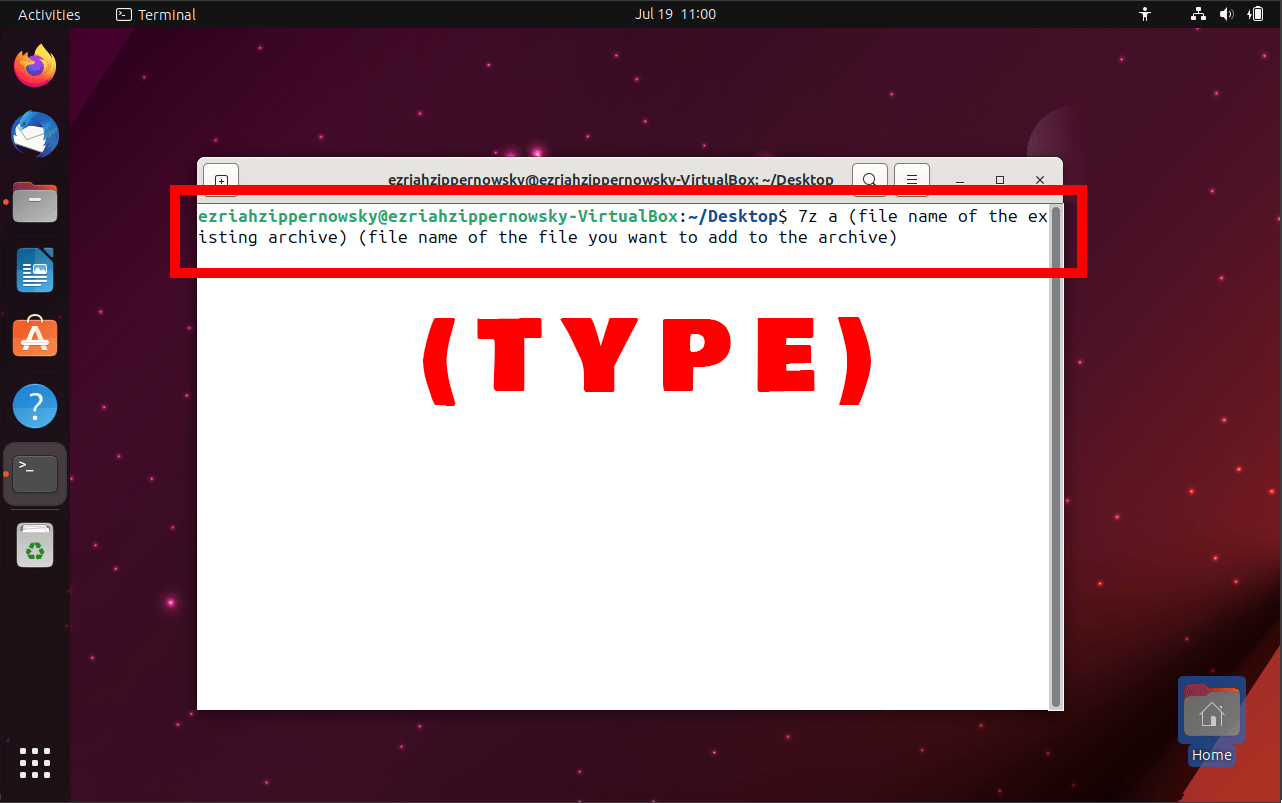
Add Command: Type 7z a yourarchive.7z yourfile. This is the magic spell that adds more files to your archive.
How To Extract Files to a Different Folder Using 7Z Command Line
Want to peel your banana in a different tree? Here’s how you do it:
-
Copy the path file location: Open you file manager and navigate to the path of the file you want to compress. Then, click the three dots and click copy location.
-
Open Terminal: Back to the tree, folks!

-
Navigate to Directory: Swing over to the directory containing the archive you want to extract.

-
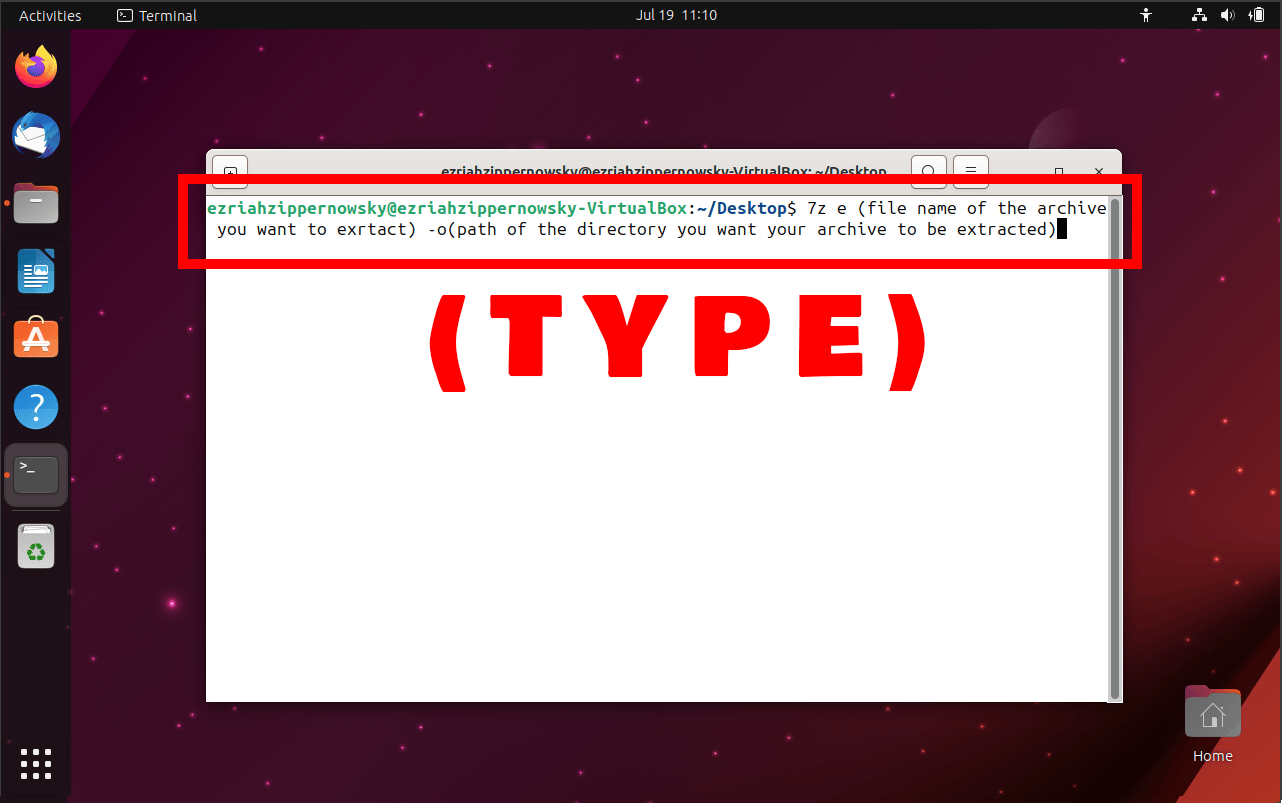
Extract Command: Type
7z e yourarchive.7z -o/path/to/directoryThe -o switch followed by the path is the magic spell that peels your banana in a different tree.
How To Extract a Specific File from an Archive Using 7Z Command Line
Need just one banana from the bunch? Here’s how you do it:
-
Copy the path file location: Open you file manager and navigate to the path of the file you want to compress. Then, click the three dots and click copy location.
-
Open Terminal: Back to the tree, folks!

-
Navigate to Directory: Swing over to the directory containing the archive you want to extract from.

-
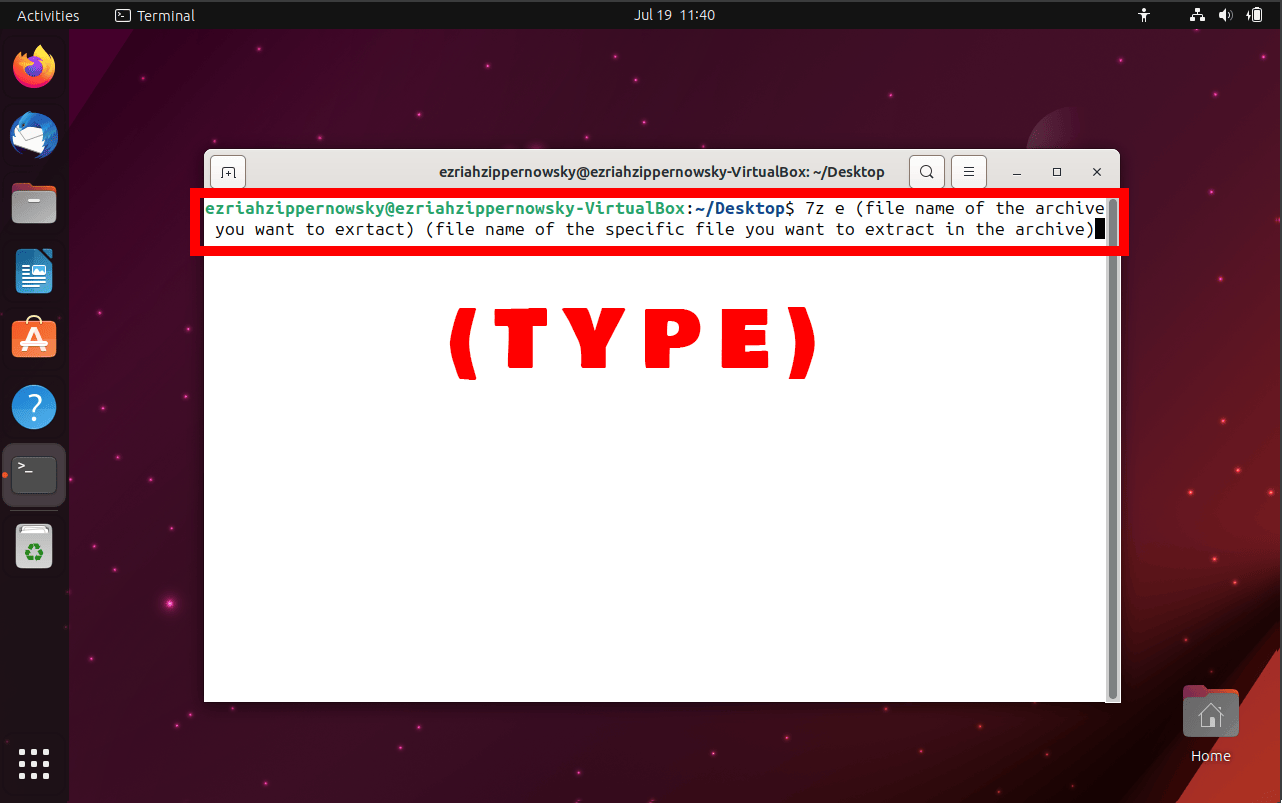
Extract Command: Type
7z e yourarchive.7z yourfileReplace ‘yourfile’ with the name of the file you want to extract. This is the magic spell that gets you just the banana you want.
Remember, with the 7Z command line, you’re the king of the jungle! Happy archiving!