
Are you tired of your files running wild and taking up too much space on your Mac? Well, fear not! We’re here to teach you the ancient art of file zipping on Mac, where you can wrangle those unruly files into a neat little package. Think of it as a digital rodeo, where you become the sheriff of storage and the cowboy of compression. So saddle up, partner, and let’s ride into the world of zipping files on Mac! Yeehaw!
Zipping files on macOS is a simple process, and you have multiple options to choose from.
Table of content
- Method 1: Zip Files in Mac Using ezyZip Archive Creator
- Method 2: Built-in Method using Finder
- Method 3: Zip Files Using Safari Browser
- Method 4: Command Line Method
- Method 5: How to zip files on Mac using iZip
- Method 6: How to zip files on Mac using Winzip
- FAQs
Video guide showing how to zip files on MacOS using Finder.
Zip Files in Mac Using ezyZip Archive Creator
This method can be used to zip files and folders or both of these.
- Download & install ezyZip Archive Creator Download Page from the official site – no monkey business needed! 🍏
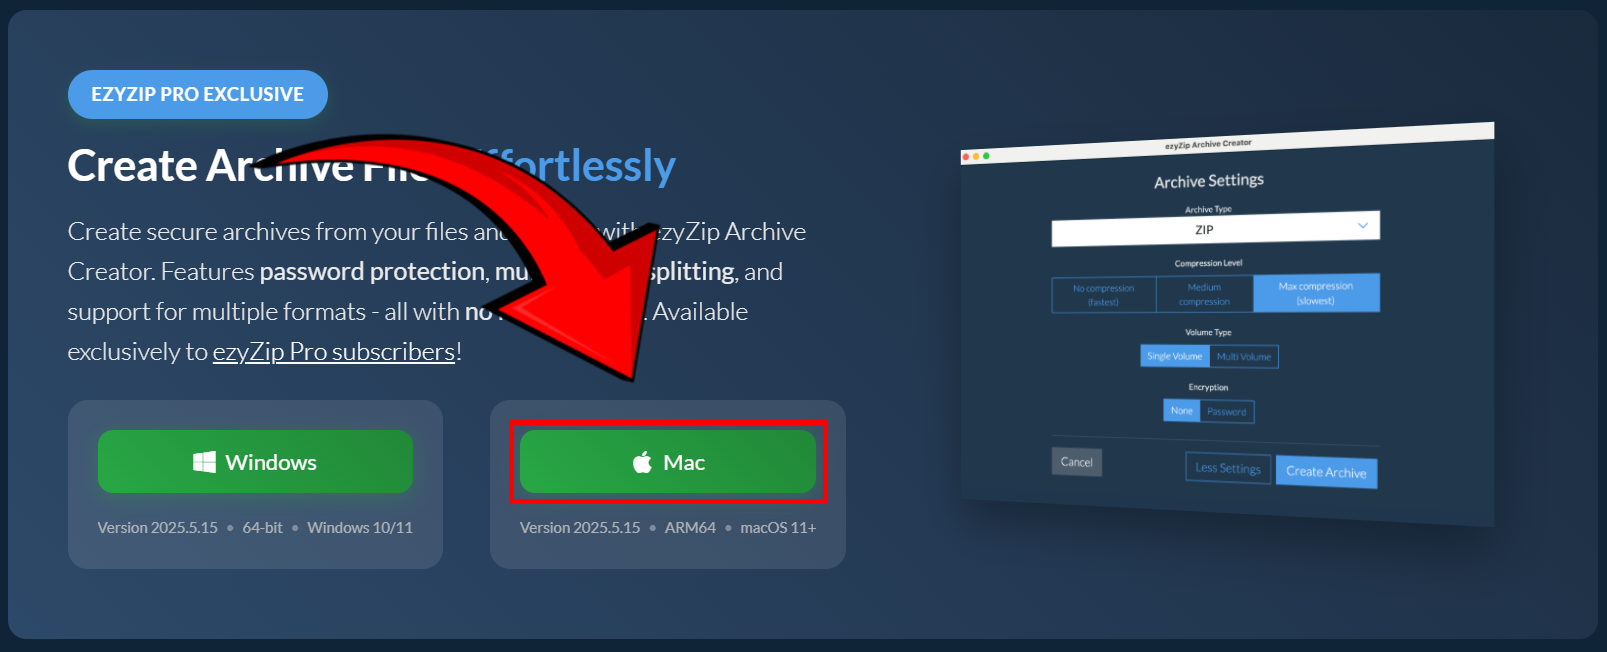
- Open ezyZip Archive Creator and Click “Open file to archive” – easy as peeling a banana. 🍌
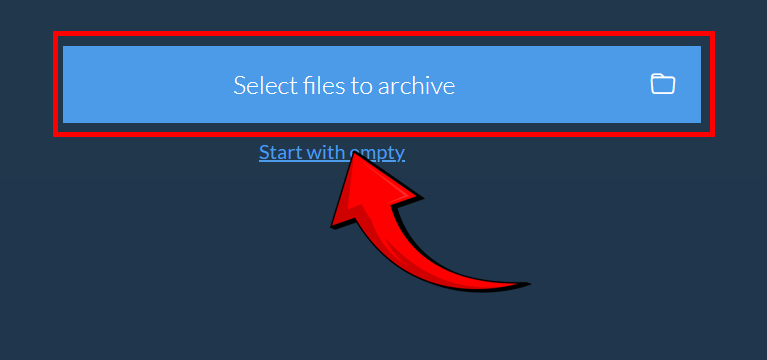
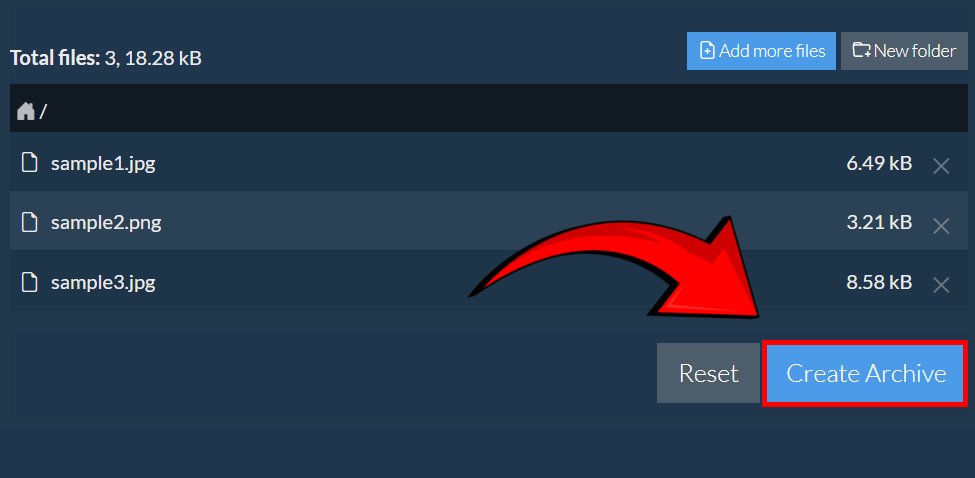
- Select the files you want to compress – just don’t toss them like a jungle chimp! 🦧

- Click “Create Archive” – watch it zip up faster than a monkey swinging through trees! 🌿
- Choose ZIP format, then hit “Create Archive” again – as smooth as a MacBook trackpad. 🏆
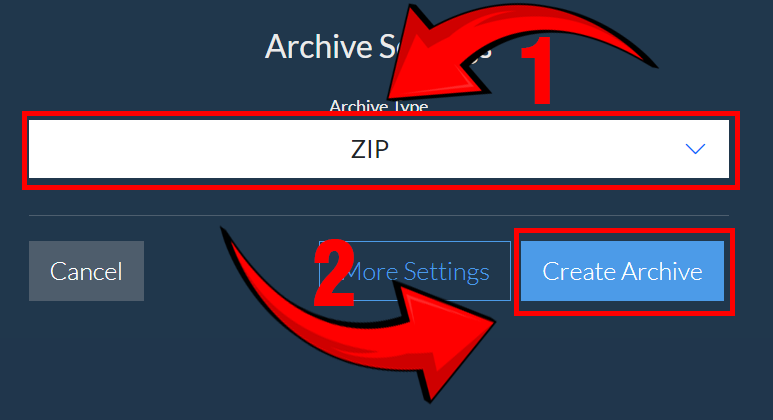
- Save your ZIP file – store it safely in Finder like prized jungle treasure! 🗂️
Now your files are compressed without any hassle—time to go bananas with organization! 🚀🐒
Built-in Method using Finder
This method can be used to zip files and folders or both of these.
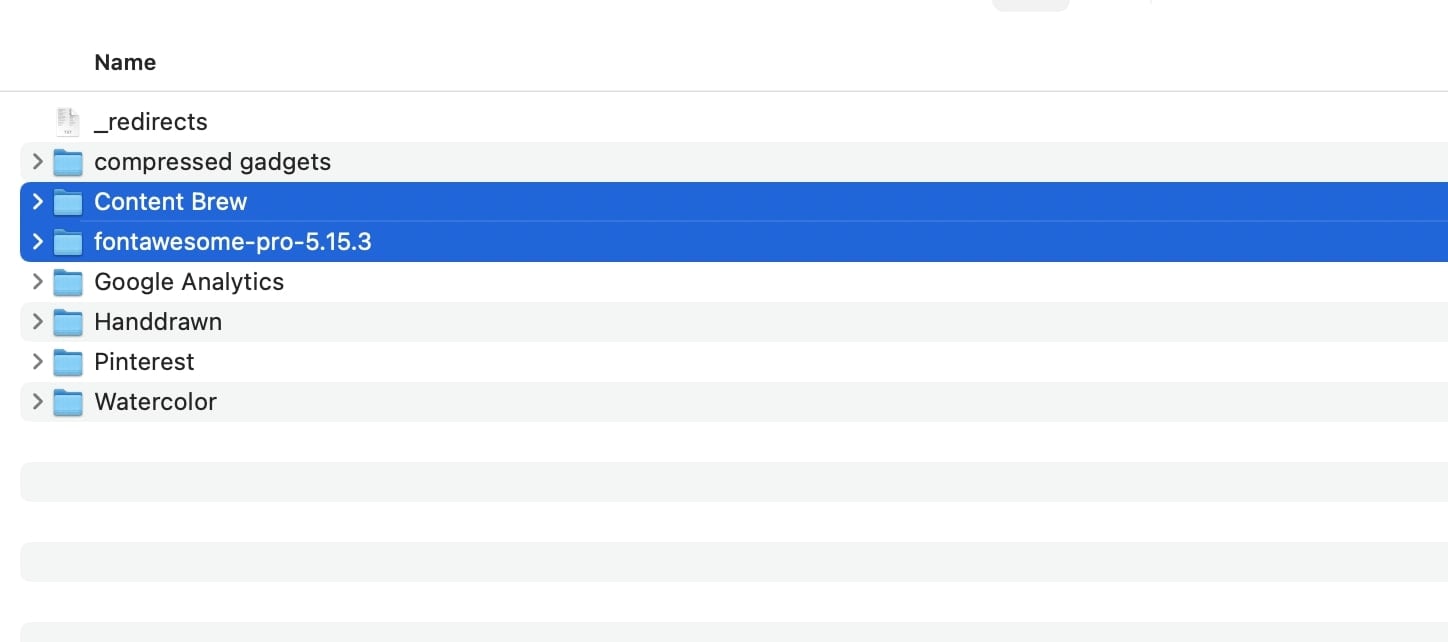
- Select the files or folders: Locate the files or folders that you want to zip. You can select multiple items by holding down the Command key while clicking on each item.
- Right-click or Control-click: Once you’ve selected the files or folders, right-click (or Control-click) on one of the selected items to open the context menu.
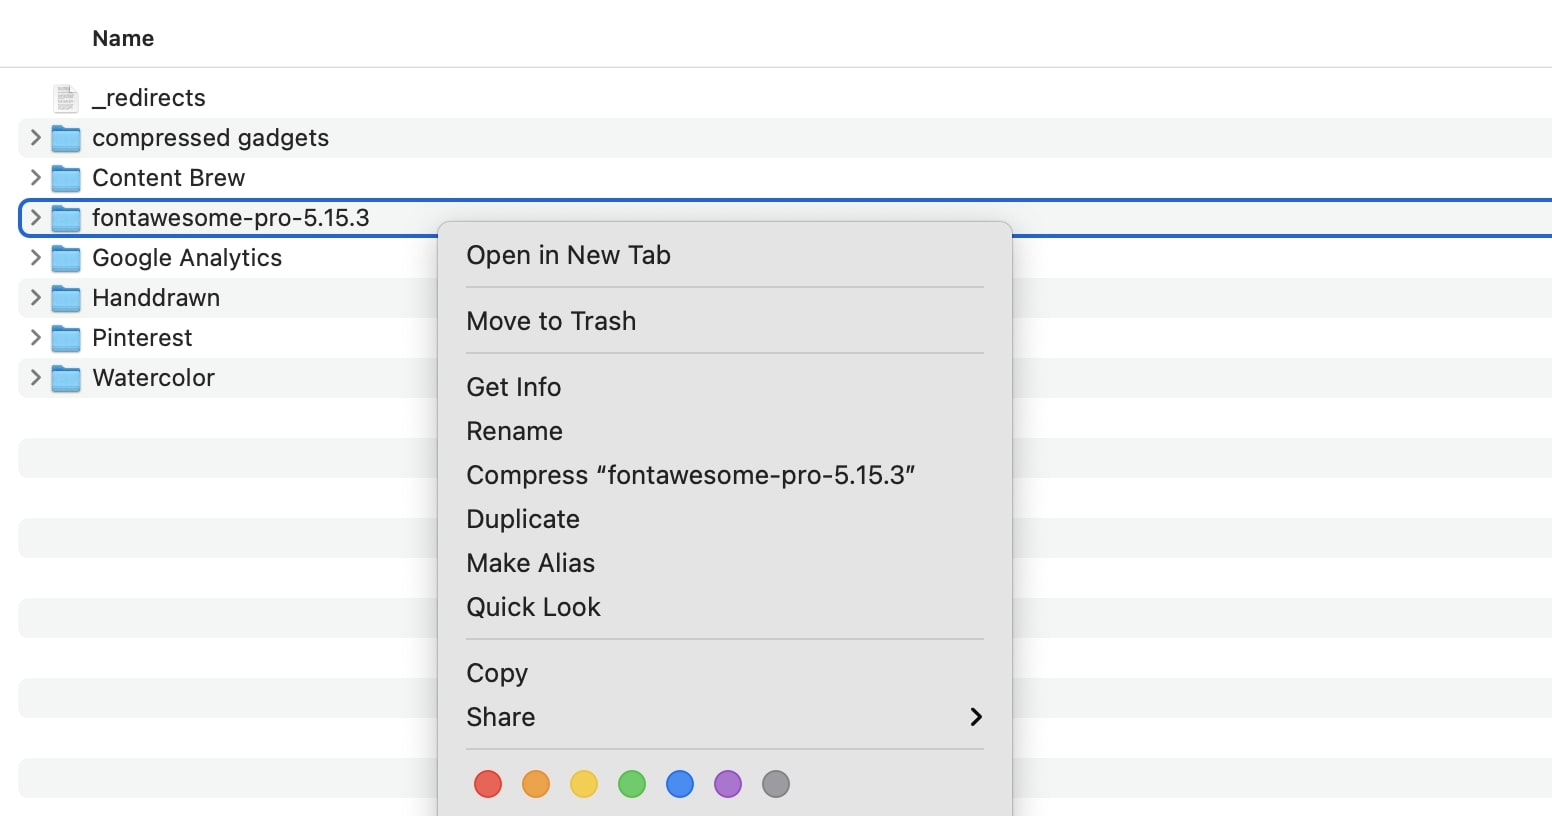
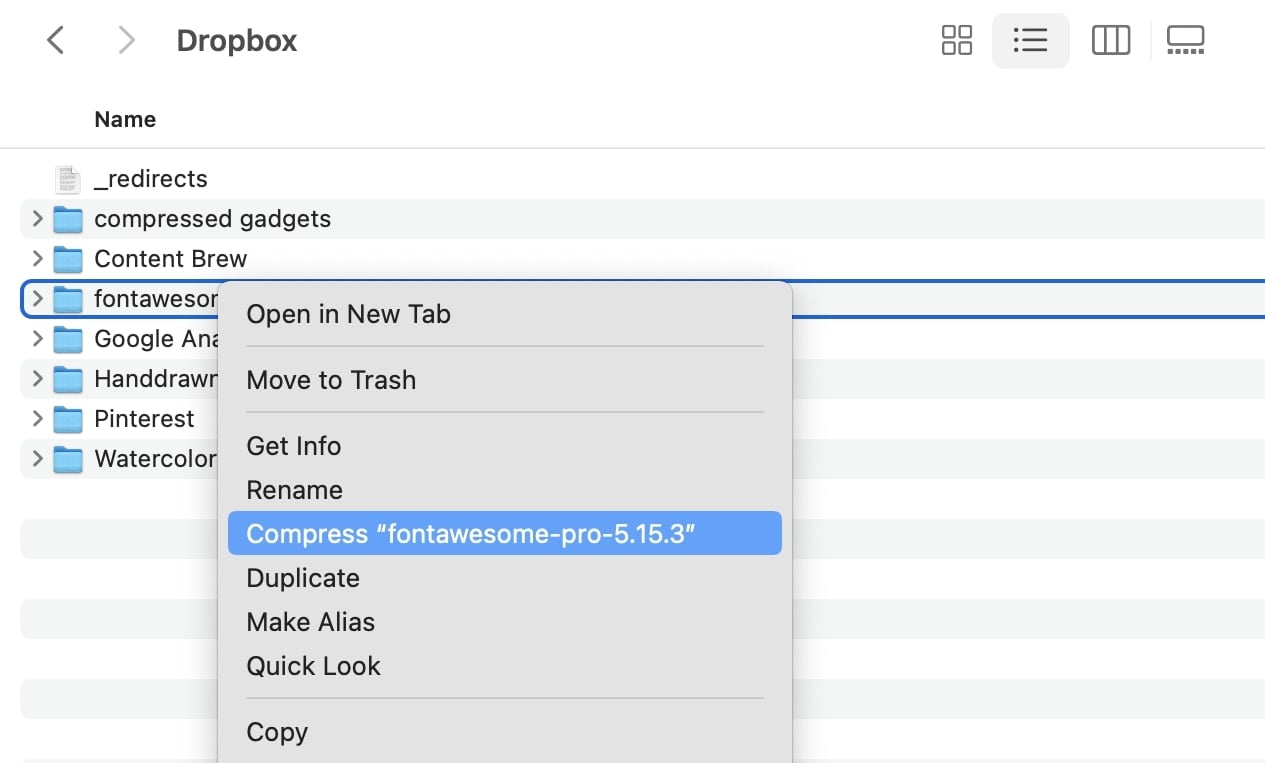
- Choose “Compress X Items”: In the context menu, click on the “Compress X Items” option, where X represents the number of selected items.
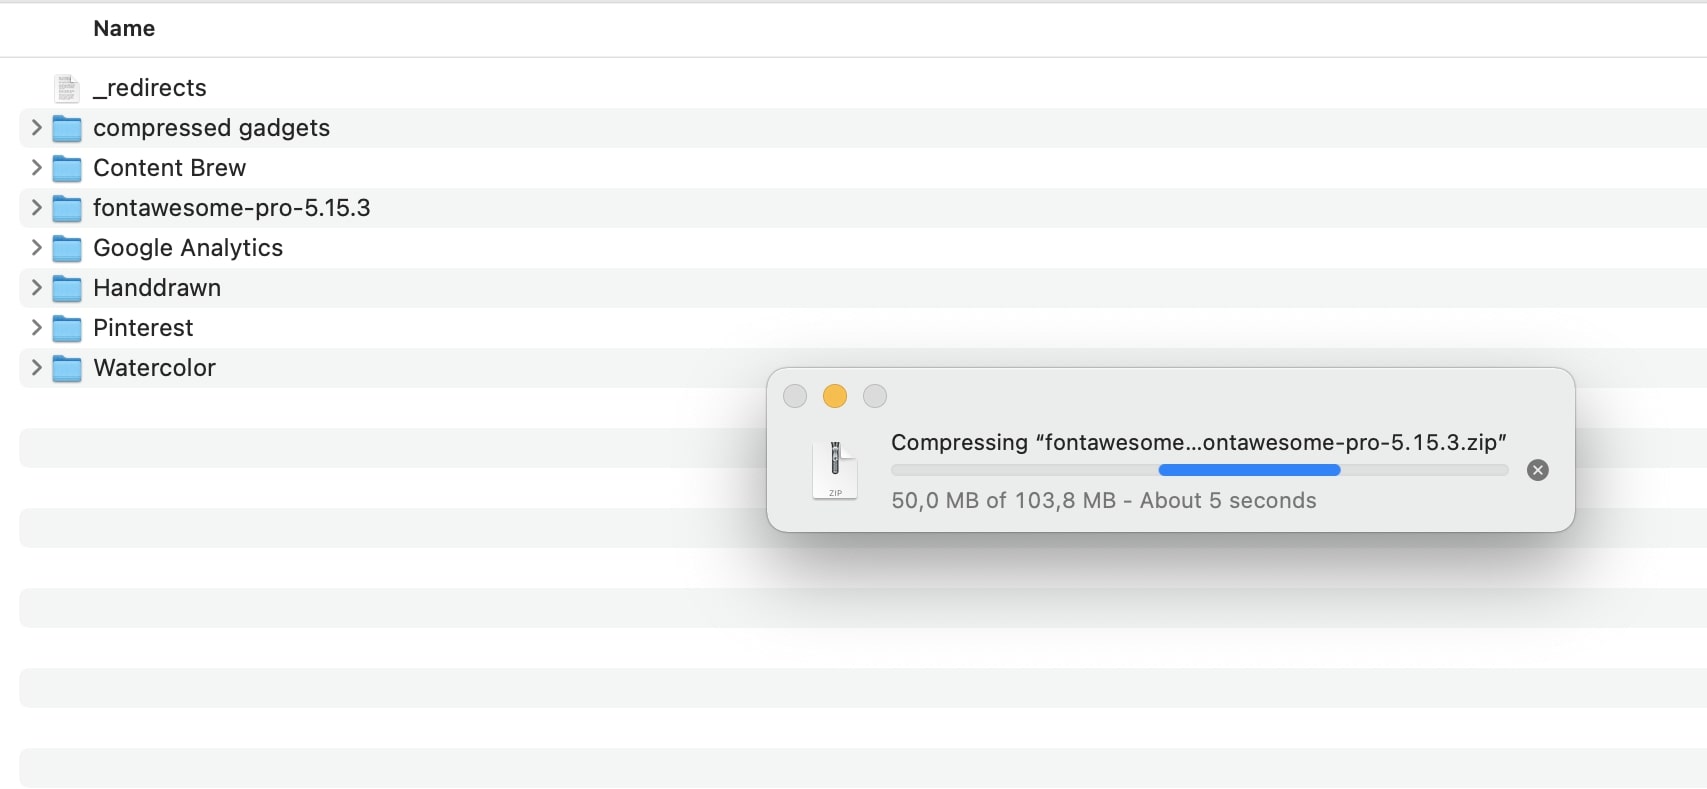
- Wait for compression: The Mac will start compressing the selected files or folders into a zip file. The compressed file will have the same name as the first file or folder you selected, with the extension “.zip”.
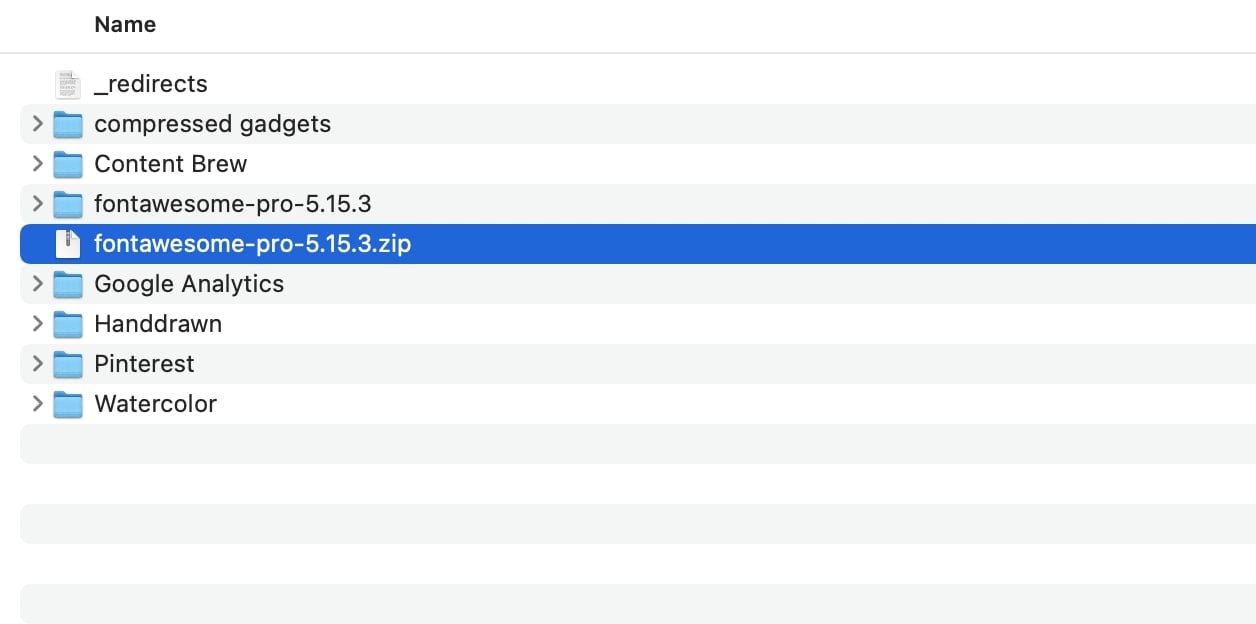
- Locate the zip file: Once the compression process is complete, you can find the newly created zip file in the same location as the original files or folders. You can also use the search function in Finder to locate the file by its name.
That’s it! You have successfully zipped files on your Mac. The zip file can now be easily shared via email, uploaded to cloud storage, or used for backup purposes.
Remember to unzip the file when you need to access the original files or folders. Simply double-click on the zip file, and the Mac will extract the contents into a new folder with the same name as the zip file.
How To Zip Files Using Safari Browser
Another approach that doesn’t require any new software is to use your web browser, with ezyZip!
- Navigate to the zip files or zip folder page on ezyZip.
- Select the file or folder you wish to compress.

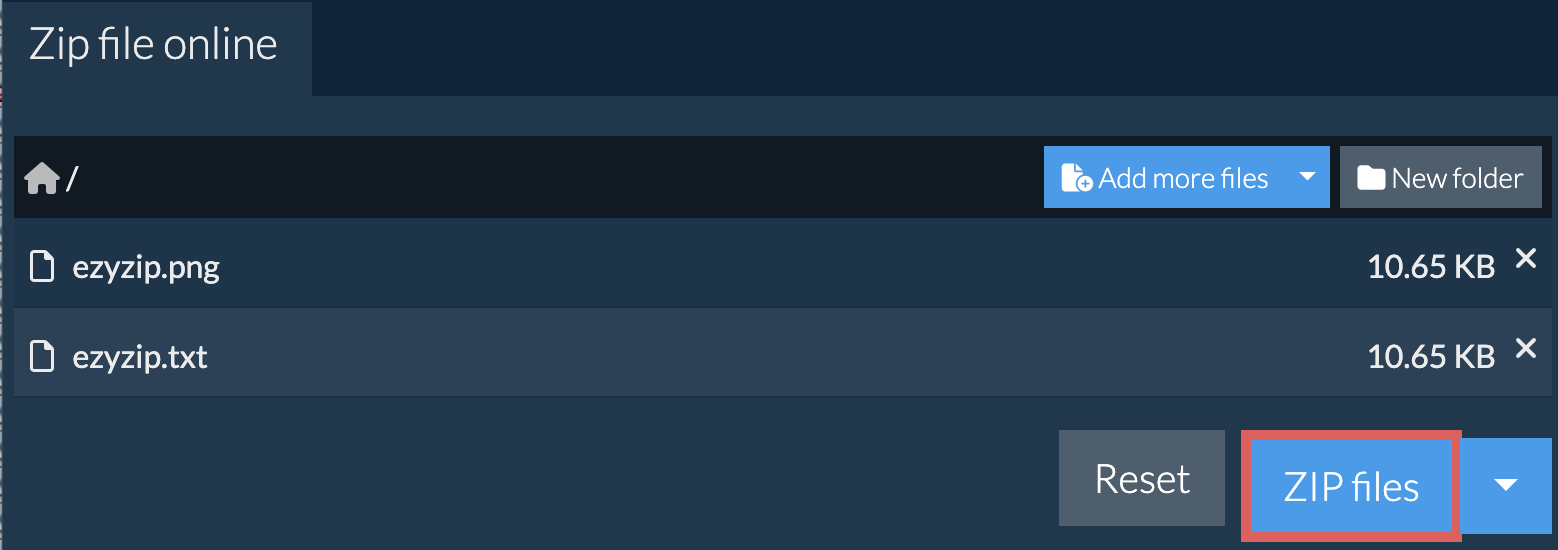
- Click “Zip Files”. It will start compressing the files.
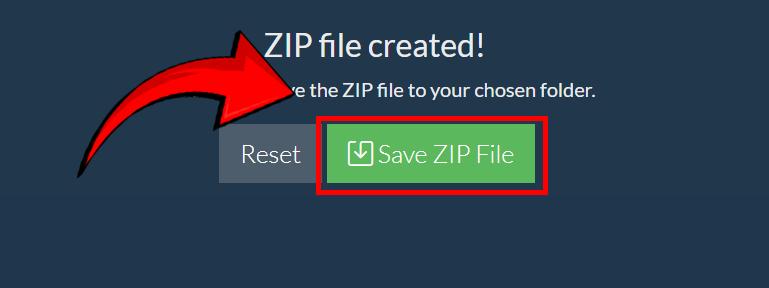
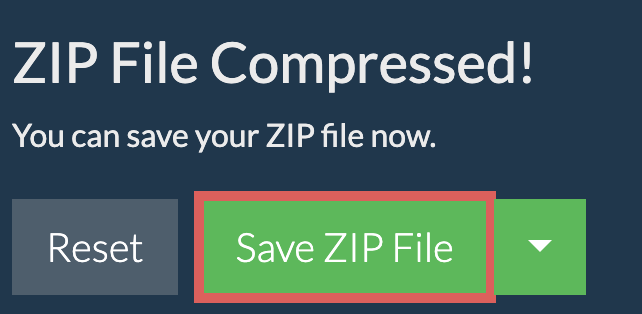
- Click “Save ZIP File” to save the archive to your local drive.
How to Zip Files Using Command Line
To zip a file using the command line on macOS, you can use the zip command. Here’s how you can do it:
-
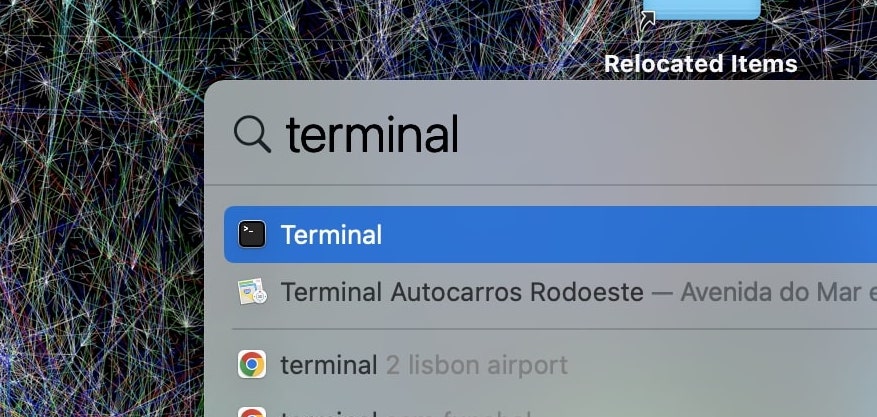
Open Terminal: Launch the Terminal application on your Mac. You can find it in the Utilities folder within the Applications folder, or you can use Spotlight search to find and open it.
-
Navigate to the file’s location: Use the ‘cd’ command to navigate to the directory where the file you want to zip is located. For example, if the file is on your desktop, you can use the following command:
bash cd ~/Desktop
-
Zip the file: Use the zip command followed by the desired name for your zip file and the name of the file you want to zip. Here’s the basic syntax:
zip archive.zip filename If you want to replace “archive.zip” with the desired name for your zip file, and “filename” with the actual name of the file you want to zip. For example, if you want to zip a file called “document.txt” and name the zip file “archive.zip”, you would use the following command:
zip archive.zip document.txt -
Press Enter: Once you’ve entered the command, press Enter to execute it.

The zip command will create a zip file with the specified name in the current directory. You can then use the zip file for various purposes, such as sharing it or extracting its contents.
How to zip files on Mac using iZip
To zip files on a Mac using iZip, you can follow these steps:
-
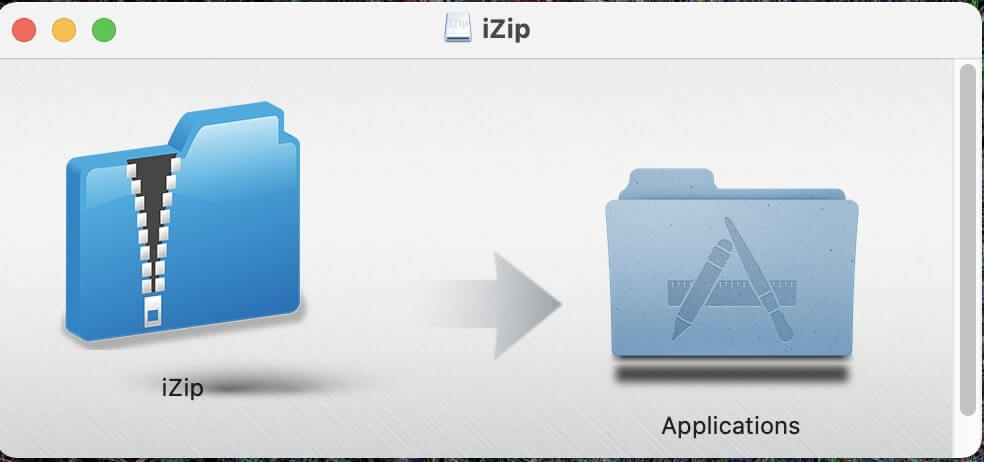
Download and Install iZip: Visit the Mac App Store and search for “iZip” or visit the official iZip website here to download iZip. Once the download is complete, open the installer and follow the on-screen instructions to install iZip on your Mac.
-
Launch iZip: After installation, open the iZip application by locating it in your Applications folder or using Spotlight search.
-
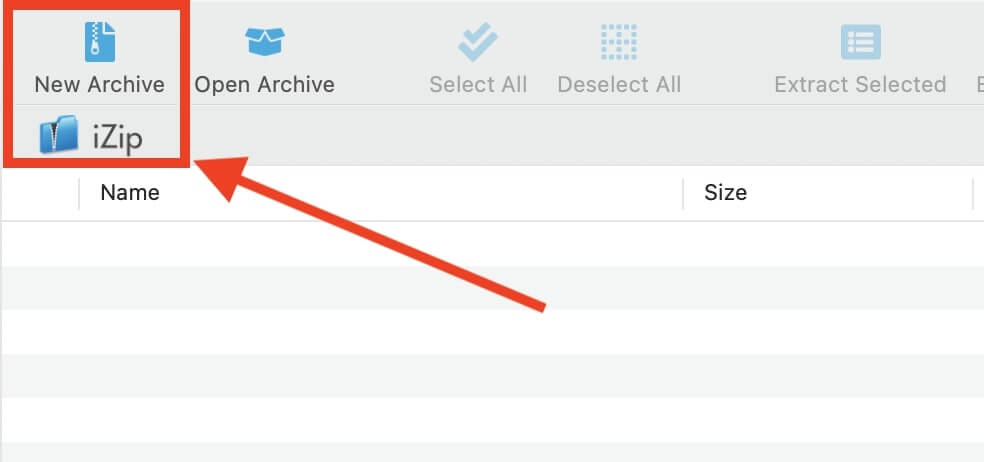
Click on “New Archive”: then click on the “Plus” icon.
-
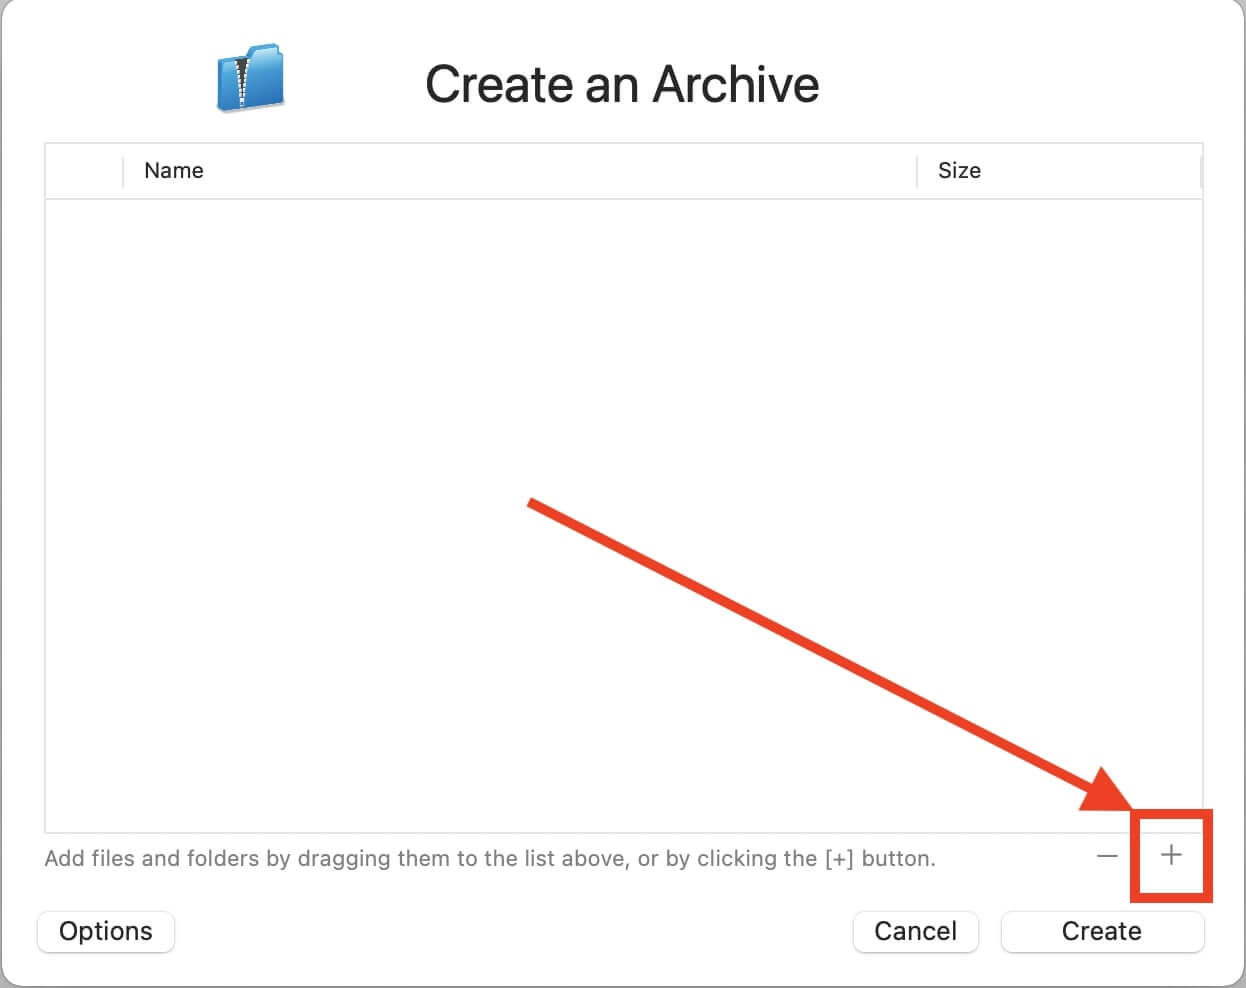
Select Files or Folders: In the iZip interface, navigate to the location where your files or folders are stored. Select the items you want to include in the zip archive. You can hold down the Command key to select multiple items. Then click “Add”.

-
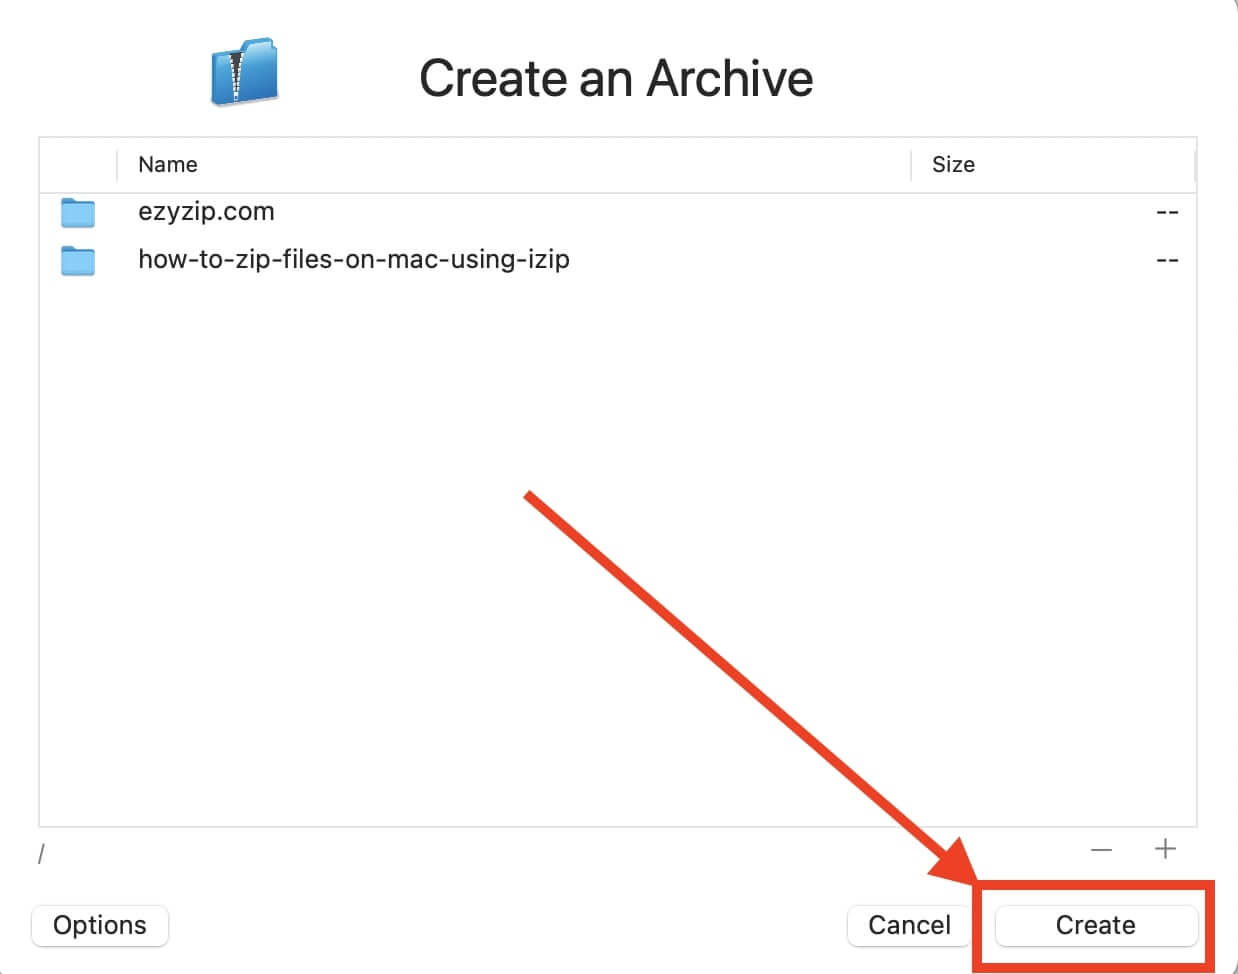
Click the “Create” Button: Once you have selected the files or folders, click on the “Create” button in the iZip toolbar. This will start the zipping process.
-
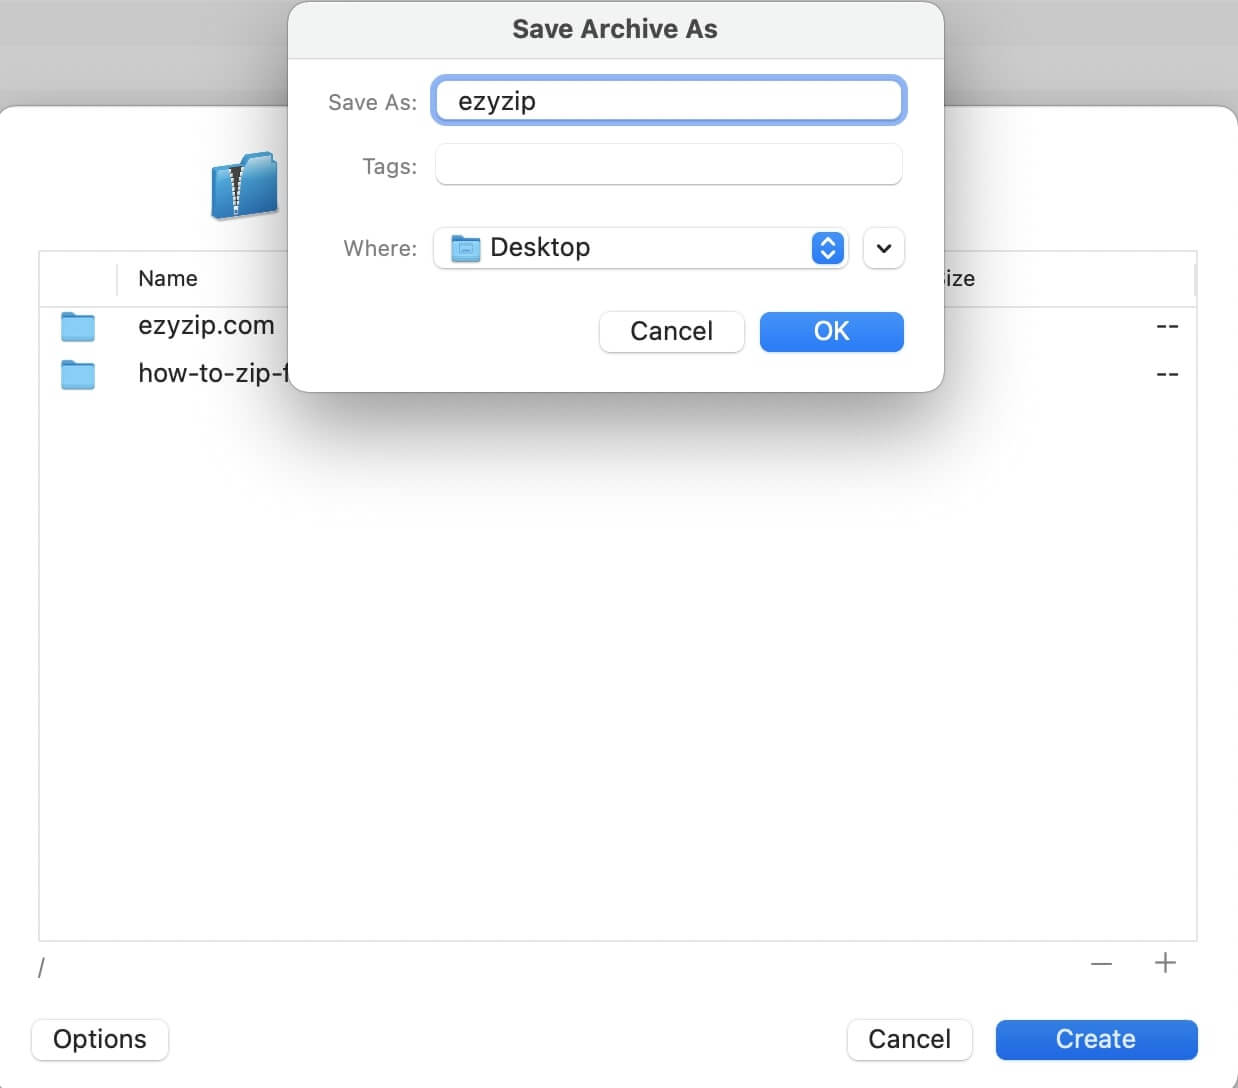
Choose Zip Archive Name and Location: A window will appear where you can specify the name and location for the zip archive. Enter the desired name and select the destination folder.
-
Click “OK” to continue: iZip will compress the selected files or folders into a zip archive and save it to the specified location.

-
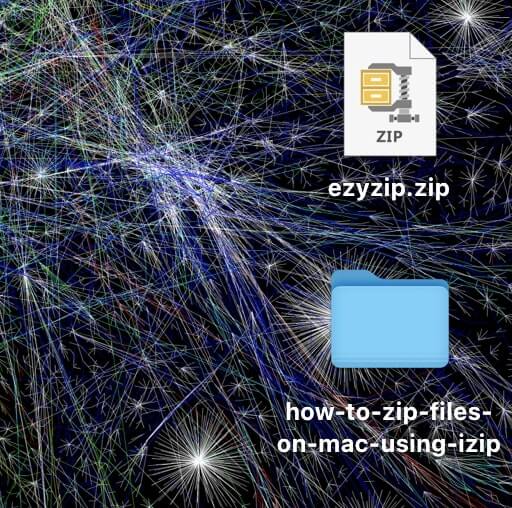
Locate your file: Your files have been compressed. You can find it in the location you specified in step 6.
That’s it! You have successfully zipped files on your Mac using iZip. The zip file is now ready to be used for sharing, storage, or any other purpose you have in mind.
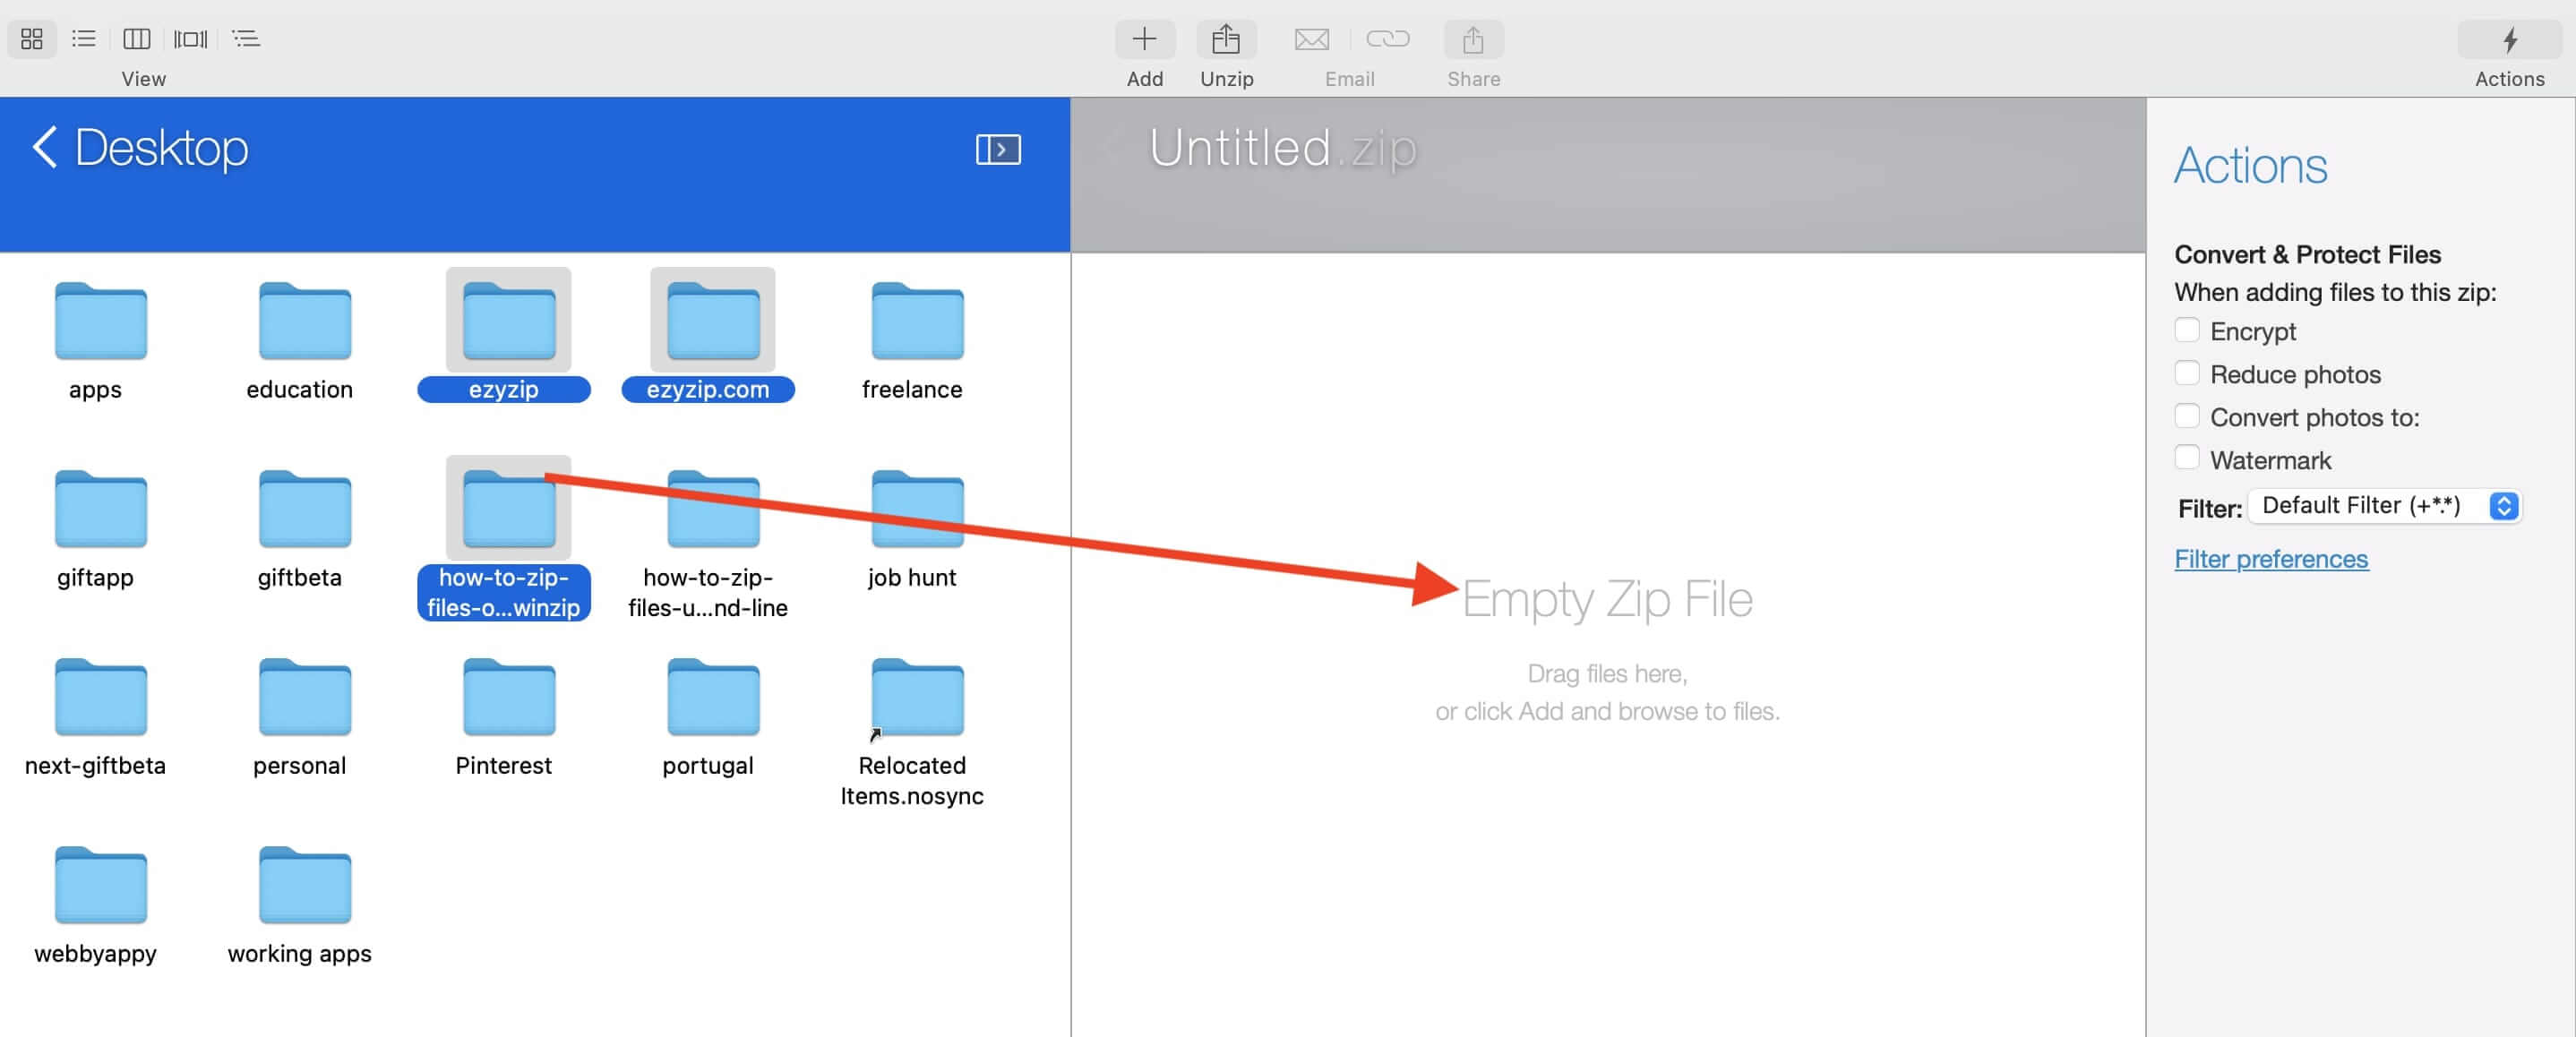
How to zip files on Mac using Winzip
To zip files on a Mac using Winzip, you can follow these steps:
-
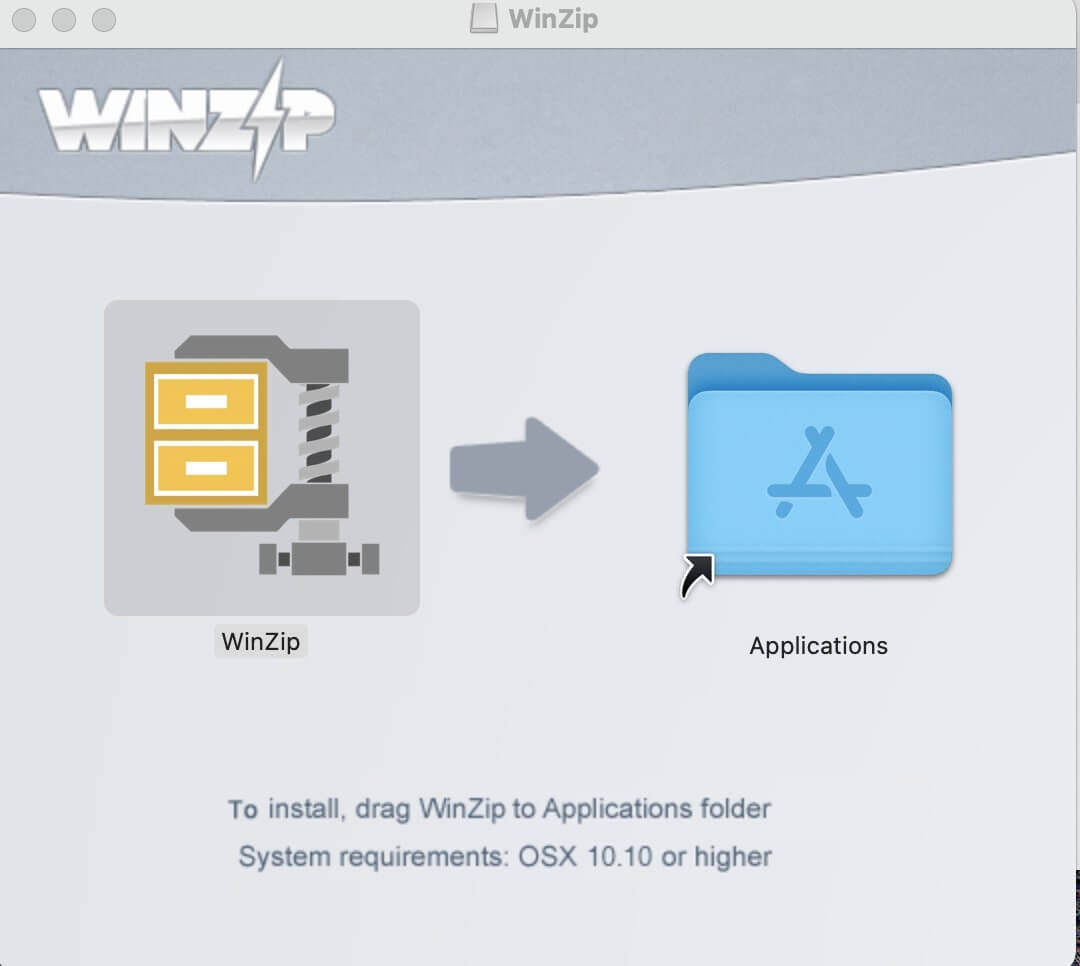
Download and Install Winzip: Visit the official Winzip website here and download the Mac version of Winzip. Once the download is complete, double-click the installer and follow the on-screen instructions to install Winzip on your Mac.
-
Launch Winzip: After installation, open the Winzip application by locating it in your Applications folder or using Spotlight search.
-
Select Files or Folders: In the Winzip interface, navigate to the location where your files or folders are stored. Select the items you want to include in the zip archive. You can hold down the Command key to select multiple items. Drag the items into the box.
-
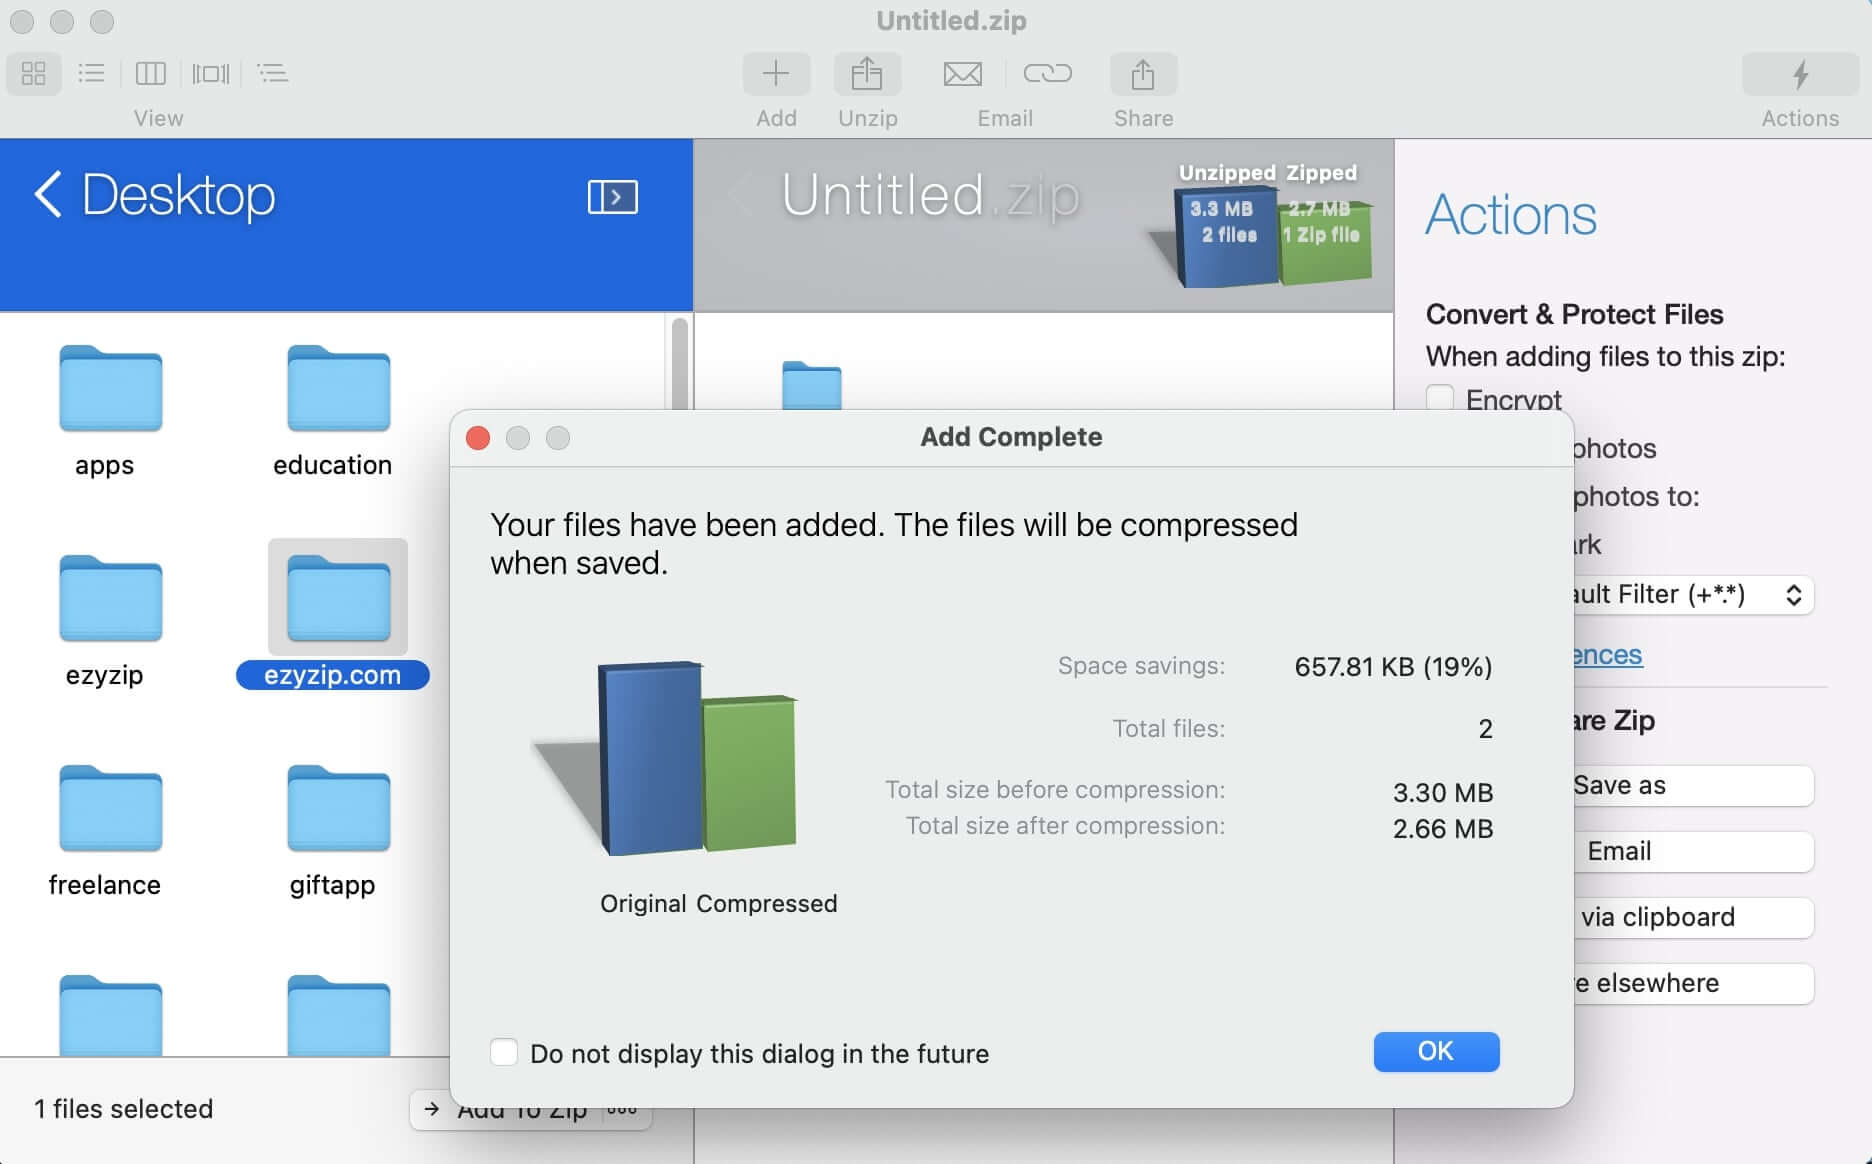
Click the “OK” Button: Once you have selected the files or folders, click on the “OK” button in the Winzip toolbar. This will start the zipping process.
-
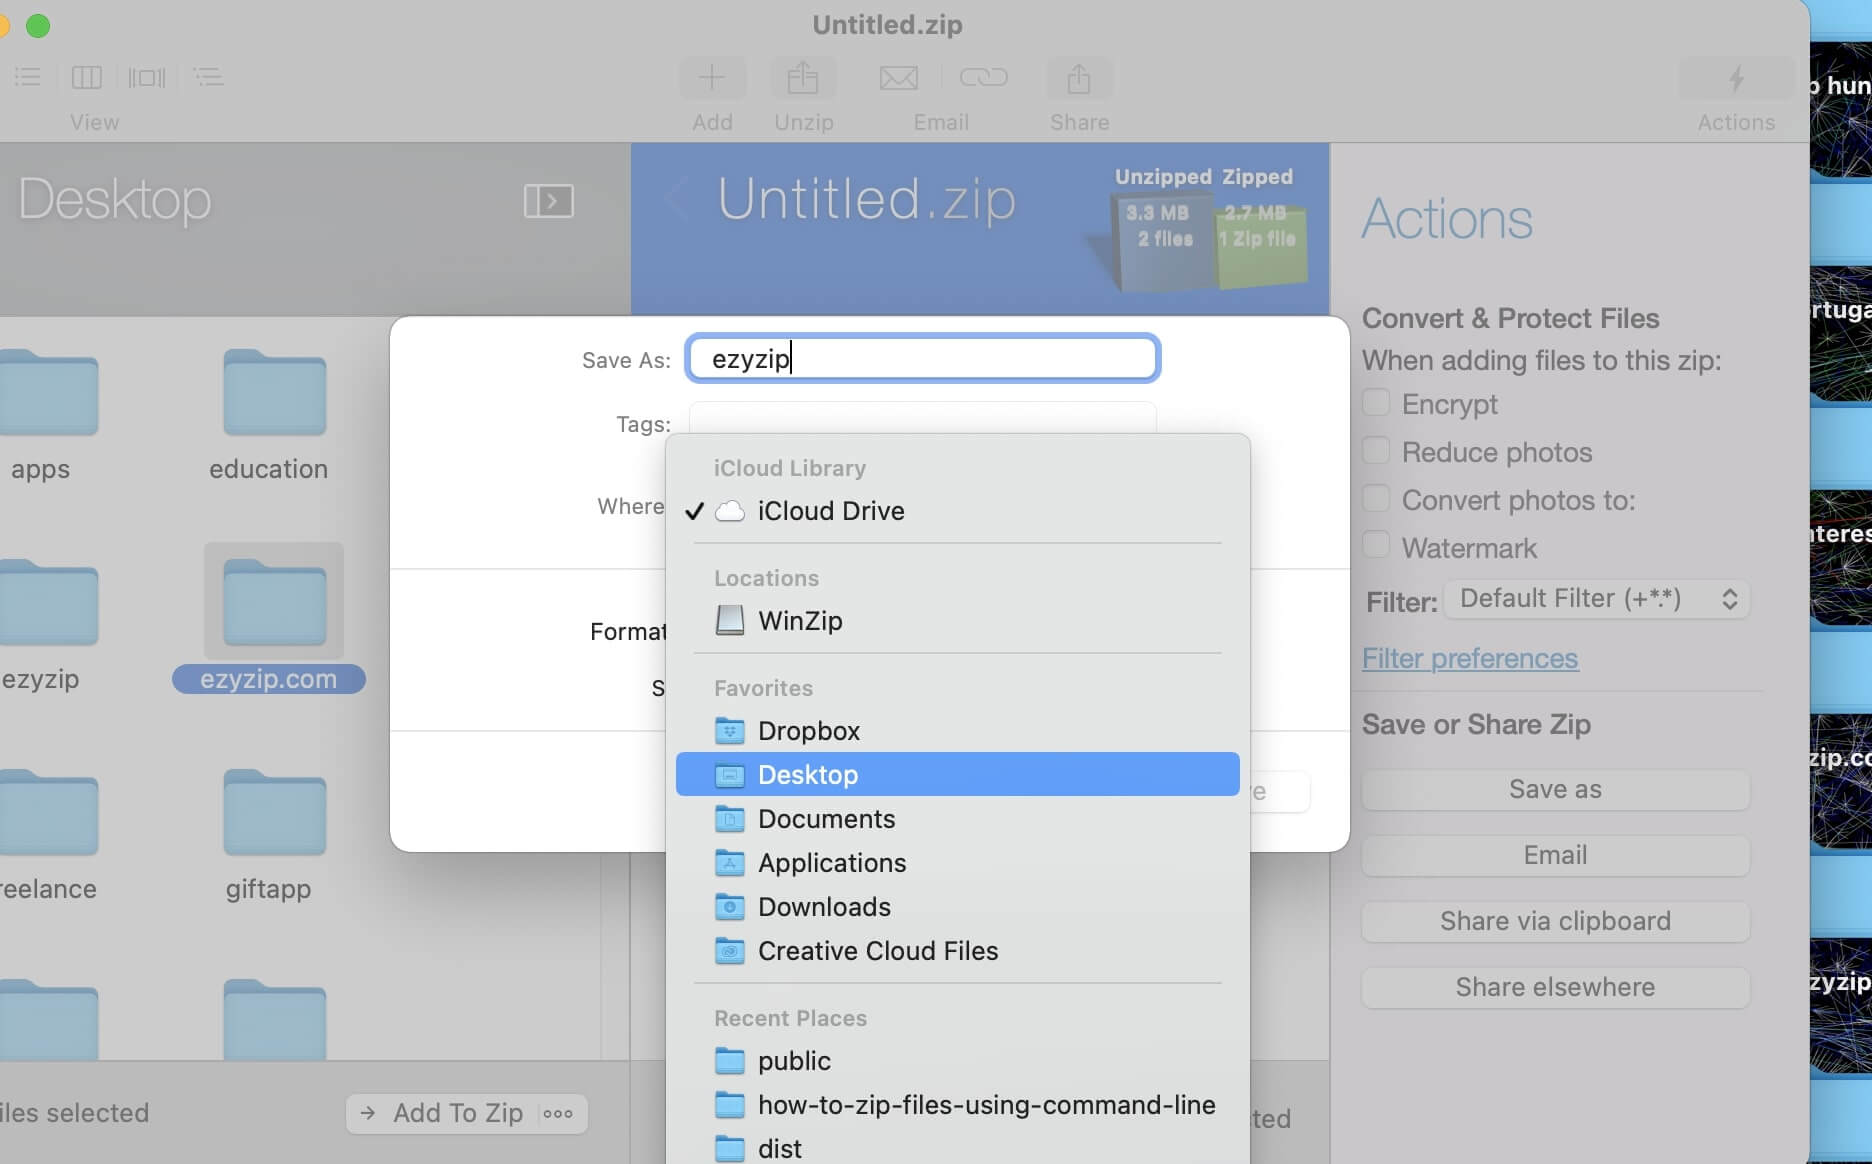
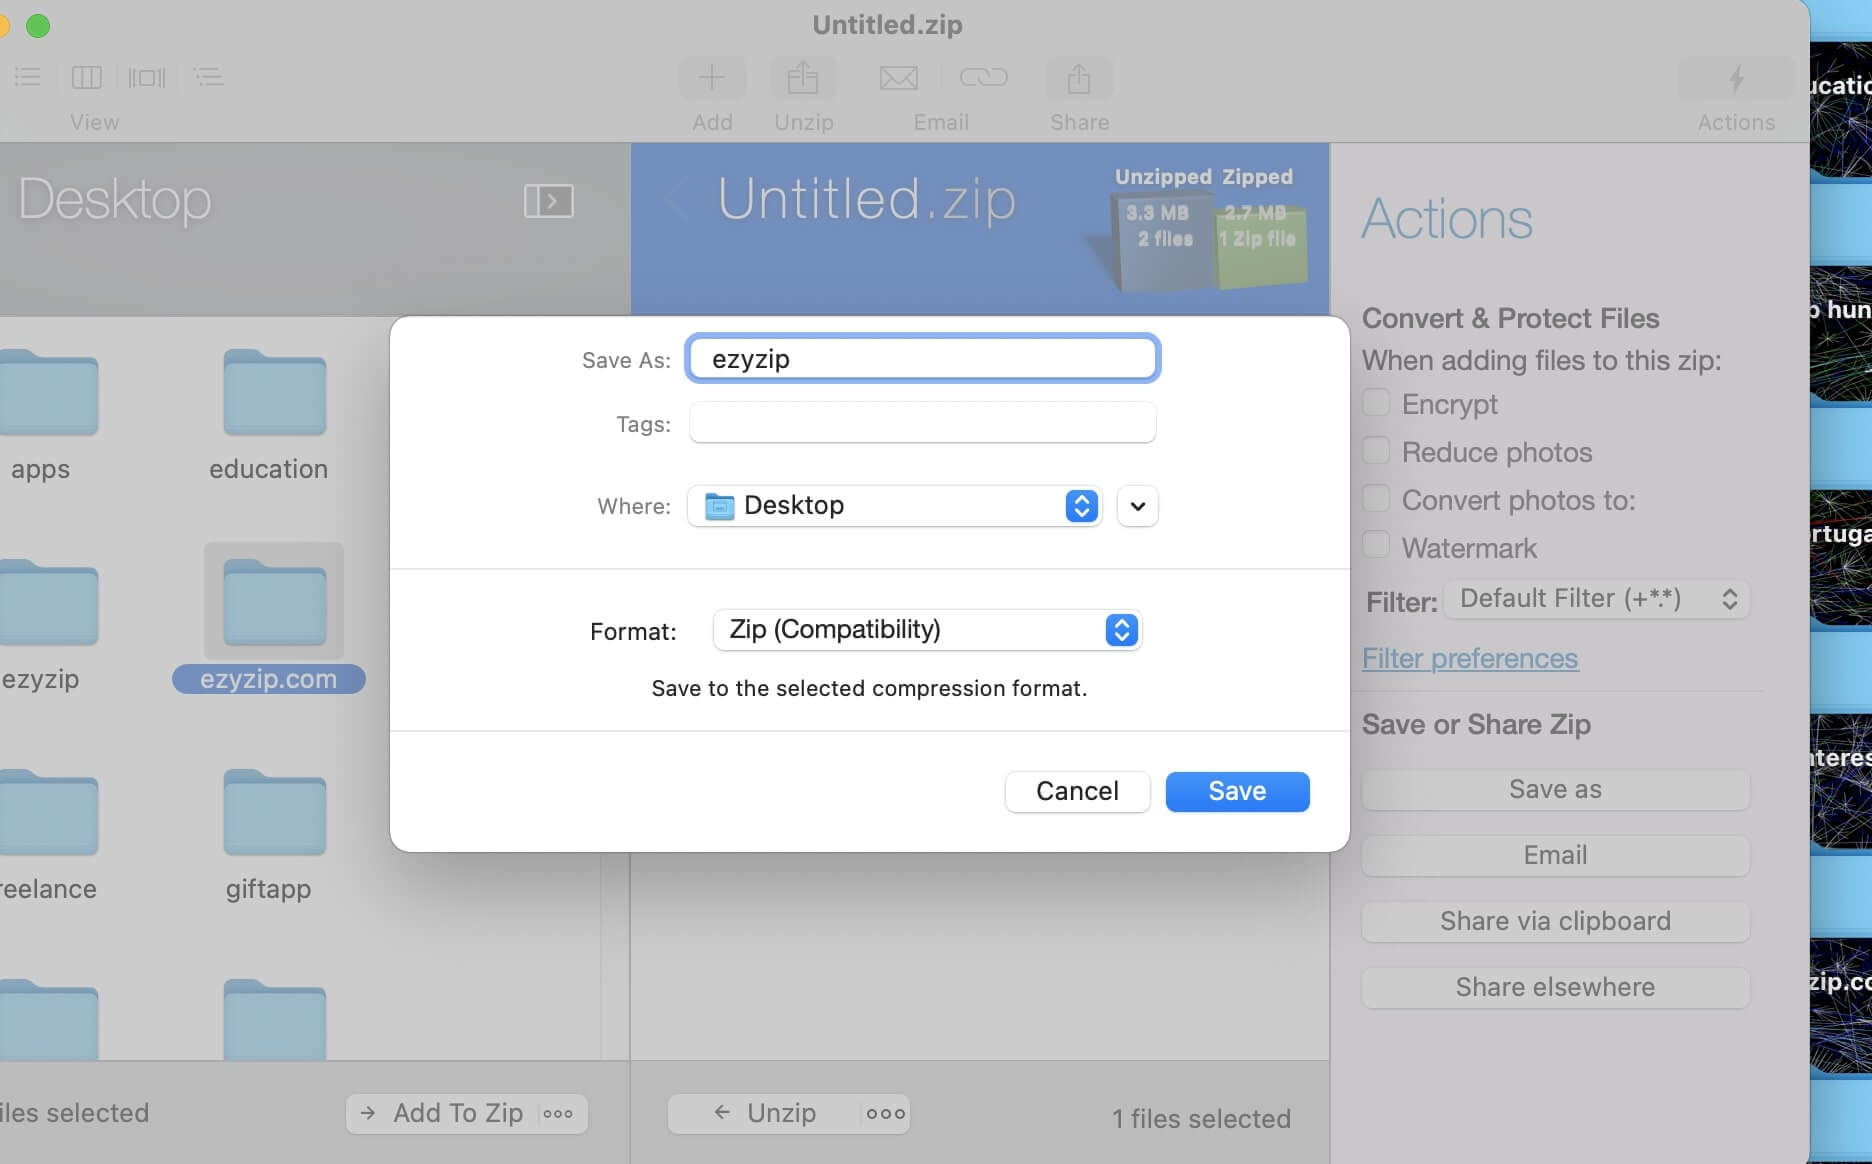
Choose Zip Archive Name and Location: A window will appear where you can specify the name and location for the zip archive. Enter the desired name and select the destination folder.
-
Configure Compression Options: You can optionally configure the compression options by clicking on the gear icon. Here, you can choose the compression level, encryption settings, and other advanced options. Then click “Save” to create the zip file.
-
Locate the files: Winzip will compress the selected files or folders into a zip archive and save it to the specified location.
That’s it! You have successfully zipped files on your Mac using Winzip. The zip file is now ready to be used for sharing, storage, or any other purpose you have in mind.
We find this method to be very slow compared to others so you might want to keep this in mind if you have large files to compress.
FAQs
1. Why zip files on a Mac?
Zipping files on a Mac is like bundling up a bunch of bananas. It helps you keep things organized, saves space, and makes it easier to share your digital goodies with other jungle residents!
2. Does macOS have a built-in tool for zipping?
Indeed! Your Mac comes equipped with a handy tool called the Archive Utility, ready to zip up your files. Think of it as your trusty banana packer, always available for your bundling needs.
3. Can I zip files with a password on my Mac?
Absolutely! Just like a monkey hiding its banana stash, you can add a password to your zipped files to keep them safe from prying eyes. Some third-party apps can assist you in creating password-protected zipped archives.
4. How do zipped files affect file quality?
Fear not, young simian! Zipping files is a lossless process. It’s like squishing bananas into a compact bundle without bruising them. Once you unzip, everything returns to its original state, fresh as ever!
5. Is there a file size limit when zipping on Mac?
While there’s technically no strict size limit, the bigger the file or folder, the longer it might take to compress. So, if you’re zipping up the entire jungle’s worth of data, grab a banana and be patient!
6. Can I zip different types of files together?
Of course! Zipping allows you to bundle different file types, like documents, images, and videos, all into one package. It’s like hosting a jungle party where every animal is invited!
7. How do zipped files compare to RAR or 7z on Mac?
ZIP is like the friendly monkey everyone knows in the jungle – universally recognized and easily accessible. RAR and 7z might offer better compression in some cases, but they often require third-party tools on Mac. Choose your file format based on your jungle adventure needs!