
Ever felt like you’re swinging from tree to tree, looking for a way to safeguard your iPad’s precious data? Well, put down that banana because you’ve landed at the right branch! This guide will show you how to backup your iPad, step by step, so you can rest easy and focus on your monkey business.
Table of contents
- Method 1: Backup an iPad Using iCloud
- Method 2: Backup an iPad Using iTunes
- Method 3: Backup an iPad Using Finder
How To Backup an iPad Using iCloud
iCloud is the easiest way to backup your iPad, as easy as monkeys love bananas. It’s an automatic process that makes sure your data is always safe and sound.
-
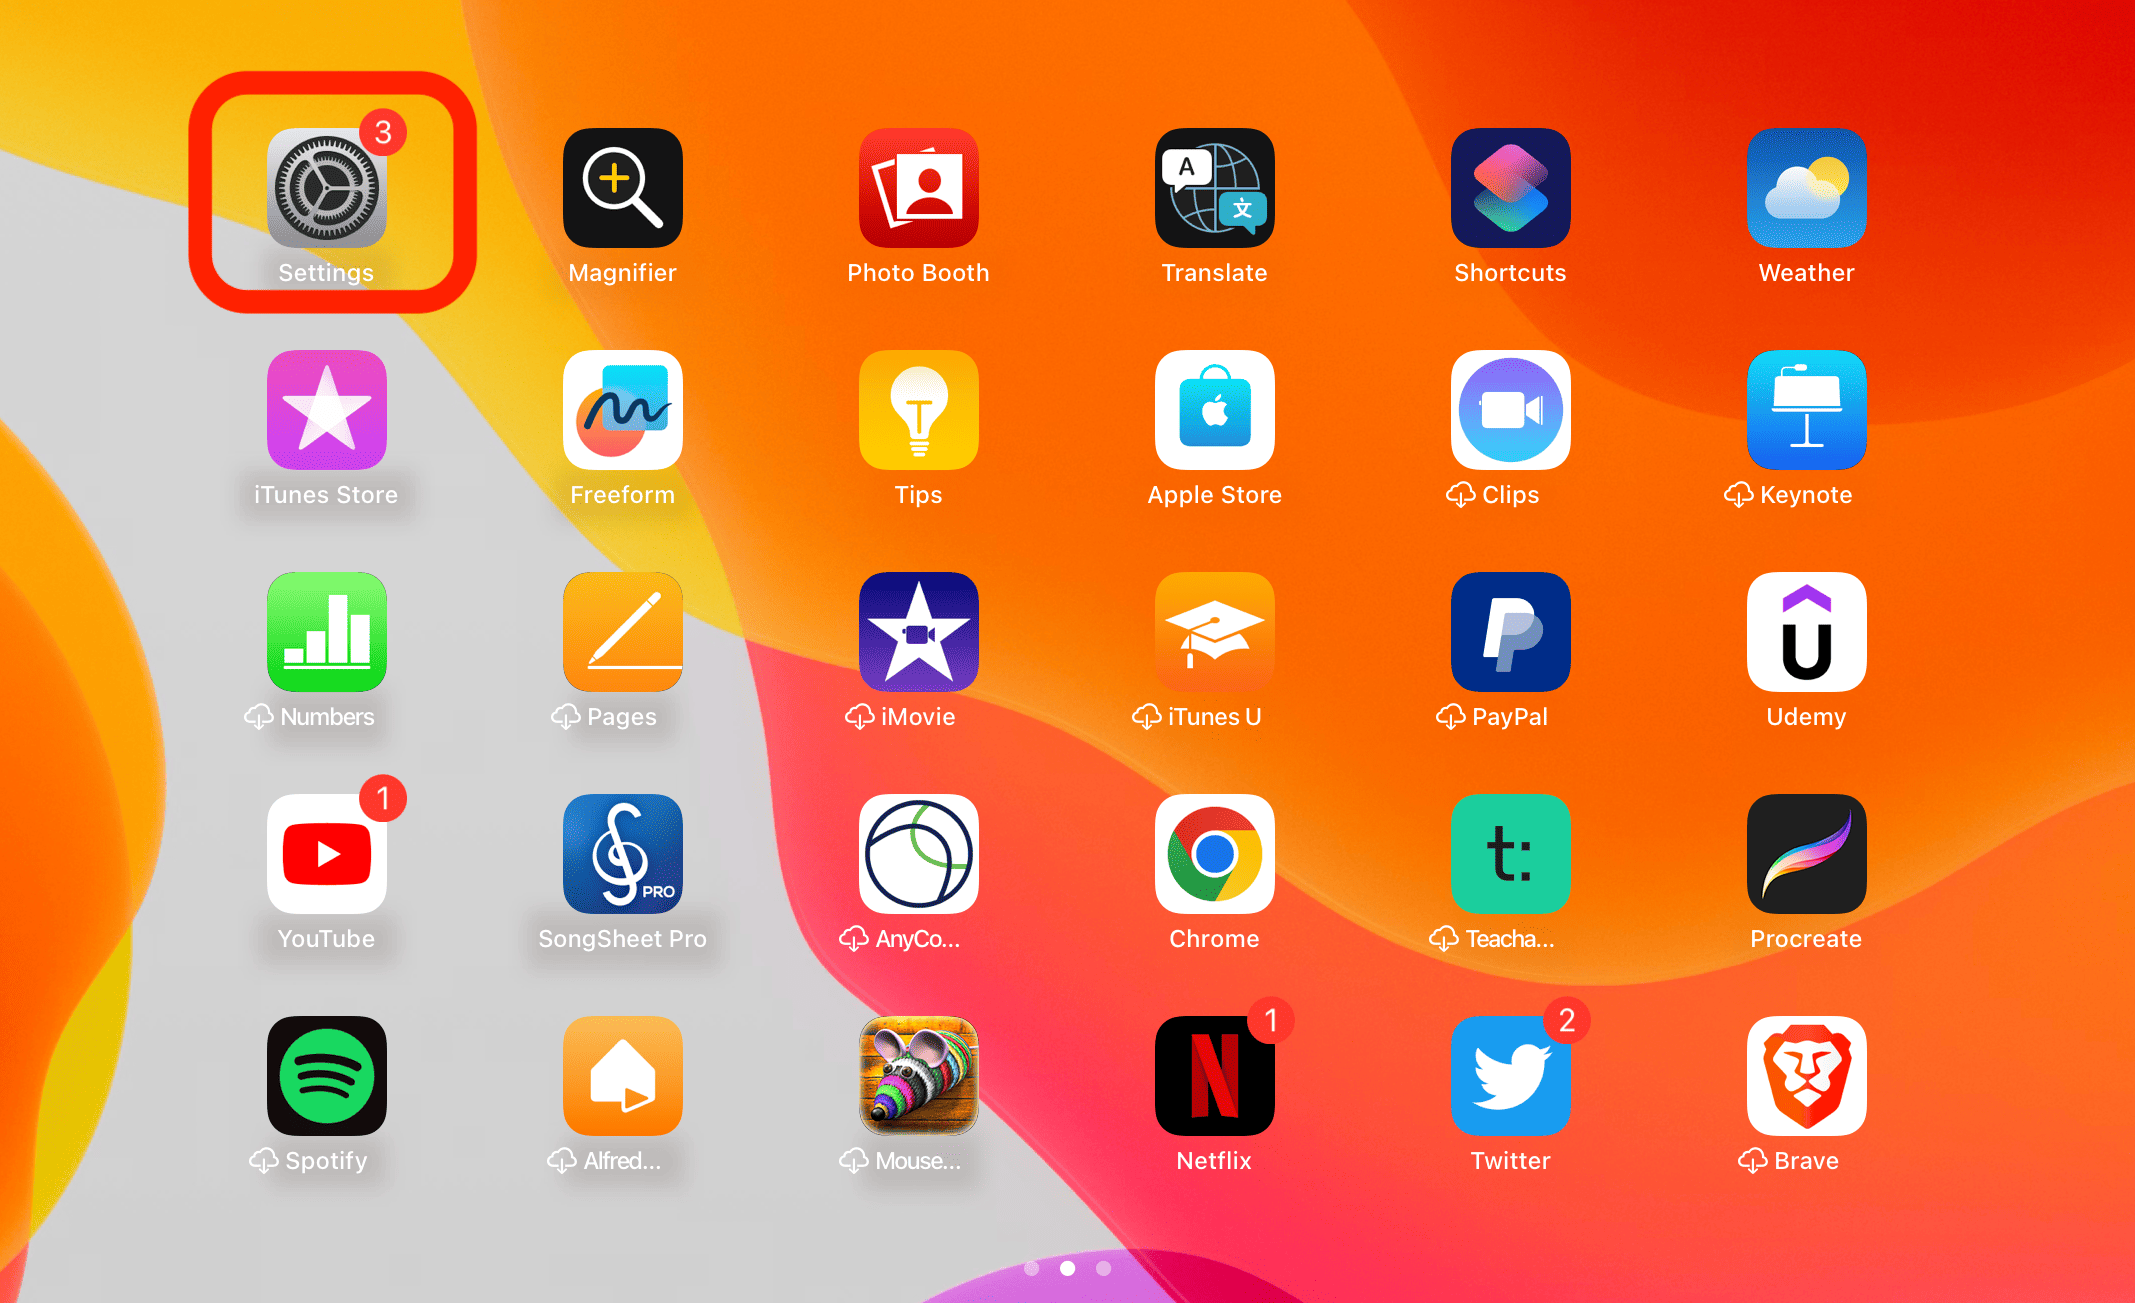
Open Settings: Grab your iPad and tap on the Settings icon. It’s the one that looks like a set of gears - not exactly jungle tech, but it’ll do!
-
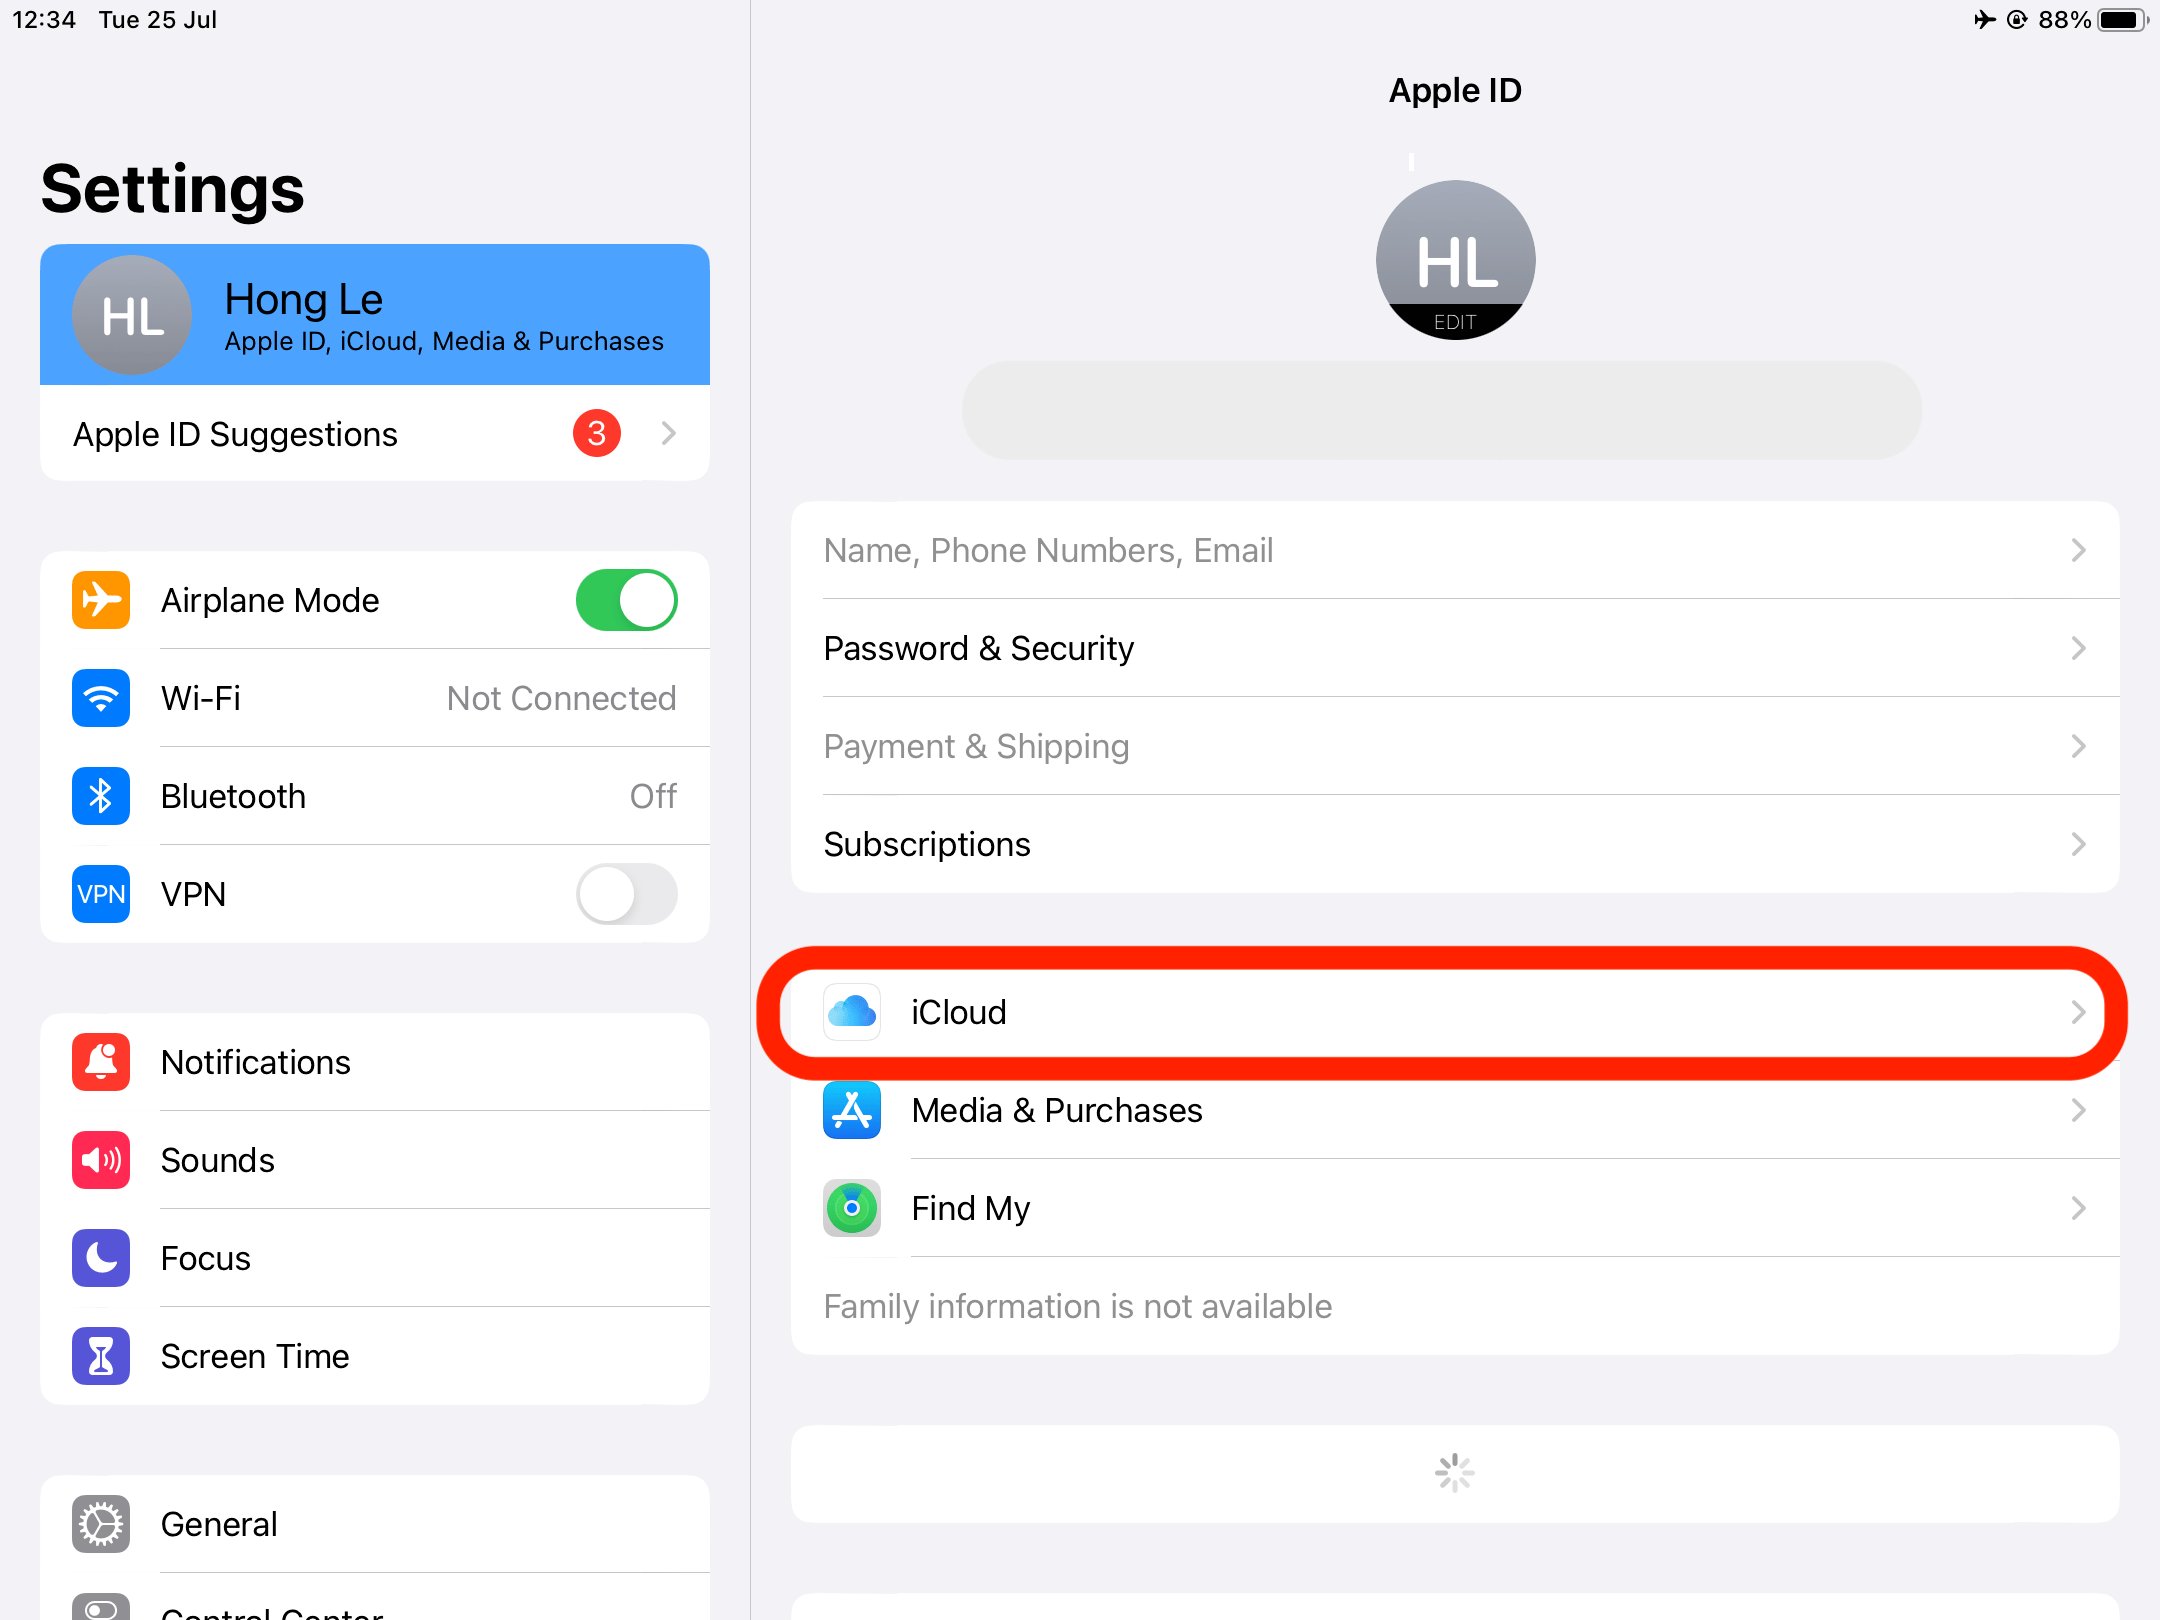
Tap on Your Name and select iCloud: At the top of the Settings menu, tap on your name to open your Apple ID settings. Find and tap on the iCloud option.
-
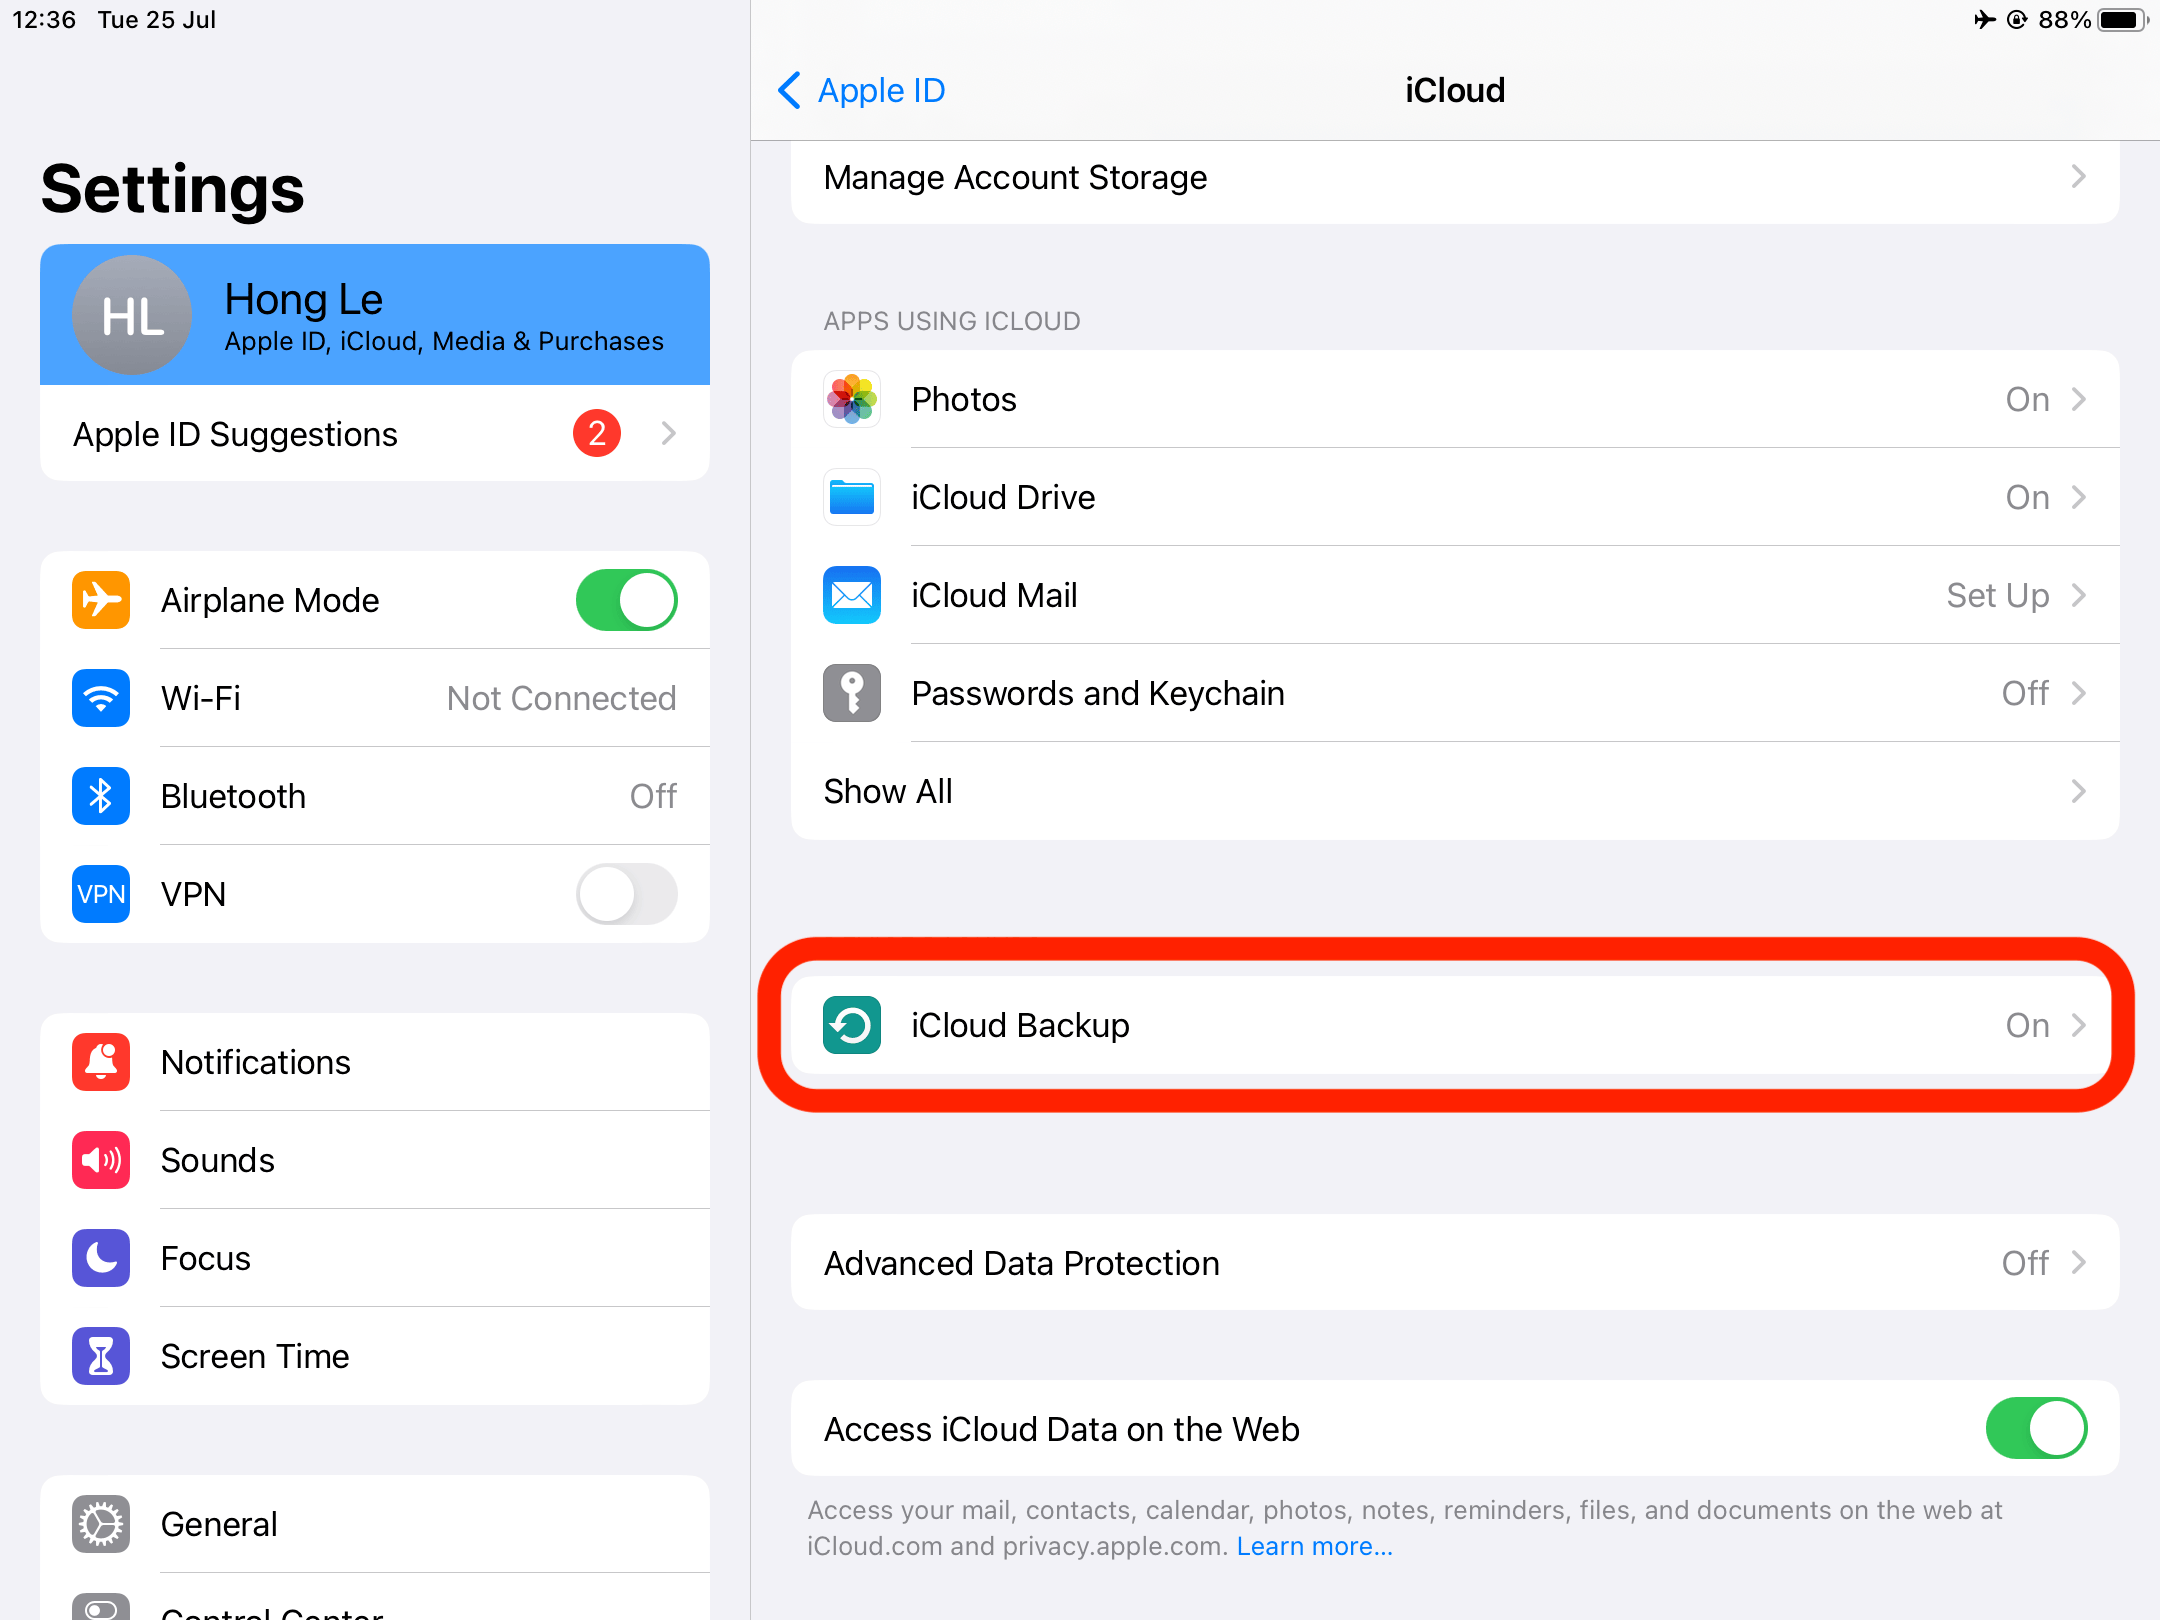
Choose iCloud Backup: Scroll down until you find the iCloud Backup option and tap on it.
-
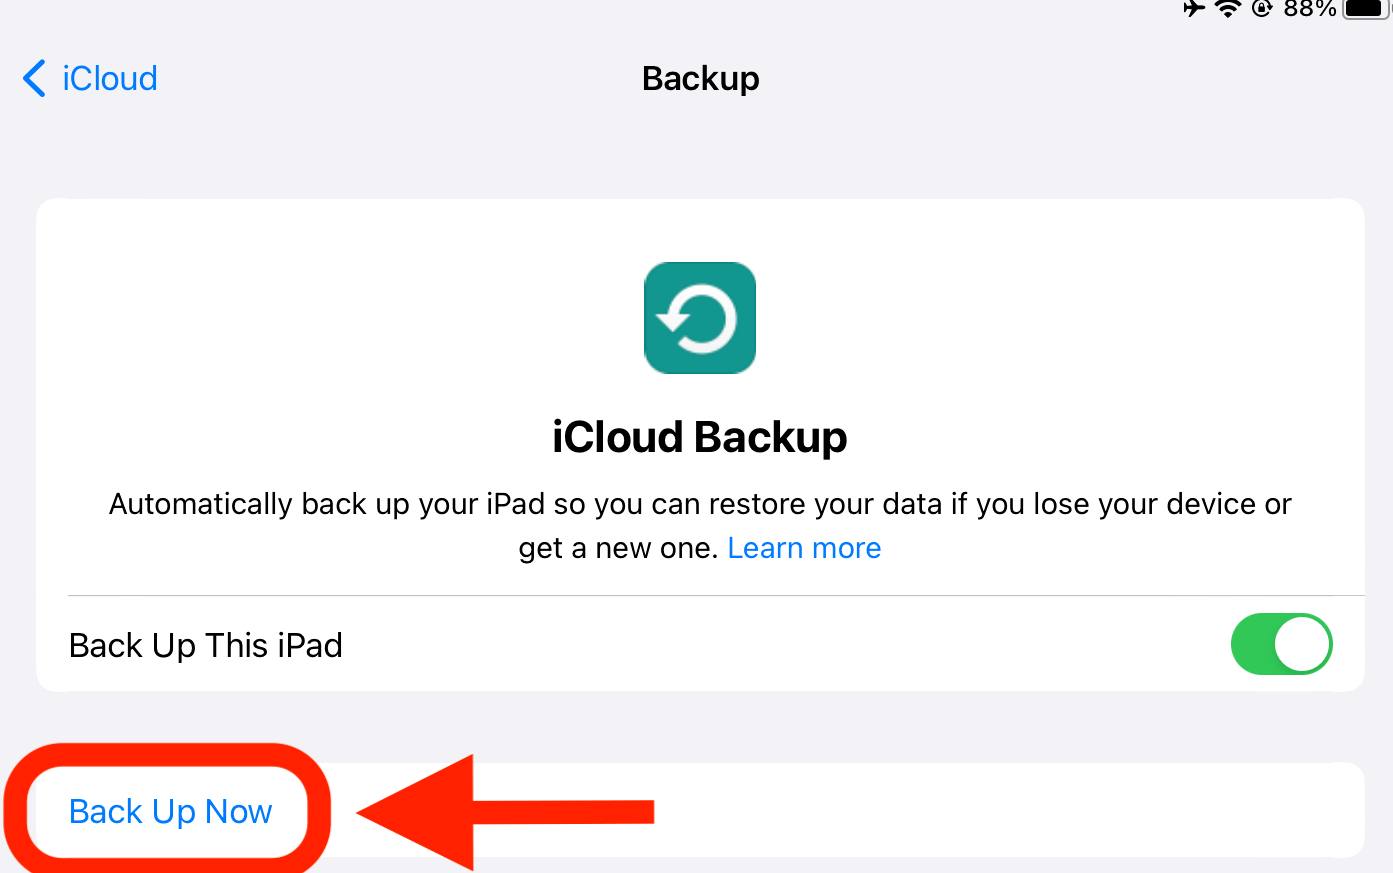
Enable iCloud Backup: If it’s not already switched on, tap the toggle to turn on iCloud Backup. It will turn green, like a leafy jungle canopy.
-
Tap on ‘Back Up Now’: Tap on ‘Back Up Now’ to immediately start a backup of your iPad’s data. Just like a monkey finding a hidden stash of bananas - success!
How To Backup an iPad Using iTunes
If you’re more of a ground-level kind of monkey and prefer to use your computer, you can backup your iPad using iTunes. If you’re swinging from a macOS Catalina or later branch, you won’t find iTunes on your landing, so use the next option with Finder instead.
-
Connect Your iPad: Connect your iPad to your computer using your charging cable. It’s a bit like swinging from a vine, but with wires!
-
Open iTunes: On your computer, open up iTunes. If you don’t have it installed, you can download it from the Apple website.
-
Select Your iPad: In iTunes, look for the little iPad icon and click on it. This will open your iPad’s summary page.
-
Choose ‘Back Up Now’: Under the Backups section, you’ll find a button that says ‘Back Up Now’. Go ahead and click that.
-
Wait for Backup to Complete: Your iPad will now begin backing up to your computer. It might take some time, just like a leisurely tree-top stroll.
If you’re swinging from a macOS Catalina or later branch, you won’t find iTunes on your landing. But don’t worry, you can still backup your iPad using Finder, and it’s as easy as finding a ripe banana in a bunch!
How To Backup an iPad Using Finder
-
Connect Your iPad: Use your charging cable to connect your iPad to your computer. It’s time to get plugged into the jungle vine!
-
Open Finder: Click on the Finder app in your Dock to open it up.
-
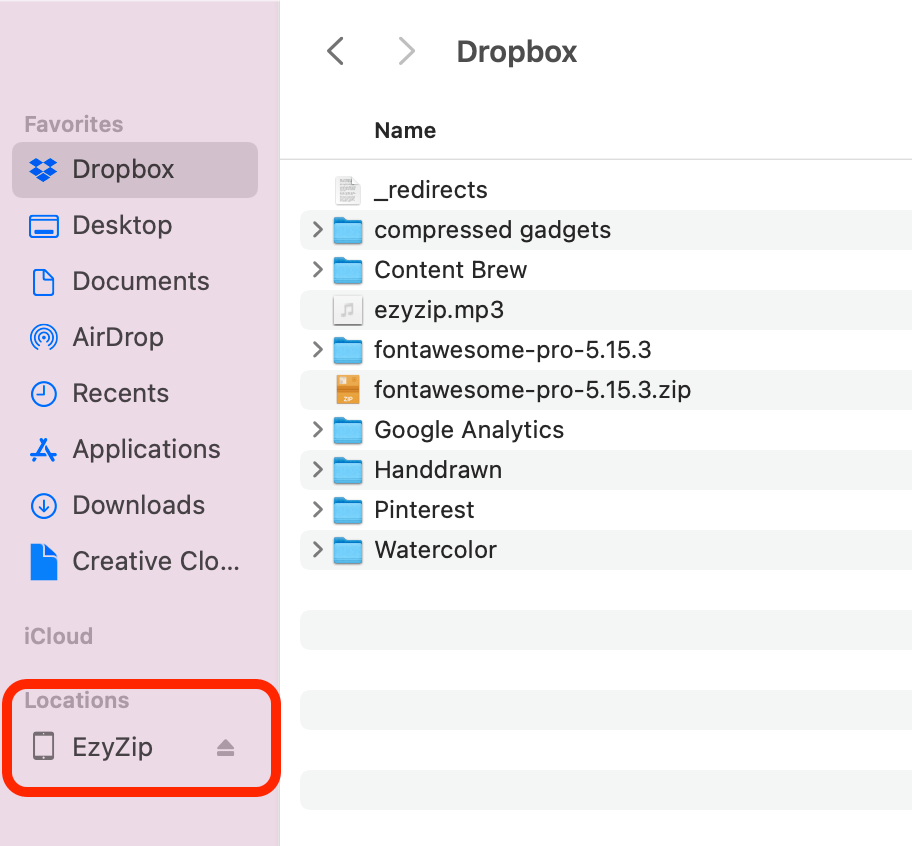
Select Your iPad: In the Finder sidebar, under ‘Locations’, you’ll see your iPad listed. Go ahead and click on it.
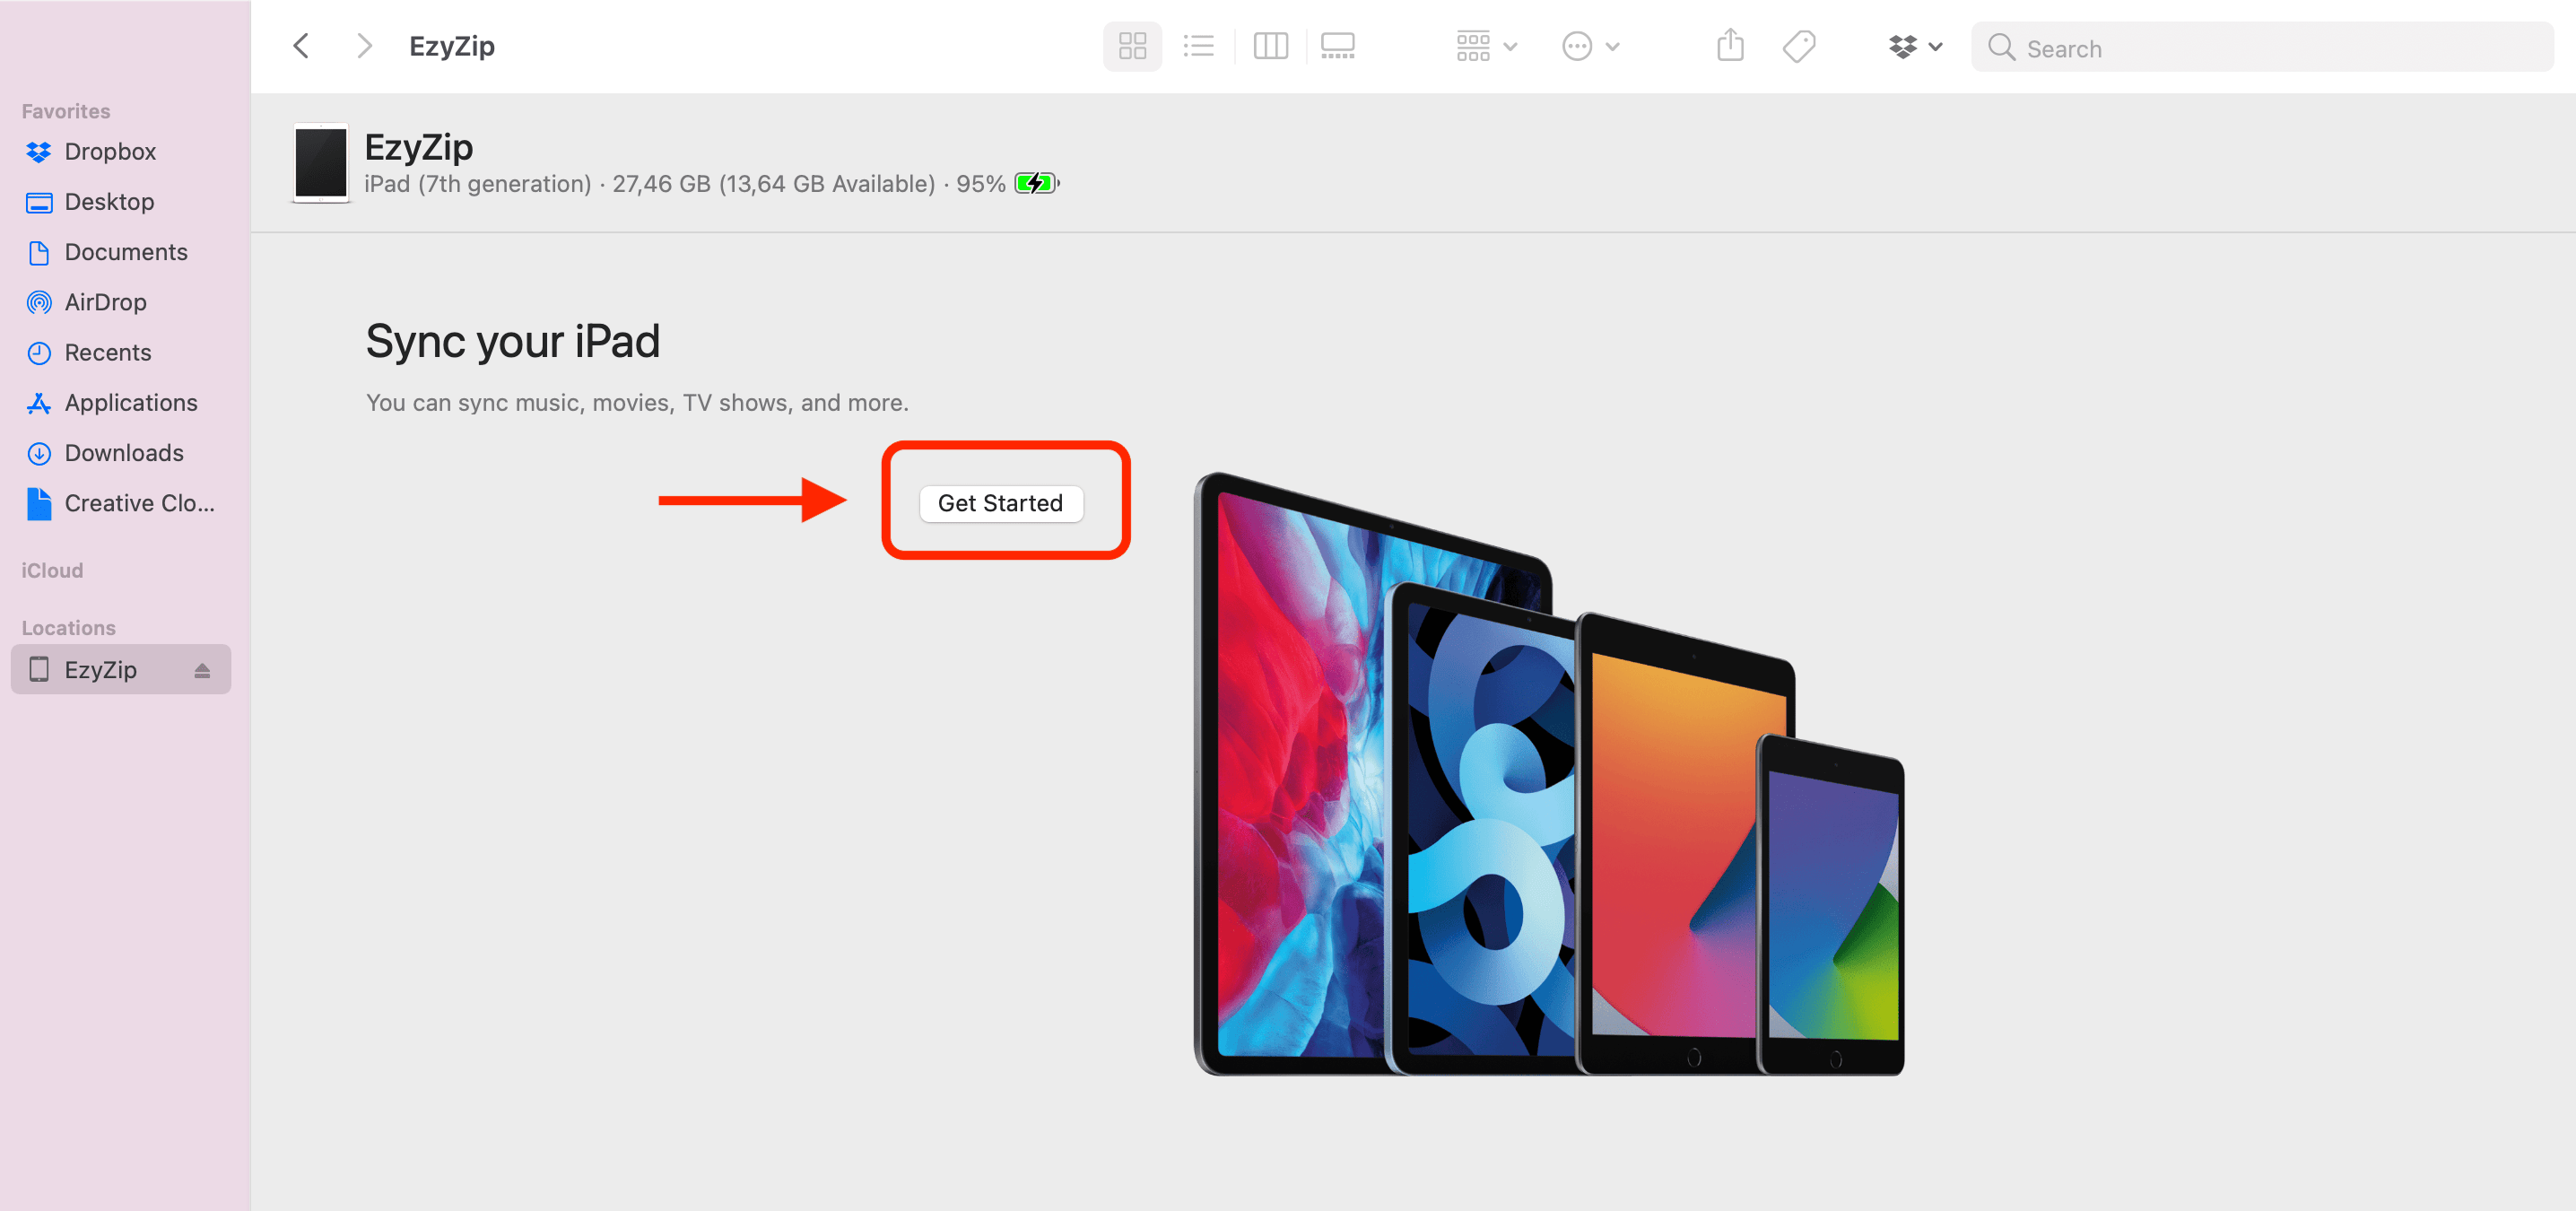
If you haven’t synced your iPad before, click on “Get Started”.
-
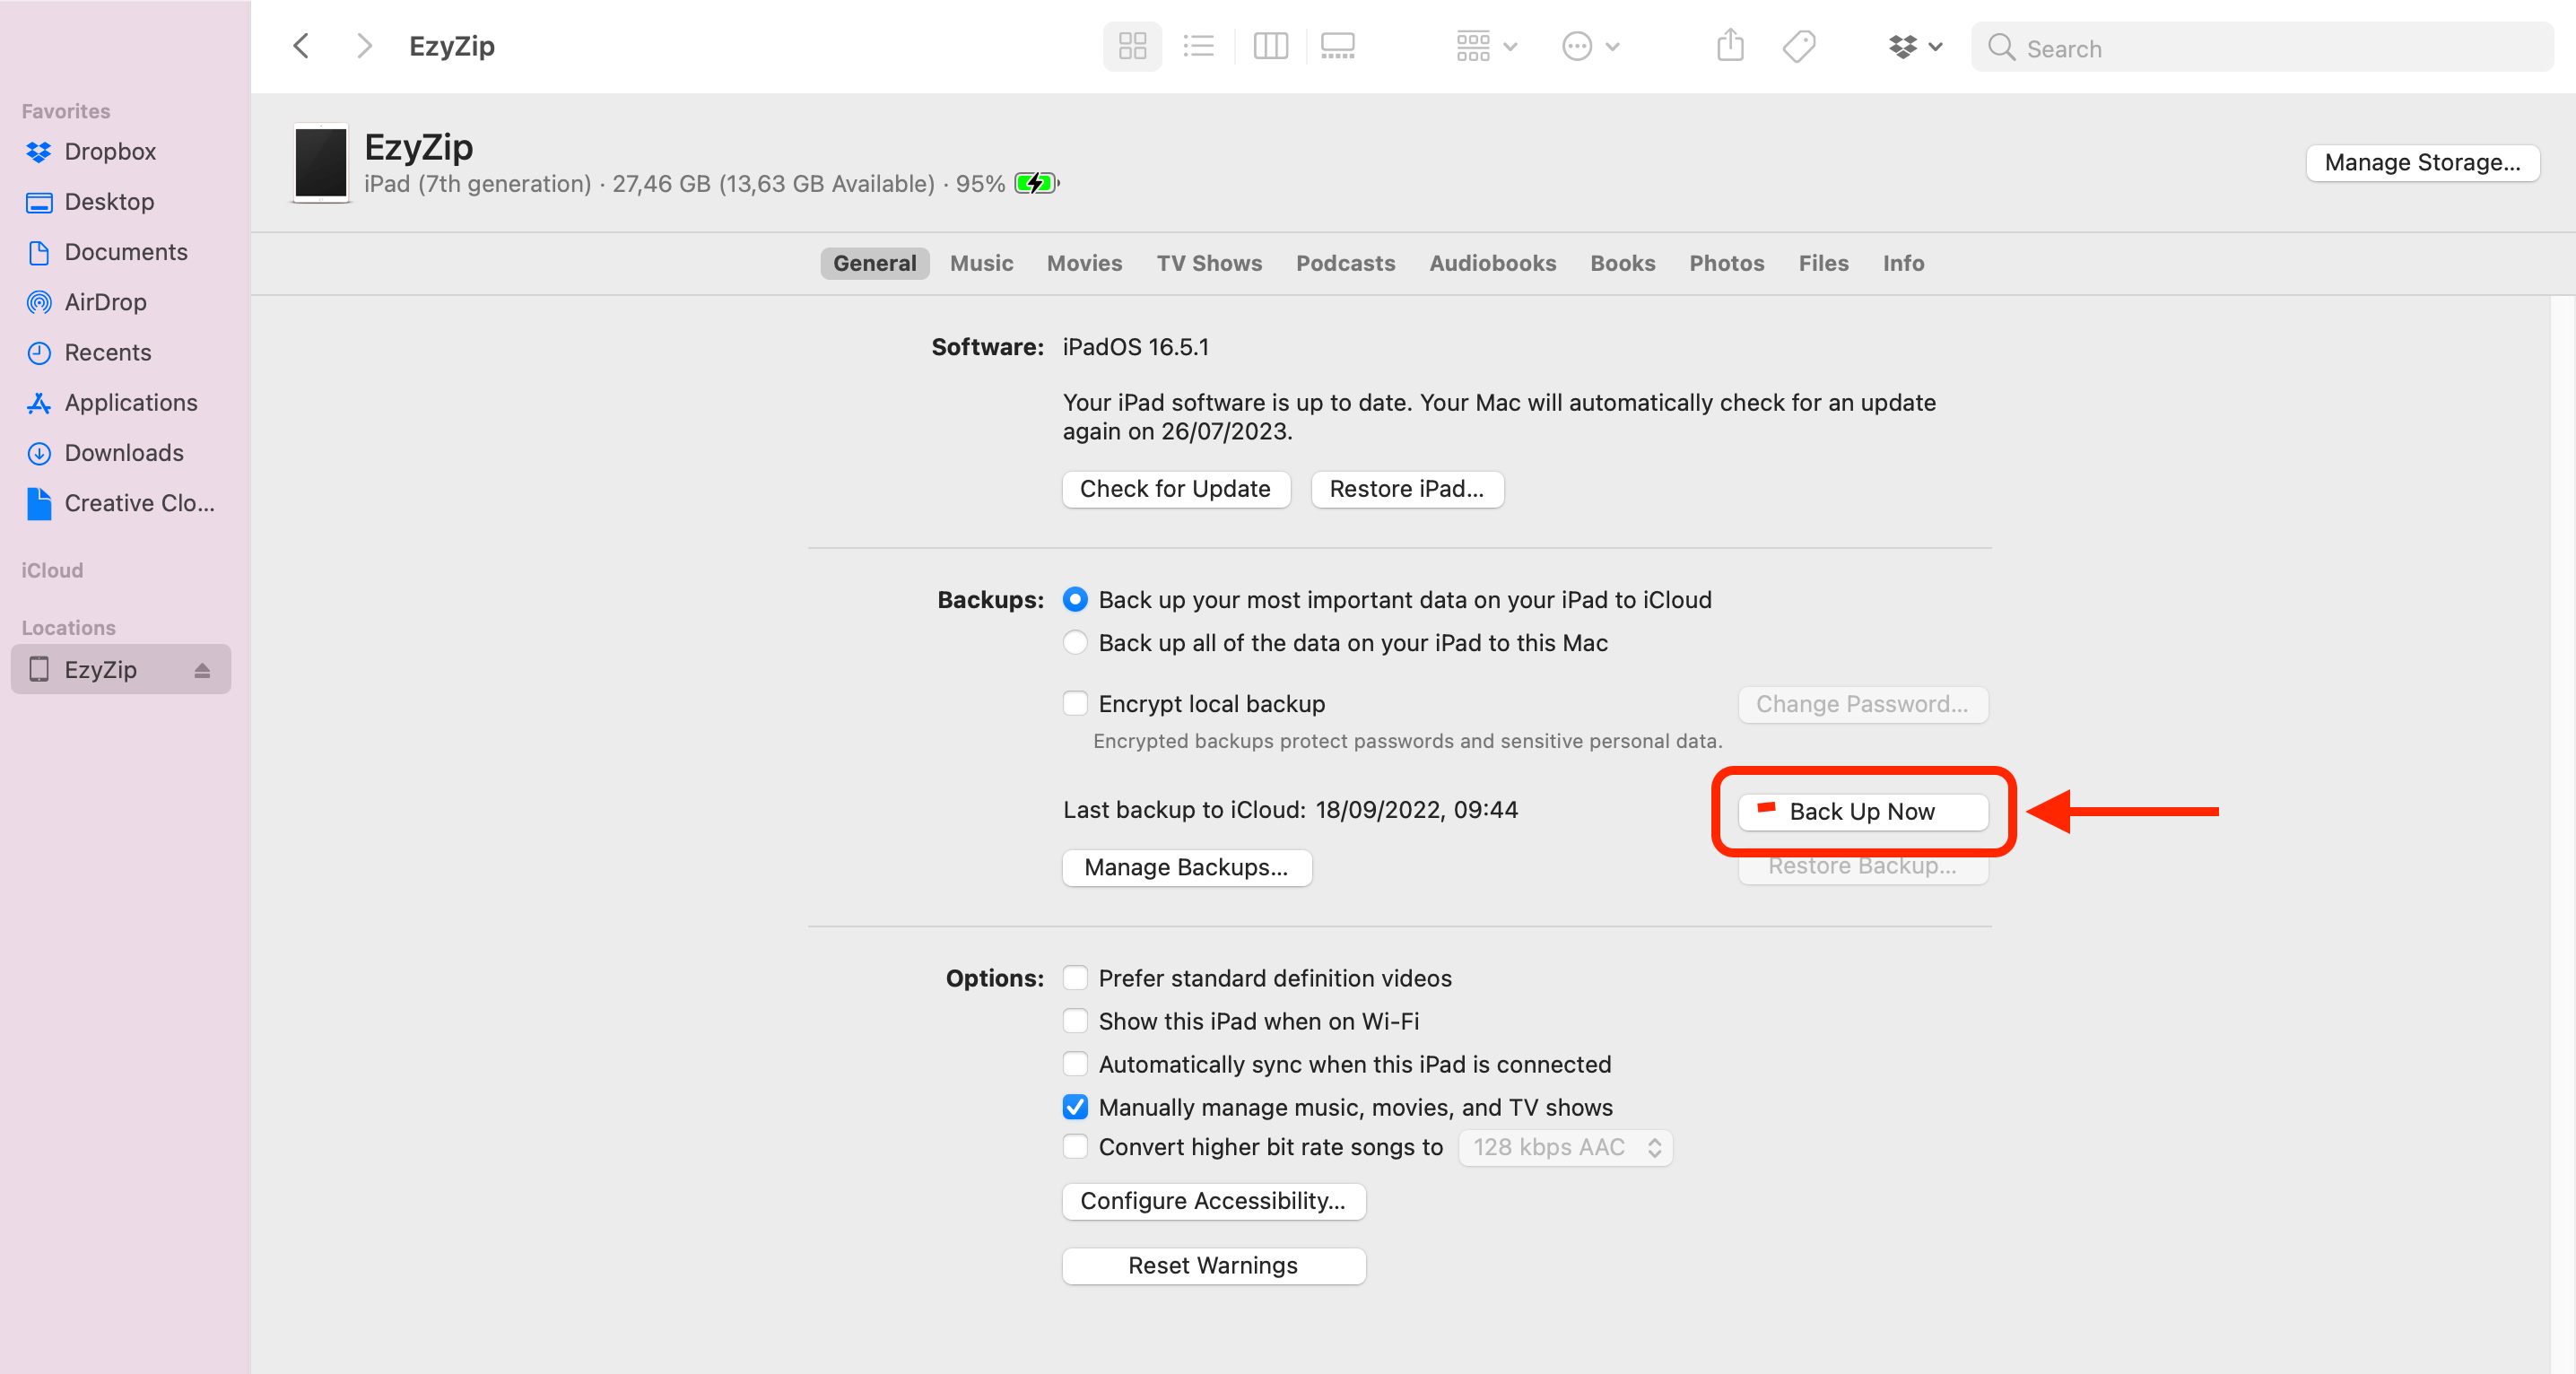
Choose ‘Back Up Now’: In the General tab, find the ‘Backups’ section. Here, you’ll see a button that says ‘Back Up Now’. Give that a click, and let the magic happen!
-
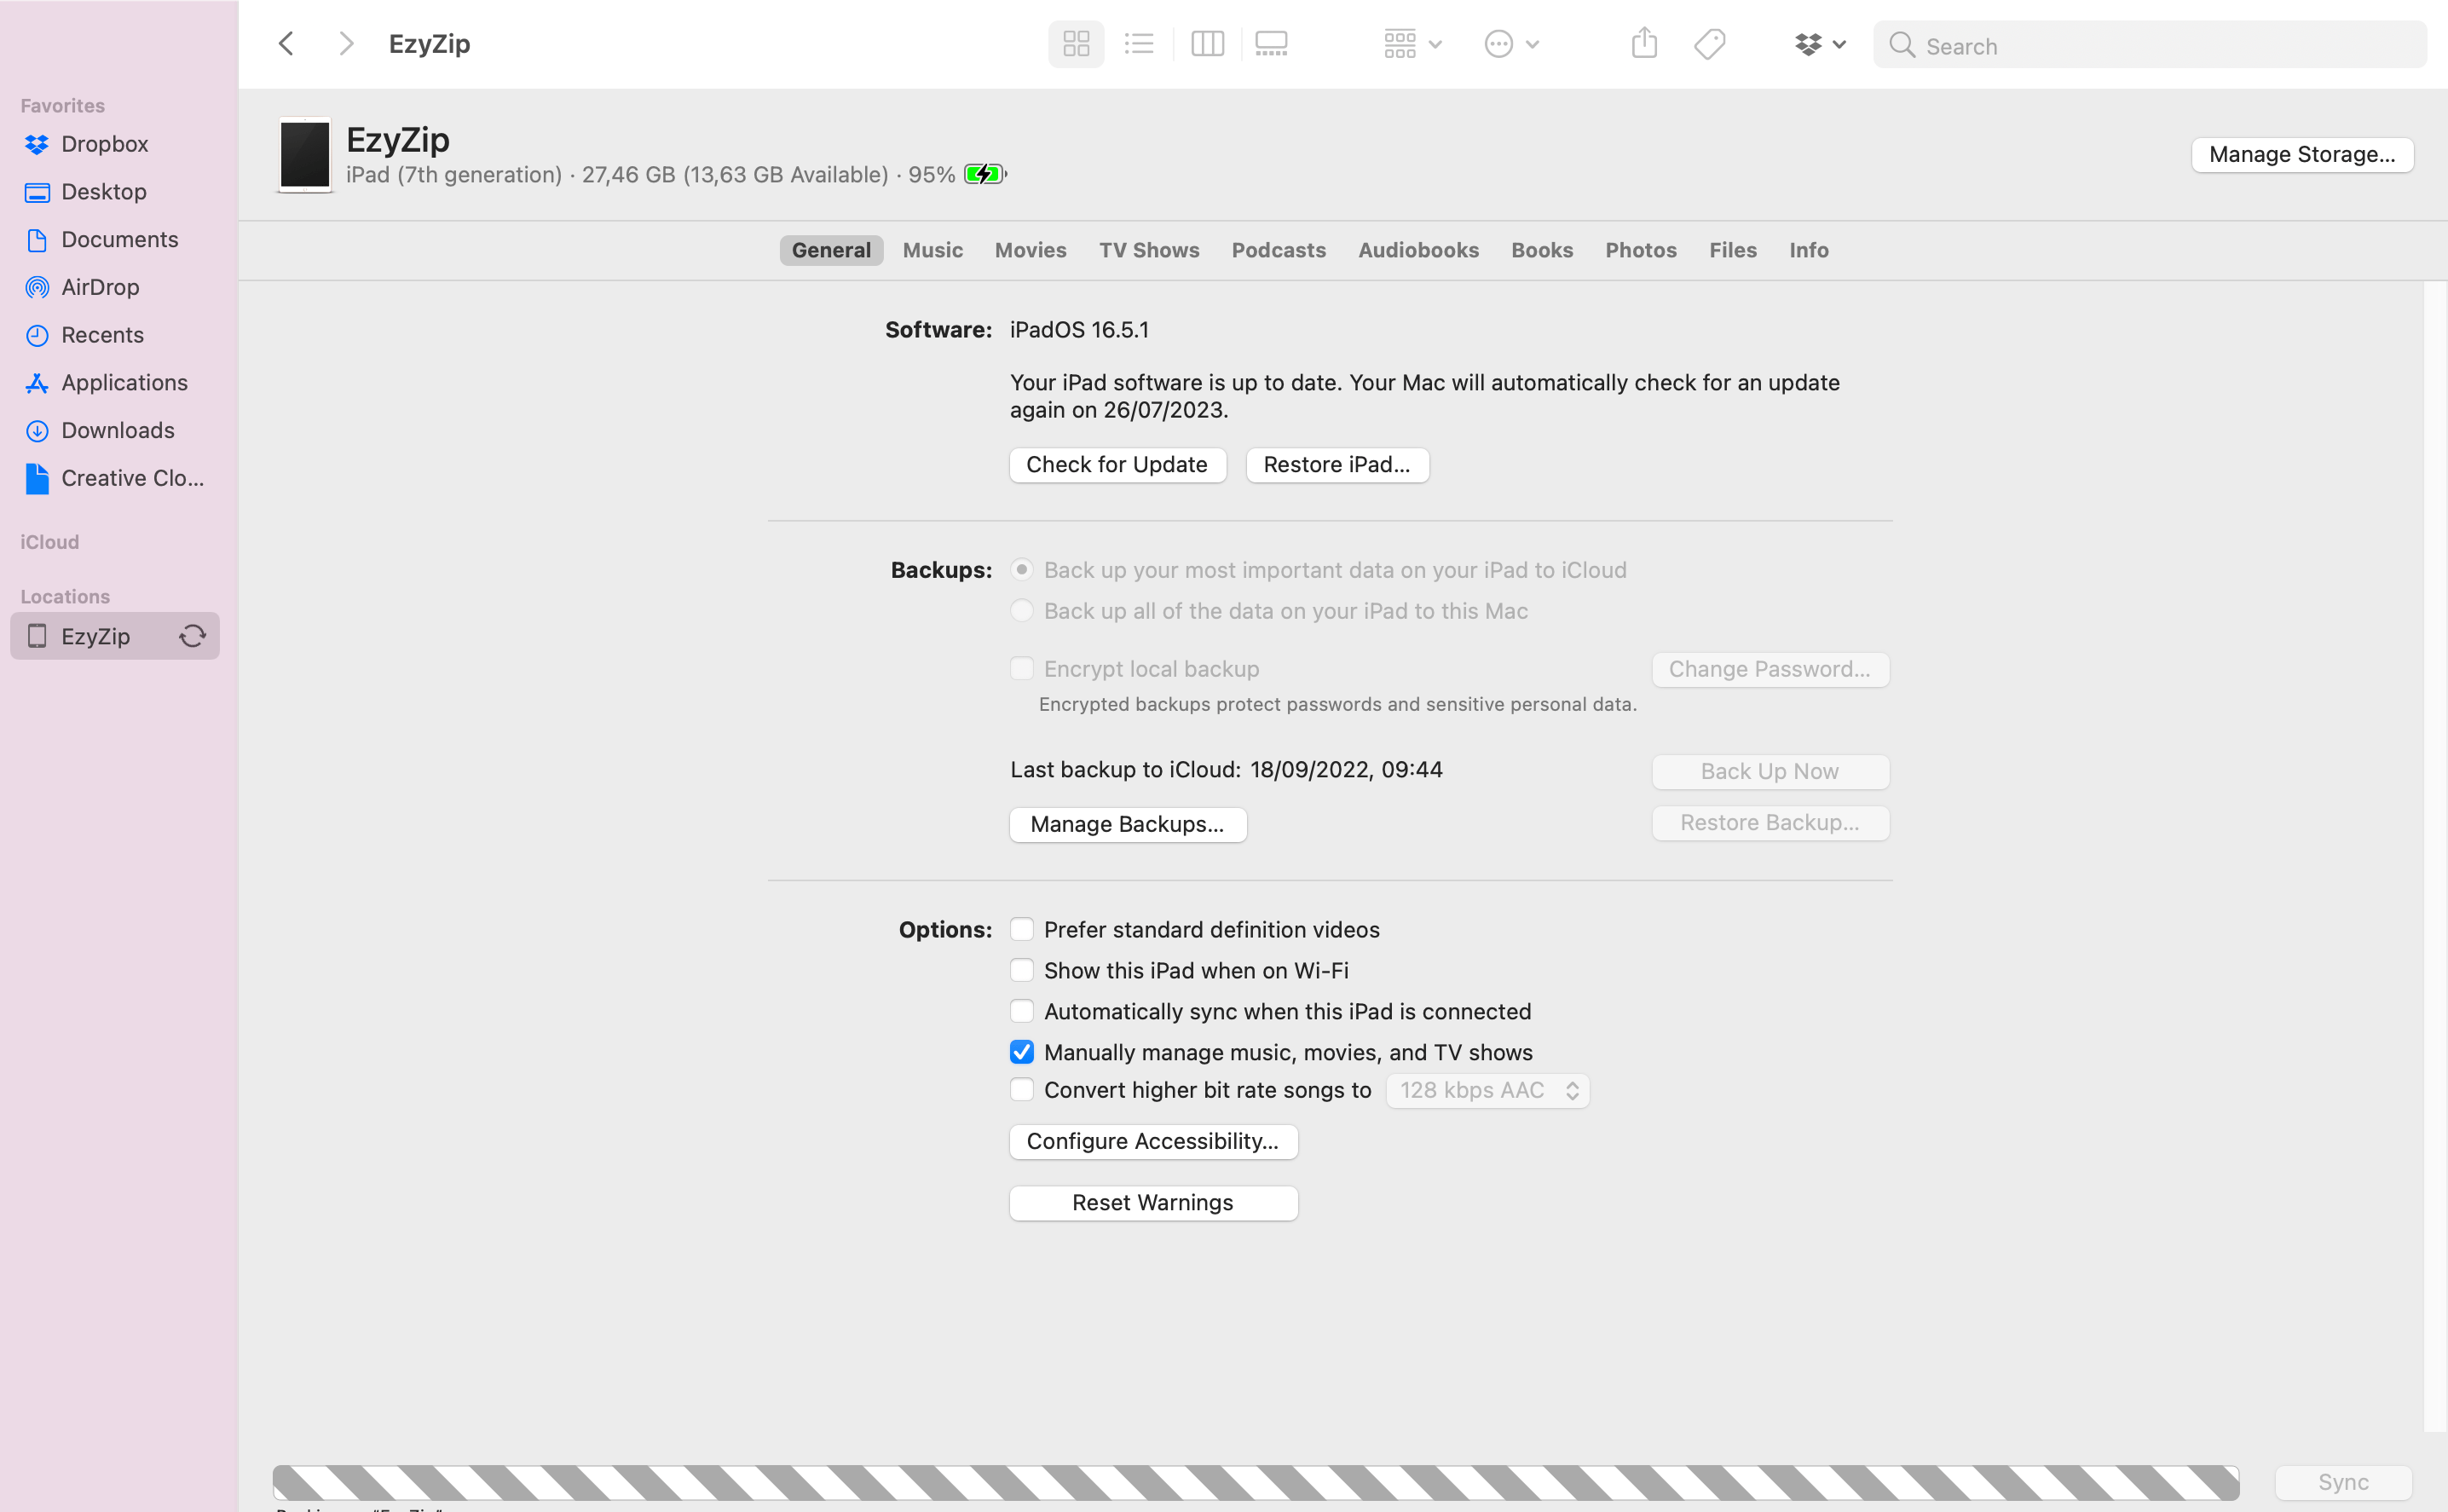
Wait for Backup to Complete: Like a slow trek through the jungle, it might take some time to complete. But once it’s done, you’ll have a full backup of your iPad on your Mac.
So don’t let your digital life hang by a vine - keep your iPad data safe with these handy backup methods. Just remember, every good jungle explorer needs a backup plan!