
Hey there, fellow primates! 🐵 Are you going bananas over big image files on your WordPress site? Fear not, for this monkey has got it zipped! In this guide, I’ll show you how to squash those images down to size, just like I squash bananas for my afternoon snack. No more monkeying with file sizes; let’s get started!
Table of contents
- Method 1: Use Plugins to Compress Images
- Method 2: Compress Images Manually Using Photoshop
- Method 3: Optimize Images Online Using TinyPNG
Video guide showing how to compress images down to 100kb using ezyZip online tool. Same works for other file sizes and image formats.
How To Use a Plugin to Compress Images
Choosing the Right Plugin
There are numerous image compression plugins available for WordPress. When choosing a plugin, consider the following:
- Ease of Use: The plugin should have a user-friendly interface.
- Compression Quality: It should offer good compression rates without compromising image quality.
- Bulk Compression: The ability to compress multiple images at once can save time.
- Backup Features: Ensure the plugin offers a way to revert to the original image if needed.
How to use a plugin to compress images
Plugins are like vines in the jungle – they help you swing from one task to another with ease! Here’s how to use a plugin to compress images:
-
Choose a Plugin: Find a suitable image compression plugin like Smush or Imagify in the WordPress plugin directory.
-
Install and Activate: Click on ‘Install’ and then ‘Activate’ the plugin. It’s as easy as peeling a banana!
-
Configure Settings: Navigate to the plugin settings and choose your desired compression level. Want it squashed or just lightly pressed? You decide!
-
Compress Images: Select the images you want to compress and click ‘Compress’. Watch them shrink like a scared monkey in a thunderstorm!
How To Compress Images Manually Using Photoshop
Photoshop is like the perfect branch to swing from in the image world. Here’s how to compress images using Photoshop:
-
Download and Install Photoshop: Swing over to the Photoshop website and download the version that matches your operating system.
Choose the “Free Trial” option to try the software for 7 days, the follow the screen to download Photoshop to your computer.
After downloading, install Photoshop on your system. It’s as easy as climbing a tree!
-
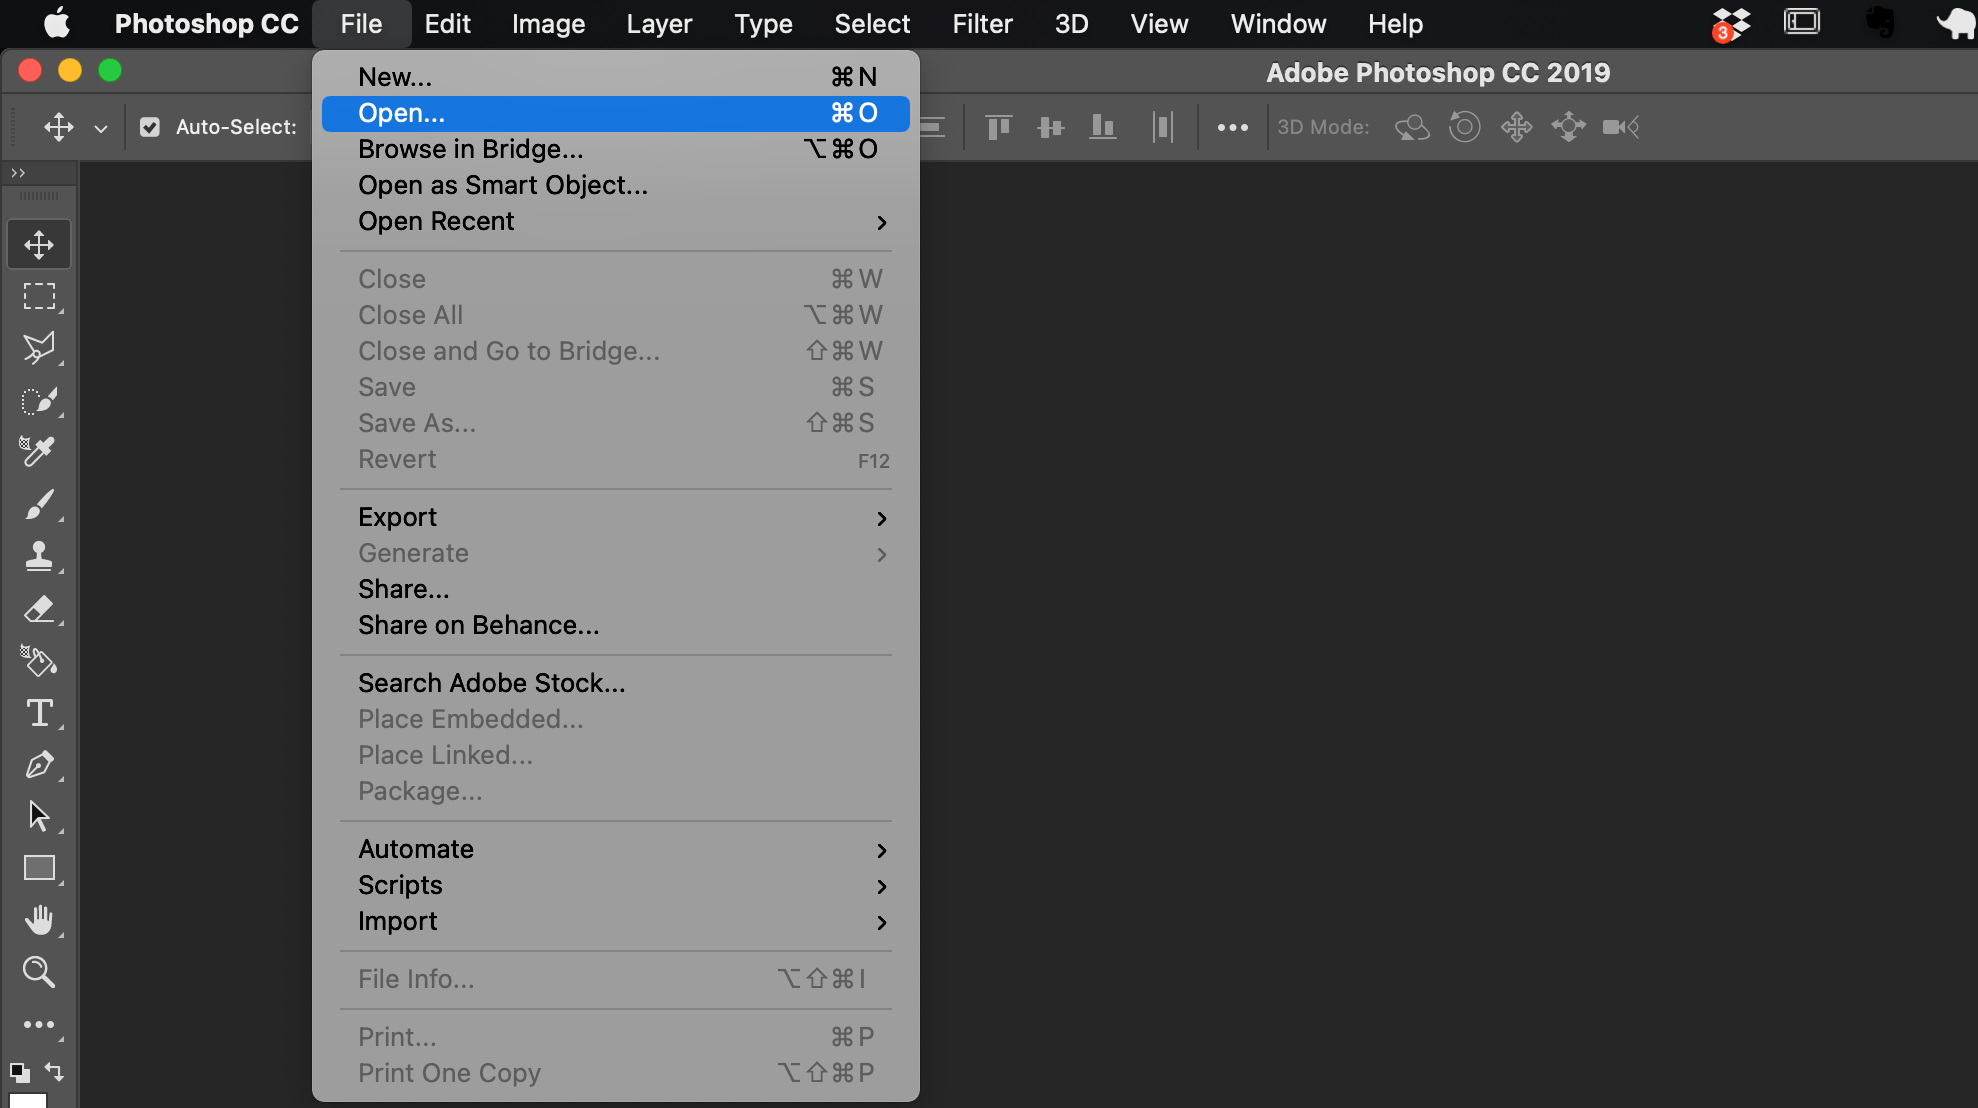
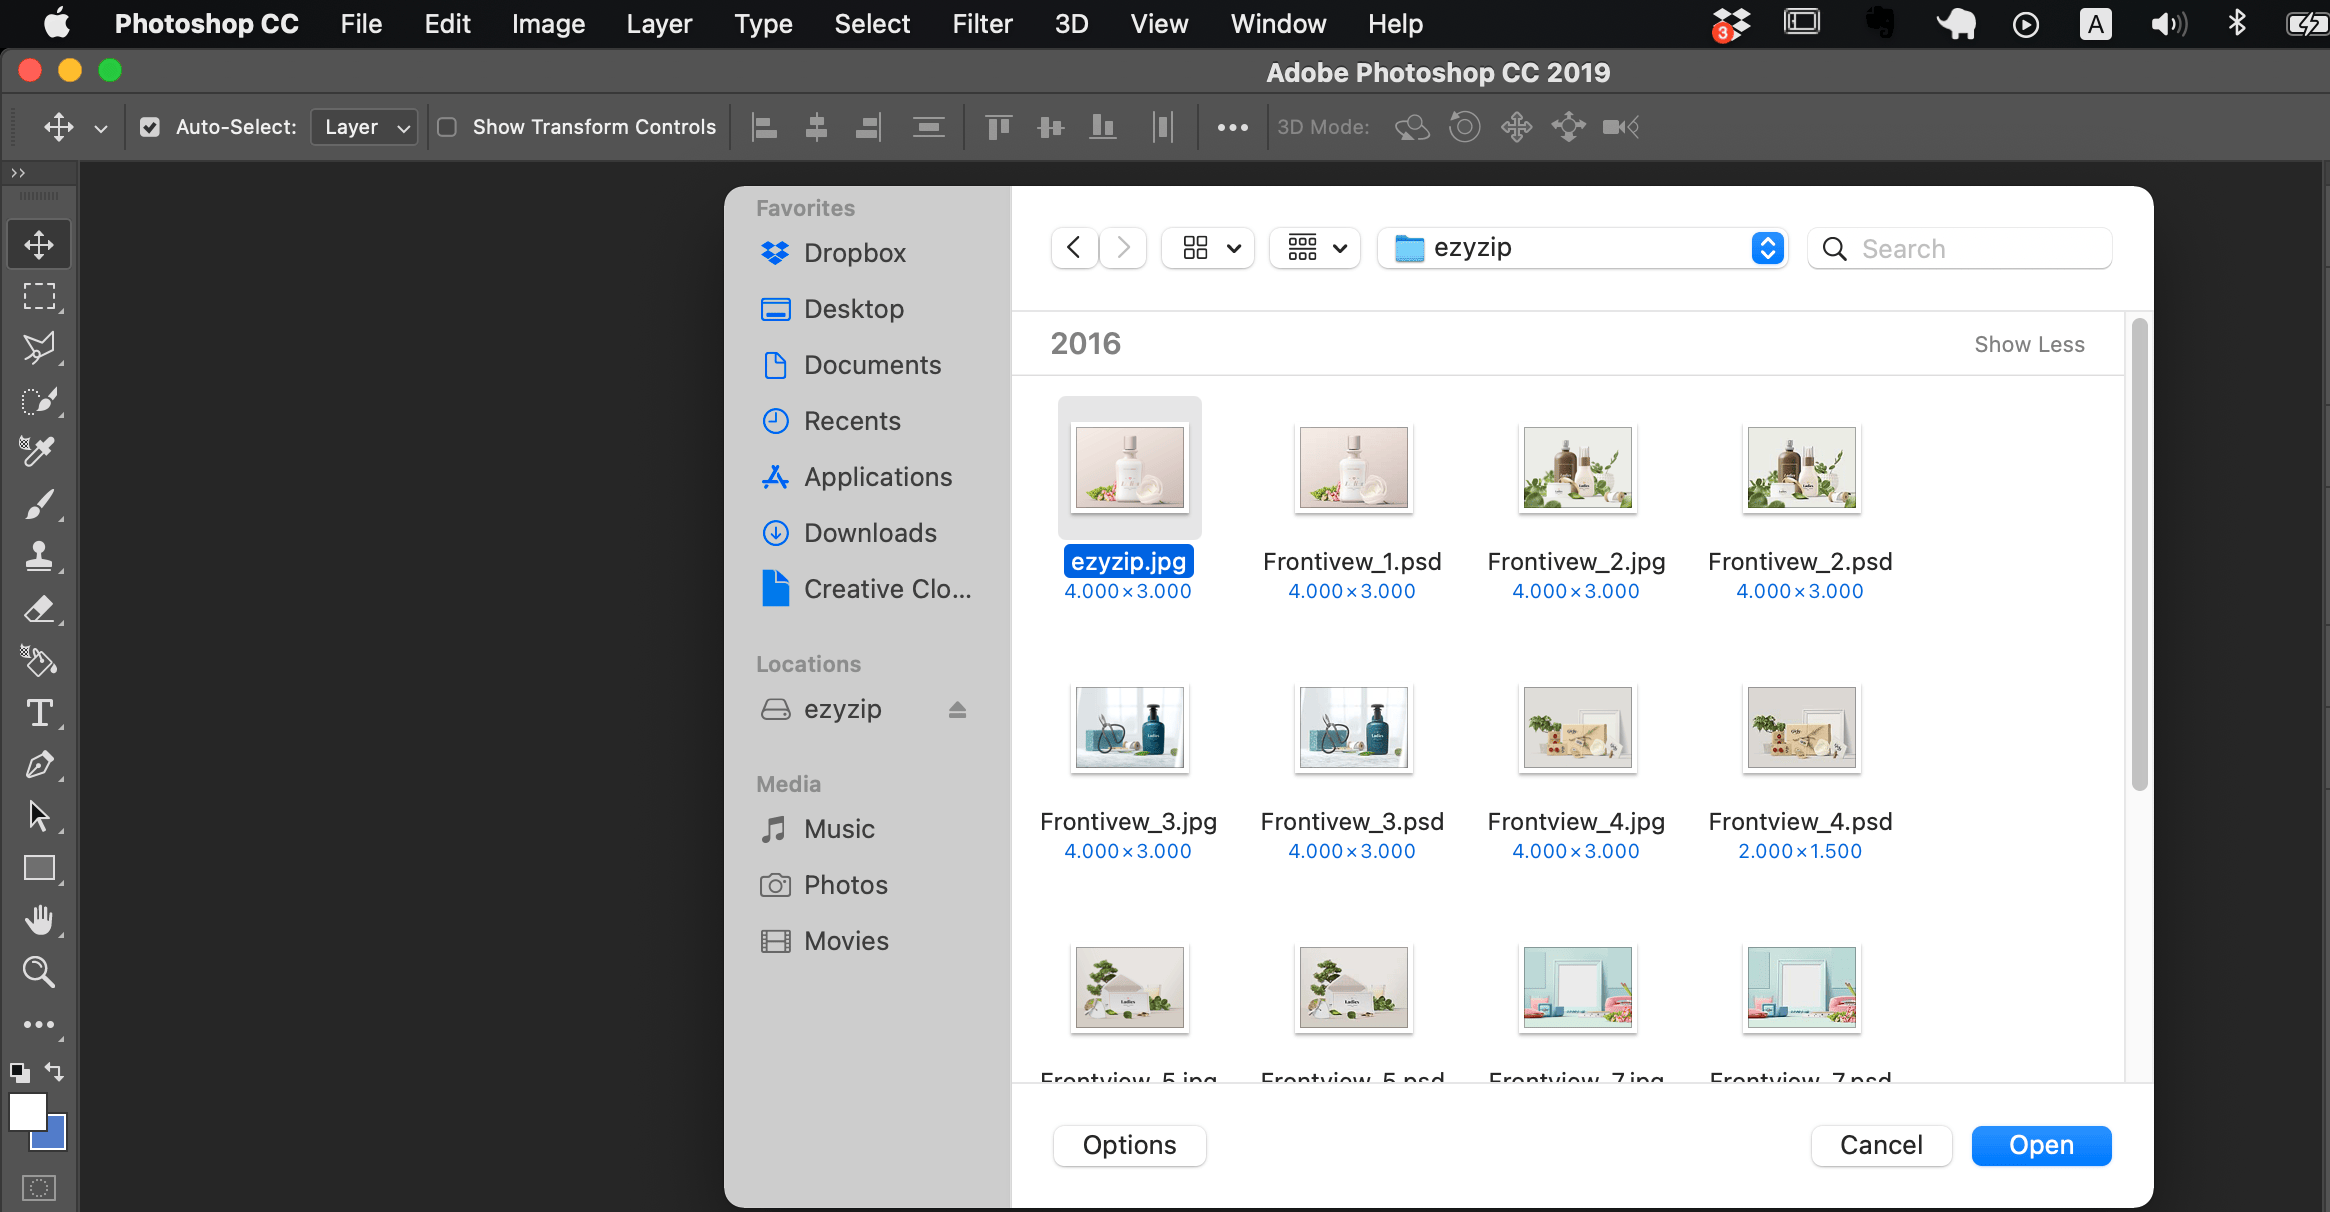
Open Your Image: Launch Photoshop and open the JPEG file you want to compress. It’s like swinging into a new part of the jungle.
-
Go to ‘Save as’: Click on ‘File’ in the top menu, then ‘Export’, and finally ‘Save as’. It’s like following the vine trail to the tastiest bananas.
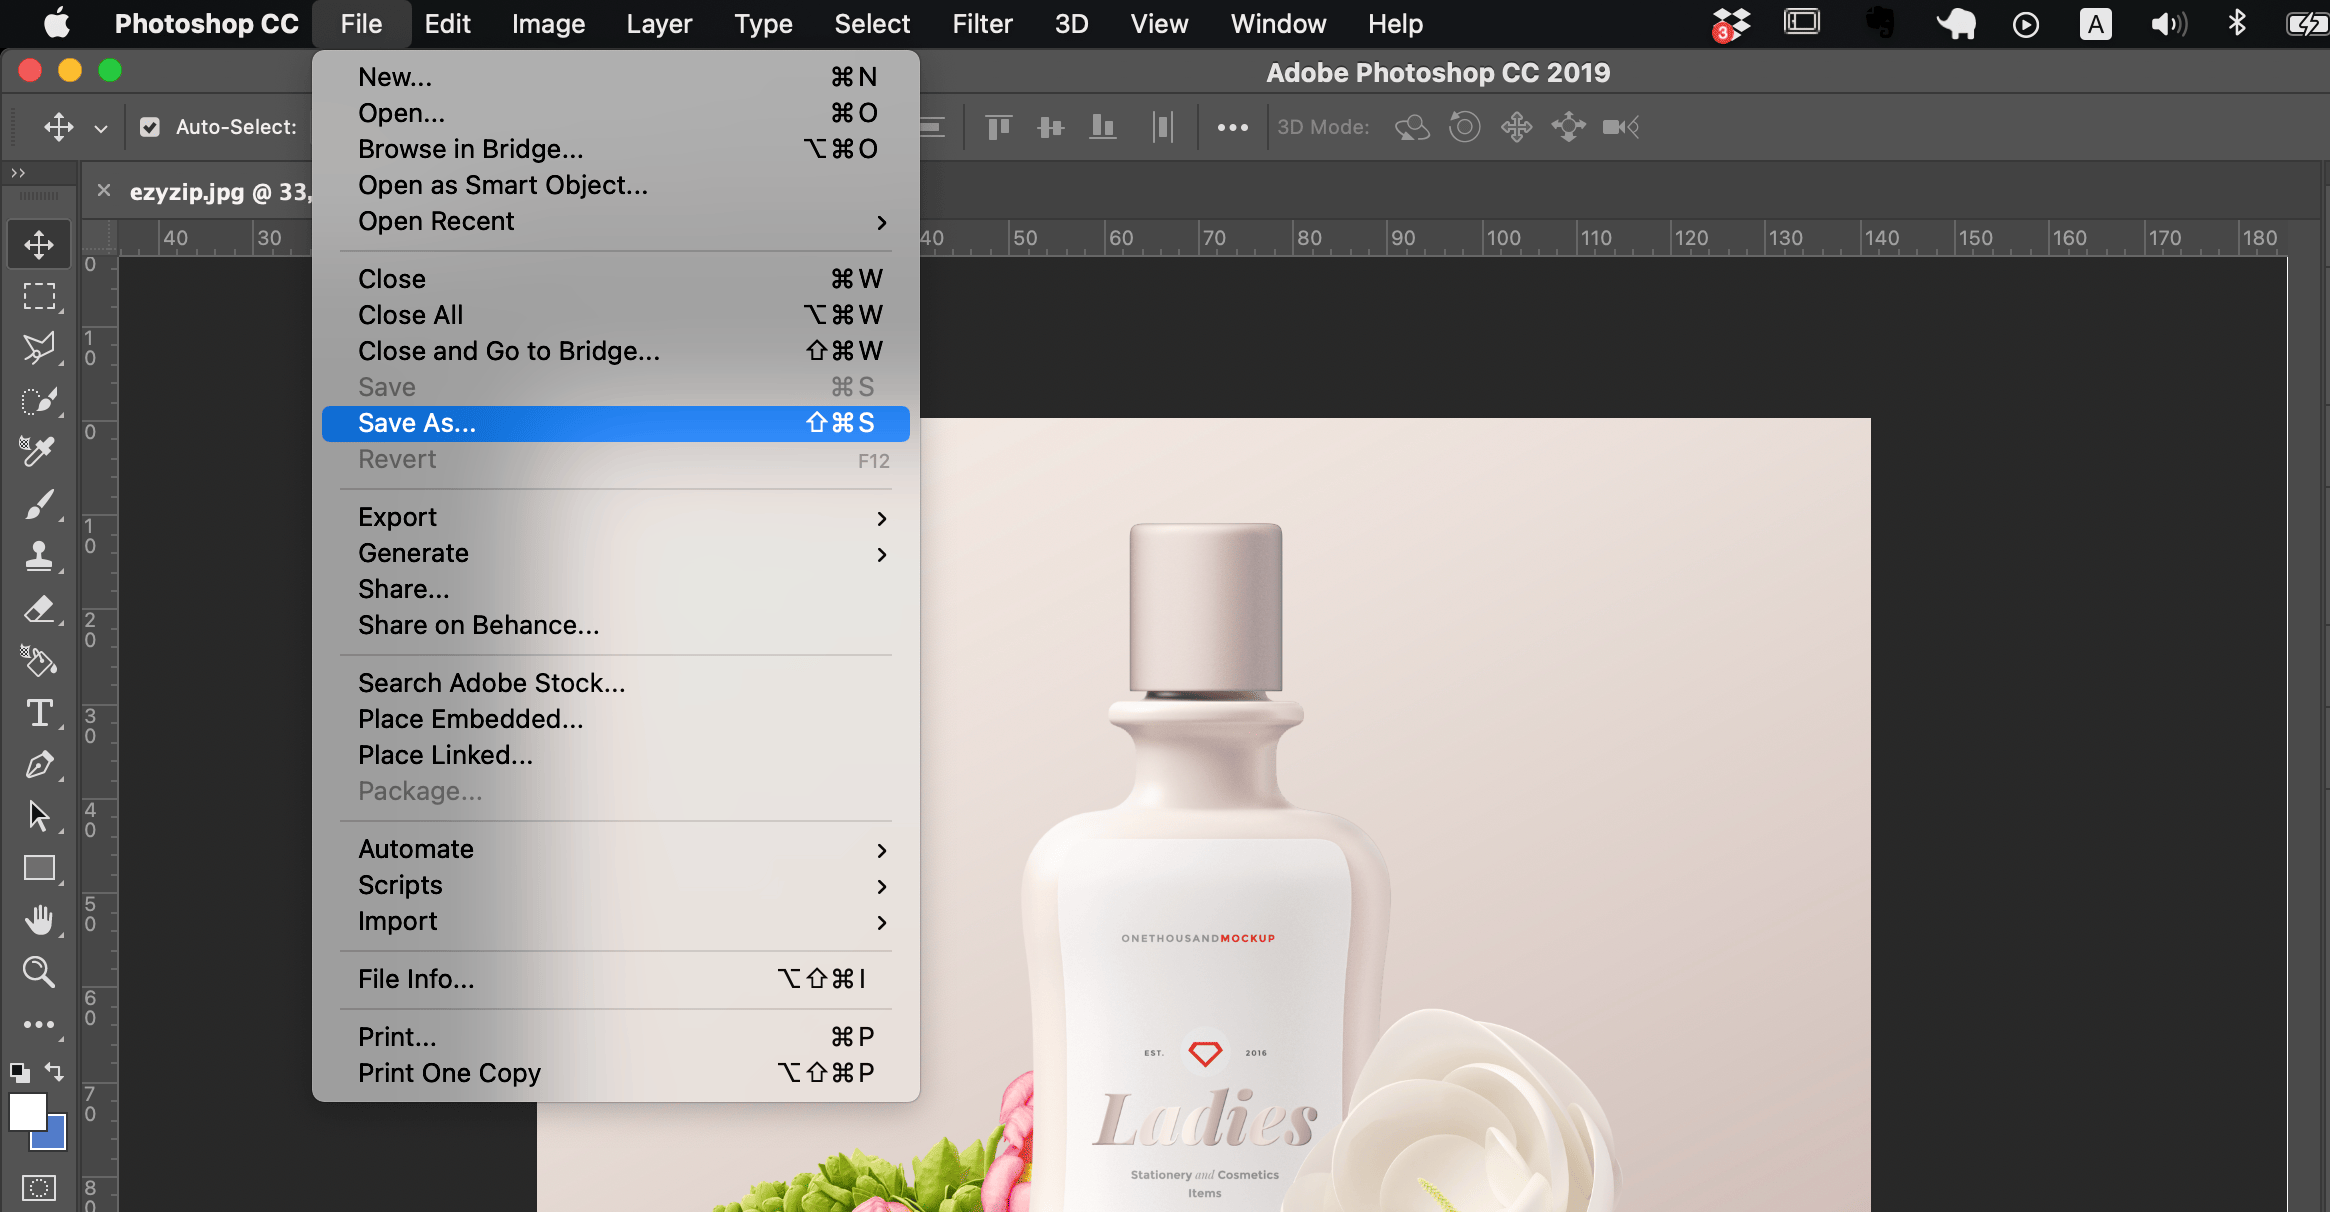
Choose the destination for your new file and click “Save”.
-
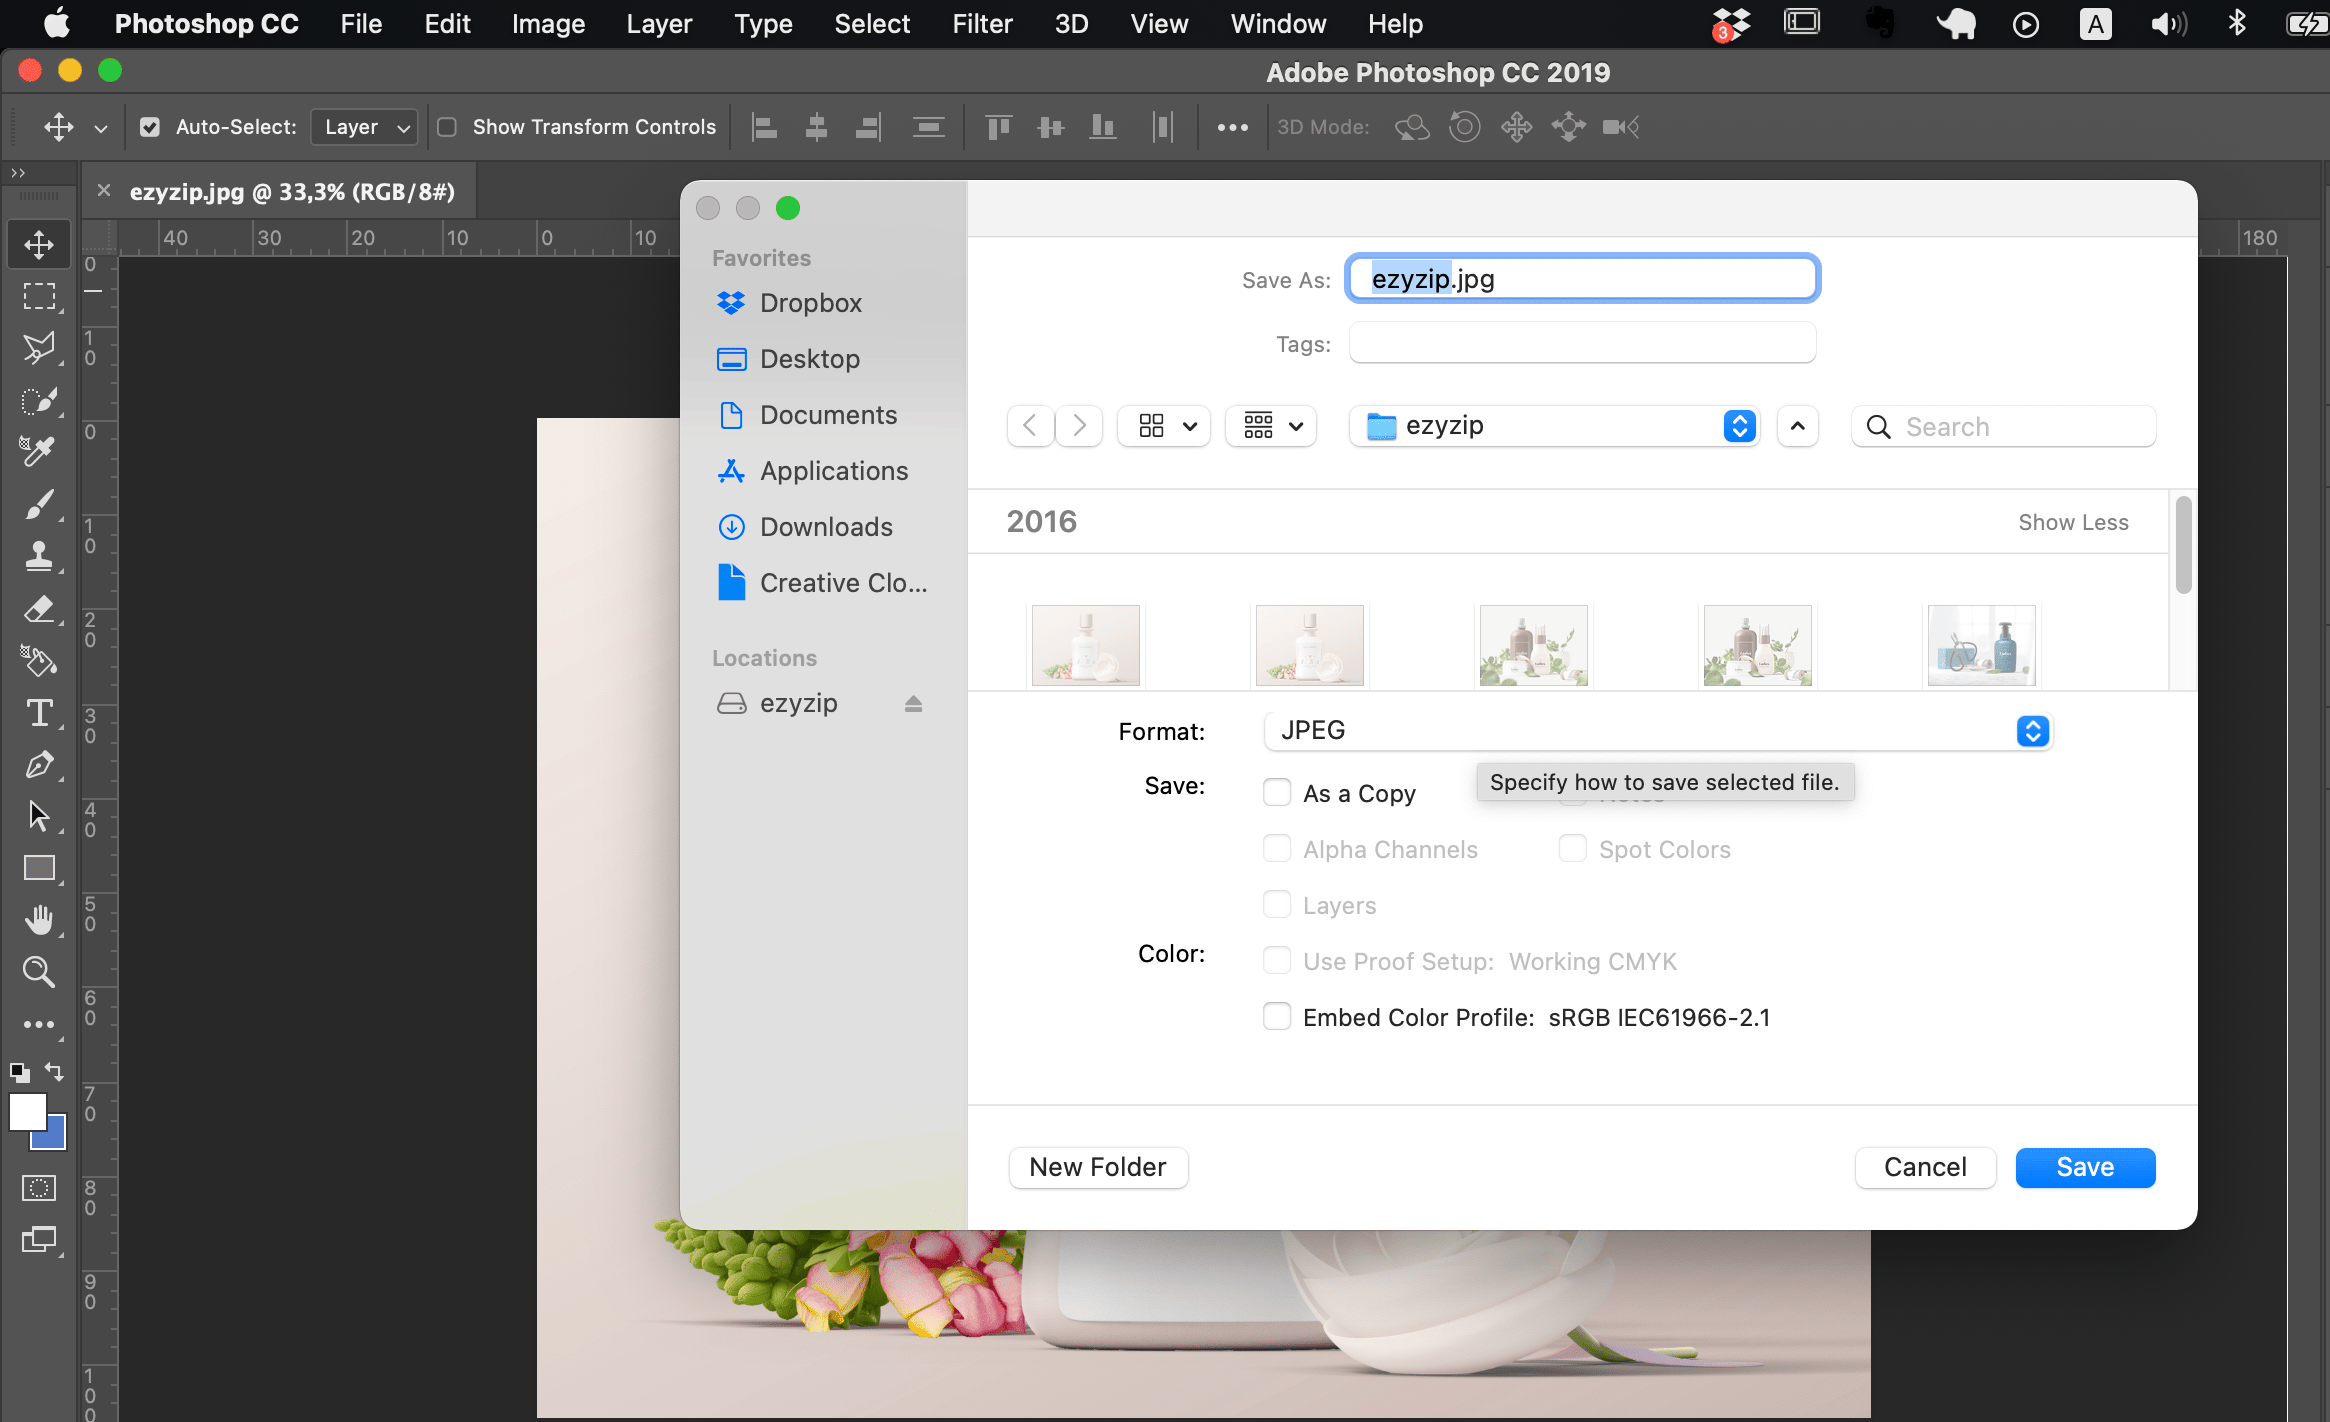
Adjust Quality: In the ‘Save as’ window, adjust the ‘Quality’ slider to reduce the file size. In this guide we choose “Medium”. You can also pick a value from the slider below it. Be careful not to go too low, or your image will look as pixelated as a monkey’s fur looks spiky!

-
Save Your Image: Click ‘OK’. Your optimized JPEG should be saved in the folder you set in step 2.
And there you have it, folks! Three simple ways to reduce your JPEG file size. So next time you’re going bananas over big files, remember these tips and squash them up for you! Remember, when it comes to file sizes, it’s a jungle out there, but with these tips, you’ll be swinging through the trees with ease!
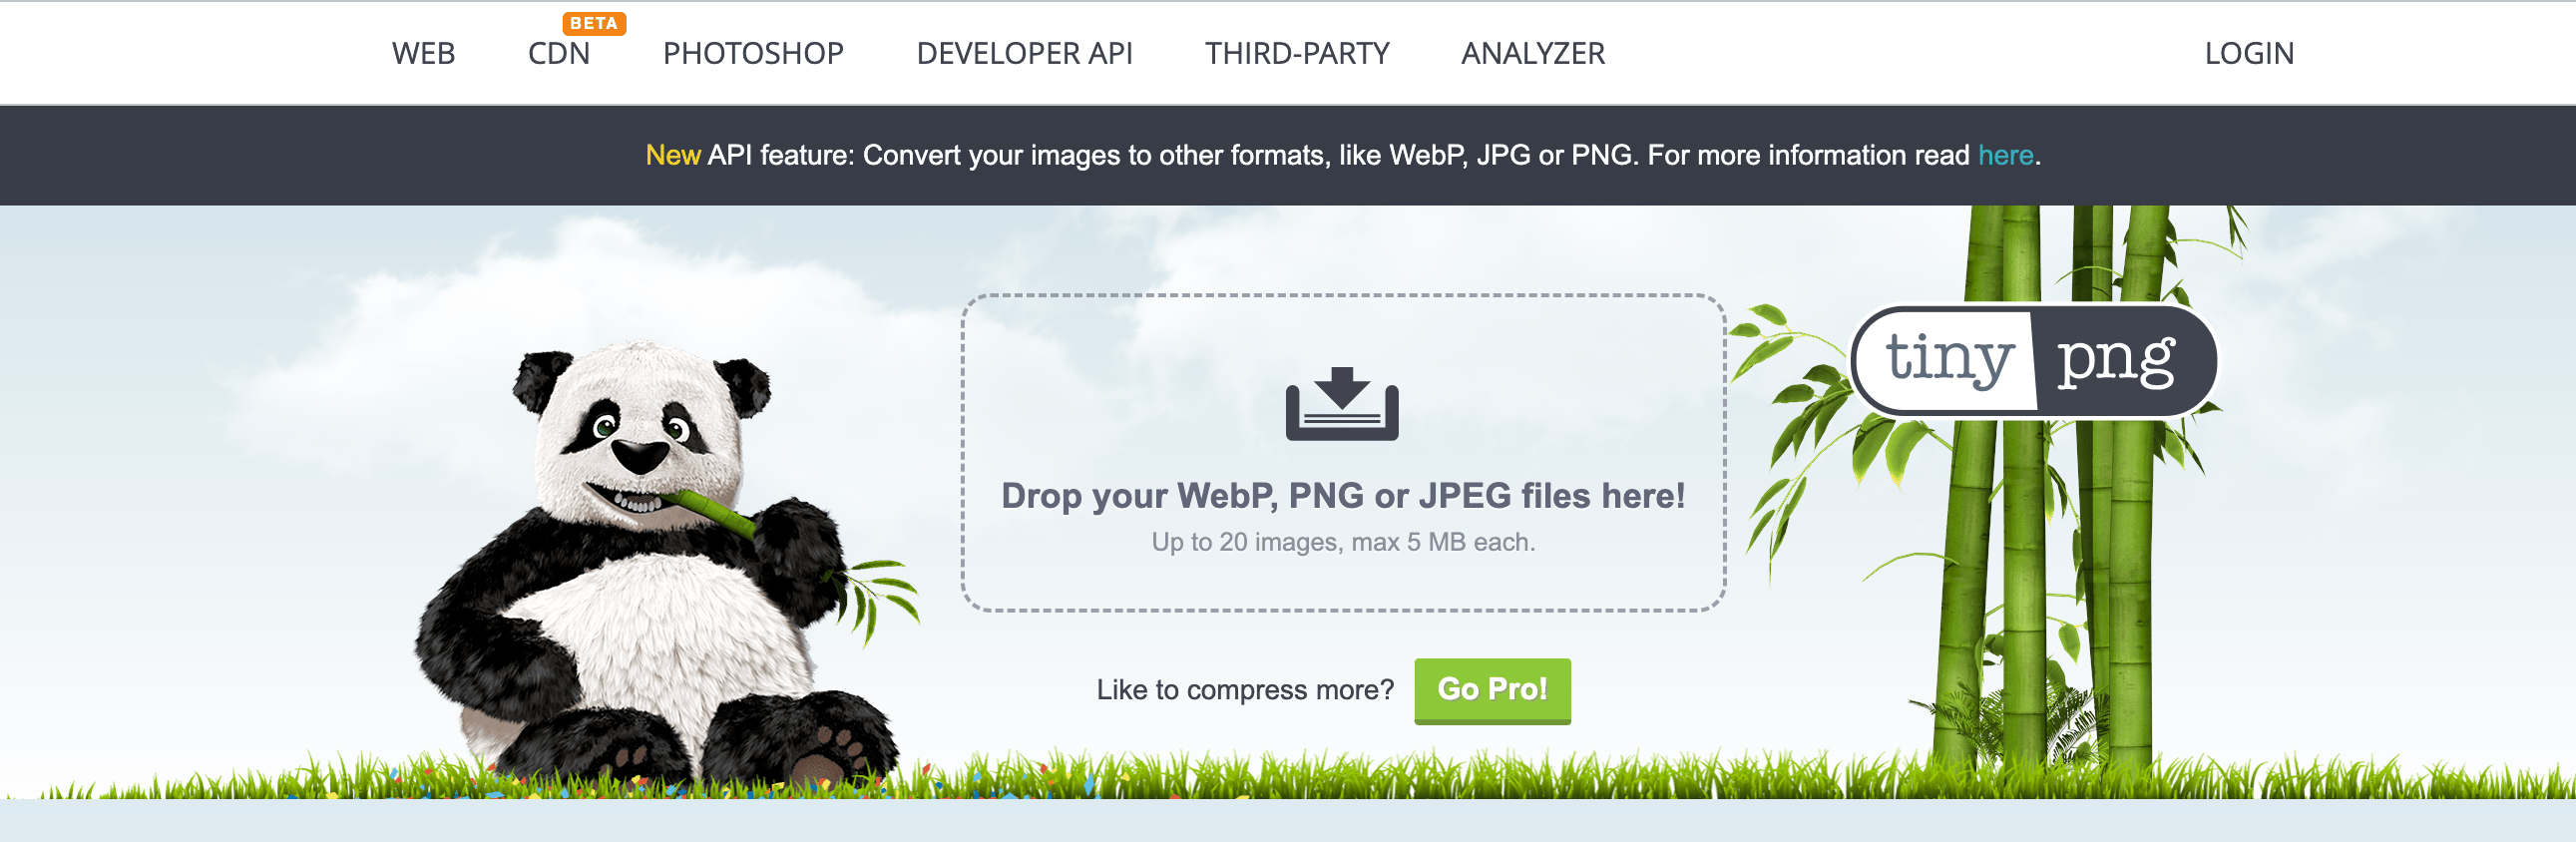
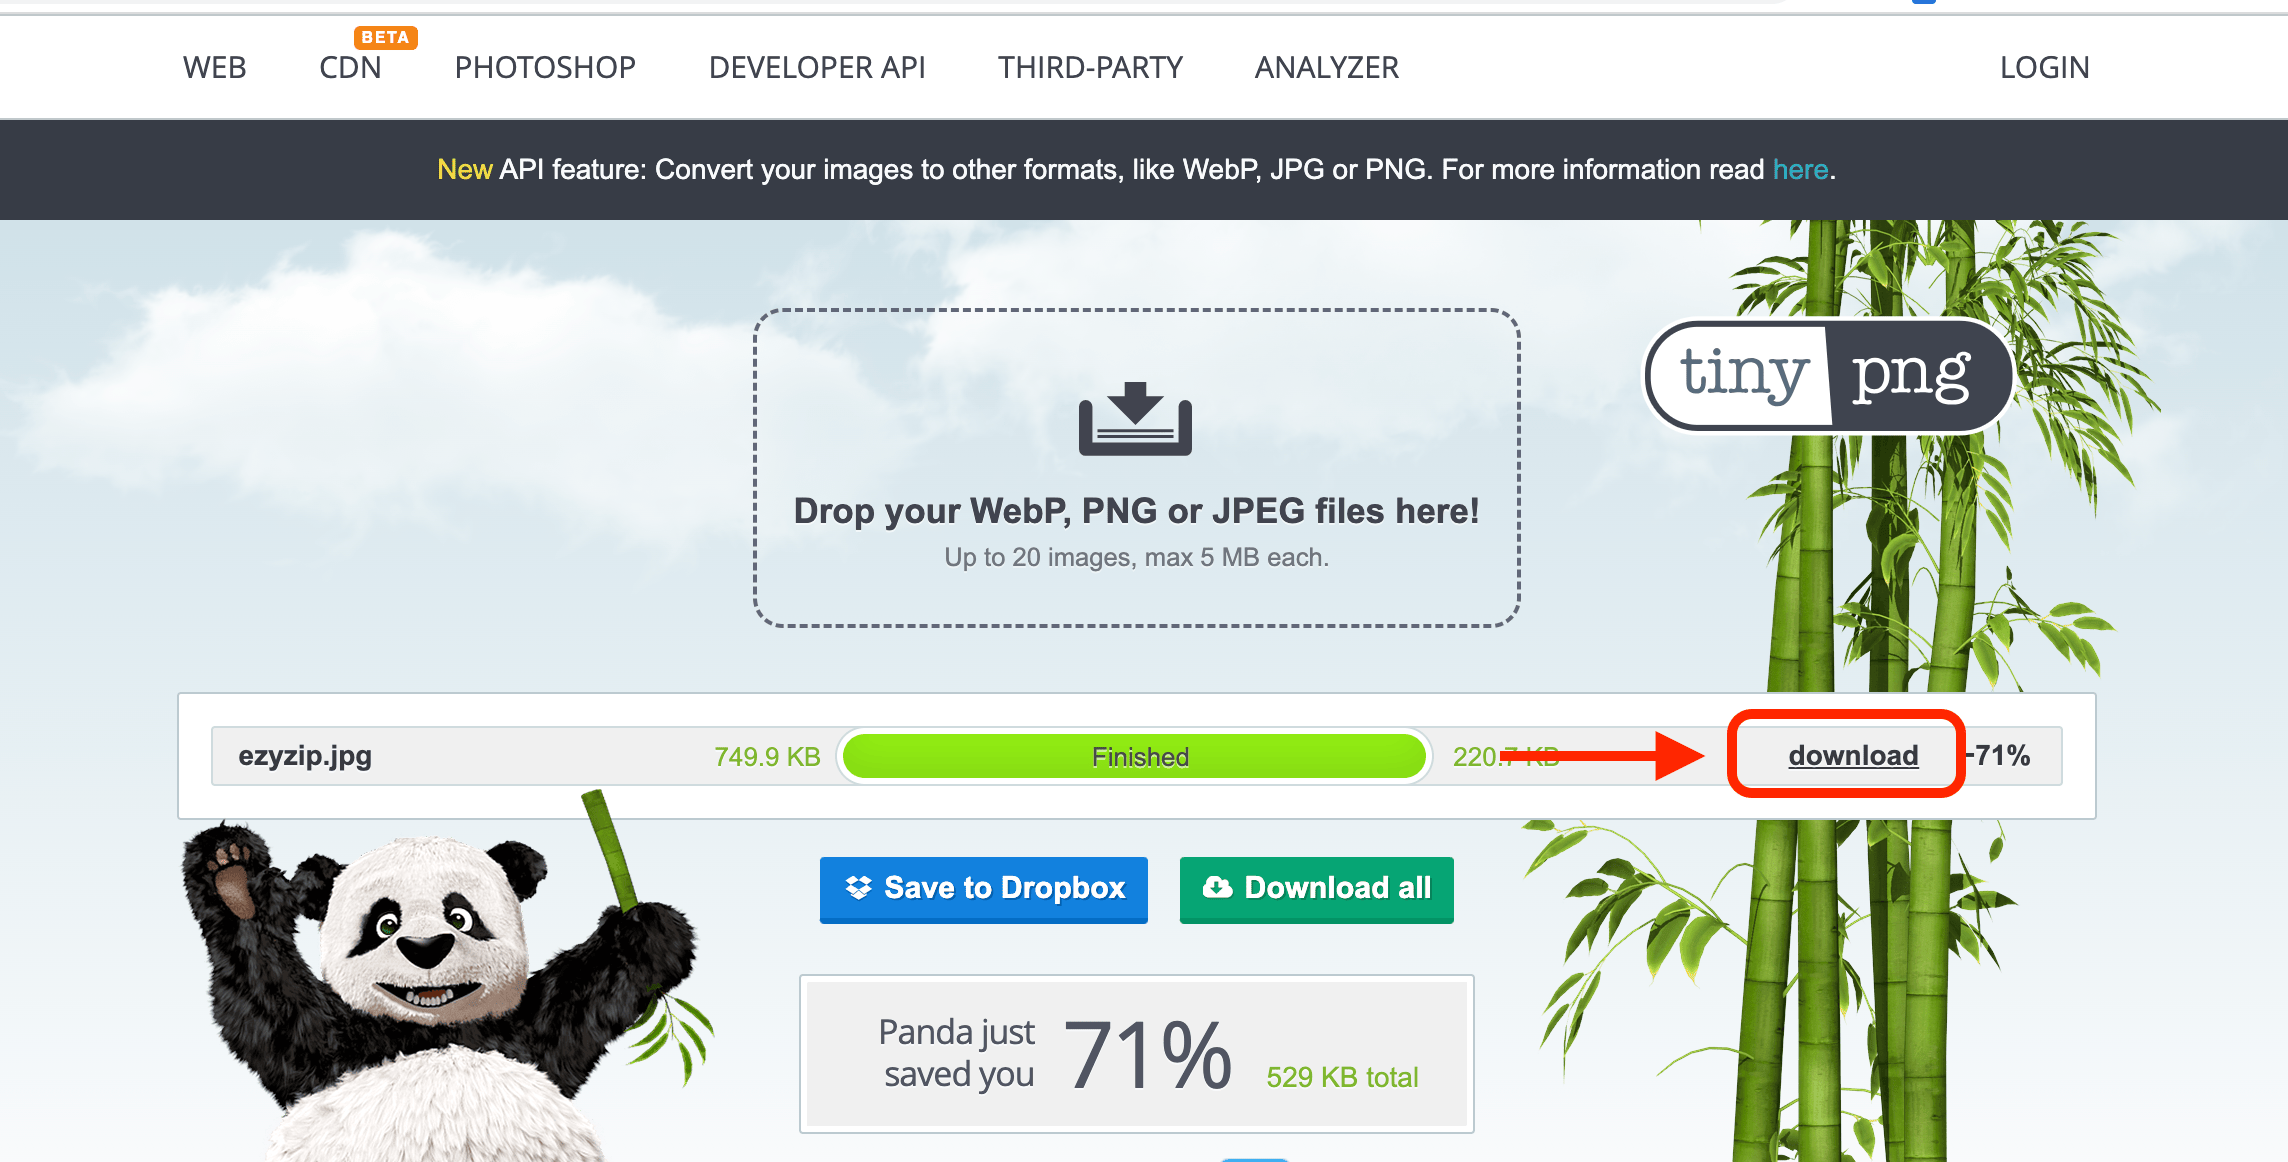
How To Optimize Images Online Using TinyPNG
TinyPNG is like the clever little monkey of online compression. Here’s how to compress images using TinyPNG:
-
Visit TinyPNG: Go to the TinyPNG website. It’s the coconuts of the internet – small but powerful!
-
Upload Image: Click ‘Upload’ and select the image you want to compress. It’s like tossing a banana into a blender!
-
Compress Image: After your image is uploaded, TinyPNG will automatically start compressing it. Just sit back, relax, and munch on a banana while the tool does its magic.
-
Download Image: Download the compressed image and upload it to WordPress. You’ve just swung through the digital jungle like a pro!
Conclusion
When it comes to compressing images for WordPress, it’s a jungle out there, but with these methods, you’ll be swinging from vine to vine in no time! Remember, fellow monkeys, compressing images is as easy as peeling a banana. So grab your bananas, erm, I mean images, and let’s get compressing! 🍌